
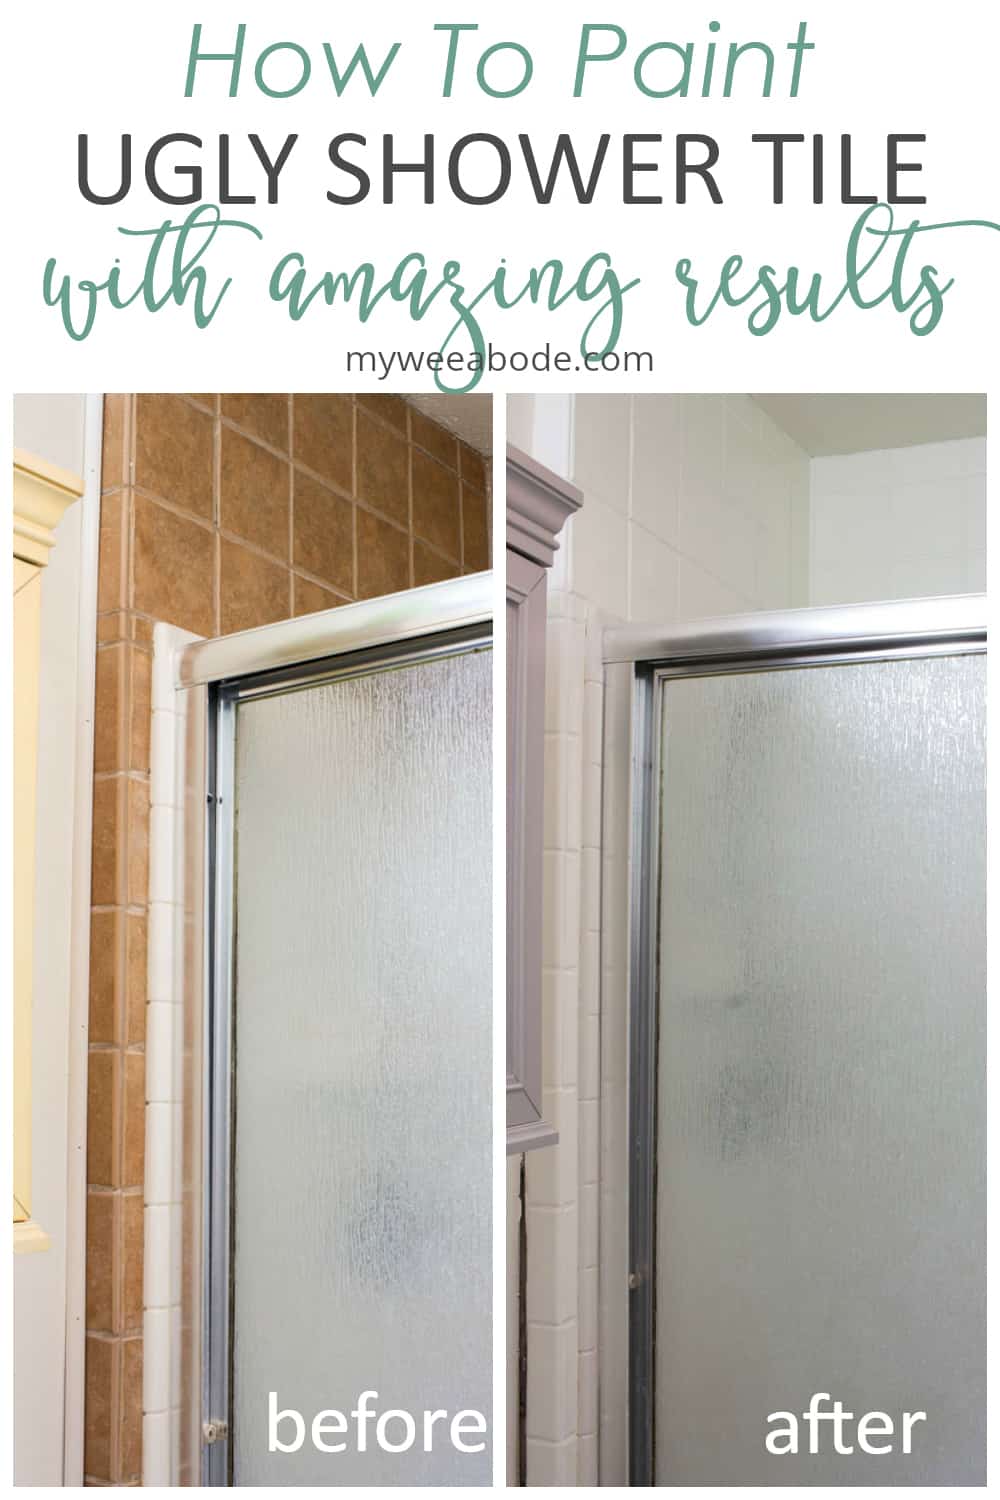
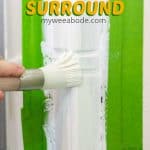
How to Paint Ugly Shower Tile with Amazing Results
The Modern Coastal Rental Bathroom makeover continues, and this week you’ll learn how to paint ugly shower tile with amazing results. With just a few supplies, you can easily paint a shower tile surround in your bathroom, or just about any tile surface!
HOW TO PAINT UGLY SHOWER TILE WITH AMAZING RESULTS
Now, you’ve heard me talk about a rental solution for how to cover ugly carpet.
And I may have even recently shared how I updated my apartment’s ugly yellow bathroom cabinets.
But today, friends… today we are going to look at what used to be the ugliest thing in My Wee Abode (notice I didn’t strike through ‘ugliest’ this time).
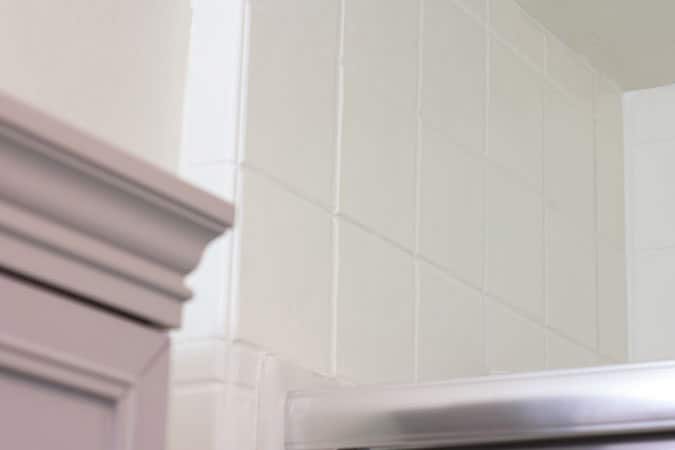
The tile shower surround… (please excuse the images, as I’m still learning to take photos in my wee bathroom)

Now, I’m not sure why anyone would choose this color for a tile shower surround… I don’t care what year it is!
But, this part of MWA has bothered me since day one… and, really, can you blame me?
Can You Paint Shower Tiles?
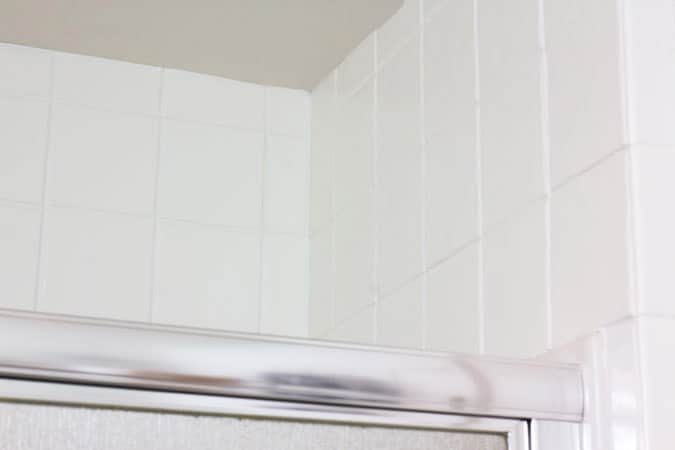
But look at it now!
Again, I’m still learning to take photos in this bathroom, but isn’t this SO much better? It’s even, dare I say, pretty!
So, yes Virginia, you can paint over shower tiles. At least a shower tile surround! And the paint makes the ugly tile look like it’s white ceramic tile (and, it’s actually a custom color white… keep reading!)
More before and after photos are at the end of the post, but let’s dig right into HOW to paint a tile shower surround to get the best results and a perfect finish!
This post may contain affiliate links, at no additional cost to you. For more information, see my complete disclosure HERE.
What You’ll Need to PREP a Tile Shower Surround
To get great results when painting a tile surface, whether it’s a shower or tub surround or a kitchen tile backsplash, you first need to prep the surface.
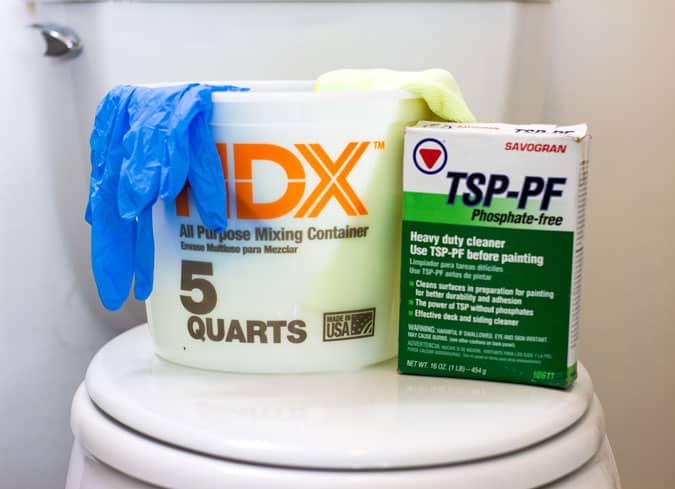
Since the tile in my bathroom is not glossy, but has more of a porous finish, I opted to simply use TSP to clean the surface (follow the directions on the box). That’s all the prep needed (in my opinion) for this type of tile.
However, if you have more of a gloss on your tile, be sure to sand the tiles with 400 grit sandpaper AFTER using the TSP, then wipe clean with a damp cloth.
Additional products you might need:
- disposable gloves
- plastic bucket
- lint free cloths or microfiber cloths
What You’ll Need to PAINT a Shower Tile Surround
By the way, almost all of the products I’m sharing today can be purchased online at The Home Depot and conveniently picked up in-store, curbside delivery, or delivered to your home!
What Kind of Paint Do You Use for Shower Tile Surrounds?
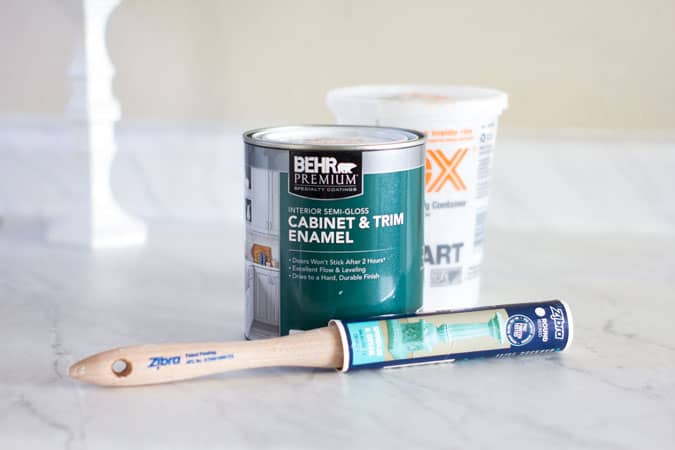
If you are new to My Wee Abode, let me share that Behr Paint is my ‘go-to’ paint. One of my favorite colors is a custom mix of Toasty Gray in my living area.
Did you know Behr Paint now offers Cabinet and Trim Enamel? Well, they do!
Behr Cabinet and Trim Enamel has a semi-gloss finish which makes it perfect for cabinets, window and door trim, and YES, even tile! Plus you can have it mixed to your favorite color or even customize the color at the Home Depot paint counter! (Call your local store for details on custom paint for pick-up.)
Also, be sure to pick up a can of KILZ Primer! This will help bond the paint to the tile… don’t skip this step!
The Brushes
And don’t forget to pick-up the best paint brushes around… the amazing Zibra Paint Brushes!
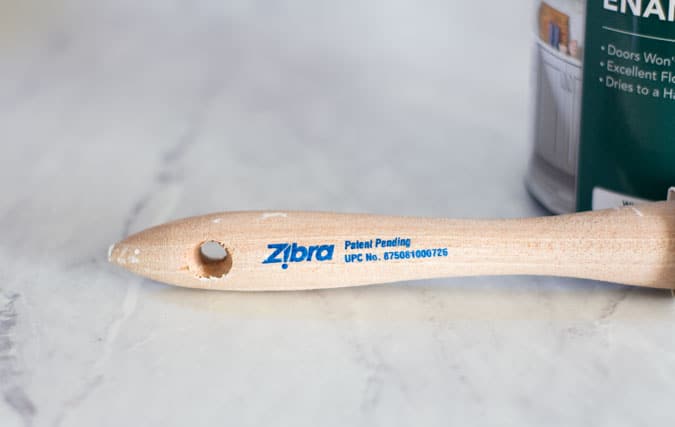
Zibra Paint Brushes are made of high quality synthetic “smooth bristle” technology with more density (“high pack-out”) than your everyday paintbrush. This means more coverage, smoother finish, and less dips into the paint… and less dripping on the floor, too!
A few more items you will need to update your shower or tub tile surround:
- Frog tape (don’t even bother with the blue)
- 4-inch x 1/4 inch woven rollers
- 4-inch roller handle with one roller
- 7-inch plastic paint tray
- plastic wrap (optional, to wrap wet brushes and rollers in, in-between coats)
How Do I Update My Tile Without Removing It?
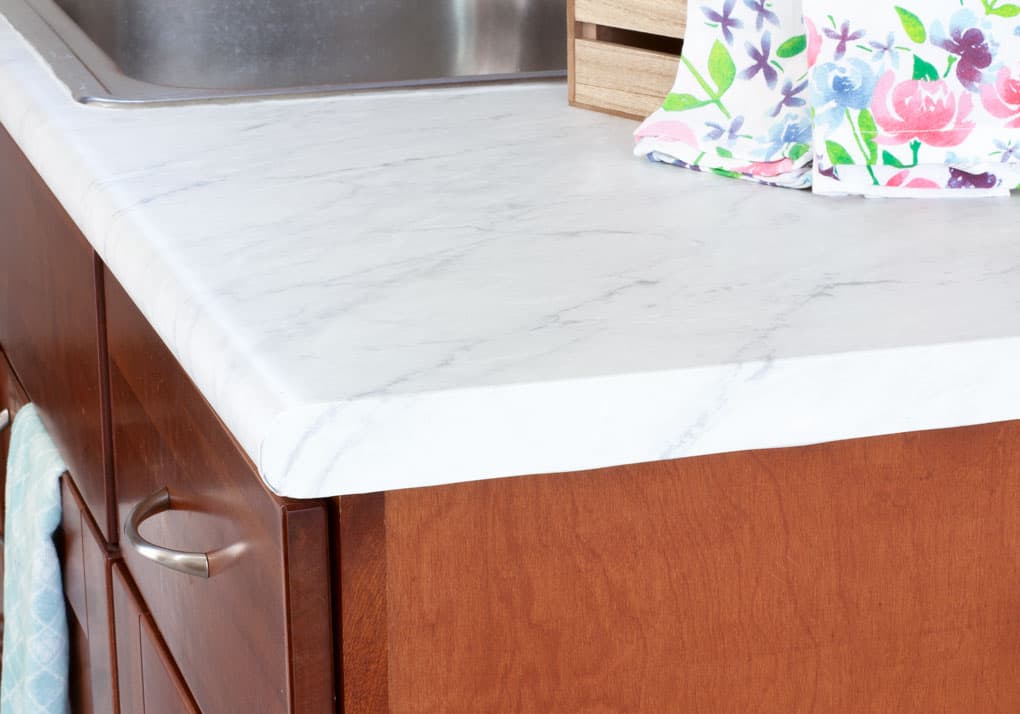
One of the great things about painting tile is that you don’t have to remove it. Kinda like my kitchen counter update that cost less than $50!
AND, if you live in an apartment or rental home like I do, chances are you CAN’T remove your shower tile surround! This is a great way to add your own style to your apartment!
And, REMEMBER, ALWAYS ask your landlord if you can make any changes to your apartment or rental home!
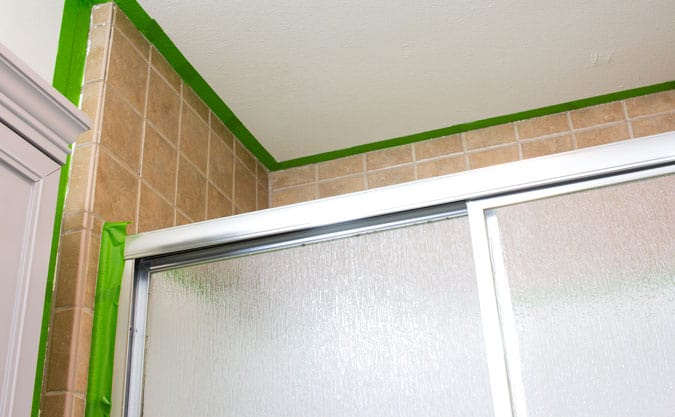
First, be sure to tape off the ceiling, shower edges, and top edge of the shower walls. On the walls, you may want to double the tape to be extra safe from accidental paint swipes.
Then, using your Zibra Round Paintbrush and KILZ primer, paint the grout. After painting the grout, paint the tiles with a roller.
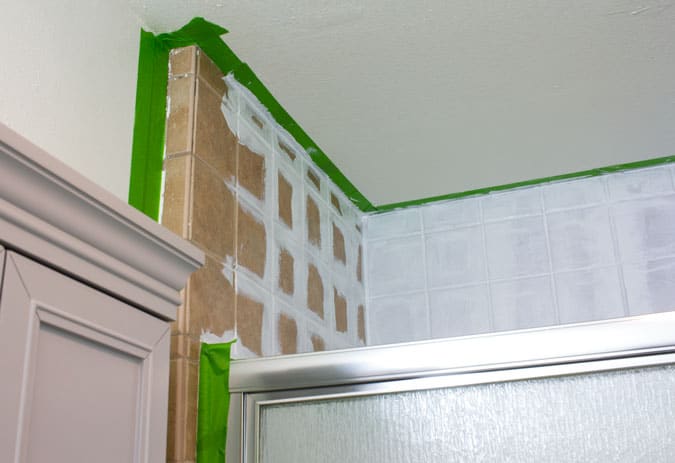
If the temperature inside is higher than 77 degrees, you may want to do one section at a time, like I did. You don’t want the paint drying too fast, which will prevent a smooth paint finish.
Zibra Round Brush to the Rescue
I must confess… I forgot to use my Zibra Round Paintbrush on the grout until my second coat of primer. WOW! What a difference the Zibra Round Brush makes!
The Zibra Round Brush is specifically made for painting spindles and surfaces with hard to reach places, and it really did the job on this grout, too! Talk about speeding up the process! And it was so much easier on my hands!
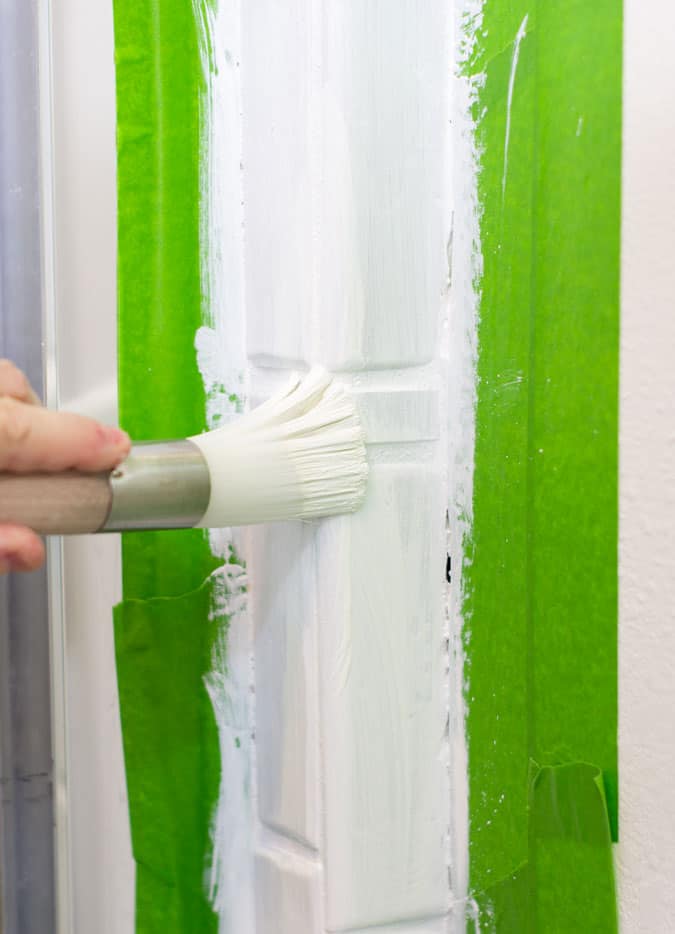
The coverage was excellent and the paint goes on SO smooth with Zibra Paint Brushes.
Last Steps for Updating a Shower Tile Surround with Paint
When tile is dark, it may take several coats of primer and paint to get the color saturated.
With my tile shower surround, it took two coats of primer and 3.5 coats (about 1/2 quart) of the enamel paint (3 coats on the grout and four coats on the tile) to get the coverage that I was happy with. Behr Cabinet and Trim Paint is not an extra thick paint, but I actually think this makes the paint bond to the tile better. Plus, the custom color coordinates with my new wall paint, too!
By the way, the color of my tile is Behr’s “Beach House”. Go figure, right?
After you have painted the last coat of paint, immediately and carefully remove the Frog Tape. (I pull away and down. You may need to take a craft knife and cut any paint seal that may have been created. The nice thing is, if you accidentally take some paint off with the tape, it’s really easy to go back and touch up. 🙂 Guess how I know this!)
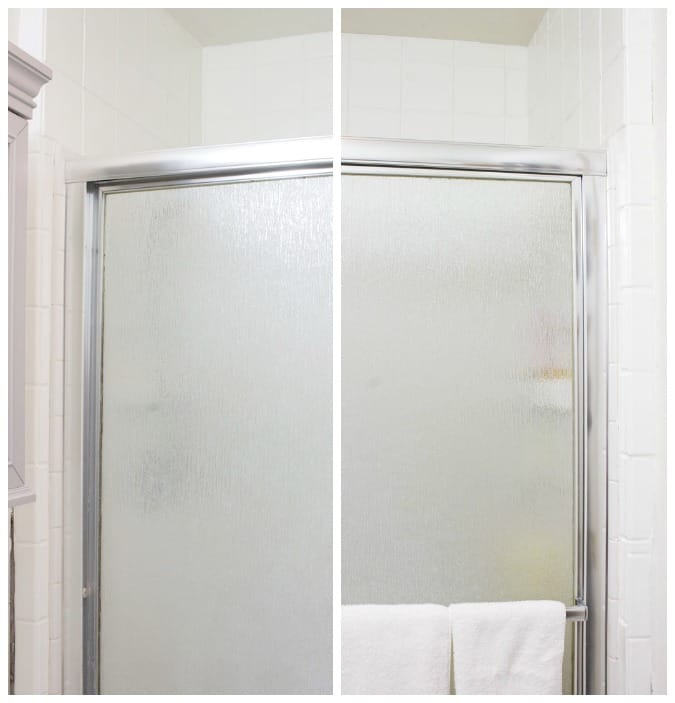
The Finished Tile Surround Update
And here are more photos of the finished tile shower surround.

The finished painted shower tile surround couldn’t be more perfect! At least, that’s what this apartment dweller thinks!
Oh, and by the way, the project cost less than $75 (for ALL the supplies) and took less then two day to finish (I let the primer bond overnight).
One more project down for the bathroom makeover! It will be so fun to be able to share the whole update when it’s finished!
Become a My Wee Abode Member for ALL the Things!
I would LOVE for you to join the My Wee Abode fam and get all the FREE PRINTABLES that are offered, along with priority notification of new DIY projects, small home improvements, and storage solutions!
So, do you have a paint project you are getting ready to start? A set of my fave Zibra Paint Brushes will make the project a breeze! Be sure to check out their site!

Paint Ugly Shower Tile Surround
With just a few supplies, you can easily paint a shower tile surround in your bathroom, or just about any tile surface!
Materials
- 1 quart Behr Cabinet and Trim Paint
- 1 quart KILZ Premium Primer
Tools
- TSP Cleaner
- Microfiber cloths
- 5 quart plastic bucket
- Disposable latex gloves
- 400 Grit Sandpaper (optional)
- Frog Tape (1" + width)
- Zibra Round Brush
- Zibra Wedge or Sash Brush
- 4-inch smooth synthetic rollers plus handle
- 7-inch disposable paint tray
Instructions
- Prep tile by cleaning with TSP cleaner (follow directions on the box)
- If the tile is semi-gloss or gloss, sand with 400-grit sandpaper and wipe clean with damp cloth.
- Frog Tape ceiling, walls, shower door trim... anything you want to protect from paint swipes.
- Using your Zibra Round Brush and KILZ primer, paint the grout and then paint the tiles with a roller. Use the Zibra Wedge Brush to cut-in the tiles at the ceiling. Two to three coats should do the trick.*
- After the primer has dried overnight, repeat the steps above using the Behr Cabinet and Trim paint. Suggestion: 3-4 coats.
- Immediately after the last coat of paint, remove the Frog tape using a pull away and down method.**
- Touch up any missed spots... use the primer first, then the paint.
Notes
*Remember, you are going to paint over the primer. The primer doesn't *have* to be solid.
**If a seal has been created between the tape and paint, you may need to use a craft knife to cut the seal before removing.
Pro-paint tip: In between coats, wrap your brush/roller in plastic wrap to eliminate multiple clean-ups.
Great job on the tile, Julie! What a great giveaway, too! I could definitely use some new paint brushes, so I’m entering for sure! Big hugs, Crissy
So glad you entered the giveaway, Crissy! You are always such a great support and dear friend! And we could all use great brushes, right?!
I don’t have any round brushes so this would be the one I would look forward to winning.
THANK YOU, DEBBIE, for sharing what brush you like best! Good luck with the giveaway! 😀
I love it!! Also, your detailed directions make me feel like I could tackle a painting project in the future…
I am new to DIY blogs …what I love is your “recipe” for success format. The listed “ingredients” needed and step by step approach is definitely beginner and user friendly.
I can hardly wait to see your completed room!!
Thanks, Aunt Gale! You are a great encourager… it’s a gift from God and has endeared you to me as a mentor and ‘hero’ for as long as I can remember!
💕💕
Your shower looks great! And nice giveaway, too!
Liberty
Thanks, Liberty! And thanks for entering!
Hi Julie, Great job! That tile looks so much better. Your blog post came at the perfect time. We may be selling our house and moving to another state. We can’t afford to replace the old bathroom tile along with everything else that needs to be done. I’m sorry if I missed it but I didn’t see how much it all cost and how long it took you. Thanks for the inspiration.. Definitely getting that Zibra round brush.
Oh, I hope this post really does help, Jeanine… I didn’t mention it in the post, but it is in the DIY card at the bottom. If you have to buy ALL the supplies, it’s less than $75. I let the primer dry overnight so it would bond well, so the project took less than two days. 🙂
Thank you Julie! I can definitely do this! 😁.
– Jeanine
Yay! Let me know how it goes!
That turned out so well!! I would have thought that you couldn’t paint tile and have it hold up at all but I love that you’ve proved me wrong. Pinned.
I’ll definitely do a 1-year review! 😉 But, I think it’s going to work great!(I have seen other sites do similar projects with no problems!)
Hi there!
I love this! Just wondering how it’s held up over the last two years? I’m ready to head to Home Depot to buy EVERYTHING on your list, but would like to know if this project is still one you’d recommend! THANK YOU!!
Cyn
It has held up wonderfully well! Just a reminder… this is my tile SURROUND, not the actual tile inside the shower where water hits all the time. My surround received lots of steam and a splash here and there, but it cleans up easily with water and a microfiber cloth. I would do it again in a second! Let me know how your project turns out, Cyn!
The tile looks very nice and the shower doors look nice too. The glass is the same as our shower door in our master bath. We chose it when we remodeled a few years ago. It is called “rain” and I thought it was the nicest glass pattern of all of the choices we had. Maybe now that the tile isnt bothering you so much you will see the shower doors in a different light. You may even grow to like them. Thanks for all of the cool info you have on your blog.
Oh, I think I would actually choose the same type of glass if I had to, but they are old and etched… the hardware is awful, too! Really hard to clean and KEEP clean. I have a plan for the doors, too. 🙂 Not quite so creative as the tile though! LOL!
You. Did. It.
Ugh! What a week! And I actually missed a deadline for a hop… had to bow out. I’m so sad! It was going to be so fun! The Lord knew I needed a break.
Wow, you made the tile look brand new! Fantastic job! I love my one Zibra brush!
Thanks, Laura! Yes… I only have had two in my collection. Thanks to Zibra’s generosity, I have a complete set now! Good luck on the giveaway!
Your tile looks so good! Your bathroom has to seem so much lighter now with the white tile vs the brown color. I am very intrigued by Zibra brushes and will definitely be looking for them the next time that I am in a home improvement store. Spindles are so tedious to paint, a brush to help with that would be a great addition to my DIY toolkit.
Yes… be sure to enter the giveaway, and totally be on the lookout for them (Home Depot carries them, too… but they have free shipping with the purchase of 3 or more brushes… so worth it). You know I wouldn’t steer you wrong, dear friend!
What a difference paint makes. It looks awesome! And, what a fun giveaway, too. Those paint brushes look awesome!
Tell me about it… it makes the bathroom look 100% better… and I still have SO much to do! The brushes are great, Rita! If you have a US address to ship them to, be sure to enter!
How has this held up to cleaning?
Thanks for the question, Dawn. Just to be clear, as I stated in the post, this is my tile surround… it is NOT inside the shower, it’s the tile that is on the edge of the shower. It cleans up GREAT!!! All I have needed to do is wipe it down with warm water, and it looks perfect! 😉
I had no idea that tile could be painted. My shower tiles are quite similar to the ones you didn’t like. I don’t like them either. Pinning!
Michelle
https://mybijoulifeonline.com
Oh, I hope this post helps to transform your ‘tannish’ tile, too, Michelle! Thanks for pinning!
Your post came just in the nick of time! I am downsizing to a much smaller house in the very near future, and I absolutely love everything about it (open concept, river view with an awesome dock, etc.) except the bathroom. The tile is pink….really pink!…and I’ve been trying to think how I could live with that. You’ve provided an answer! Thank you.
Oh, Sandy, I’m SO glad this post was so timely for your move! Just remember, if the tile has any sort of gloss, be sure give it a light sanding after cleaning it! Let me know how it goes!
What a nice change! Great job, Julie.
Thanks so much, Glenda! It’s so much brighter!
The round brush looks pretty cool. Id like to win that. Thanks for the giveaway!
Thanks for commenting, Marilyn… the round brush IS amazing! Good luck!
I want to see how the paint holds up with all the humidity a bathroom has! Makes me glad I don’t have tile–just a one piece tub surround. It looks like it was quite a project. I bet you smile every time you walk into the bathroom; I can’t wait to see the full reveal.
Thanks, Kathy… My bathroom stays pretty ‘dry’, and because it’s just a surround (it only frames the shower liner), I think it will be great. I don’t think I would ever paint the inside of my shower, though I do know of people that have done that! 😉
It looks aaaahhhhmazing! I wish you’d come do my shower. It’s as bad as yours used to be! You made me laugh out loud again. When you said – Now, I’m not sure why anyone would choose this color for a tile shower surround… I don’t care what year it is! – I spit a little on my computer screen. Pinning this in hopes the Mister will actually let me do this. Entering the contest as well even though I am the unluckest person alive. Great post!
Thanks, Cindy… your spitting made me chuckle on my end, too! You could SO do this project!
Loved the info! BDo you have a blog on painting a fiberglass tub and surround? Everything I can find just uses premixed paint and most is white. Just like to have another option. Thanks Kim
I’m sorry… I don’t have any experience with this. I hope you are able to find something!
What an improvement, Julie. You did a great job!
Thanks, Ann! I’m thrilled!
Love the tile update. It looks 100% better… so light and bright. I visited the Zibra site and am pleased at the variety of brushes in their product line. I’m planning to paint my grandfather’s secretary desk this fall (when the weather’s cooler and less humid). I think the Zibra triangle brush will be awesome for doing all the nooks and crannies, and a slant-tip brush for the broader surfaces. I hope to do some decorative painting of ferns on the front and sides of the desk after making sure I’ve applied a nice and durable base over the exterior and interior of the desk. When all that is done, I’ll seal it all with matte polyurethane. I’ll be needing all new brushes especially for the base work, and the sealing, so I’m really glad to have been introduced to the Zibra brand via your site.
Oh, so glad you learned about Zibra here! I hope you’ll keep us updated on the progress fo the desk! Sounds like an amazing project!
Wow! I really love this idea! I will have to do it for my daughter’s bathroom!
Thank you for the tips and inspiration!
Of course, Lisa! Be sure to send me pics!
I have been considering painting yellow tiles in my small bathroom. I think i can do it after seeing what you did!!!
Yay! Let me know if you have any questions!
Your tile looks amazing! I honestly did not know that you could paint tile. I am so excited about this. I know what my next project will be. I would love the PRECISION CUT-IN PAINTBRUSH
Oh, great, Kesha… yes, I have several friends that have painted their tile and it has worked out great! Good luck with the giveaway!
Looks great Julie…and the best part (not counting the great brushes) is that you didn’t have to remove the tiles! Thanks for the giveaway …
Yep! It’s great that I didn’t need to remove it, because I can’t! I’m a renter!
Yes, I agree… it’s a great option for a rental home! Good luck!
Looks great
Thanks, Becky! Hope you entered the giveaway! What brush would you like to try?
No wonder your thrilled with this makeover. Bathrooms are so hard to photograph (ask me how I know), but the white makes it look so bright and clean. I bet the bathroom even feels bigger.
You are absolutely right! The bathroom does feel bigger, cleaner, and brighter! Thanks Leanna!
Nice work! I love some of the Zibra brushes I’ve tried in the past. It’s so nice to have different brushes for different uses!
Thanks, Kelly! Yes, a variety of brushes is great, and Zibra has so many to choose from!
Love the painted tile.
Well, thanks so much!
Wow Julie! What an amazing difference! Great How-to instructions too!
Thanks, Janet! I really do love the finished look!
This is seriously impressive Julie! What a difference!
Thank you so much, Kim… I can’t wait to get everything done and for it to look ‘complete’, instead of just looking like projects. 😉 If the heat would let up, that would be helpful! 😉
Julie! This is spectacular! What a transformation! Thanks for the inspiration over at Charming Homes & Gardens!
Thanks, friend! I’m super happy with it… now if it would just cool down so I can keep going with the makeover!
Brilliant! So worth it too! I hear you on the brown…when was that ever a good color? Ha! Thank you for linking up with us at Embracing Home and Family!
Thanks, Jenn! I’m SO much more ‘at peace’ with the white! 😉
What a nice difference! The white is so much brighter and you can coordinate with any color towels and accessories. Those paint brushes look very handy. We have a home built in the early 1990’s so we are always updating and staining and painting trim, etc, I’d love to try those brushes.
Yes, the paint brushes are amazing, and I’m LOVING the white tile, Pat. Thanks for commenting, and those brushes are still on sale for 15% off, I believe!
Looks great, Julie! What a project!
Thanks! I’m really happy with it… now to get the walls painted!
Hi there
How are your painted shower tiles holding up? I’m thinking of doing the same to my shower.
Hi, Christy… my tile is doing GREAT! But, just to clarify… this tile does not enclose my shower… it is simply my tile surround. Very little water hits this tiled area. With that said, there has been no lifting or peeling, and I’ve wiping it with a microfiber cloth is perfect for cleaning! Let me know if you decide to do your tile!
I love the idea of painting the shower tile. My question is, did you seal it with anything? Or does the paint you used have some type of sealer in it?
Hi, Amanda… I used a paint that does not require a sealer. Please note… I did NOT use this inside the shower. I painted the tile surround that framed the shower. Hope that helps!
Julie, I love the painted tiles. So fresh looking.
Thanks, Tammy! It makes SUCH a difference. And they are so easy to clean. I just wipe with a Norwex cloth and water!
Ok! This looks amazing and I’m going to try it. I did paint my kitchen counter top tiles about six years ago and it looked awesome and held up perfectly. I hated those tiles. Thanks for this blog now I’m ready to do this.
Wonderful, Vicki! I’m sure you’ll love the outcome! Plus, you’ve already had practice!
Wow, what an inspiration! I love it and I love this blog. God Bless
PS I really like the way you laid out the supplies and directions like a recipe. That is so helpful.
Thanks, Josee! You are always such an encouragement!
This is still on my list of things to do! Ugh, so sad. Can you do something about the ugly shower pans too? I don’t want to spend the money on ripping it out and not sure anything will adhere… So? Julie to the rescue? 😉
I have one of those lists, too! I have NO idea about the shower pan! I know that my apartment complex uses something, but when I used a Mr. Clean scrub square on it, it took the finish off. Didn’t work well. 🙁
HI Julie Sharing this post on The Weekend Edit! I think my readers will love it!
Thank you so much! I’m off to see it now!