How to Make Easy DIY Hand Painted Magnets
There’s nothing quite like a practical, pretty, and hand-made gift for Christmas. These ceramic tile magnets are a tiny and useful gift for that special someone on your list. Let’s learn how to make easy DIY hand painted magnets.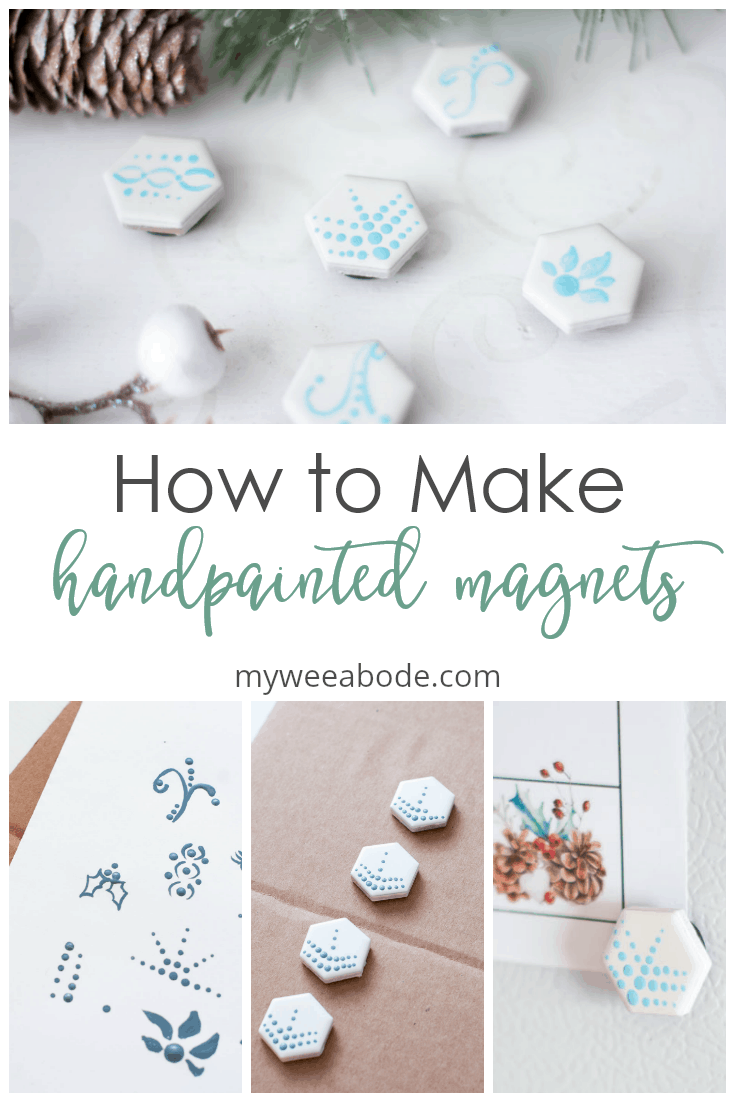
Today is a wonderful day. A day filled with inspiration… both for Christmas home decor and DIY!
Leen from Sand Dollar Lane is hosting Celebrate Christmas… a wonderful blog hop filled with Christmas inspiration, decor, DIY tutorials, and more! Thank you so much, Leen, for putting this all together!
If you are visiting from Libbie at A Life Unfolding, welcome to My Wee Abode! Isn’t Libbie’s Christmas home tour just lovely! She’s a sweetie, too!
HOW TO MAKE EASY DIY HAND PAINTED MAGNETS
Now, I know what you *may* be thinking.
“Julie, ain’t no way anything handpainted is easy!”
Well, today I’m going to show you just how easy these DIY handpainted magnets can be to make. These are just about as easy as my Coastal Wood Bead Garland (another great gift idea)!
Last year, I made a set of magnets for some of the women in my family. My daughter actually got teary-eyed when she opened the box. What I thought was something simple and easy (which it was) turned out to be a big “hug” to the women that I dearly love.
What’s more, these cute little ceramic tile magnets are easy to personalize and give as gifts because you can use any color of paint, any pattern, and create a few or a flock of magnets to give as a gift (and make sure to keep a set for yourself, too!)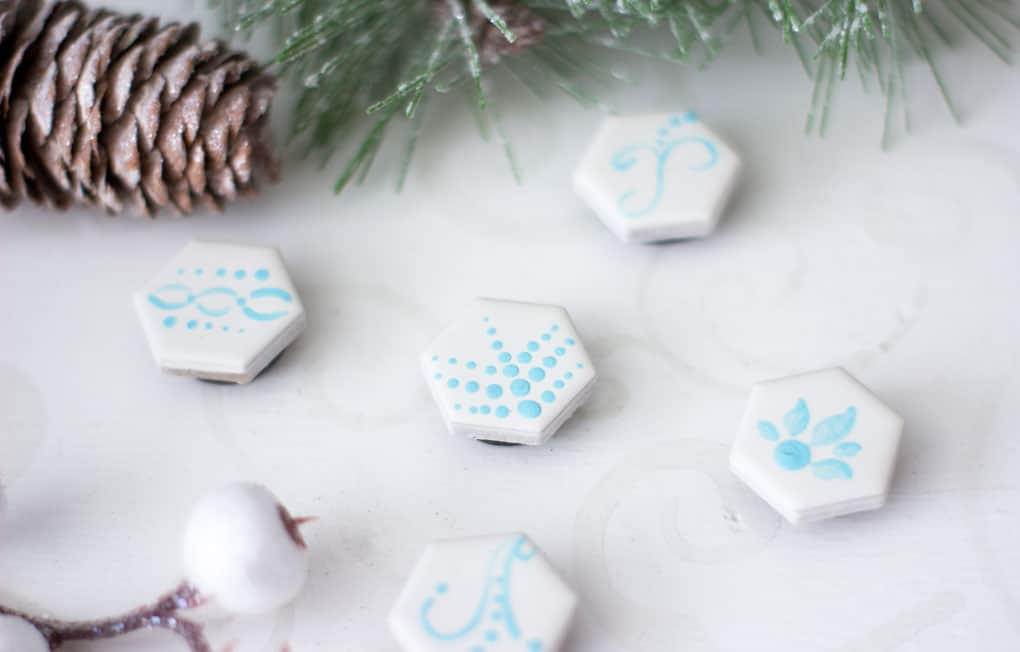
There are lots of posts to visit (links are at the end of this post), so let’s get right to the tutorial!
But first…
This post may contain affiliate links, at no additional cost to you.
For more information, see my complete disclosure HERE.
What You Will Need
Here are the items you will need for these simple and lovely handpainted tile magnets: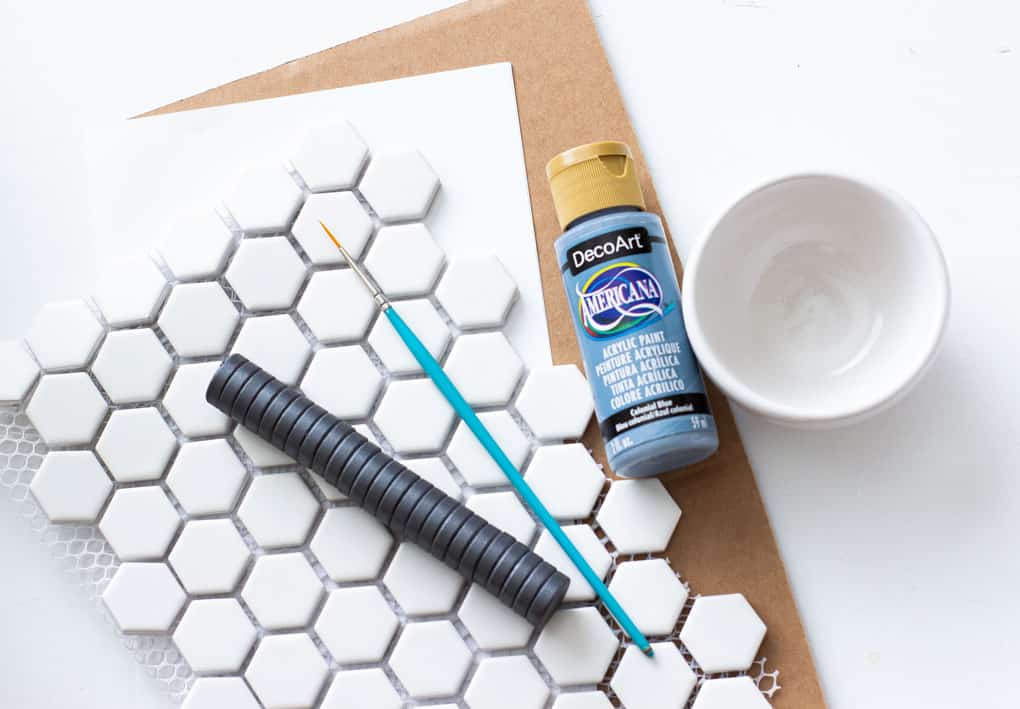
- Hexagon Ceramic Tiles
- Industrial Ceramic Circle Magnets
- DecorArt Americana Acrylic Paint (Here’s a variety pack with lots of options)
- Detail Paint Brush (Here’s a nice inexpensive set that is bound to have a length you like)
- E6000 Adhesive (not shown in photo)
- Matte Sealing Spray (not shown)
- two small bowls (one for paint, one for water to rinse your brush)
- Sturdy piece of cardboard or wood board
- Paper (to practice strokes and patterns)
- Rubbing Alcohol and cotton
How to Make Easy DIY Hand Painted Magnets
Prep
The easiest part of this whole project is prepping your tiles. Just wipe the surface of each tile with a cotton pad/ball dampened with rubbing alcohol and let dry for a minute. That’s it!
Practice
Let’s practice some strokes and patterns!
- Start by doing some simple strokes on a piece of white paper. (Pro-tip: Let you paintbrush ‘follow’ where your eye leads. Don’t look at your brush, look where you want your brush to go. It feels weird at first, but trust me, it works!)
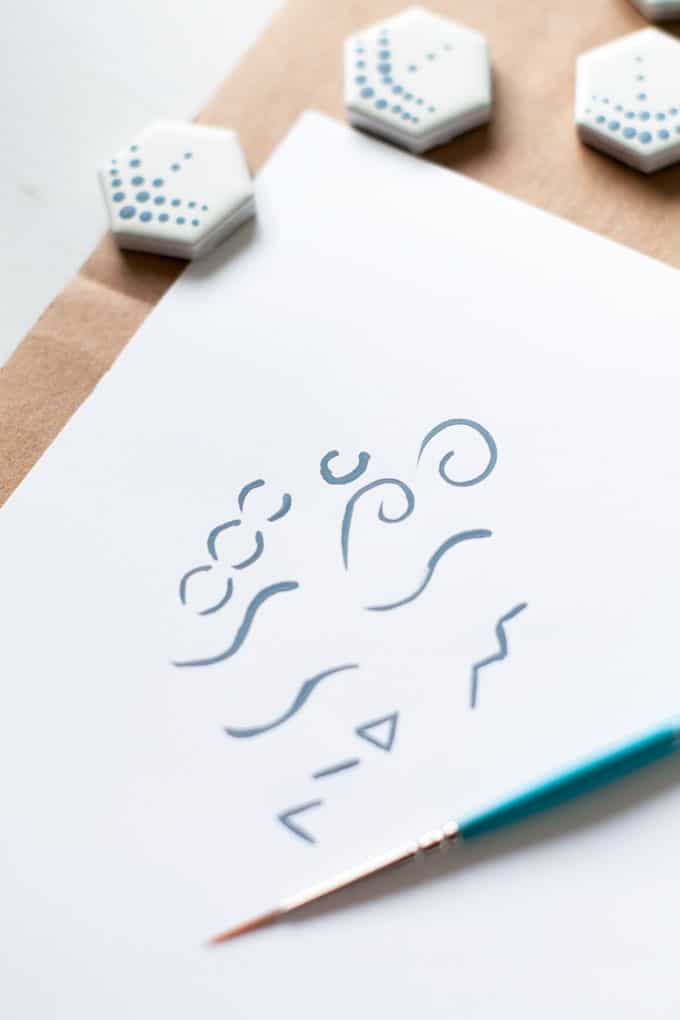
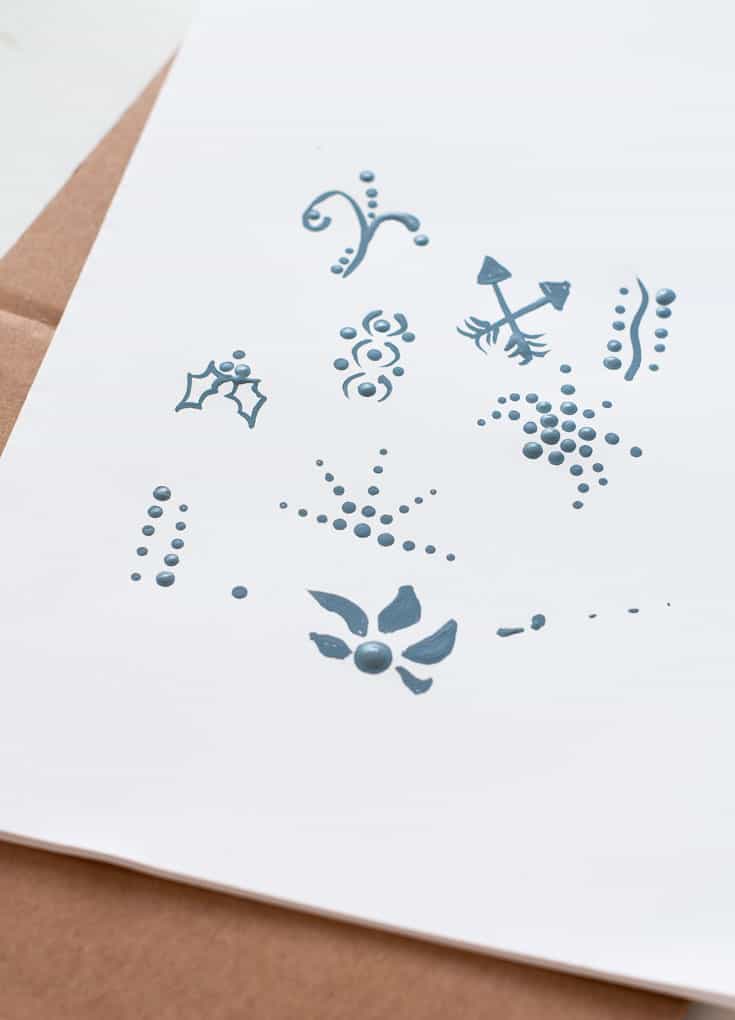
- To paint dots, simply dip the handle end of your brush into the paint and ‘dot’ five times on your paper (without re-dipping your handle). Now you’ve made five descending dots! Practice this for a bit… you may realize you need to do a ‘blotting’ dot in order to create certain patterns.

- Next, create some simple patterns on your piece of paper. Easy dot patterns, simple strokes with dots, arrows, swirls with dots, or even holly and berries (they aren’t as hard as they may look). (Pro-tip: Dots are the easiest thing to “paint”, and pack a lot of punch!)
Paint and Assemble Your Easy DIY Handpainted Magnets
When you feel you have had enough practice, simply paint your patterns on to your tiles. If you make a mistake, you can wipe the tiles off with a wet cloth. If the paint has dried, it will wipe off with rubbing alcohol.
Be sure to paint them on the cardboard or wooden board.

After the paint has dried, you can carry the board outside and lightly spray the tiles with matte sealer. This step is optional but will protect the paint in case the magnets need to be cleaned after some use.
The last step is to simply attach the magnets. A word of caution… these magnets are quite strong and will easily pull together. Be sure to keep the magnets a good distance apart (experiment before attaching… you’ll see what I mean).
Place a dollop of E6000 on the back of the magnet and affix to the tile.
After you have assembled the magnets, flip them over and place a heavy book on them for 24 hours (the more spiritual the book the better…kidding!). This will ensure that the magnets and tiles are strongly bonded.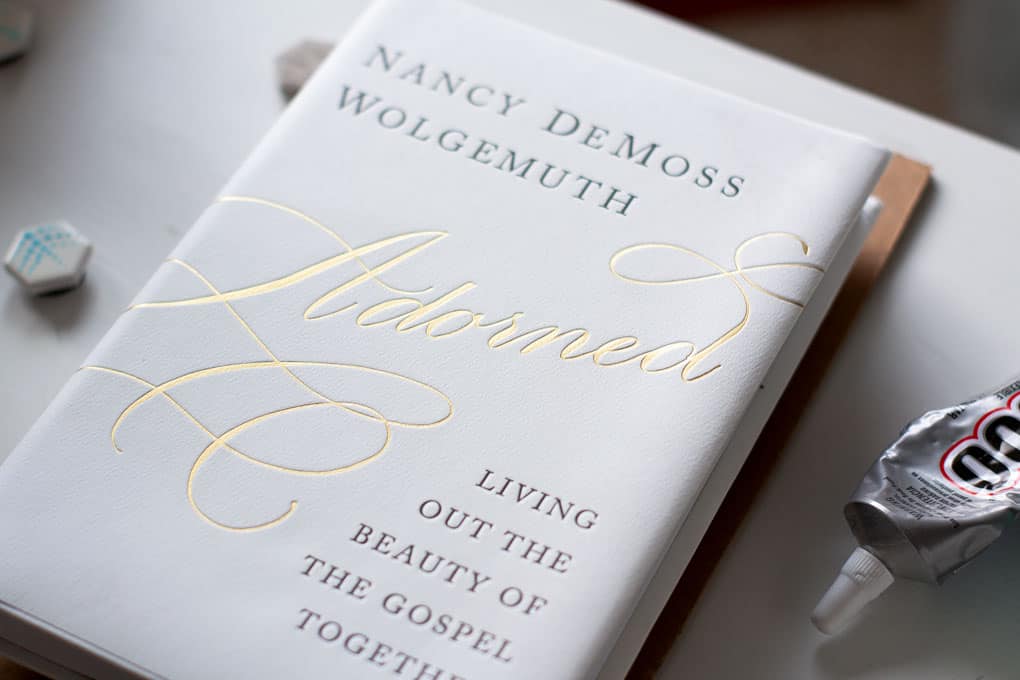
The Finished Product
Now you can stand back and look at your finished product.

And what better place to use these but a refrigerator?!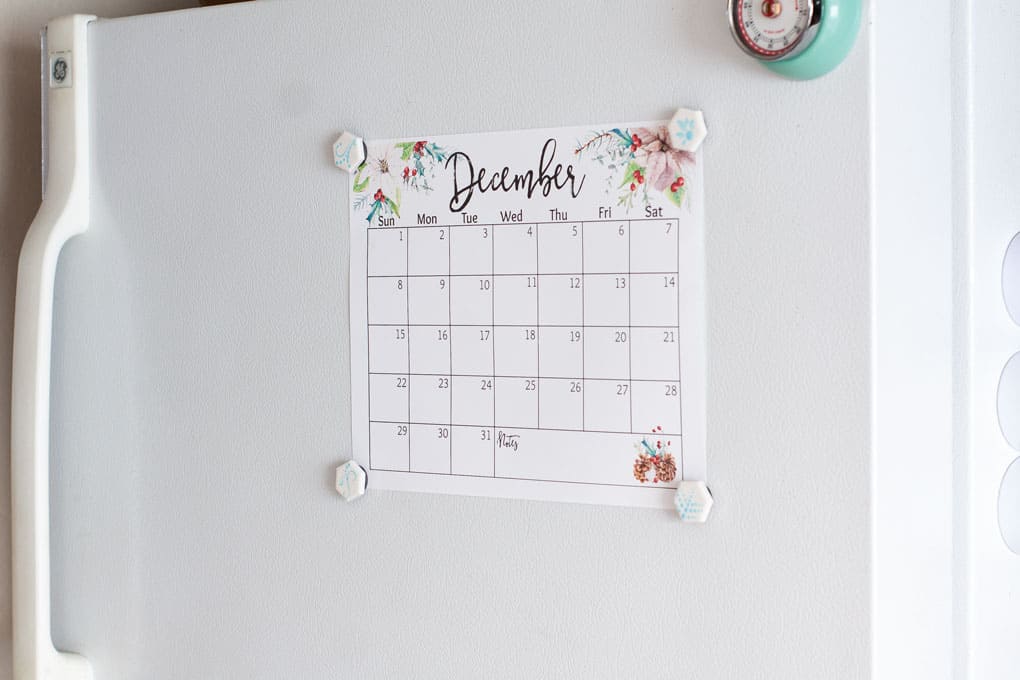
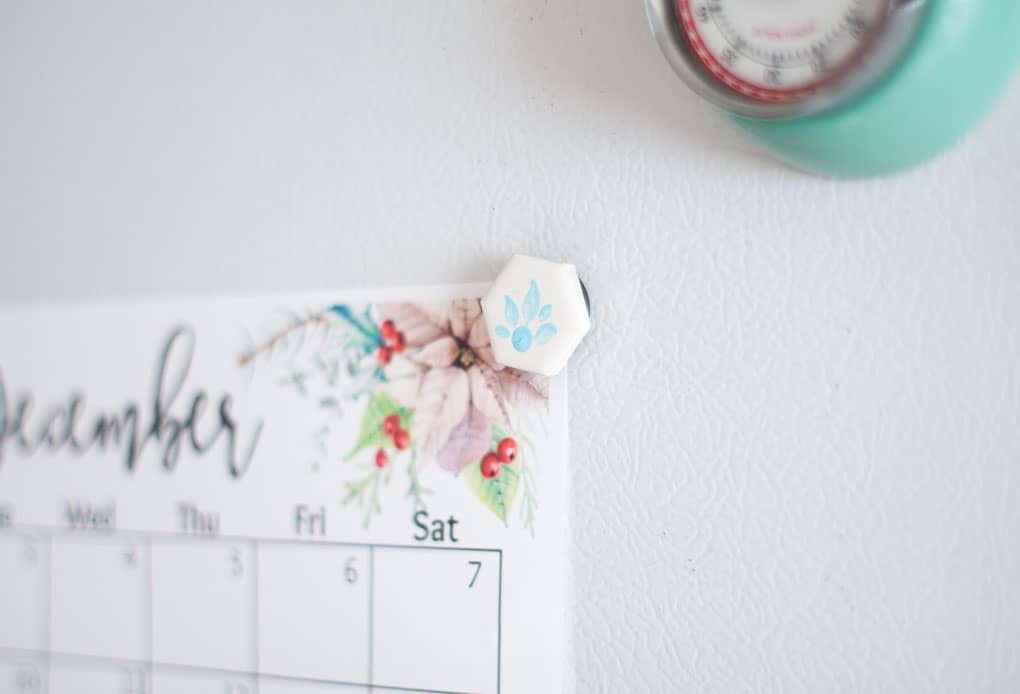 This calendar is from my Free Printables Library, available to all My Wee Abode subscribers! The 2020 Calendar will be available shortly!
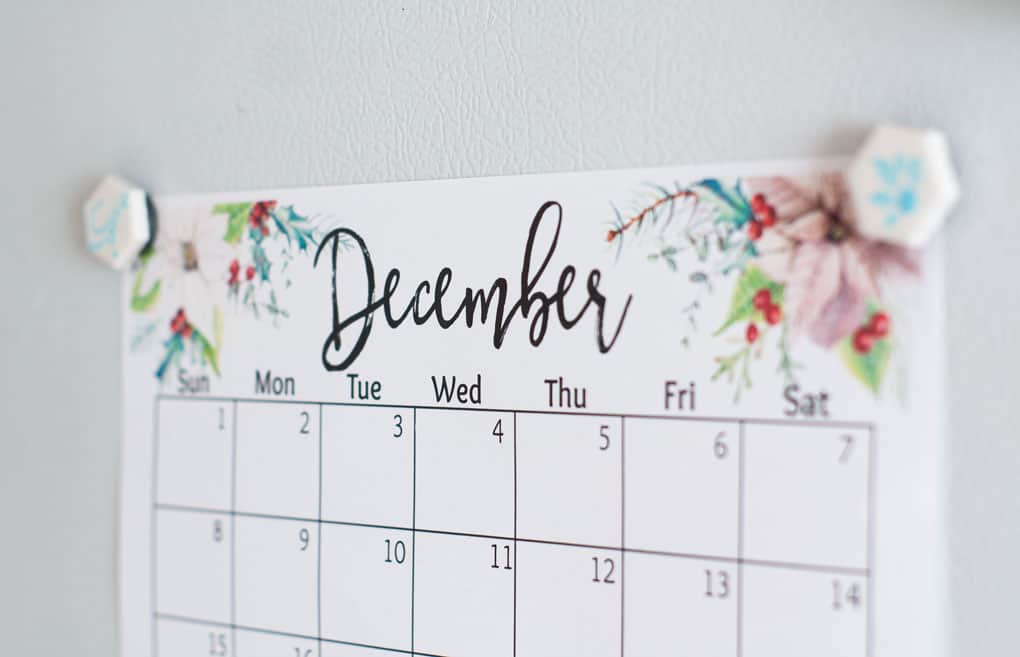
Other places the ceramic tile magnets can be used:
- Office Filing Cabinet
- Command Center
- Locker (do they still have those?!)
- Recipe holder on a range hood
And, these don’t just have to be Christmas presents… Think:
- Hostess Gift (have 5 or six sets handy for a quick gift)
- Bridal Shower Gift
- Housewarming
- College Dorm-warming
Now It’s Your Turn
Will you be making these easy DIY hand-painted magnets? Tell me, what colors will you paint yours? Do you know someone that would really appreciate this little gift?
Next on the tour is my sweet friend Kelly from The Tattered Pew. She has a yummy DIY gift that will be perfect for anyone, plus a free printable!


Sand Dollar Lane // Aratari at Home // Postcards From the Ridge // Sweet Pea

Worthing Court // Atta Girl Says // Sonya Burgess // Kippi at Home

White Arrows Home // Cribbs Style // Dabbling & Decorating // One House 2 Barns

My Family Thyme // The February Fox // A Life Unfolding


My Wee Abode // The Tattered Pew // Thistlewood Farms

Artsy Chicks Rule // 2 Bees in a Pod // Zucchini Sisters (not shown) // The Little by Little Home


The French Blue Cottage // Elizabeth Joan Designs // Joy in Our Home

Thistle Key Lane // Noting Grace


You have it right Hand painted is 2 words & not hyphenated. Love the magnets & hope I can get some made for presents or maybe birthdays too.
Thanks, Fernie! Always good to know for sure! 😉 I think these would be perfect for birthday gifts, as well! Hugs and hearts!
These are so cute–I want to try them with my kids!
Oh, what a fun idea! Easy for kids, too! Love ‘hopping’ with you!
Julie,
These are cute and love the colors.
Cindy
Aw, thanks, Cindy! Hugs and hearts!
Love the ones you made me!!
I’m so glad! You are one of the women I dearly love, too! 😉
What a creative gift to give to just about anyone! The entire time I was reading your post I was amazed at how creative you were with your designs. I have everything needed to make these except the magnets. Wouldn’t making these be a fun idea for a girls’ night out party?
Yes, that is an excellent idea for a girls’ night out party! You are so clever, sweet friend!
Julie, these are so cute! You gave so many great painting tips, too. And I love the idea of having a couple of sets on hand to give as last minute gifts. Thanks for the tutorial. I’m pinning it:)
Thanks, Carrie! They really do make a great last-minute gift! Hugs, dear friend!
These are so fun! I love how easily customizable they are with different colors and shapes. Thanks for such a neat idea!
Thank you so much, Sarabeth… they are fun, and I did them in lots of colors last year for friends and fam. 😉 So glad to be hopping with you!
Julie, these are tiny works of art and really so pretty. Great idea to make these as stocking stuffers. Love it and pinning!
Thank you, Michelle! You are a bestest! 😉
These magnets are so cute and would make great gifts! I love that you can personalize them for the person your gifting them to, what a special touch.
Thanks for hopping with me!
Thanks for inviting me, Leen! It was so much fun (even though a bit stressful with epic fails behind the scenes, right?!)
You go girl! These little hand painted magnets are the bomb! Who doesn’t need more magnets?! Super fun.
Hehe! Thanks, Cindy! They are very fun to create!
Julie I just love these magnets, they are so simple and yet beautiful. Hope you have a Merry Christmas.
Thank you, dear friend! I’m thinking about you and praying for you! Have a wonderful Christmas!
Julie, you are so talented. These tiles are the sweetest!
Thanks, Ann… Anyone can do them! 😉
Oh, my, goodness – these are so cute! I was walking down the tile asile of Home Depot, wondering what I could make from the tiles, but never would I have come up with something so creative.
Aw, thanks, Rachelle! I actually saw these done last year with a stencil. I couldn’t get the stencil way to work, so I ended up doing this! LOL!
I just adore this idea! What an awesome DIY to share with someone! I love the color blue you chose – it’s perfectly Christmas, but will still last the whole year through!
Yes… you and I love the blues, right? Thanks, Jen!
Such a clever idea! I love it! I’m going to have to try this!
Thanks, Pamela! Easy and fun to make! 😉
This is genius, Julie! And I love the tip for using the handle to get perfect graduated dots!
Thanks, Janet… it was a trick I learned from my mom. She owned her own handpainted ceramics business for years (specialized in baby nursery items).
These are so sweet, Julie, and you are so clever!! 🙂 xo
Thanks, Nancy! That means a lot from you!
Great idea! I have used the 4″ ceramic tiles for crafting before, but hadn’t considered the smaller ones. So many possibilities!
I know… these are really strong, too!
Tiles and magnets — who would of thunk? And your artistic prowess is clear! Your magnets are truly beautiful and unique. We’d love for you to share with us over at Vintage Charm Party #211. https://www.ourhopefulhome.com/2019/12/vintage-charm-party-211.html
xo Kathleen
Thanks, Kathleen! I’ll definitely be visiting and linking. When does the party open and close? I’d like to put it on my party page!
Thank you for sharing at #ThursdayFavoriteThings. Pinned and shared. Have a lovely week. I hope to see you at next week’s party too! Happy Holiday!
Julie,
What a great idea, so much fun. Congratulations you are being featured at Thursday Favorite Things. I hope you stop by.
https://www.eclecticredbarn.com/2019/12/thursday-favorite-things_18.html
Hugs,
Bev
Thanks for the feature, Bev… Have a blessed Christmas!
I love these, Julie! They are so cute and clever. Wishing you and your family a beautiful holiday season! Merry Christmas!
Thank you, Lynne! Have a wonderful New Year!
They are really beautiful, what a gorgeous little gift these would make. I actually have a box of these magnets in our garage that I bought by mistake a few years ago!
Oh… sounds like some diy stocking stuffers may be in your near future, Julie! 😉
This is such an amazing idea! I love it!
Thanks so much, Adele! Off to visit your blog! Hope you’ll share at Tuesday Turn About here this week!
I love these Julie! What a great gift idea.
I was really surprised at how much my family loved them! Great stocking stuffers!
Thanks, Julie! I’m not going to do exactly this, but it got my wheels turning with another idea for gifts for my grand kids with magnets.
Inspiration is what blogs are all about, right, Mairlyn? Have fun!