
DIY Plush Chunky Yarn Christmas Wreath
Christmas is coming! And I have a sleigh load of projects to share with you, and today’s gift is an easy update! Let’s learn how to make a DIY plush chunky yarn Christmas wreath.
DIY PLUSH CHUNKY YARN CHRISTMAS WREATH
Do you remember, a couple of years ago, I shared with you how to make a frosty velvet Christmas wreath?
Well, that wreath has been a fave of mine, but this year, I wanted to give it a bit of an update.
You know, make it a bit more fluffy… kind of like a puff of snow on the door, but still have the velvet ‘style’.
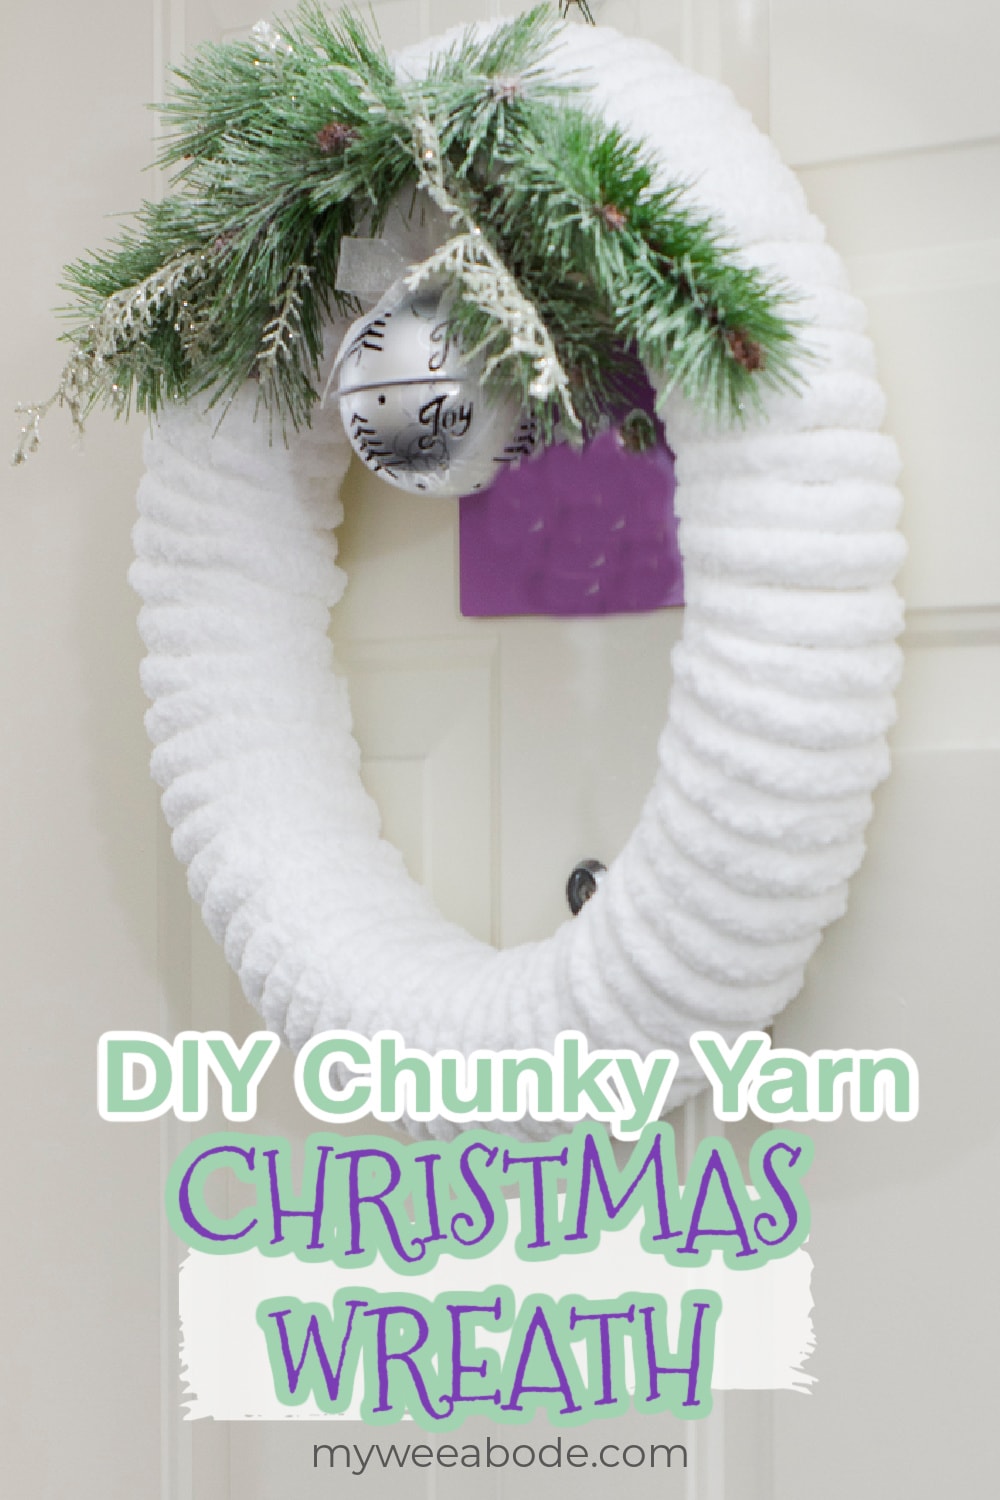
Well, I found some plush chunky chenille yarn that added the effect of a snowy door hanging, yet still gave it the luxurious look of a velvet wreath!
Would you like to add this snowy wintery wreath to your home this year? It’s SUPER easy… let me show you how!
This post may contain affiliate links, at no additional cost to you. For more information, see my complete disclosure HERE.
What You Will Need for a DIY Plush Chunky Yarn Christmas Wreath
You’ll need the exact same things for this plush chunky yarn wreath that we used for the frosty velvet Christmas wreath, except for ONE little change!
You will use chunky chenille yarn in place of the velvet!
- Round styrofoam wreath form (size depends on where you are using this… I used a 16″ form for mine)
- (Optional) White acrylic paint and paintbrush (This is only if you use a green form as I did. I love my fave acrylics by Colorshot)
- 1 skein of chunky chenille yarn (you’ll have enough leftover for another project) You can purchase online at Walmart, Michael’s, or even Amazon. I used white, but you can use any color you like! (I’m thinking a muted red would be lovely!)
- Faux pine greenery (I used some with a little sparkle)
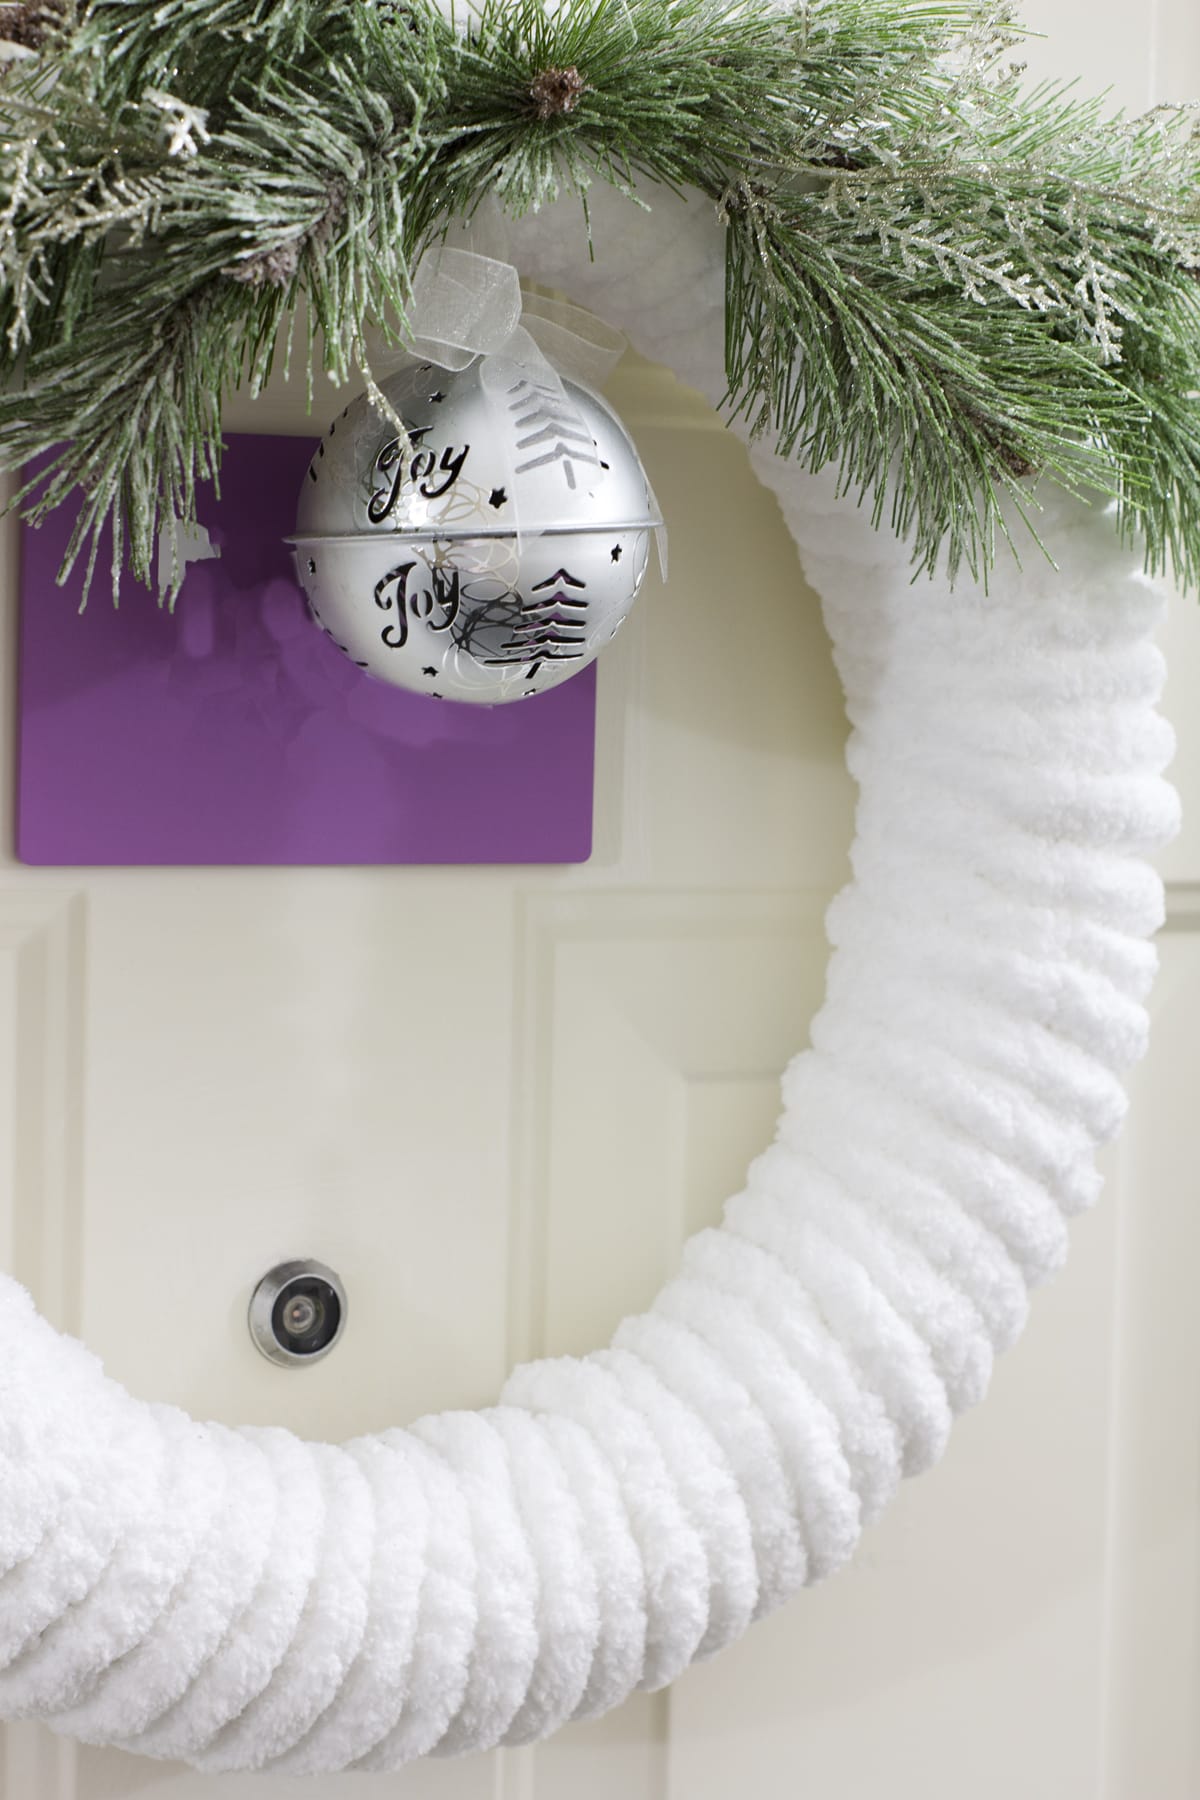
- Large jingle bell (or any embellishment/ornament you like… mine came from Hobby Lobby and is about 4-inches across) There are six in this package, but I use them on my tree, too!
- Glue gun and my fave gluesticks
- Tacky Glue (optional… I just used hot glue for the whole project)
How to Update a DIY Plush Chunky Yarn Christmas Wreath
So, I’m going to show you how I updated my frosty velvet wreath, but if you start from scratch, it’s the same thing… you just won’t need to cut any embellishments off. Read on to ‘get my snow drift’.
This is what I started out with:
And here’s what you can do to update or create your own plush yarn wreath.
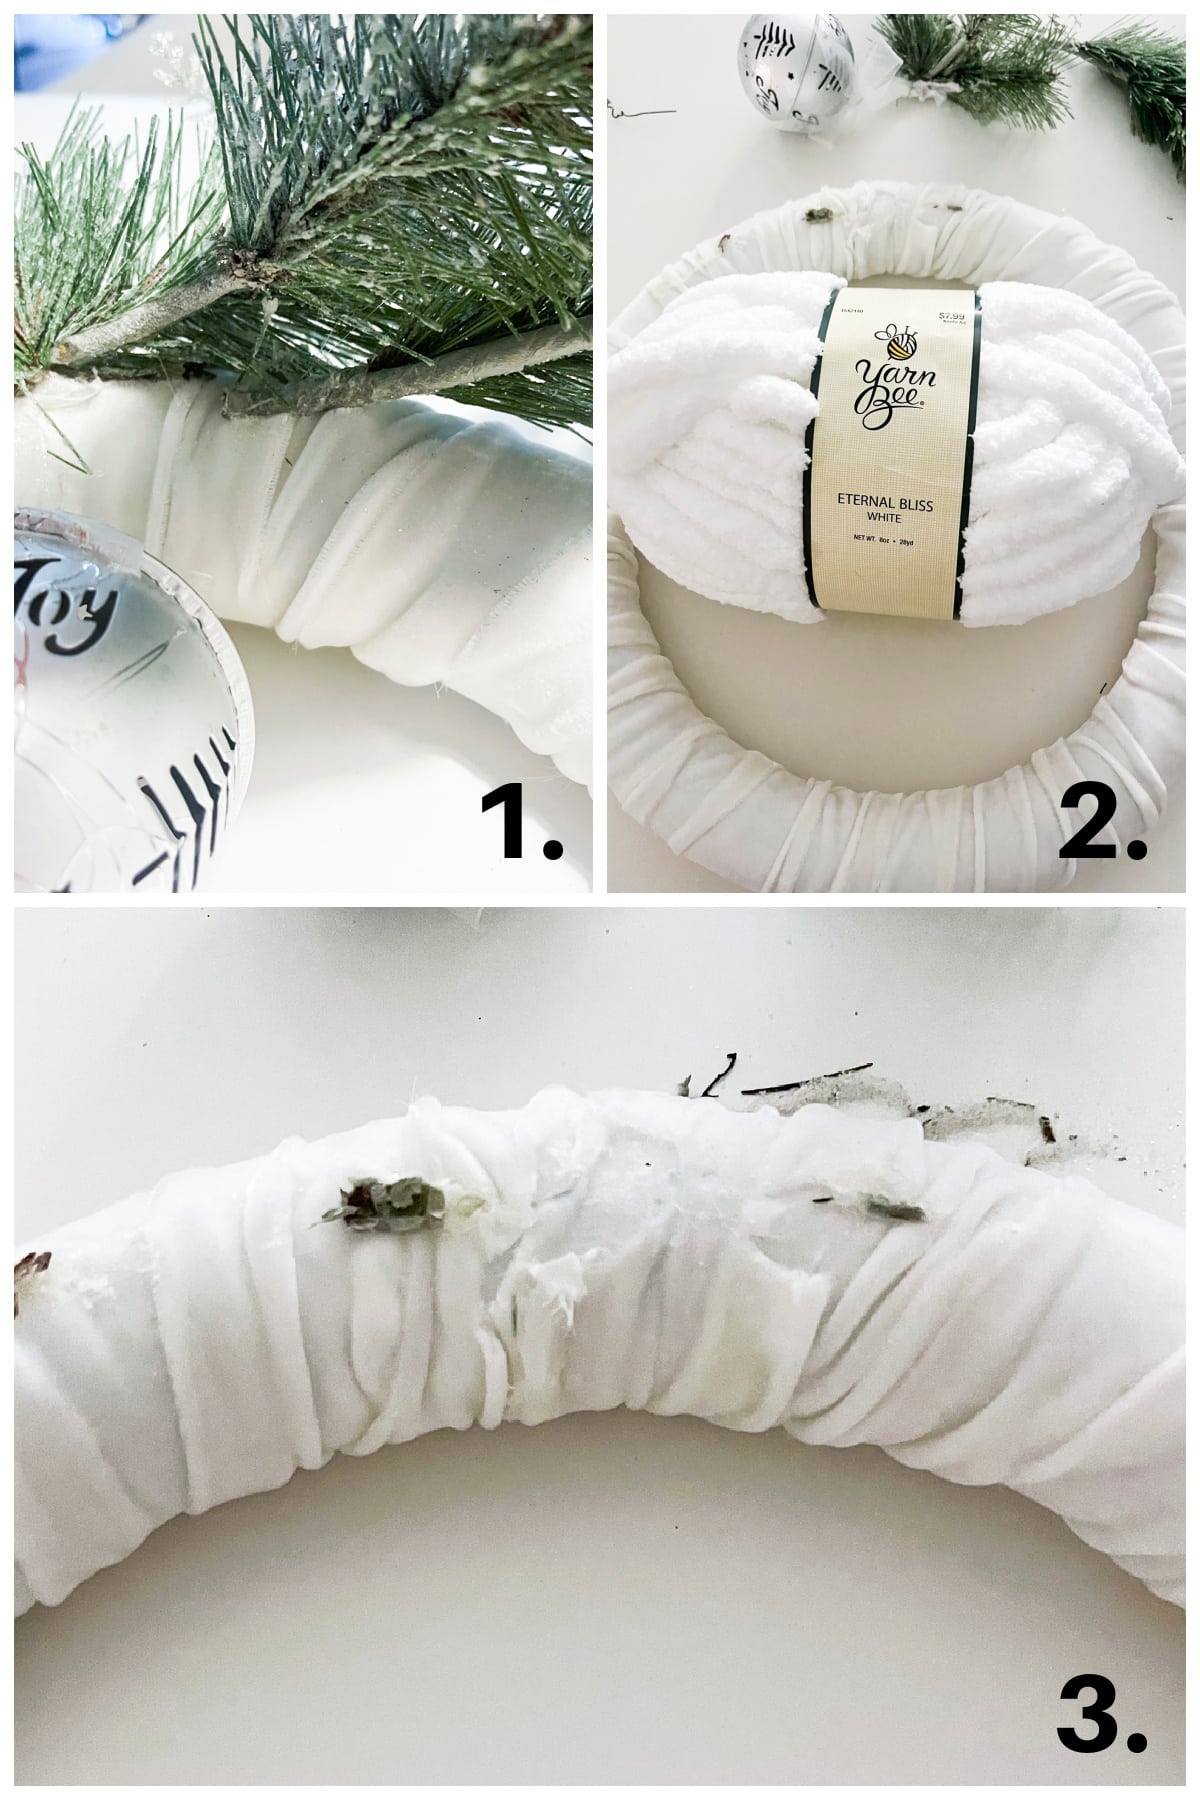
- First, if you are doing an update, cut off the embellishments. (Image 1-3)
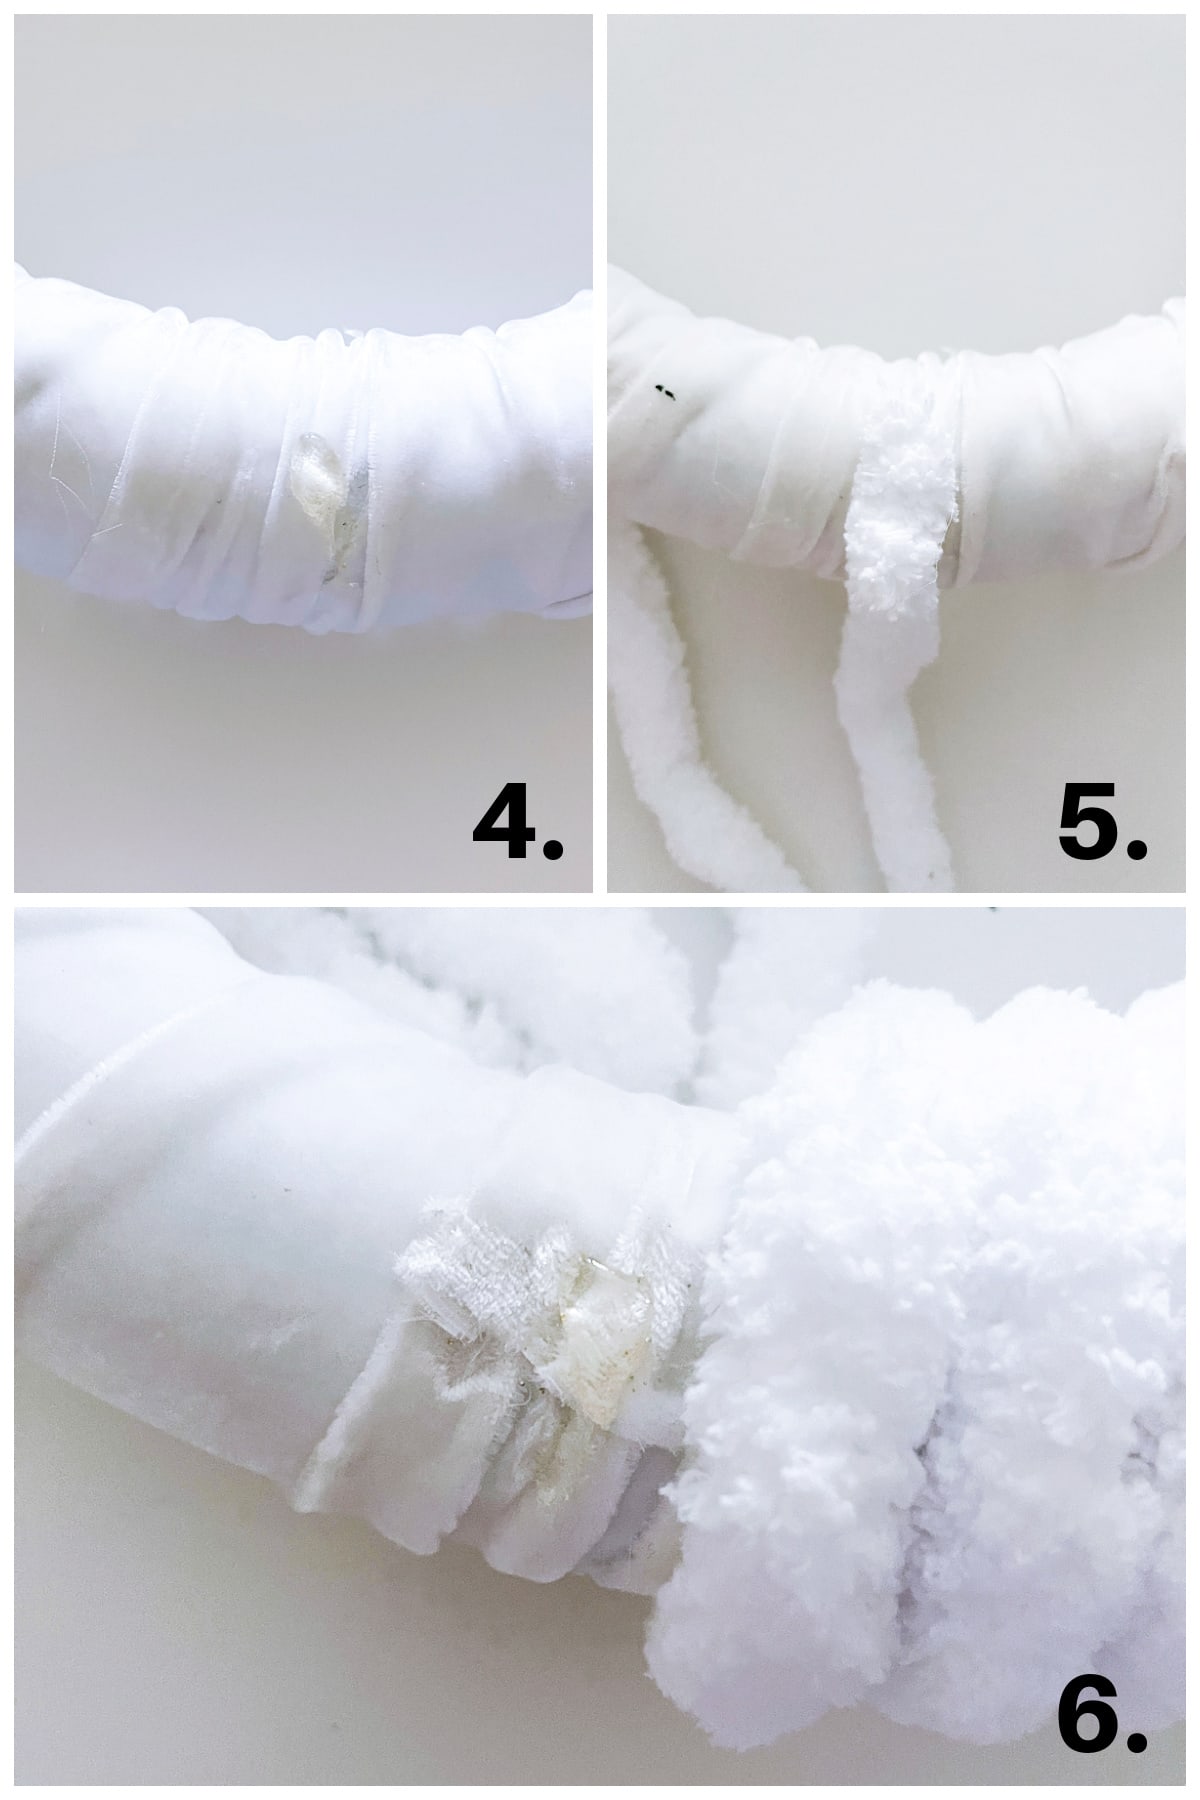
- Add a dollop of hot glue to the back of the wreath (I made the yucky cutoff part the ‘new’ back) and press the end of the yarn into the glue. Be careful… don’t burn your fingies! (Image 4-5)
- Continue to wrap the yarn around the wreath, adding hot glue at about every fourth wrap-around. (Image 6) The wrapping is a little tricky because you have to put the whole skein of yarn through the wreath form for each wrap or it will get twisted (unless I missed a trick! Wouldn’t be the first time!).
DIY Tip:
When wrapping the yarn around the foam circle, be sure you are wrapping the yarn snug (but not tight). Also, wrap the rows of yarn closely together. Gaps are not good!
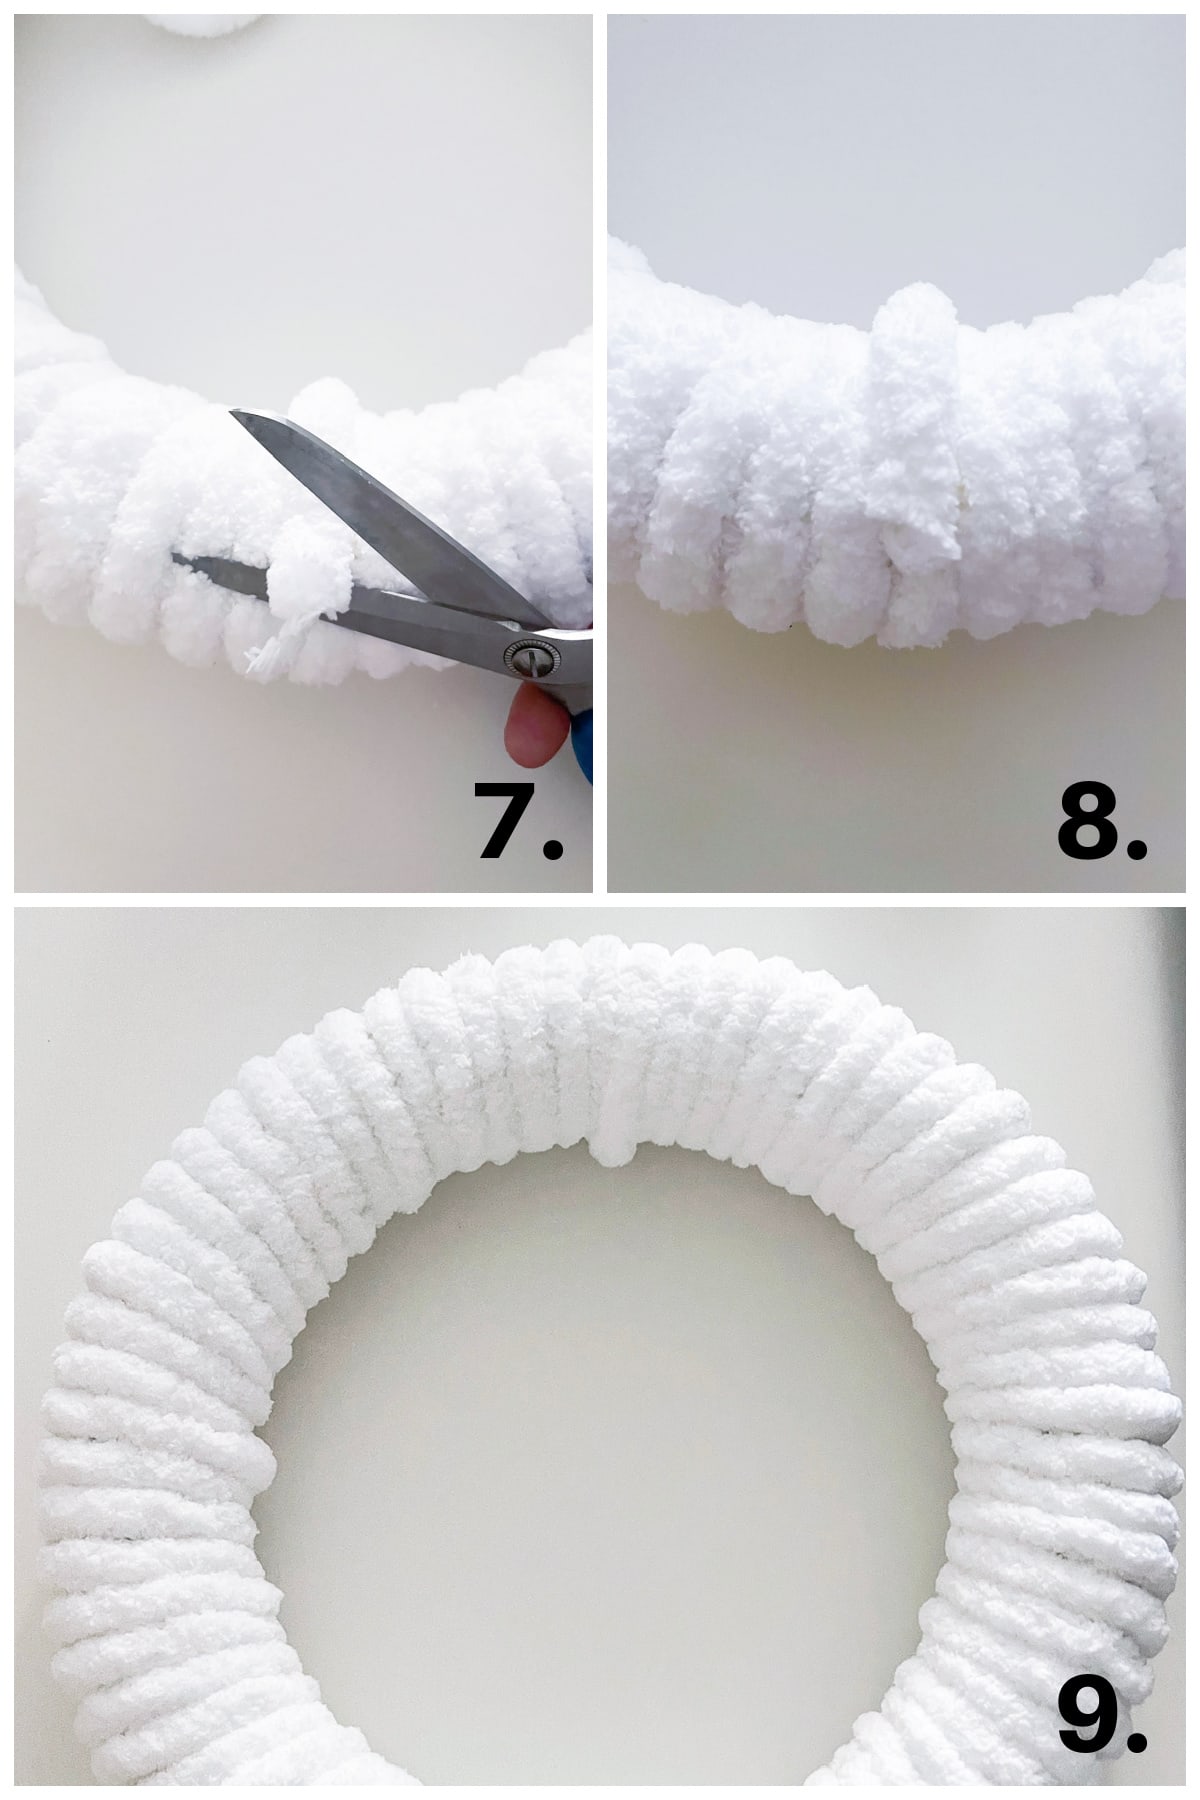
- When you come to the end, simply add another dollop of glue to the back of the wreath, press your yarn in, and cut it off. (Image 7-8)
- And now you have the covered form, and you’re ready for embellishments! (Image 9)
Add Embellishments to Your DIY Plush Chunky Yarn Christmas Wreath
Now, instead of boring you with how to re-add the embellishments, or simply add them for the first time, I’m gonna let you hop on over to the Frosty Velvet Christmas Wreath tutorial…
Just scroll down to the heading Time for Embellishment to see the simple steps to adding the sparkly pines and jingle bell to your snowy Christmas wreath.
Hang Your DIY Plush Chunky Yarn Christmas Wreath
Now you can hang your finished product!
There are so many places to hang a lovely DIY Christmas wreath:
- The most obvious place… greet your guests (and even yourself) by placing this on your front door.
- Hang this over a large mirror. Don’t you just love how a wreath looks hung on a mirror?
- These are so affordable, you can make TWO and place these chunky chenille yarn Christmas wreaths on either side of your TV!
- You can even place this in the middle of cabinet doors. I’ve seen this done, and it’s lovely!
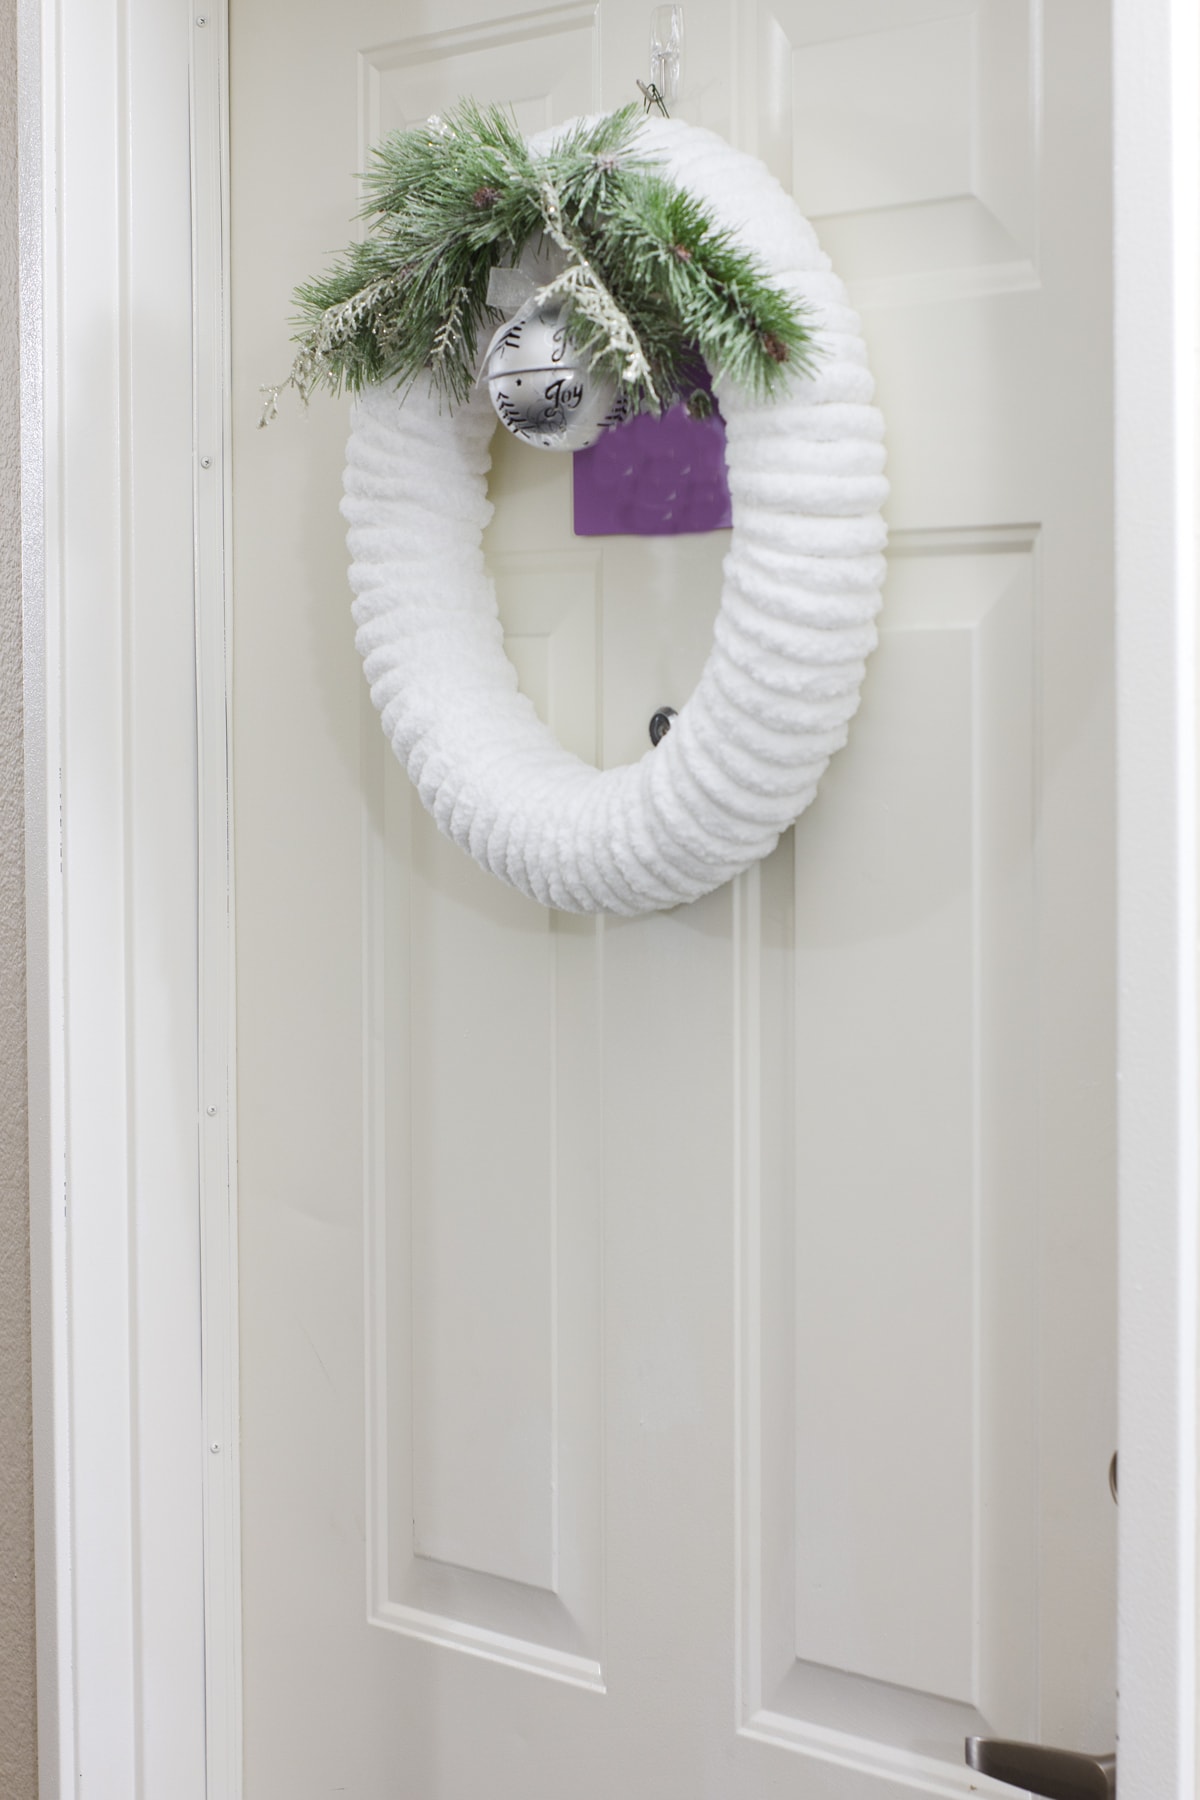
Here’s where I hung my wreath… although I’ve already taken it down because it’s just a wee bit too early to have it hung in the building hallway. 😉 However, my neighbor saw it inside My Wee Abode and she LOVED it…
I do, too!
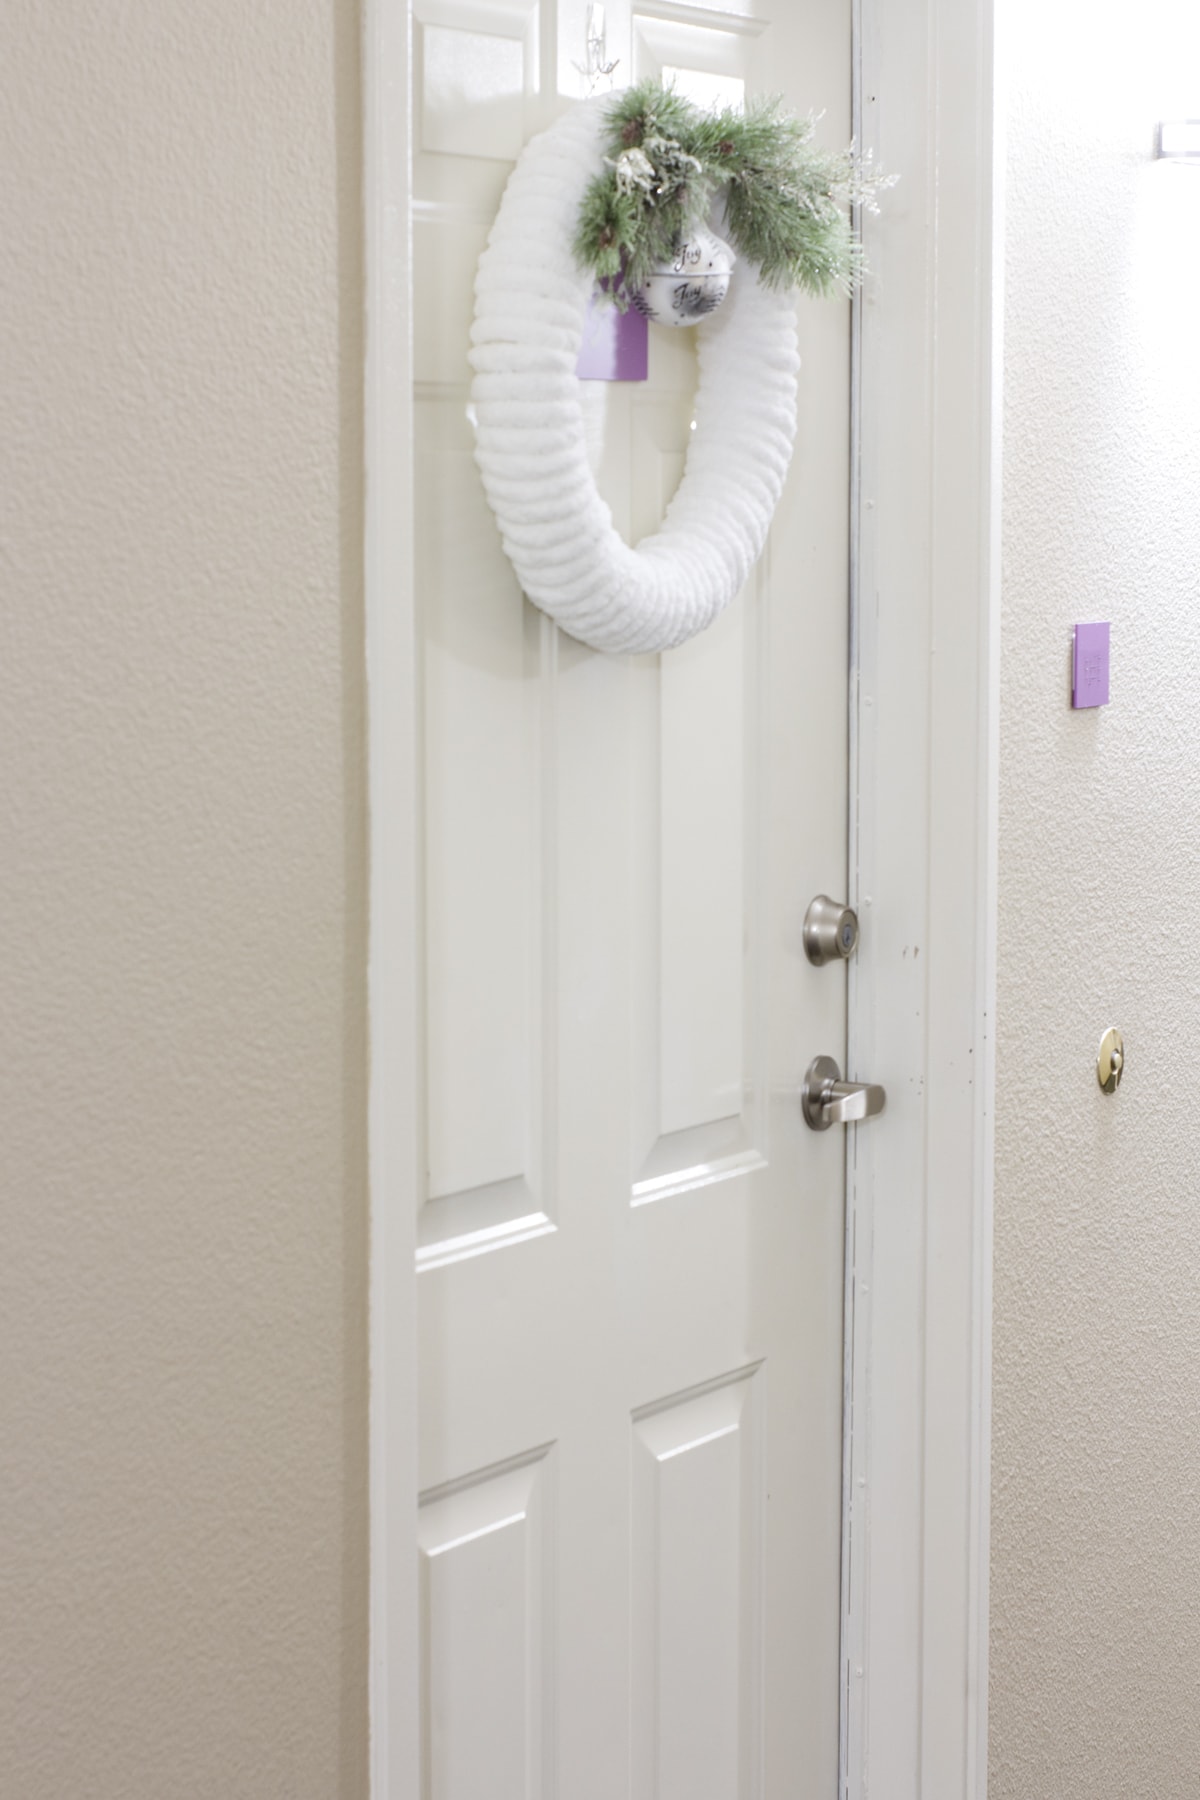
I had to hang it higher than my fall door tin because I couldn’t see out the peep hole with my fall door hanging. Hehe!
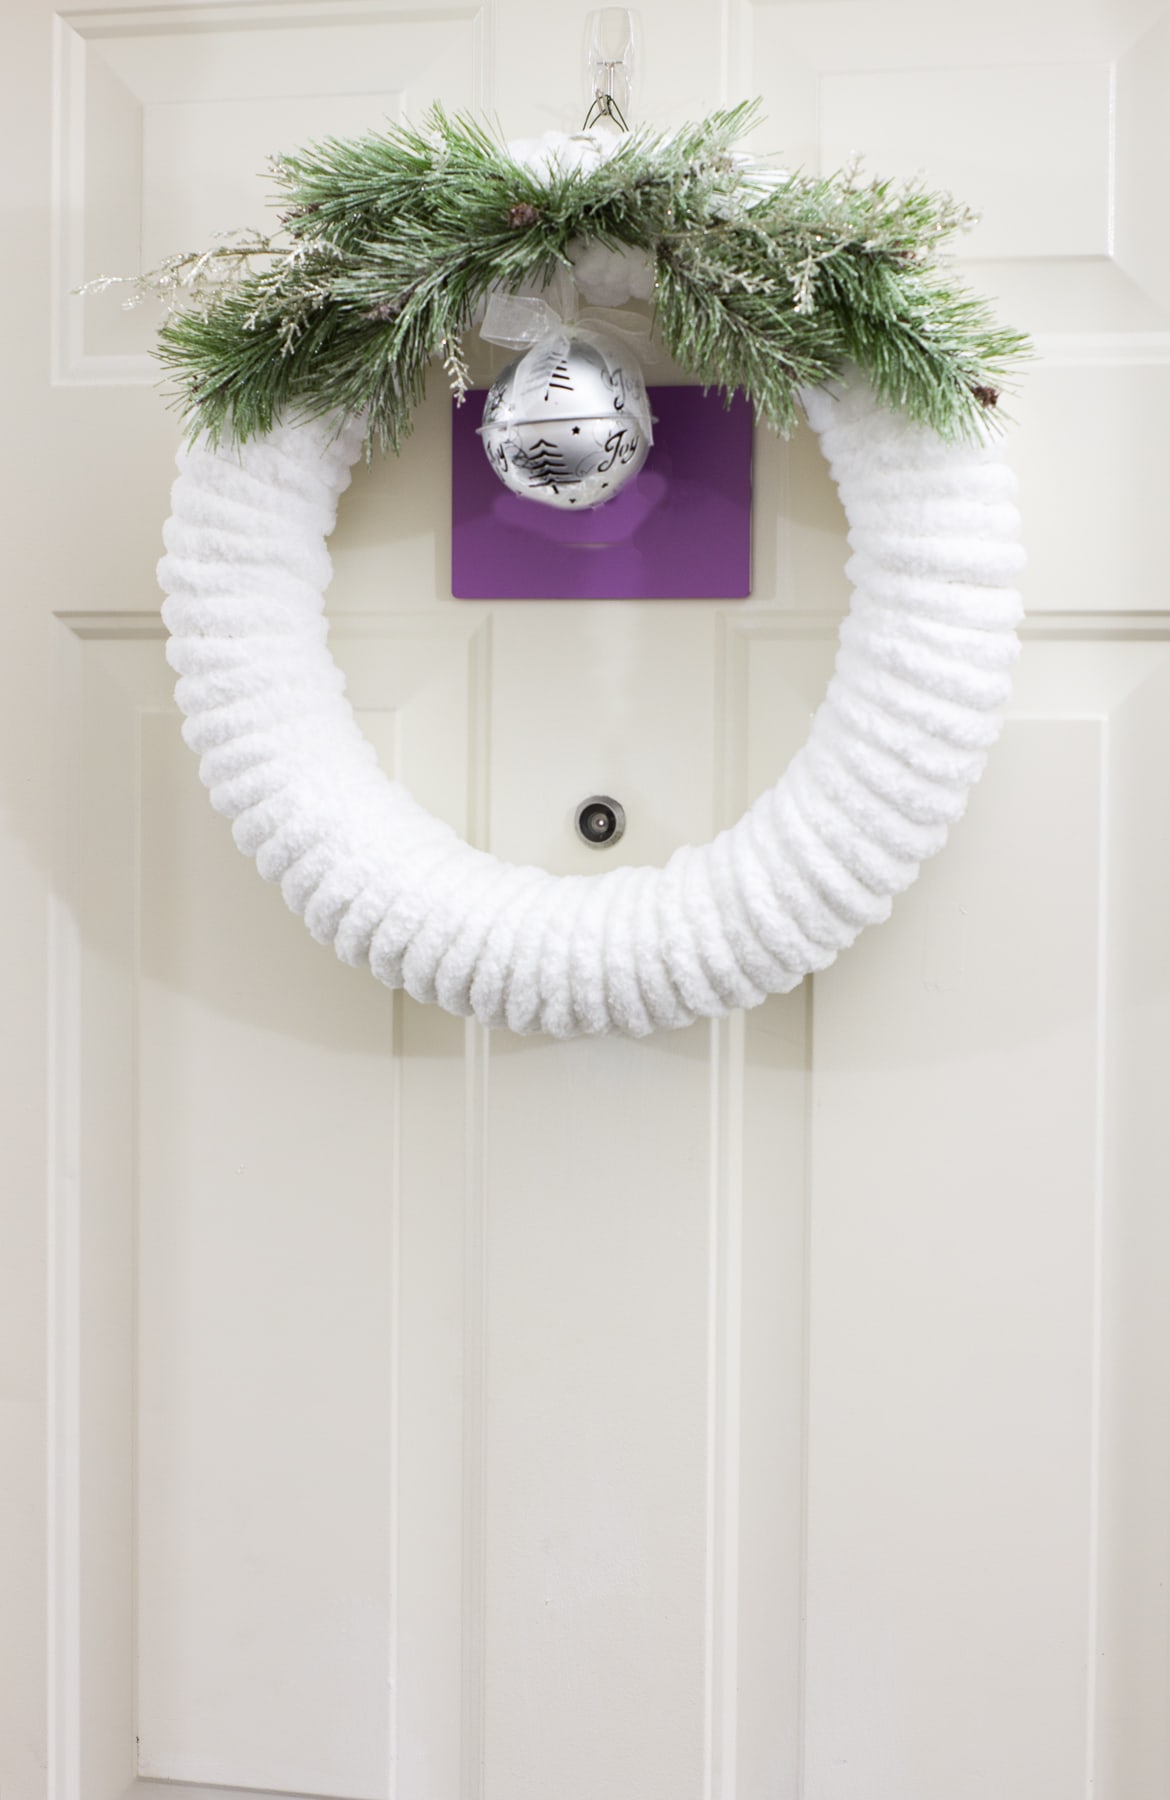
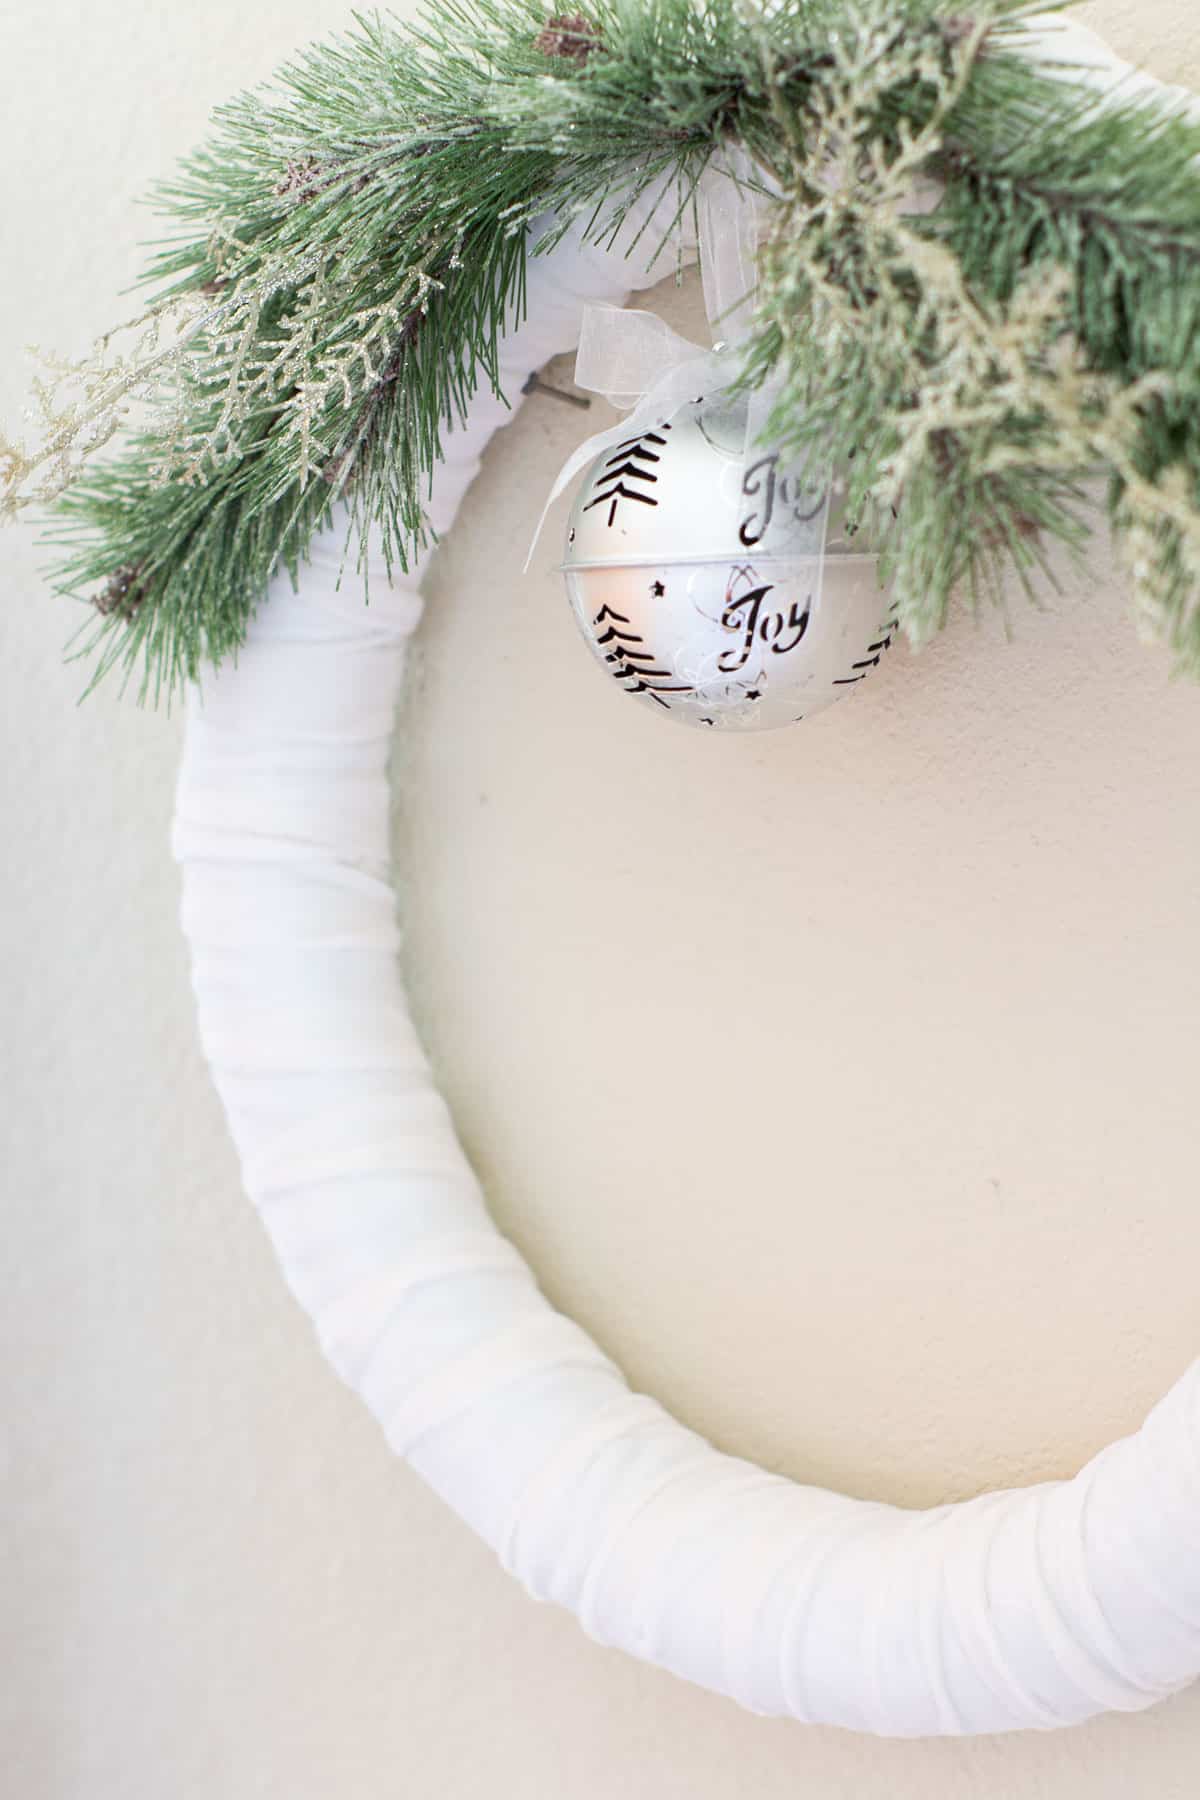
The snowy fluff on the door looks so wintery and Christmas-y. And the jingle bell is a lovely musical greeting!
Where will you hang your DIY plush chunky yarn wreath? Will you do yours in white or another color, like green or red?
BTW, if you’re looking to create more projects with yarn, check-out this guide for best knitting machines.
Let me know in the comments if you like this new updated chunky chenille yarn Christmas wreath, or did you like the velvet version more?


I like them both but you did a great job of covering the old wreath with the yarn. Lovely idea so I need to go shopping & get to work.
Oooo, let me know if you make a wreath, Fernie… and email me a photo!
Super cute idea Julie! Looks great on your door.-Meagan
Except for that dang purple plaque! Sometimes living in an apartment is challenging for good photos!
Julie your yarn wreath looks so soft and it turned out beautiful! Pinning 🙂
Tanya
Thanks so much, Tanya!
What a lovely wreath and relatively simple to make while looking very chic and high end. I happen to have a skein of this white chunky yarn I didn’t use last year and so am prepared to get busy on this idea soon.
BTW–thanks for explaining about the purple on the door as I kept scrolling up and down trying to see just what part of the directions I missed…LOL!
Thanks for sharing this holiday craft.
Ugh… those purple plaques are one of my ‘apartment nemesis’. I think I may cover and retake the images! I tried photoshopping it out, but it wasn’t easy. Let me know what you do with your yarn, Ellen!
So cute!! I LOVE That chunky yarn…it really beefs up that wreath and looks so pretty on your door!
Thanks, Rachel. I love that it looks like snow… at least to me!
Hi Julie!
Found you from a link on Lora Bloomquist’s Create and Ponder. Love your velvety yarn wreath! I noticed your purple apartment number doesn’t show. (Seriously, what were they thinking?) I don’t know what the “rules” are, but maybe just for the holidays you could cover the purple with a piece of white paper or cardstock. If your number is still supposed to be visible you could write it in a pretty snowy, silvery art pen or red or green or gold.
Happy Holidays to you!
Great minds think alike, Beth! I had already made plans to cover the purple plates for future posts! (Might even update the photos for this post!) Thanks for the tip, and for dropping in and commenting. Hope to ‘see’ more of you here at MWA!
Hi Julie- This is a cute idea. It’s amazing how much “yarns” have evolved in the past several years. I love using chunky yarns for projects too. This wreath is charming on your door. Thank you for sharing this link in the Home Imagined Link Party.
I know! I had no idea about the yarn, until I went for another velvet type yarn and found all kinds! More to come!
Hi, Julie… I love your white, cozy winter wreath project!… Thanks so much for sharing it in this week’s Wonderful Wednesday Blog Hop… Truly a standout feature!…
… Denise ✨😎✨
Aw, thanks, Denise! Kind of you to drop in. 🙂
What a great wreath, love the plush white of the yarn.
Thank you for linking to SSPS 390. See you again on Monday
Thanks, Esme! Have a great weekend!
Dear Julie
Congratulations, your post will be featured at SSPS 391, see you Monday. Thanks for sharing.