How to Make A Frosty Velvet Christmas Wreath
Want to add some sparkle and softness to your seasonal decor? Let’s learn how to make a frosty velvet Christmas wreath that can double as a winter wreath! You might be surprised just how easy it is to make a DIY velvet Christmas wreath.
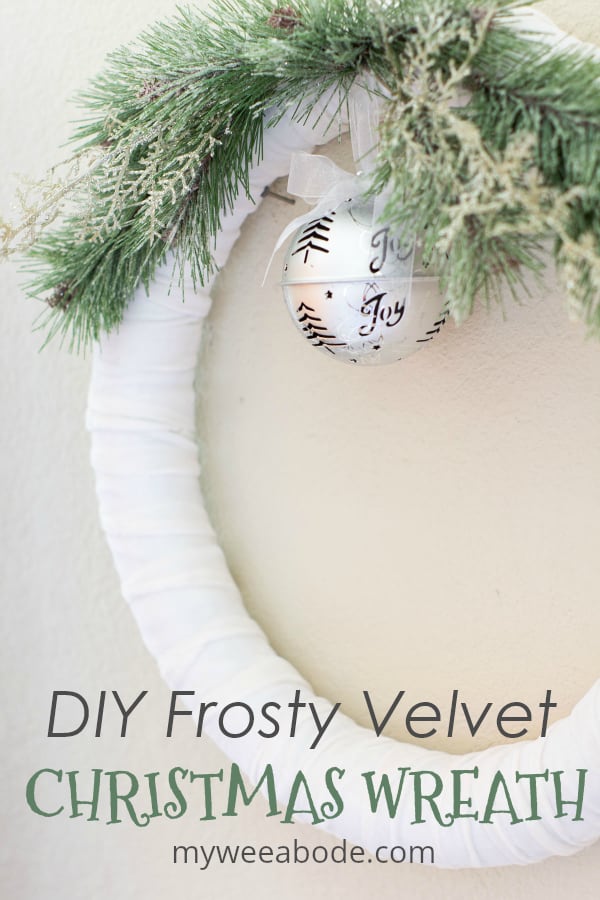
HOW TO MAKE A FROSTY VELVET CHRISTMAS WREATH
Are you preparing your home for Christmas?
Thinking about adding a little sumpin’-sumpin’ special for your winter decor?
Well, if you’ve been around My Wee Abode for any amount of time, you know I love “understated” velvet decor.
I don’t mean Elvis on black velvet… or even a red rose painted on a velvet canvas.
However, gimme some DIY velvet pumpkins that look just like the pros, and I’m a happy lady! (I actually was approached by the owner of the leading velvet pumpkin company asking if I would tag her pumpkins that I was using in my posts. She was quite surprised to find out they were my DIY pumpkins)!
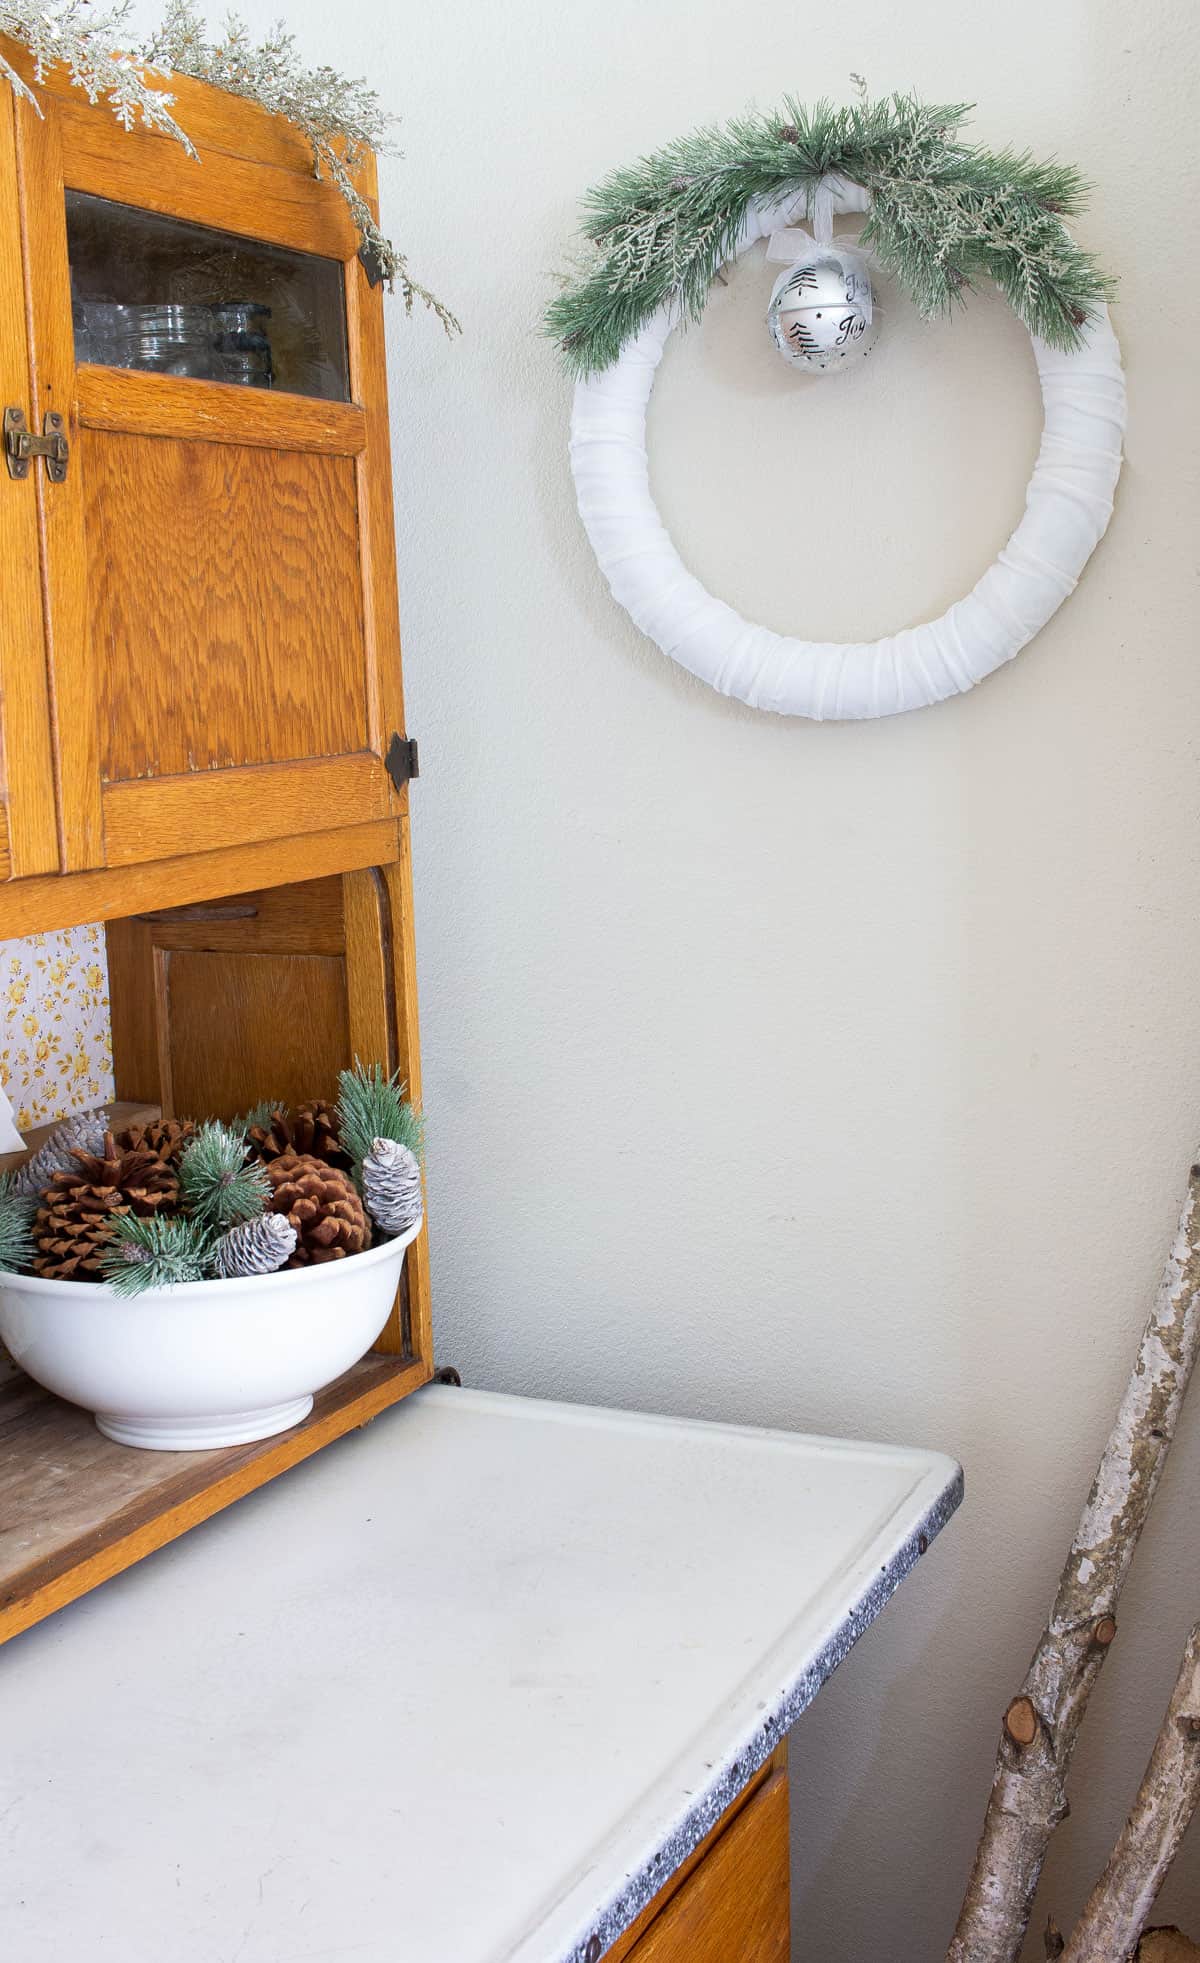
And, if you visited my recent frosty minty home tour, you may have spotted my velvet-y Christmas wreath that was next to my baker’s cabinet.
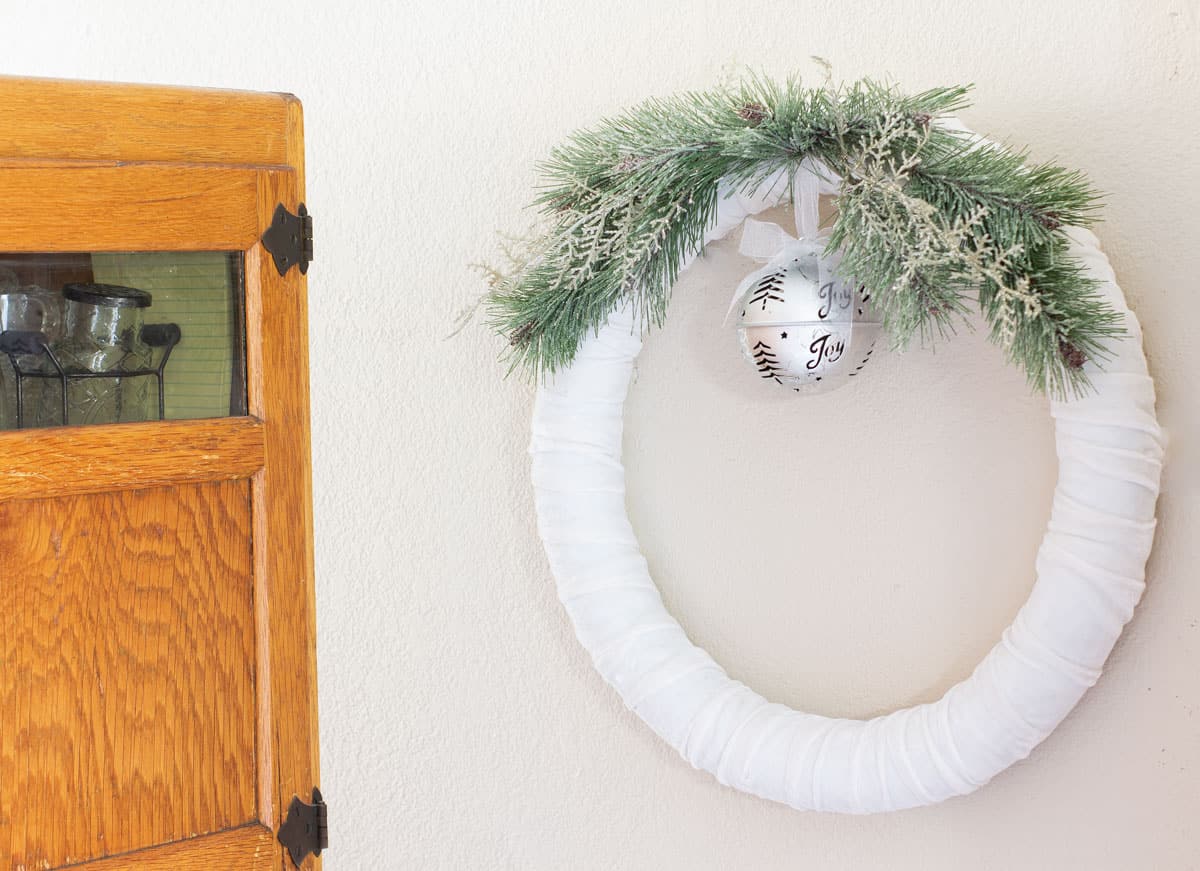
Today, I thought it would be fun to do a quick tutorial to show you how easy it is to make this soft velvet Christmas wreath with sparkly greenery and a pretty jingle bell! And I love that this decor can be used as a velvet WINTER wreath, too!
This post may contain affiliate links, at no additional cost to you. For more information, see my complete disclosure HERE.
What You’ll Need
To make a velvet Christmas wreath, you don’t really need much:
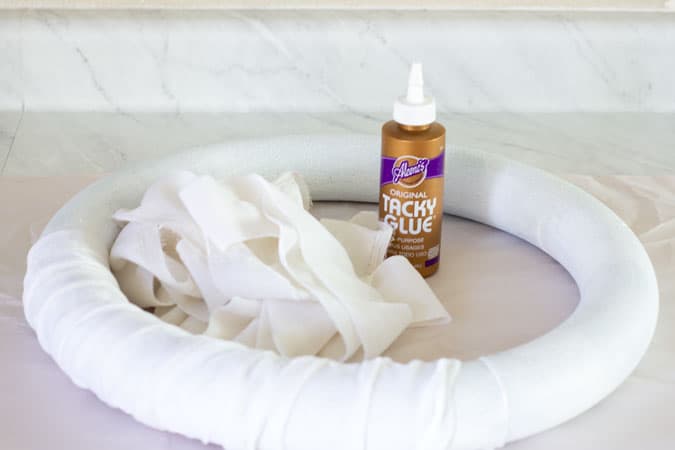
- Round styrofoam wreath form (size depends on where you are using this… I used a 16″ form for mine)
- (Optional) White acrylic paint and paintbrush ( This is only if you use a green form as I did. I love my fave acrylics by Colorshot)
- 1/2 yard of velvet fabric… you can use silk velvet from Prism Silks (like I did with this one), however, you can use stretch velvet from New Fabrics or Amazon
- Faux pine greenery (I used some with a little sparkle)
- Large jingle bell (or any embellishment/ornament you like… mine came from Hobby Lobby and is about 4-inches across)
- Glue gun and my fave gluesticks
- Tacky Glue
How to Make a Frosty Velvet Christmas Wreath
This Christmas wreath takes about 30 minutes to create and is quite easy to make.
Start with the Velvet
- Cut your fabric into 2-inch strips.
- If you have a green styrofoam form, you can paint it with white acrylic paint, but choosing a white form makes things even easier.
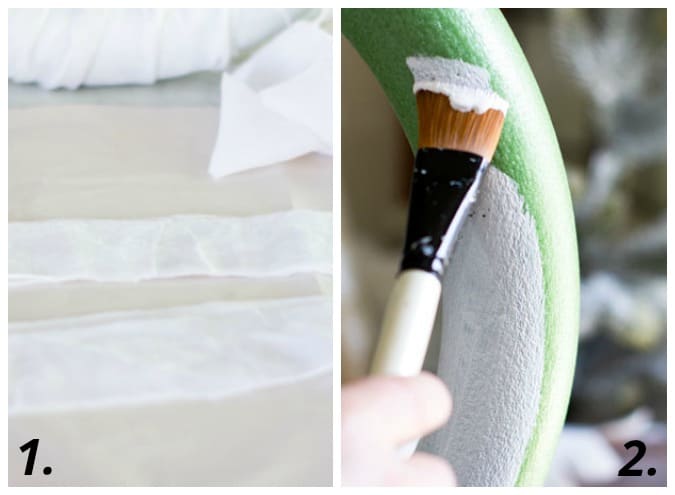
- Add a ‘stripe’ of Tacky Glue to your wreath and then press the end of a strip of fabric to the foam. This dries super fast and makes it easy to continue adding fabric.
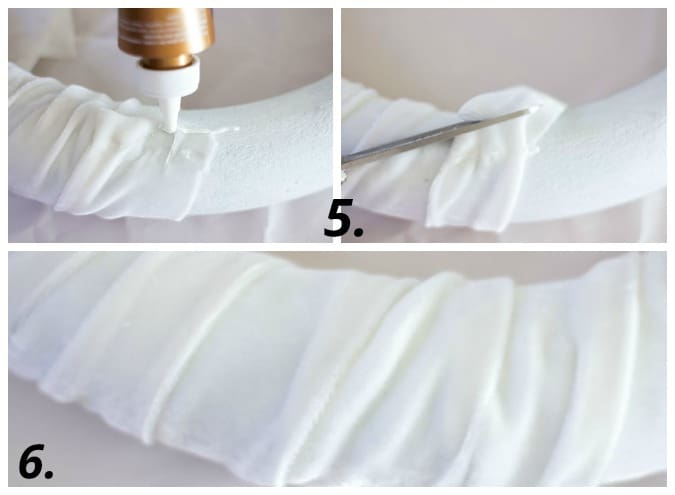
- While wrapping the fabric around the wreath, fold under the edge that will show, and let folds and gathers happen (or MAKE them happen).
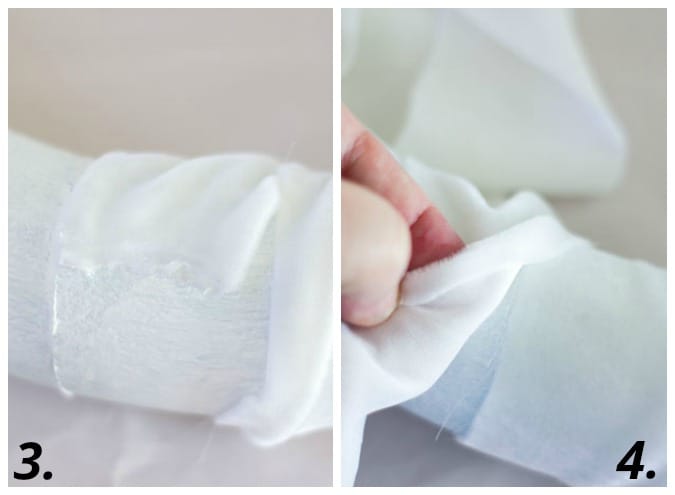
- As you come to the end of a piece of fabric, make sure you are on the back of your wreath, add another stripe of glue, and press your velvet into the glue. You may have some fabric leftover… just cut it off.
- Continue wrapping your strips of fabric and gluing around the wreath until it is covered.
Time for the Embellishment
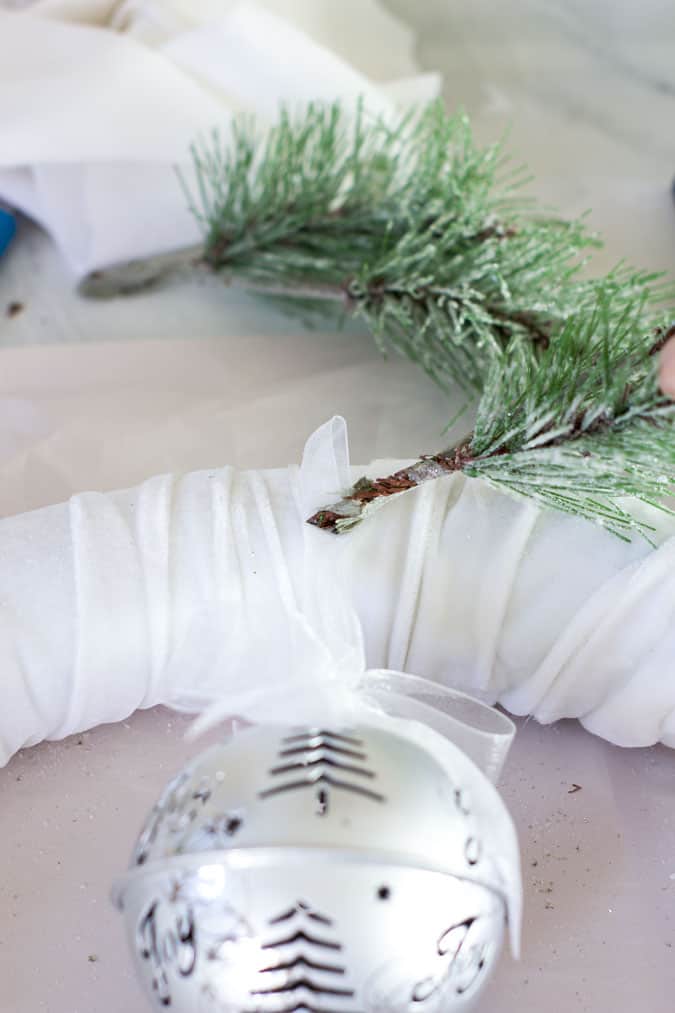
Using your glue gun, add your embellishment. With a jingle bell, be sure it’s hanging the way you want before gluing.
Add Your Greenery
Now add your greenery using your glue gun.
Add a little or a lot… I actually started with just a bit at the top, took some photos, and realized I needed more!
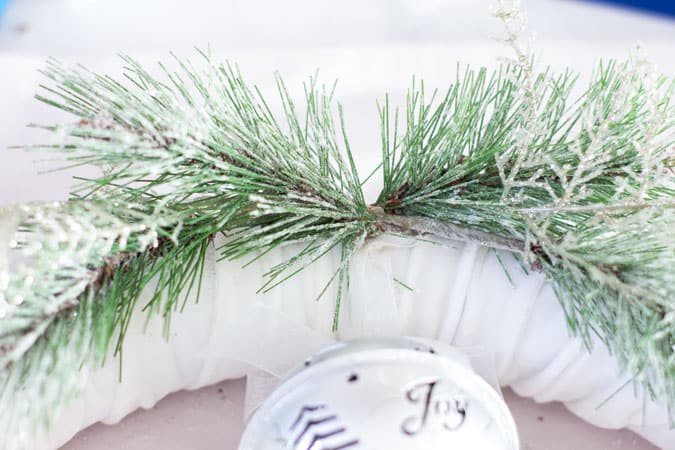
Add even more sparkle with a sprig of something shiny! It’s really up to you how much to add, and what YOU want it too look like.
Go minimalist, farmhouse, cottage, or over-the-top festive!
Your Finished Frosty Velvet Christmas Wreath
Now, hang you frosty velvet wreath in your favorite spot!
This is next to my baker’s cabinet (that has a makeover planned in the future)…
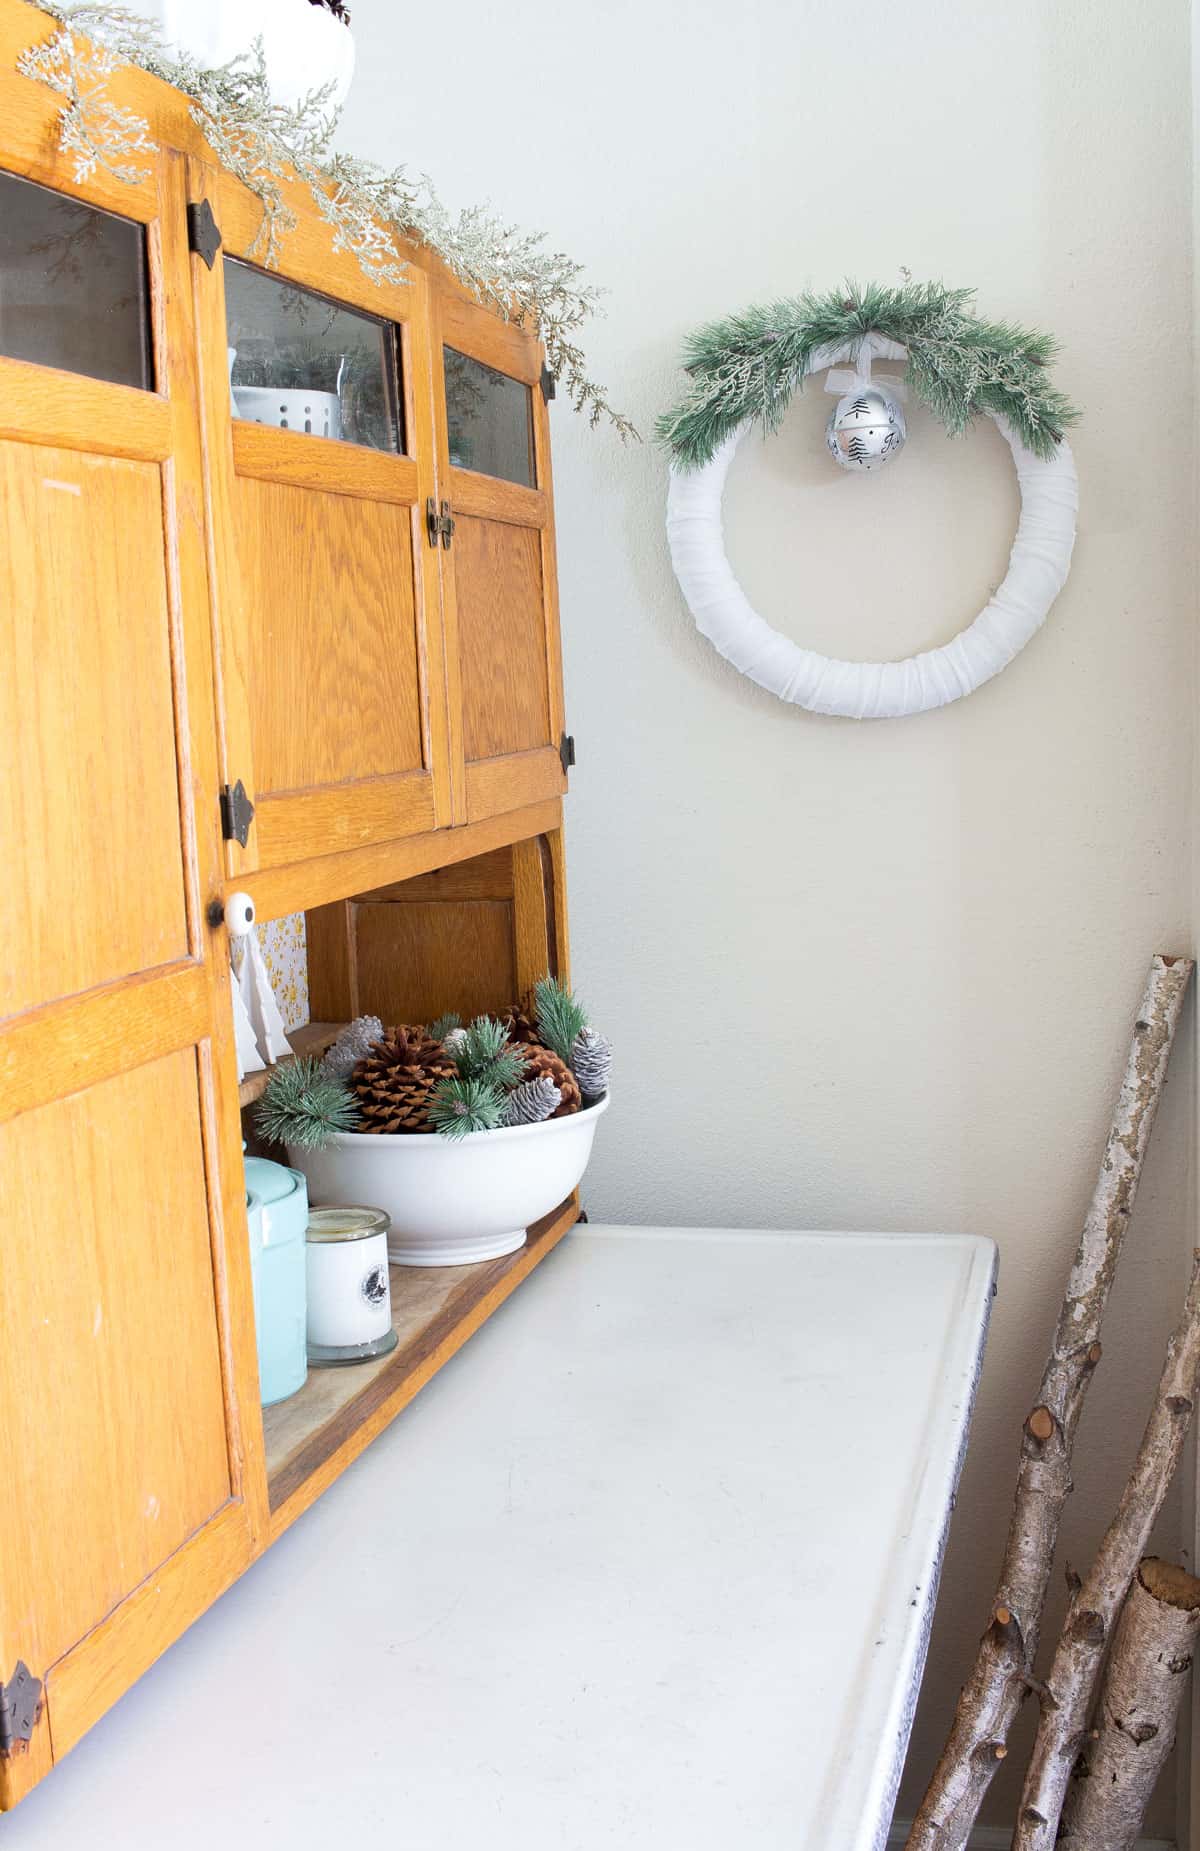
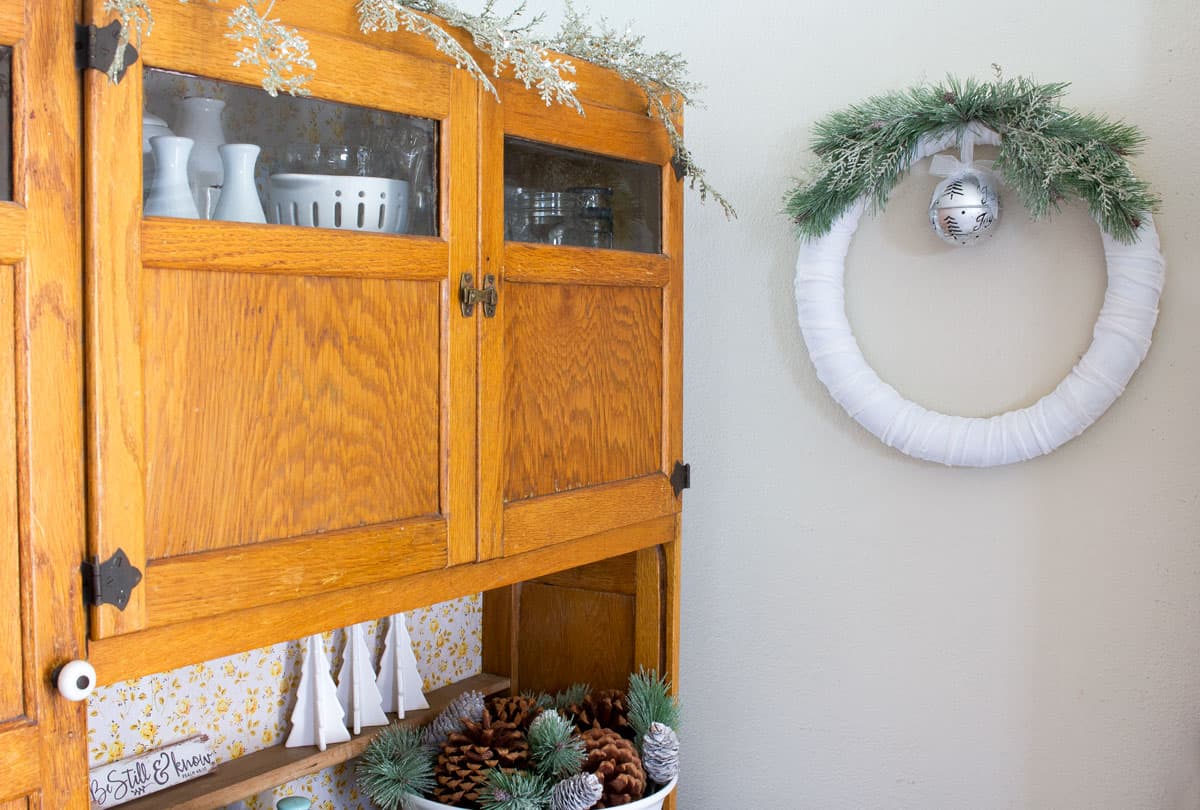
But you can add it to:
- a door
- a window
- the front of a cupboard
- above the mantel
- over a mirror
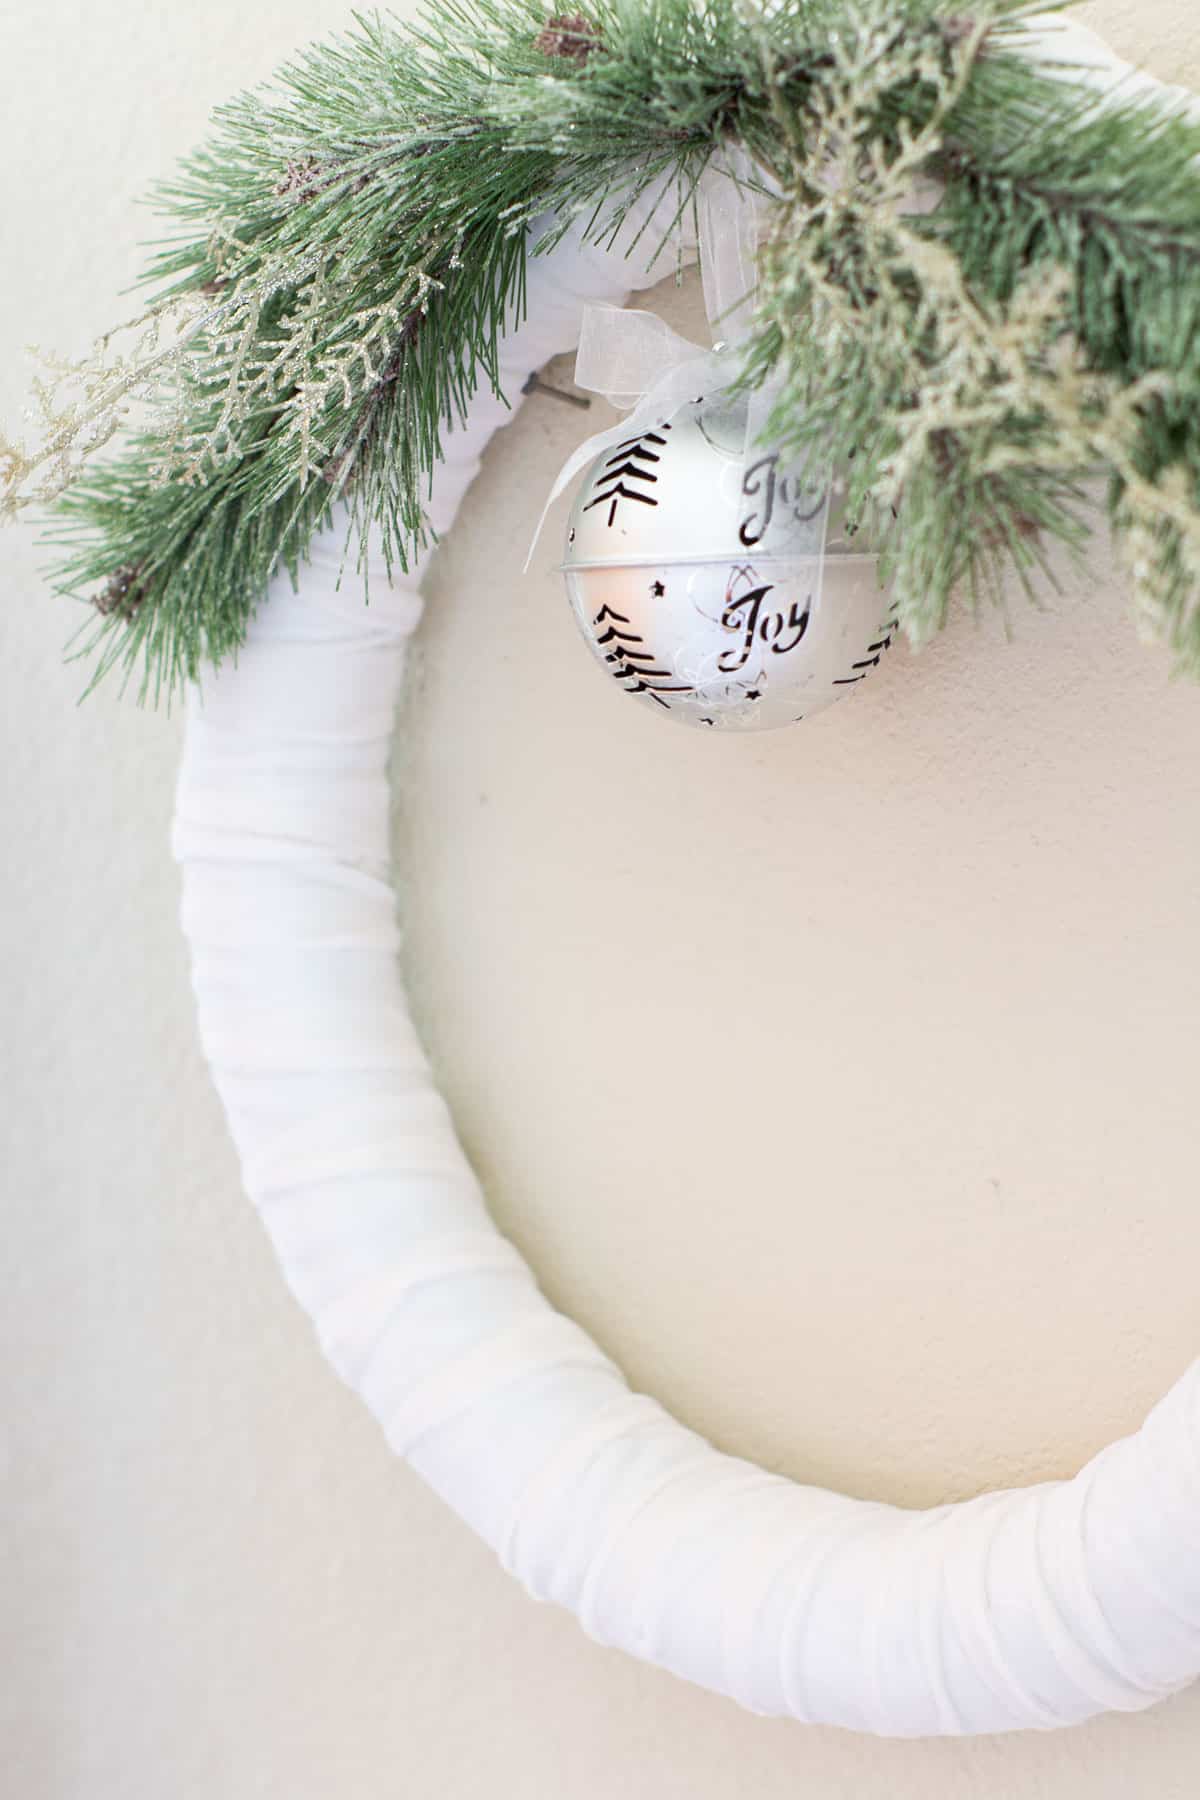
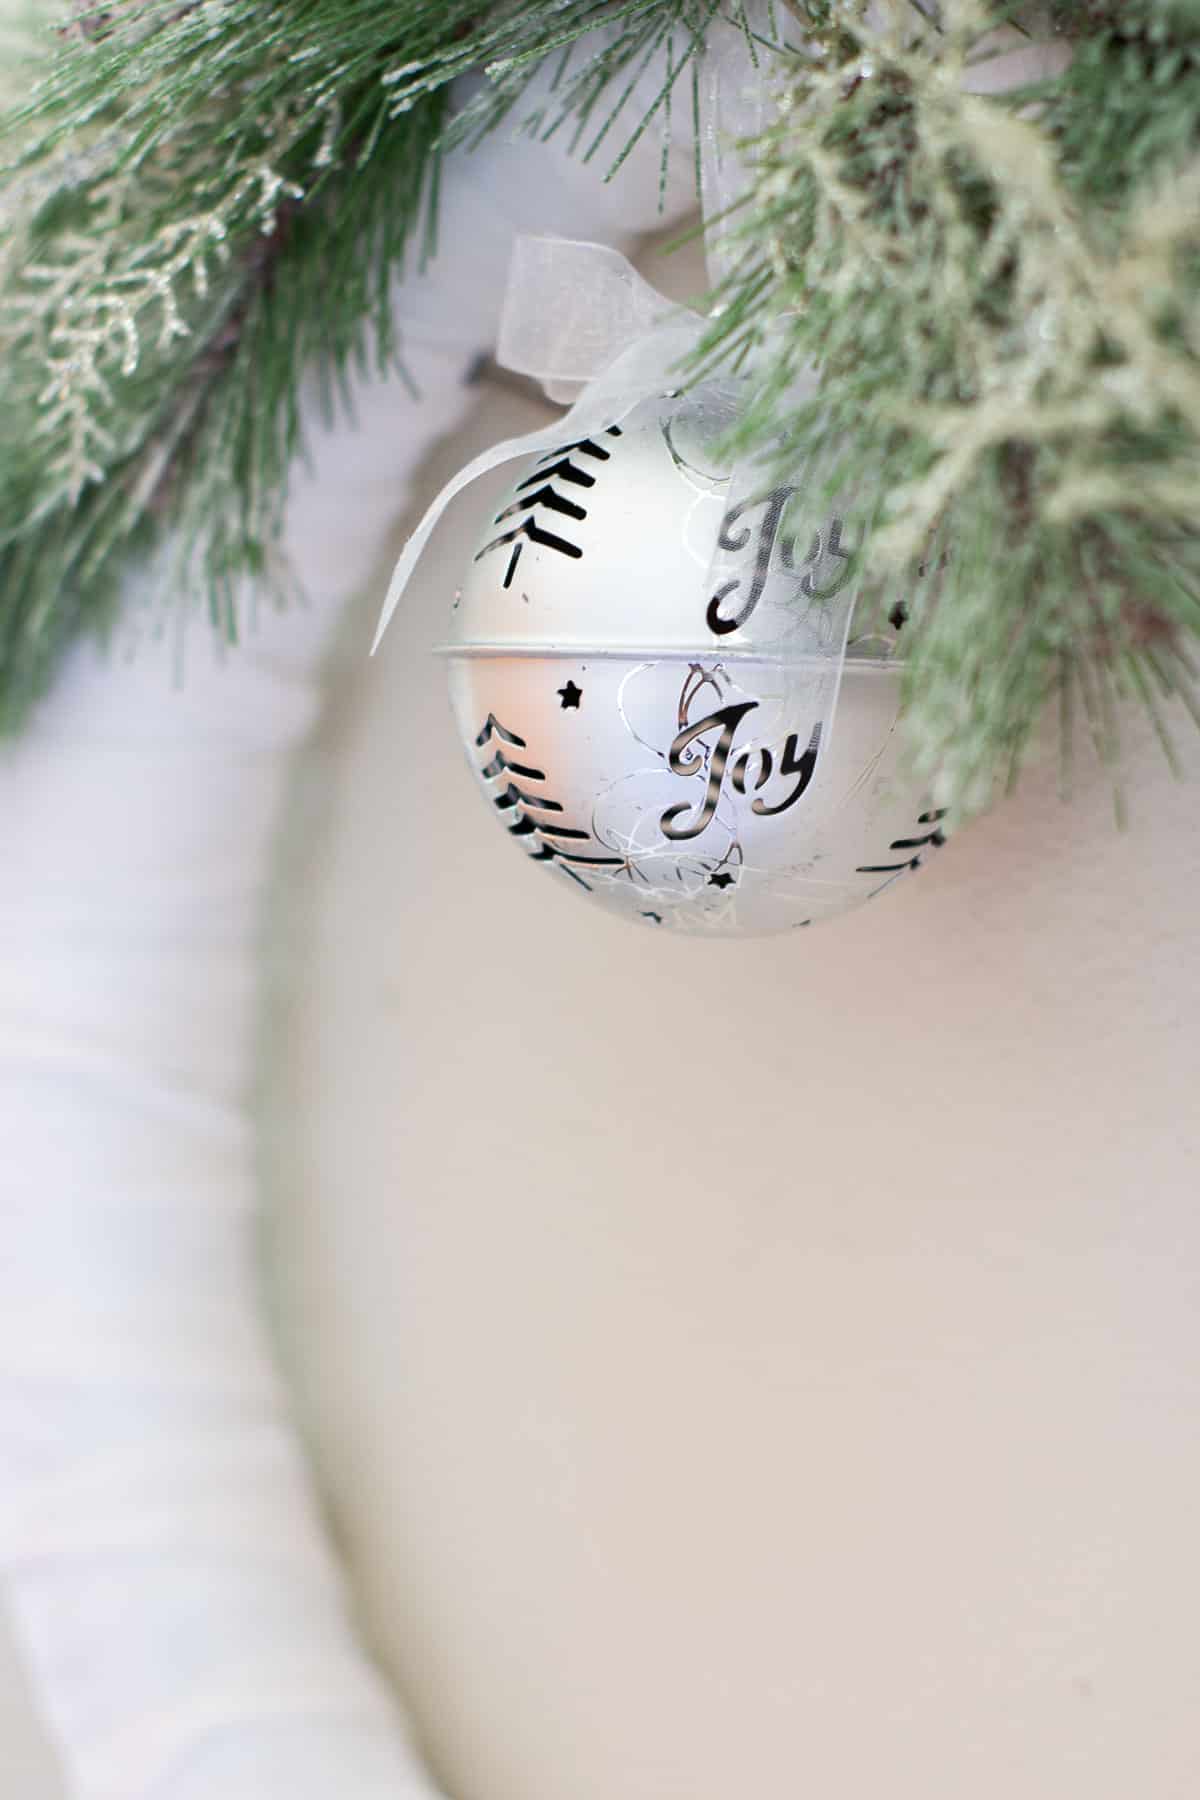
This jingle bell also showed up on my Winter Wonderland Christmas Tree!
Did you find this tutorial helpful? Is a velvet wreath in your seasonal decor future? I think this wreath would be pretty for any holiday, with different embellishments and faux stems! What do you think?





So pretty, Julie. I can see using this method with leftover fabric – I have so much. Love your sweet jingle bell too. The velvet definitely has a soft, snowy look.
Thanks, Carol. I like the softness that the velvet lends to it! Snowy is a perfect word for it!
That is beautiful!
Thanks, Joanne! I really love it, too!
It’s absolutely beautiful! You make it look so easy … I might have to give it a try! xo
Aw, thanks so much, Juliet! It really is super easy. Can’t really make a mistake!
Love the velvet and I think for Easter a Gold Egg would look great hanging from this wreath. I am already thinking how it will work for different holidays. How about a Rose for Mothers Day, flags for 4th of July. I need to get a wreath made!
You got the idea, Fernie! Send me pics when you have it (them) done!
I love the soft wintery look of your wreath! The addition of a jingle bell is so sweet! Perfect for hanging on our front door as I love the sound!
Oh, thanks so much, Christine! It’s so easy, and it really add some cozy to the room (or door!) 😉
Your wreath is beautiful, Julie! I love the gathers of the velvet and the pretty faux stems that you used along with the bell.
Thank you, my friend! It’s was fun to make and share! 😉
I am all about the simple this year and this is beautimous! Pinned. Merry Christmas
Thanks, Cindy! I appreciate your love and encouragement! (and Pin!)
Love this Julie! So simple but so elegant! All your decor this year was gorgeous and this fits in perfectly. Have a great weekend.
Oh, thank you so much, Denise!
Gorgeous!
Thank you, Peg!
Lovely, just lovely. I love the sound of jingle bells and leave my vinyl strap of bells on my front door knob all year long (I have no doorbell!). I immediately thought of a blush pink velvet (Is there such an animal?) with my favorite pink roses and ferny, airy greenery for spring. I did a wire wreath with green burlap ribbon and sunflowers and it just did NOT have the OOMPH that your wreathe does.
Yes, there is totally a blush velvet… take a look at the Etsy link I have listed! Be sure to send me a pic when you make it!
This will make a pretty winter wreath for January! Thank you for the inspiration my friend! Pinning!
thanks, Michelle. Yes, it’s staying up through the blogging winter season. 😉 (Which means it’s coming down next week, right?)
I love this, Julie! The velvet gives it such a rich look and I love the fresh, white color! Thank you for sharing! Pinned!
Hugs,
Tee @ Teediddlydee
You are so sweet, Tee… thanks for pinning!
I love the simplicity of this wreath. It’s beautiful. Thank you for sharing the tutorial. Have a great weekend Julie!
Thanks so much, Marielle! So good to ‘see’ you here!
It’s the perfect winter wreath Julie! So pretty. Thank you for sharing at Charming Homes and Gardens.
Of course, Kim! Always love your party!
I love a DIY that is so simple but turns out beautiful! The velvet works perfectly! Have a Happy Holiday! Donna
Thanks so much, Donna! Merry Christmas!
I love the velvety simplicity of your pretty wreath, Julie!
I’m using it on my Mom’s apartment door this year. (Christmas decor didn’t make it to my house this year… way too much going on!)
Julie, I found your pretty wreath when I was looking for some Christmas in July inspiration. I absolutely love it. Simple, but BEAUTIFUL! I’m going to feature your project and share it with my readers in my week in rewind post tomorrow. ❤
Oh… thank you so much, again, Jen! So blessed by your generosity!
You are so talented Julie… I love it and will have to try to make one. Have a great week.
Thank you, Kari! I actually updated it since this one! 😉
I love this and I might just have to do my own version this year. I think I’m doing a more green, wintry look for Christmas.
I love how beautiful and simple this is! The velvet is lovely. Pinning! Visiting from the Wonderful Wednesday blog hop. (I’d love to see this shared at my weekly linkup as well, if you’re interested: https://lifetalesbooks.blogspot.com/p/calling-fellow-bloggers.html)
Thanks for visiting AND pinning, Jennifer! Happy November! (Oh, and I just linked-up!)
Hooray! Thanks for sharing this post at the Will Blog for Comments linkup #13. I hope to see you again next week!
Sure… I was wondering… I couldn’t find an area for comments on your post. Is there supposed to be one?
Thanks, Jennifer! Feel free to link up to Tuesday Turn About here on the blog, as well!
Thanks for the invite, Jennifer! Hope to see you at our party, too!
Julie, you always have such lovely DIY’s and this Christmas wreath is super simple and sweet.
Thank you for sharing it at Create, Bake, Grow and Gather this week. I’m delighted to be featuring your DIY velvet Christmas wreath at tonight’s party and pinning too.
Hugs,
Kerryanne
Thank you so much, Kerryanne! Appreciate the features so much!
Hi Julie! Just popping in to let you know your wreath will be featured at tomorrow’s Home Imagined link party. Thanks so much for sharing with us and I love, love your wreath. Great job friend. It’s simple & timeless. XO- MaryJo
Awww, thank you so much! What a blessing! Hugs!