DIY Velvet Pumpkins Just Like the Pros!
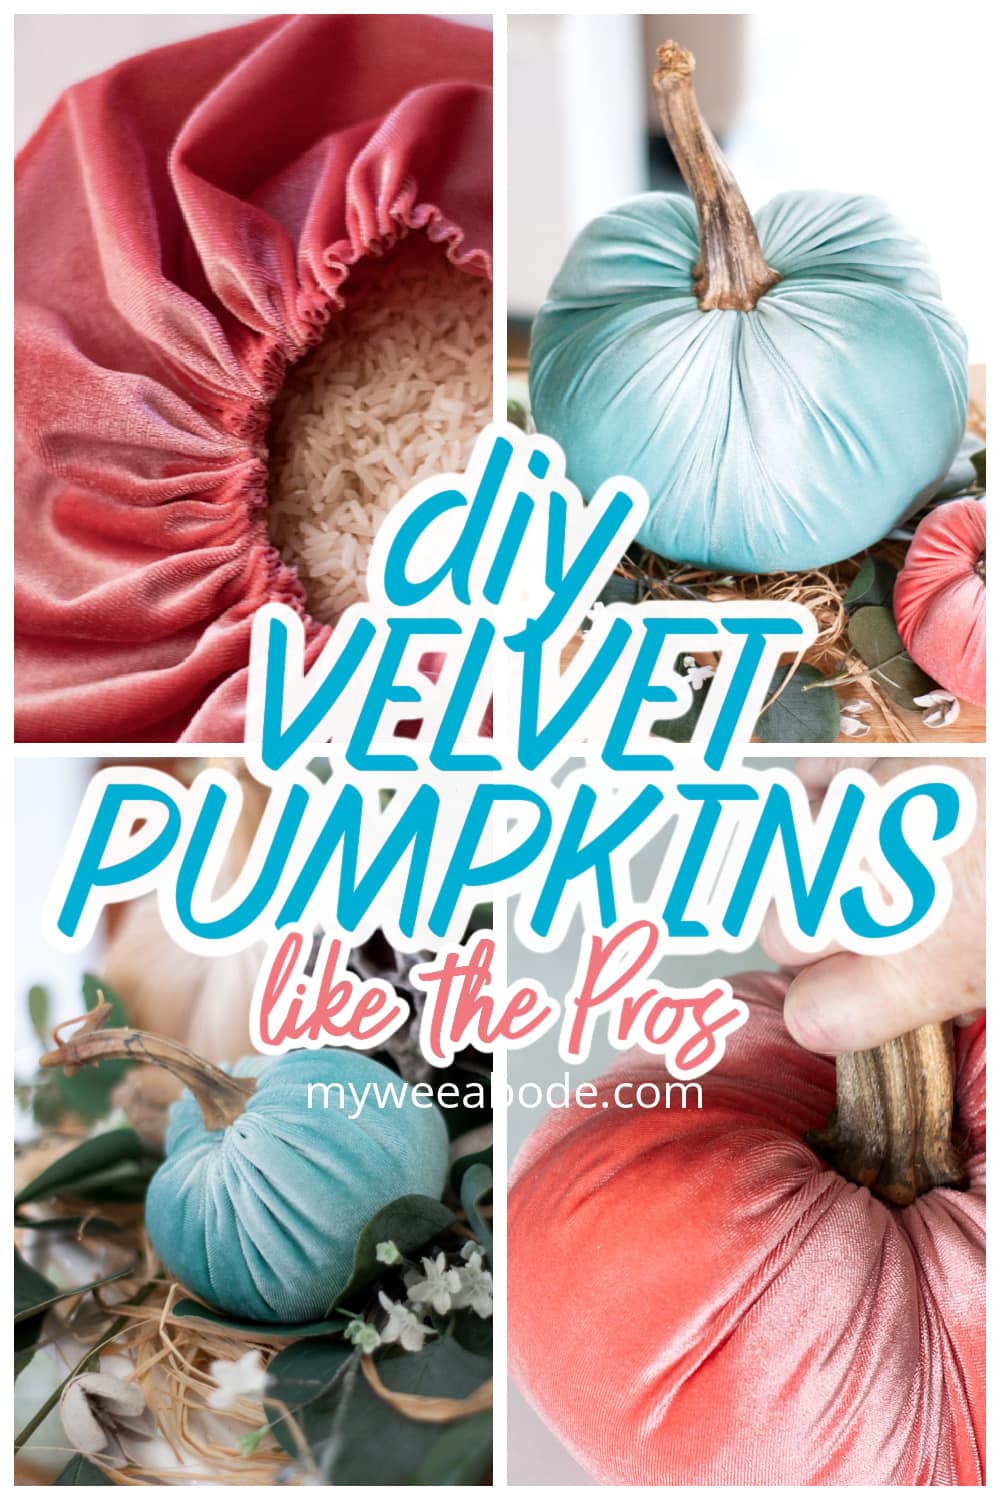
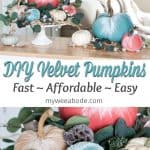
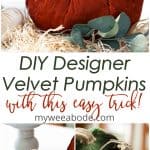
So, you want some of those BEAUTIFUL plush velvet pumpkins with the ‘80s shoulders’? Well, sweet friends, today I’m going to share how to diy velvet pumpkins just like the pros, for less than $5 each! Let’s learn how to make velvet pumpkins!
THE DISCOVERY
Last year about this time, while visiting all my fave blogs, I came across a blog hop (just like I did this year) that took my breath away! I sat and stared at the screen of Stonegable’s blog, then hopped to Shabbyfufu’s blog and stared again, and then hopped to Thistlewood Farm’s blog and stared some more.
What I saw were VELVET PUMPKINS, people!!!
I’m talkin’ PLUSH VELVET PUMPKINS!!!
And not just any old velvet pumpkins… these had “shoulders”!
Padded shoulders… like the women wore in the ’80s!
Are you with me on this? Well, read on!
THE DILEMMA
Those luxurious, soft, intense-colored gourds with real pumpkin stems had me hooked!
So, what do you think my next step was? Absolutely! I clicked the link on those blogs that transported me to where I could purchase those lovely fall decorations that had sweet little bumps and bulges that, unlike my similar “shape”, looked GREAT in velvet! And… my heart jumped.
And not just because there were more colors, sizes, and styles than I could ever imagine… Nope.
My heart jumped because, being the DIY girl that I am, I wanted to figure out how to make velvet pumpkins… because I wanted some of those lovelies for my very own.
So, what do you think I did next?
Yep, I figured out how to DIY velvet pumpkins just like the pros, shoulders and all (yeah, I’m not using ‘bumps and bulges’ again in this post!) And I’m gonna show you how to make velvet pumpkins, too!
DIY VELVET PUMPKINS JUST LIKE THE PROS!
This post may contain affiliate links, at no additional cost to you.
For more information, see my complete disclosure HERE.
WHAT YOU WILL NEED
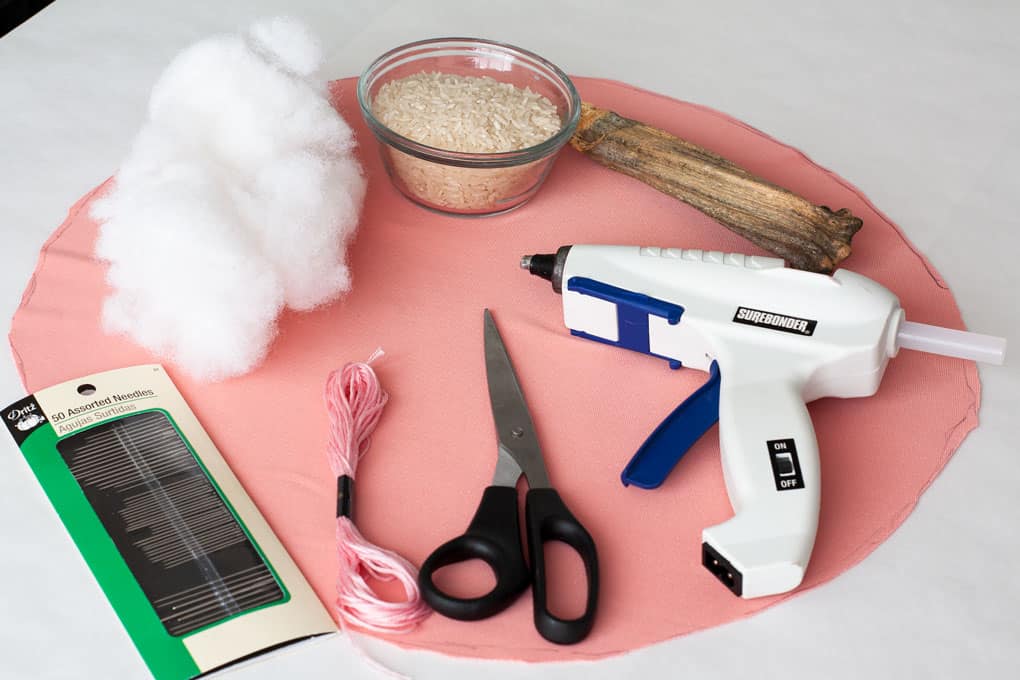
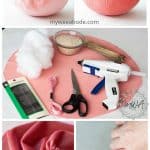
- Stretch Velvet Fabric from New Fabrics Daily or Stretch Velvet fabric from Amazon and this Amazon seller, too (I purchased the 1-yard minimum of each color and had LOTS left over!)
- Heavy duty thread (don’t use the embroidery thread, as pictured… do as I say, not as I did… you’ll thank me! LOL!)
- Large needle with large eye
- Dry Polyester Packing Fiber Fill (the kinds that ‘stays put’)
- Shredded Memory Foam
- Rice/Small beans
- REAL Pumpkin Stems (Lots of Etsy shops to choose from. Tip: Start saving your pumpkin stems from this year’s real pumpkins to use on next year’s velvet!)
- Glue Gun with Gorilla Glue glue sticks (the best glue sticks around!)
- Scissors
- Funnel (optional for filling rice)
- “Patterns”; a variety of round, objects, i.e. dinner plate, bowl, etc. (different sizes)
- About an hour of your time, because YOU won’t hit any bumps in the road. (I did that for you!)
THE BEST, MOST AFFORDABLE FABRIC…
So the first thing that I did to prepare to make my diy velvet pumpkins was to find an affordable fabric that would be lightweight, have some stretch, and look great for the project (the pros use silk velvet, which is absolutely gorgeous and creates an heirloom-quality pumpkin, but wouldn’t work in the price range for this project)!
I found New Fabrics Daily, AND, I also found an alternative fabric on Amazon and this seller on Amazon, as well! *cue angels singing*…
Not only does New Fabrics Daily offer a HUGE selection of weaves and colors of velvet, they offer all KINDS of fabrics for the crafter, home designer, and seamstress, all at FANTASTIC prices!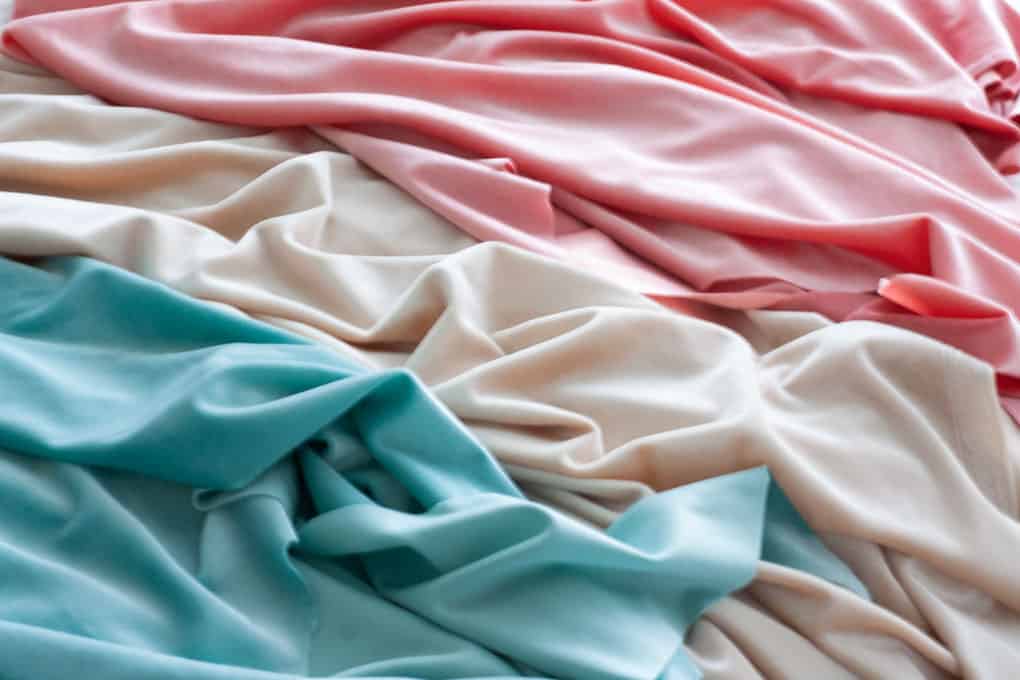
What Velvet Do I Use for Velvet Pumpkins?
To go with My Wee Abode’s coastal/pastel fall palette, I decided to use polyester spandex velvet (AKA stretch velvet) in Light Coral, Aqua, and Ivory.
However, you can choose ANY colors of fabric to create your own designer look (think warm oranges/greens/golds, or classic blues/whites/orange… there’s no end to the combinations)!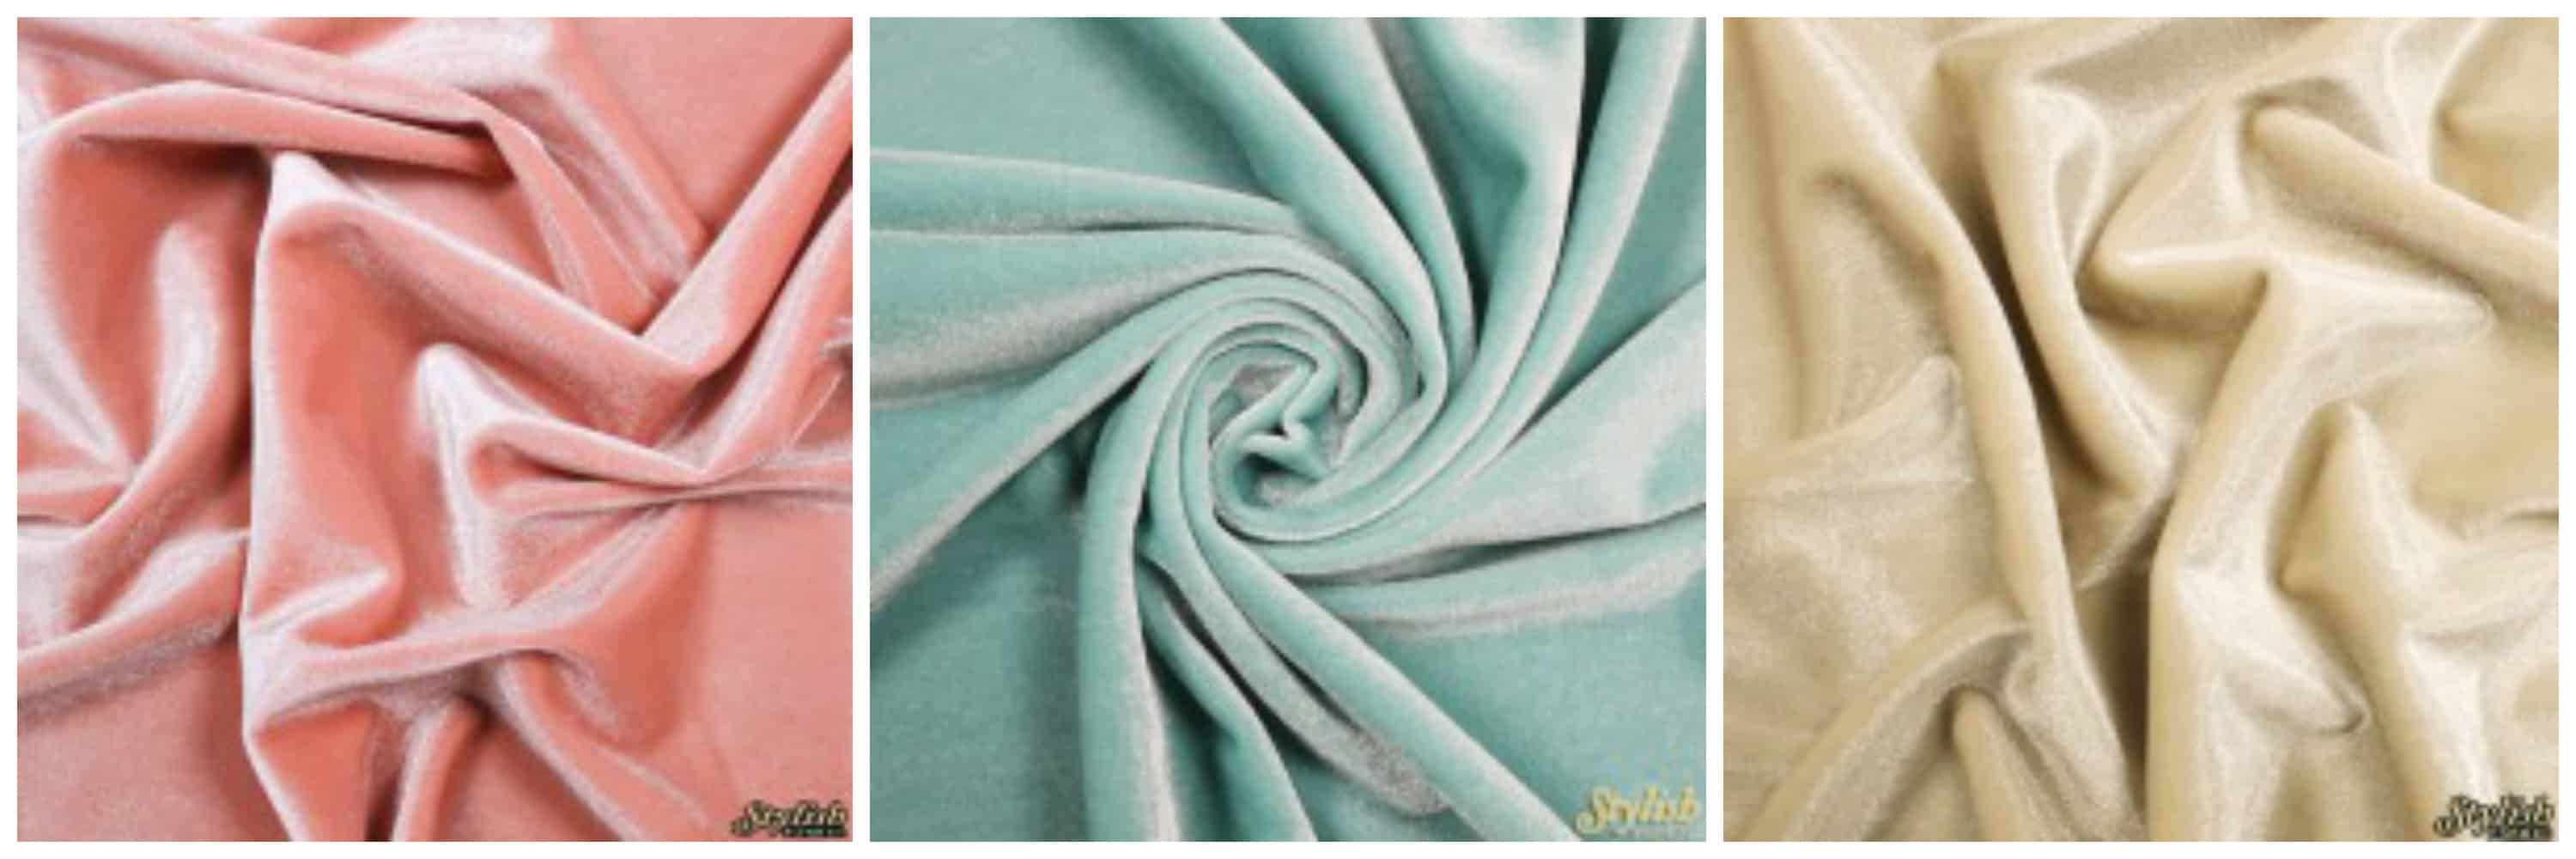
Not only is the price at New Fabrics Daily super affordable, but the color selection is also unbeatable!
When you receive your fabric at your door, you will do a happy dance! (I sure did!) The weight and the feel of the velvet are perfect for these diy velvet pumpkins!
How do I Prepare My Fabric to Make Velvet Pumpkins?
- Using one of your ‘patterns’, draw a circle on the back-side of the fabric, and cut it out (regular sewing scissors worked great for me… this velvet doesn’t fray/shed like many others)
- Thread your needle and tie a large knot at the end of your heavy-duty thread. Using the heavy-duty thread eliminates the need to double the thread… you can use a single strand.
- Gather-stitch (Glenda, is that the correct stitch name?) around the edge of your pumpkin, about ½- 1 inch in from the edge of the material (again, do as I say, not as I did in the photo). The stitches should be fairly even, and anywhere from ¼” to ½” wide/apart. (I used a smaller stitch for the small pumpkins, and larger… well, you get the idea!) UPDATE: Glenda said it can also be called a basting stitch 😉
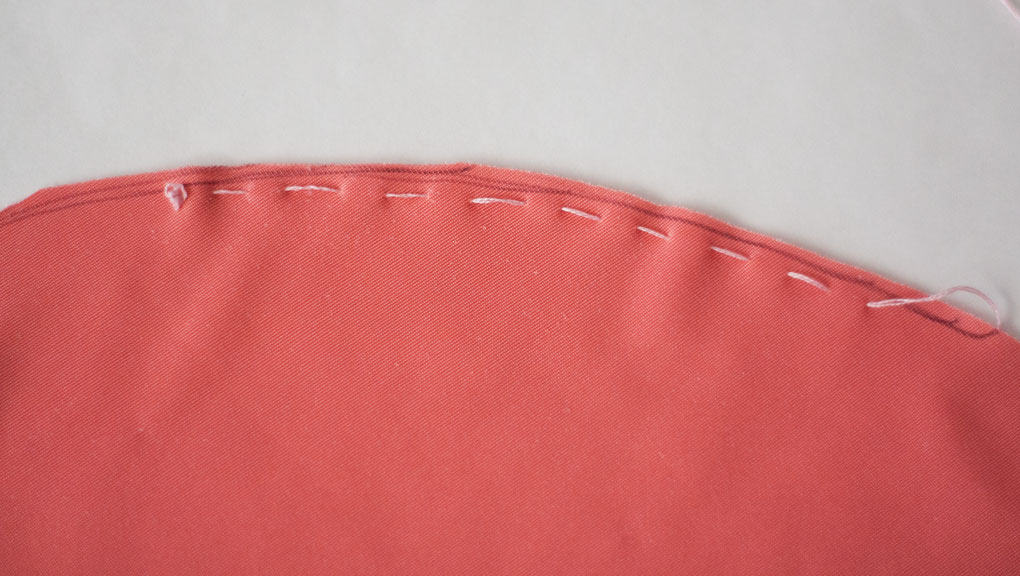
As you’re stitching, you can pull the thread through, creating a gather. (The picture shows my fabric being flat, simply for tutorial purposes.)
How Do I Stuff DIY Velvet Pumpkins?
- Fill the bottom of your pumpkin with rice… for the small ones, I use about 4 tablespoons, the medium I use ½ cup, and the large I use a cup of rice, give-or-take. This will give your pumpkins some nice weight at the bottom, so they don’t go rolling away.
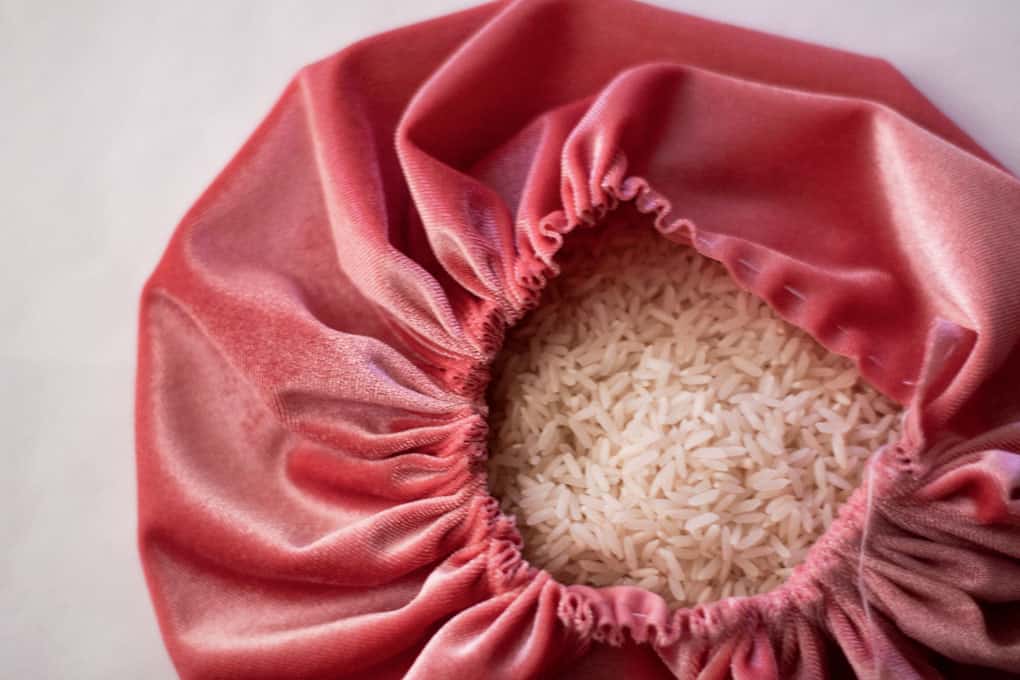
Here’s where the tricks come in for creating those ’80s shoulders! 😉
- Make sure to ‘overstuff’ your pumpkin. Now, I don’t mean to make the seams burst open, but I do mean that, when you think you’ve used enough stuffing, add some more! Trust me, you’ll be glad you did!
- Most definitely use the Dry Polyester Packing Fiber Fill. This is more dense than the regular fiber fill you find in most cheap pillows. This stuff ‘stays put’ and doesn’t sag. Saggy gourds are a no-no!
- Not only use the fiber fill, but also use the shredded memory foam WRAPPED INSIDE the fiber fill….
- For the center of your pumpkin, layout your fiber fill, place a handful of memory foam in the middle, and then wrap the fiber fill around the foam. This doesn’t have to be perfect, just do your best. Using both products gives added weight to the pumpkins and helps it keep its shape. Remember, over-stuff… you can always add more fiber fill to the pumpkin to make it fuller.
- Now for the shoulders! Take a handful of fiber fill and wrap it around about ¼ of a handful of foam (adjust this amount for the size of pumpkin and size of shoulders you want… I liked to vary the size of mine). Stuff these where you would like your shoulders to shrug (hehe!). Then ‘scoop’ and push them up into the pleats of the pumpkin. Be sure not to let the thread go too loose during this process, as you want to be able to see the results as you go.
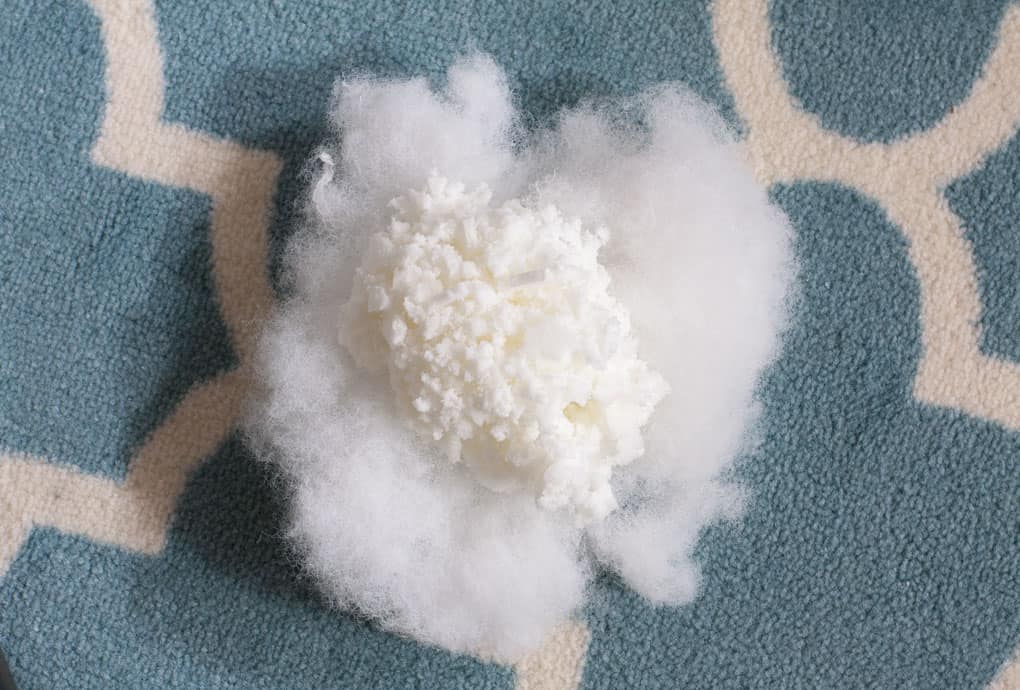
Sorry… I was so busy getting this step right, I forgot to take photos. If anyone would like to see how this is done, email or comment, and I’ll update the post!
How Do I Close a Velvet Pumpkin?
When you have the look you desire, close up the center with the thread.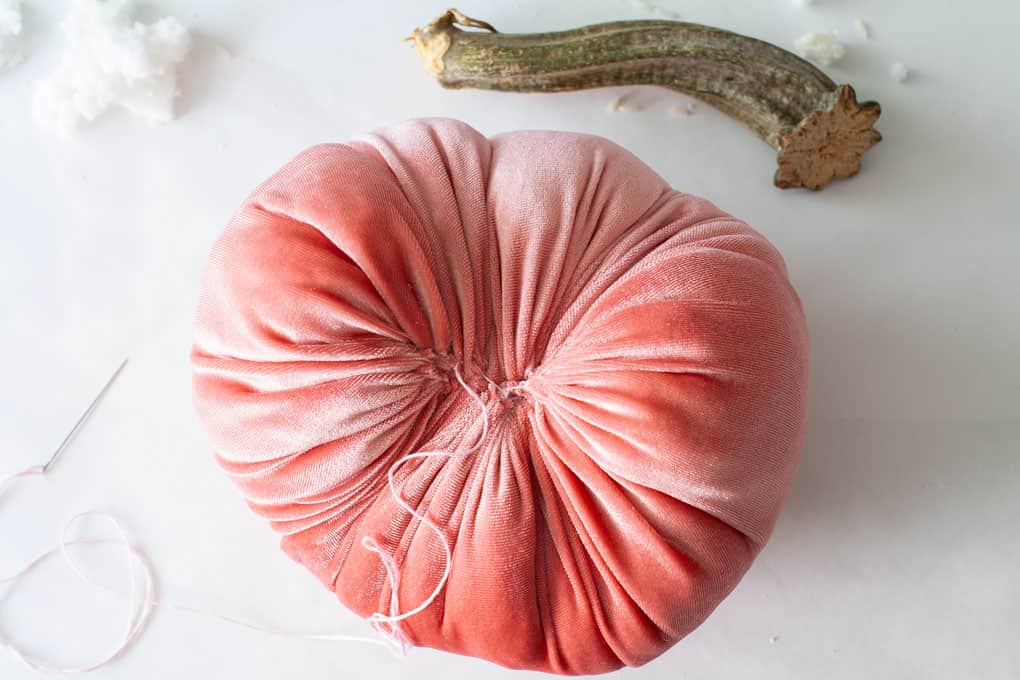
- First make a cross, taking your needle and starting where there is no shoulder, and then going to the opposite side where there is no shoulder, then go over to the other side and do the same. Then secure the rest of the opening.
- Hint: Take your threaded needle and go in through the top of the material, then go under a different completed stitch. This will pull the material down into the pumpkin, making a nice center for the stem.
- Be sure to finish off with a very secure knot or finishing stitch.
How do I Add a Real Pumpkin Stem to a DIY Velvet Pumpkin?
We are almost done! Just like the professional pumpkin designers, adding a real pumpkin stem to your plush velvet pumpkin will add an elegant, yet rustic touch to the pumpkin. As mentioned in the supply list, I purchased mine from several Etsy stores, and each stem cost about $1.50-2.00 (the most expensive part of this project). However, this year I have purchased several real mini pumpkins with beautiful stems that cost me less than $1.50 each. I’m going to dry these after my pumpkins ‘pass-away’, and I’ll have them for next year (and no shipping cost from Etsy!)
- Take your Gorilla Glue stick (my fave… they are the best!) and hot glue gun and apply an even, and generous, layer of glue to the bottom of the stem, then firmly push (yes, push) it onto the closure of the pumpkin.
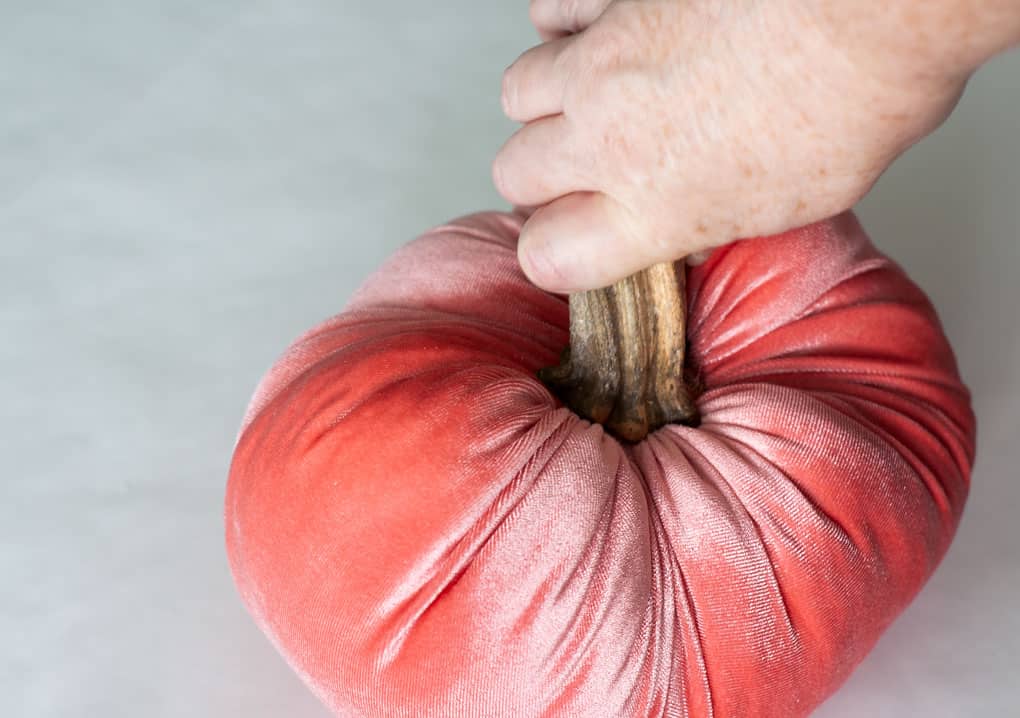
- Hint: Before gluing, be sure to see where the stem will look best, and cover best, on the pumpkin. If you don’t, you may have a stem that looks like it’s falling off the pumpkin. And no one wants a gourd that looks like the stem is rotting off! (I crack myself up!)
Stand Back and Admire YOUR DIY Velvet Pumpkins Just Like the Pros!
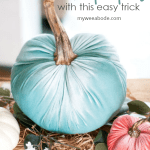
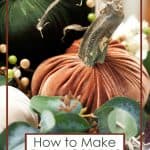
Look at that plushness… those shoulders… that real pumpkin stem!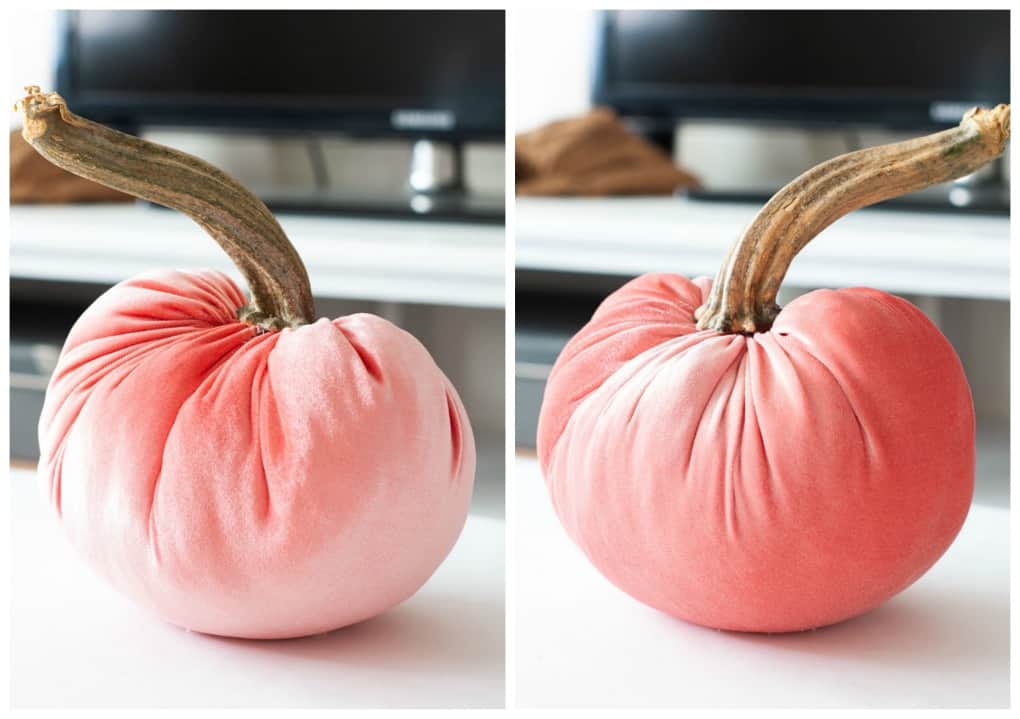
BTW…Even though the fiber fill is meant to ‘stay-put’, you can still “plump-and-fluff” your pumpkins after they are finished. This was my first large pumpkin, and it came out a bit ‘oval’, so I just squished it around and formed it to make it a bit more round.
One more tip… This is the point where you can add embellishments to your pumpkins! Think fluffy feathers, crystals, etc.
INSPIRATION FOR YOUR DIY VELVET PUMPKINS
And here are some photos that might give you some ideas how to use YOUR velvet pumpkins!
You can add a pretty Free Fall Printable to your home by visiting my Printables Library HERE!
Using a cake stand and some eucalyptus branches adds a fall touch that is light and airy!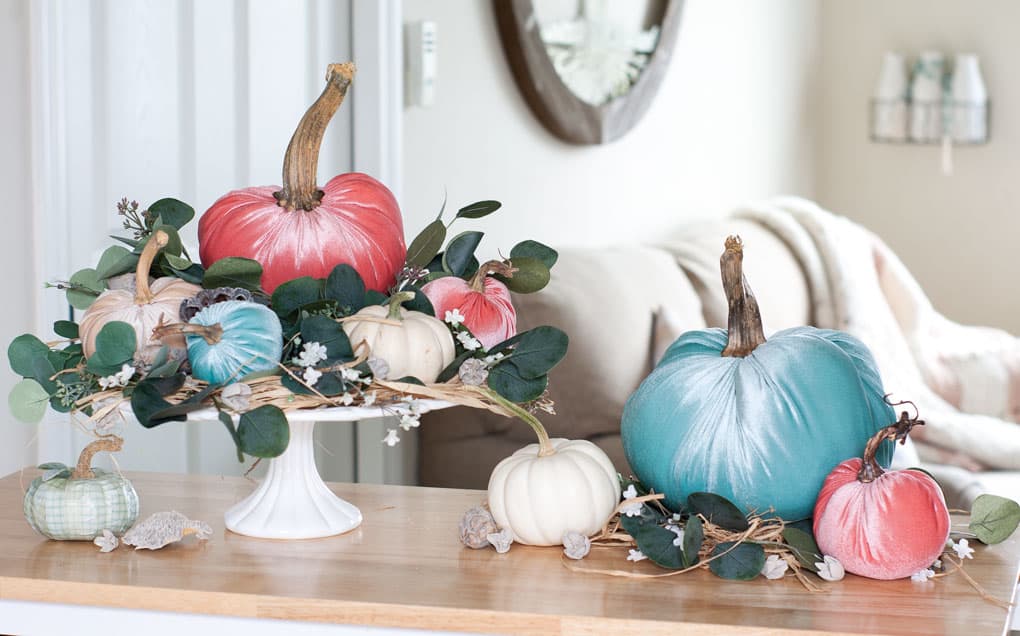
Sweet shoulders, and I added a couple of real pumpkins, too! (Yes, that white one on the left is REAL!)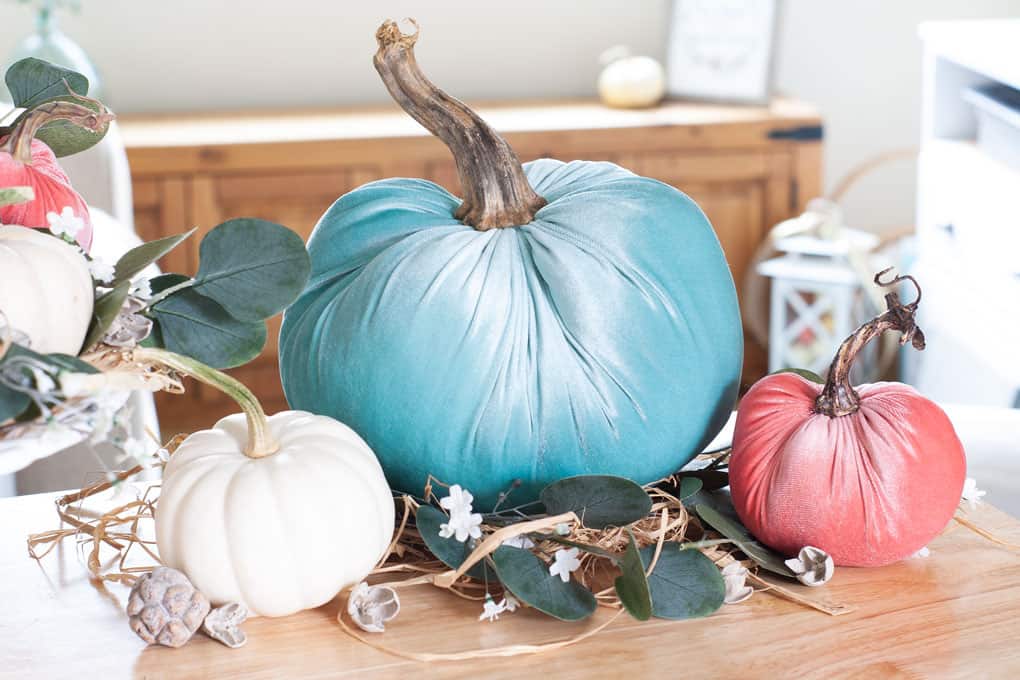
My cutie-patootie Mod Podge Coastal Style Pumpkins joined their posh velvet cousins in My Wee Abode!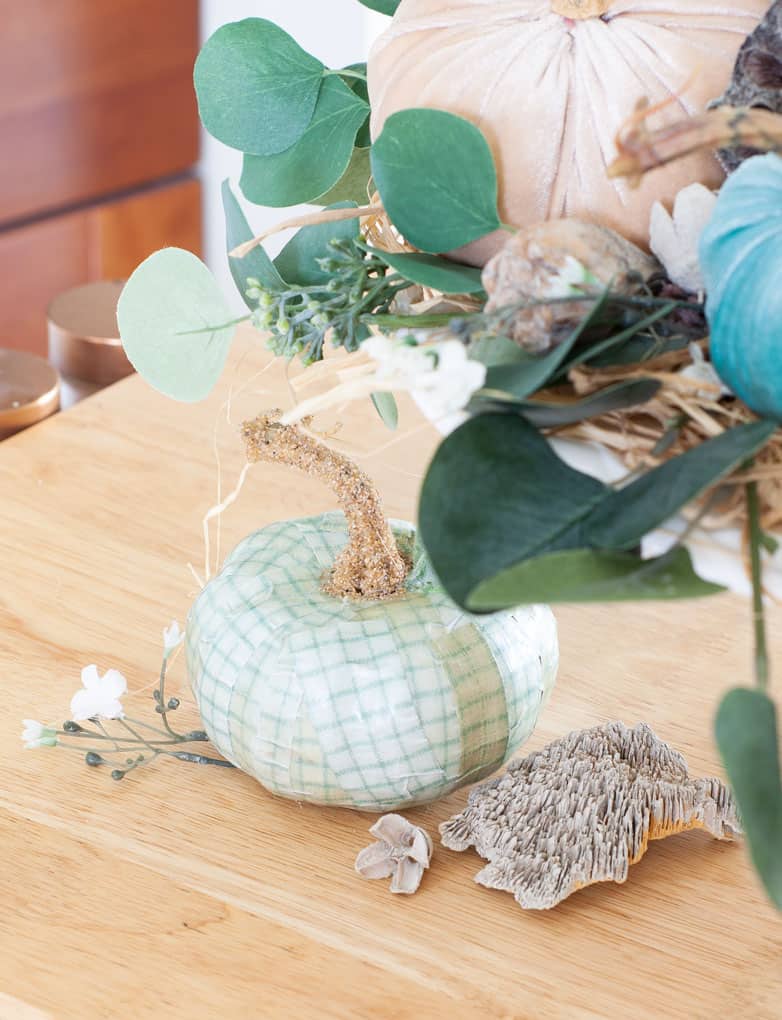
Lots of ‘shrugging’ going on!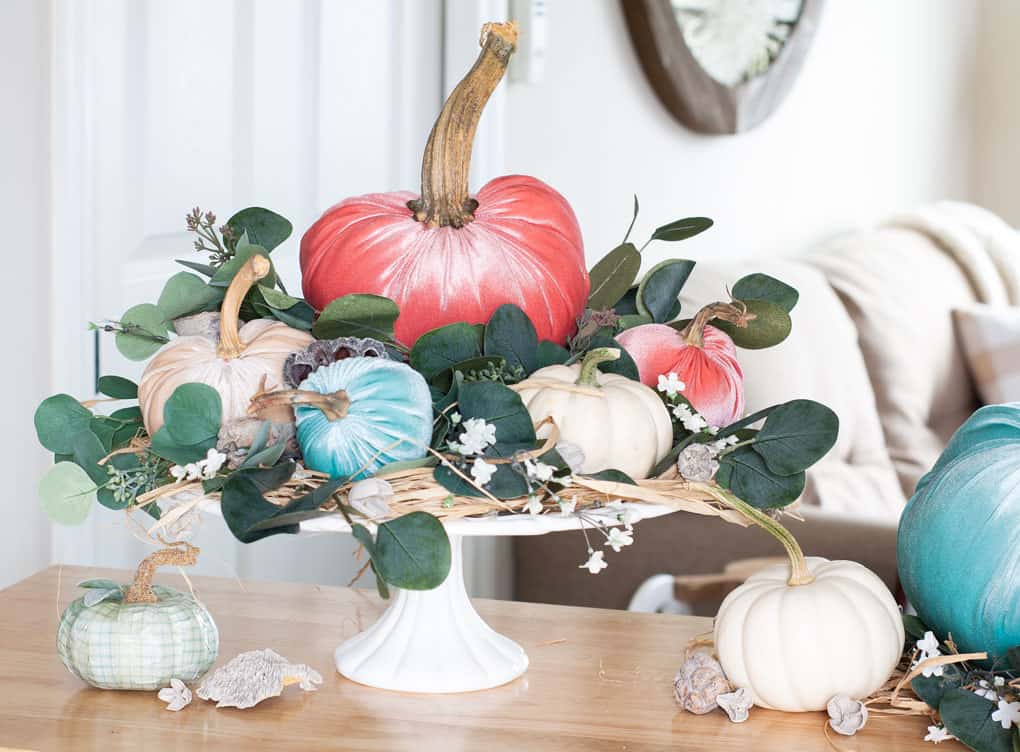
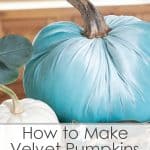
Oh, and did you notice? THIS little aqua pumpkin doesn’t have a real stem. My order of small pumpkin stems didn’t arrive in time, so I took a quick run to Hobby Lobby, bought some faux floral pumpkin picks, and snatched off their resin stems for a couple of my mini velvet gourds! Works for me in a pinch, and maybe for you, too!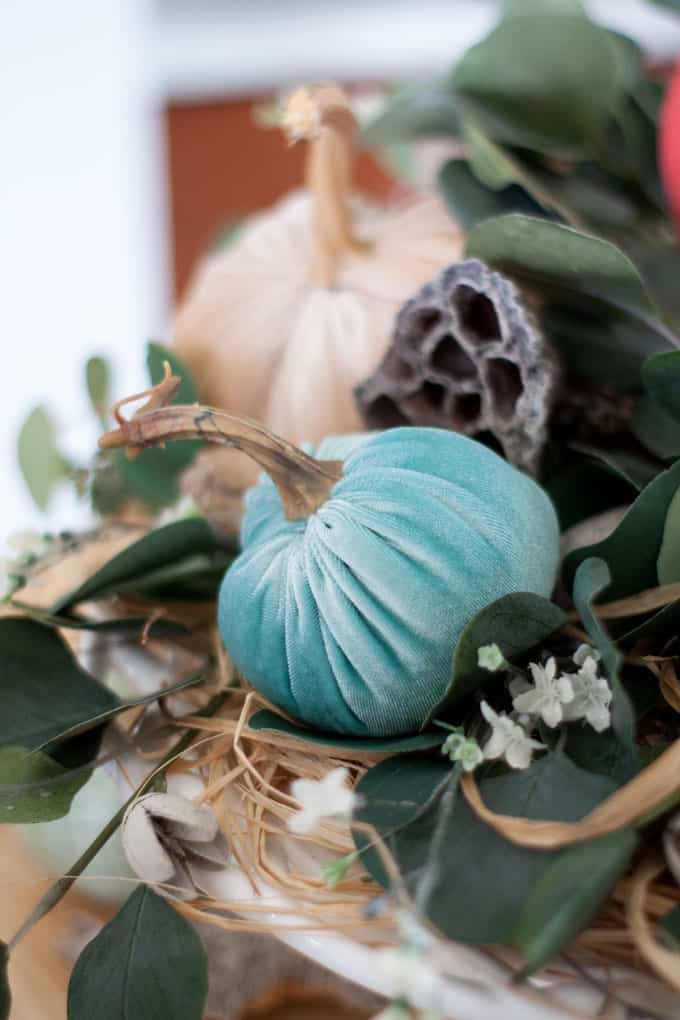
I added some coastal elements to this centerpiece, just because… well, I love the coastal look! I think this little open ‘pod’ is just beautiful, don’t you?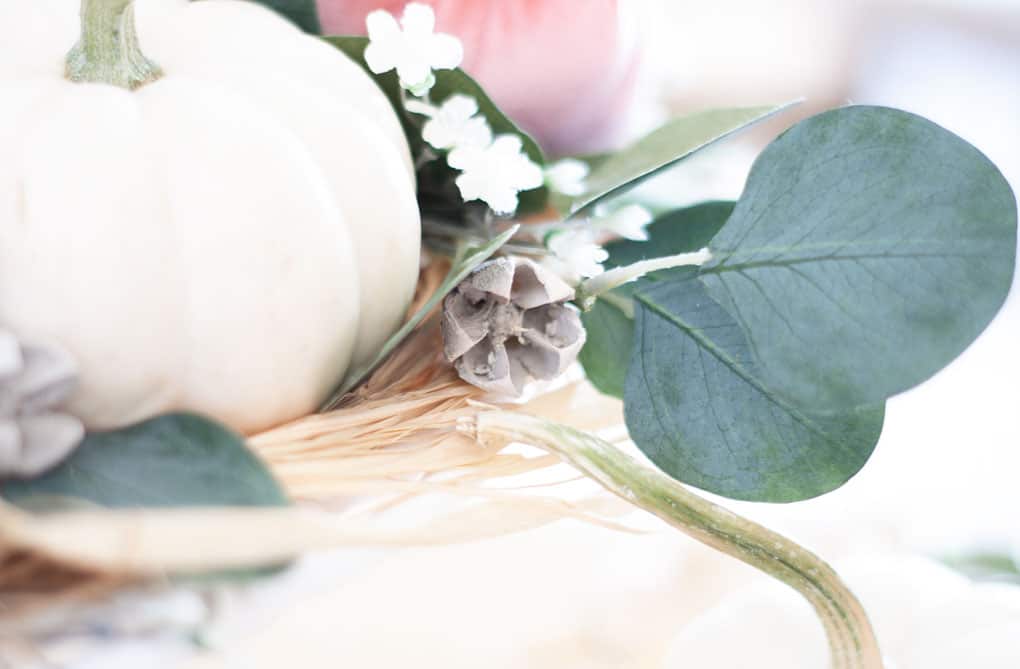
And one more ‘shoulder shot’ for this styling!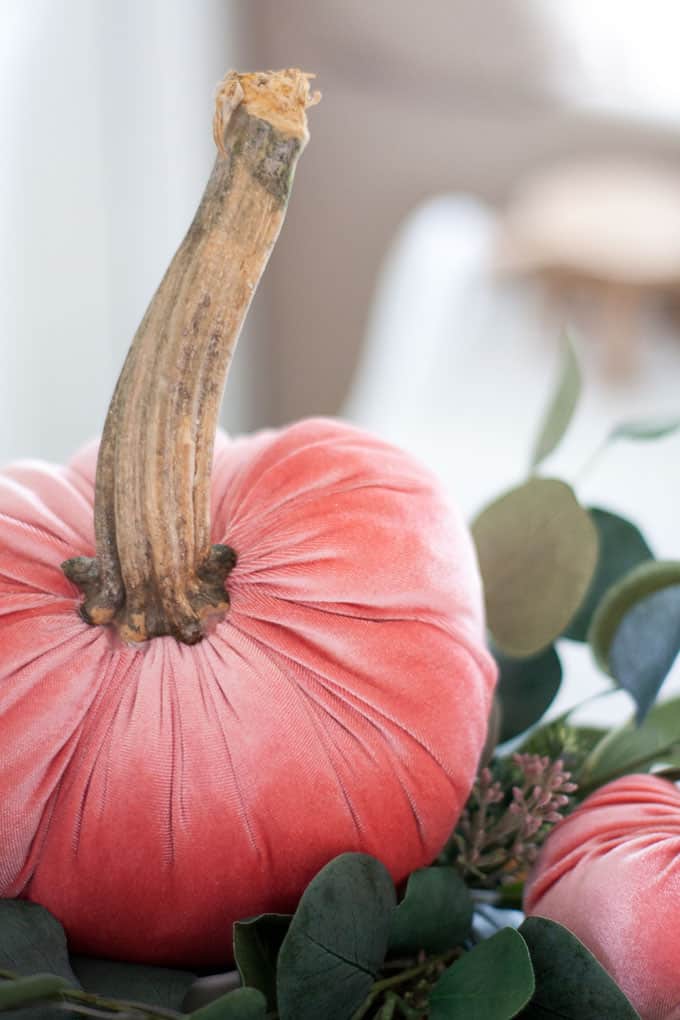
And now for a bit more coastal/farmhouse style using a tobacco basket (that I picked up for $1.90 on clearance at Hobby Lobby!) and a vintage white window pane in the background.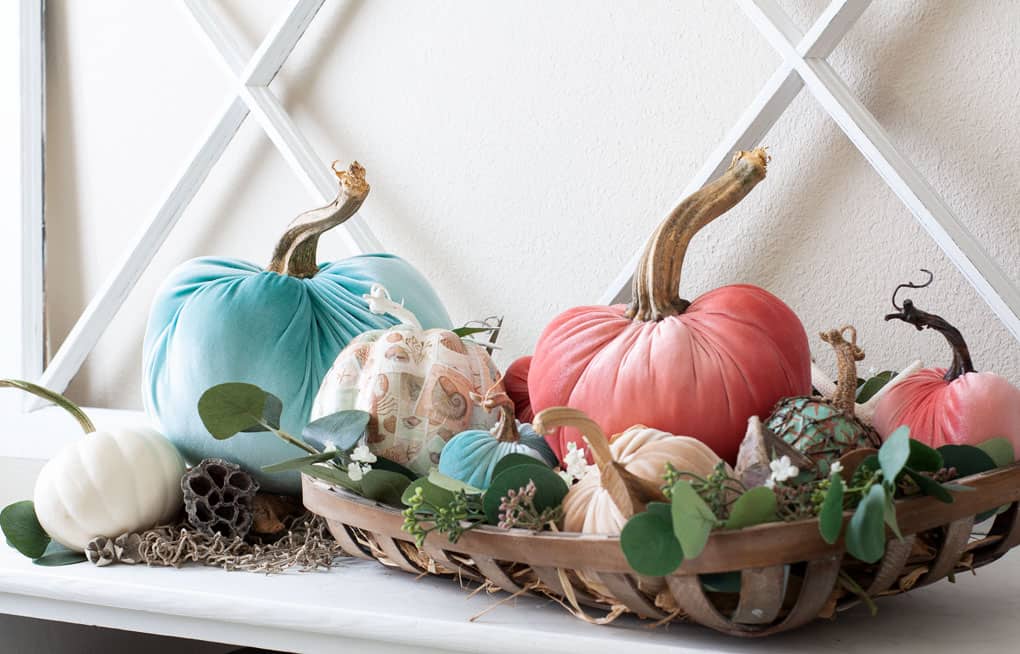
I love how the decoupaged pumpkins coordinate with the diy plush pumpkins.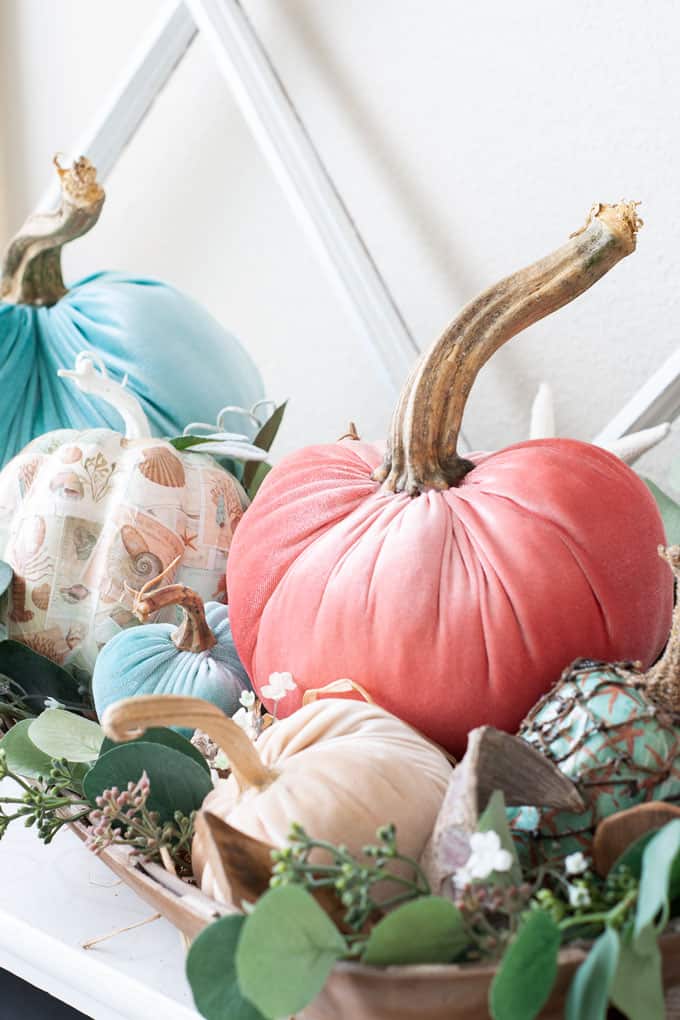
Now these are some shoulder pads that any woman from the ’80s would have been proud to wear!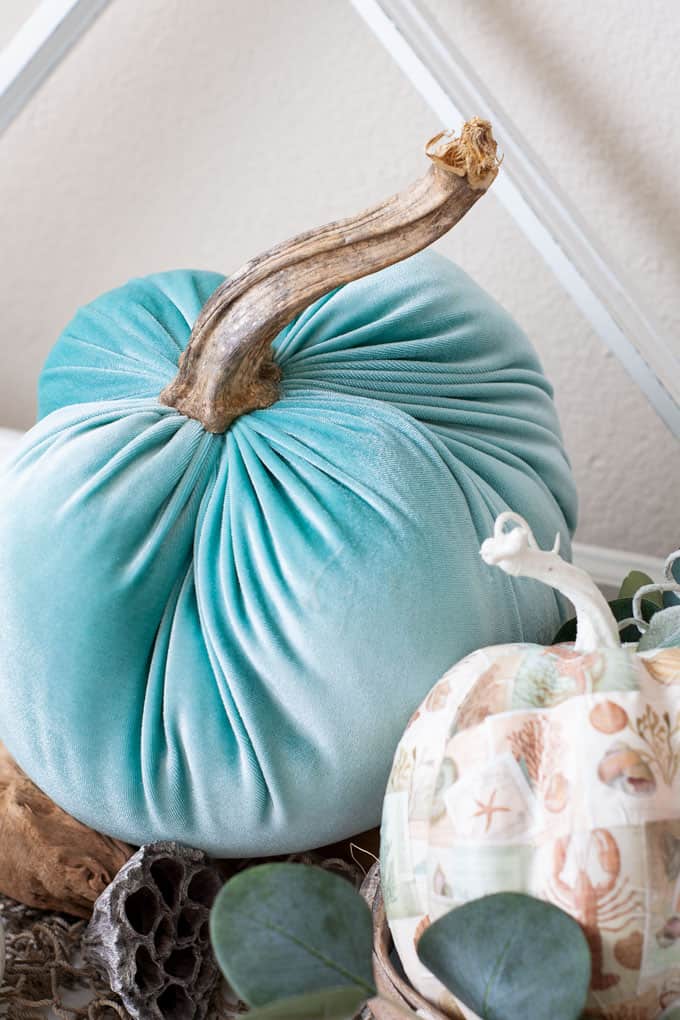
Love that sand-covered stem! (And another incoming resin pumpkin stem on the right! 😉 )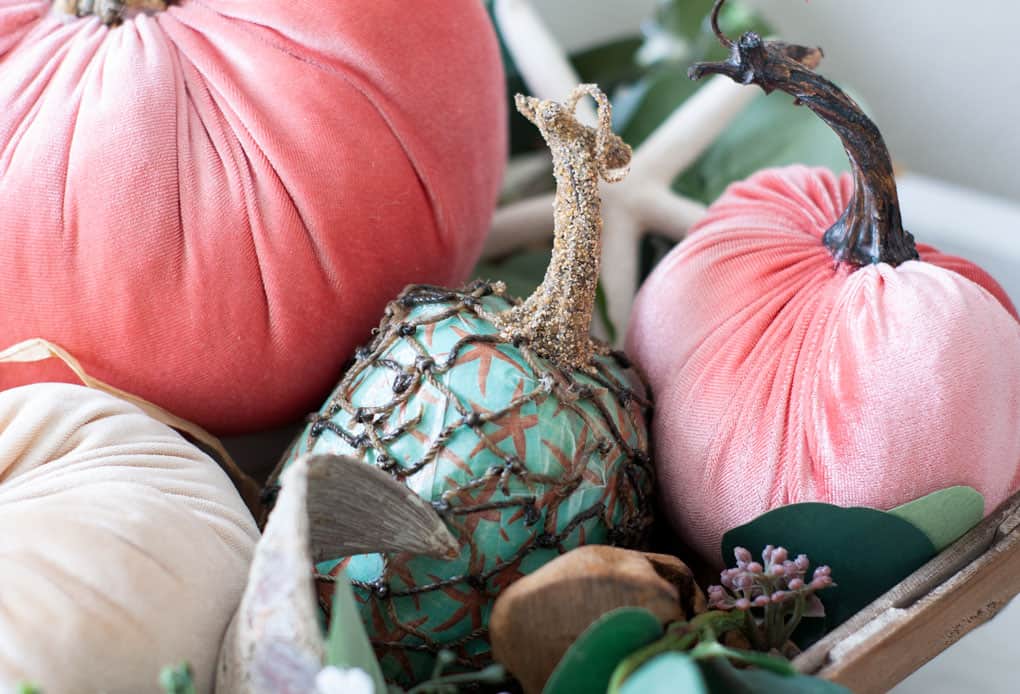
More coastal vibe with a pod and fishnet.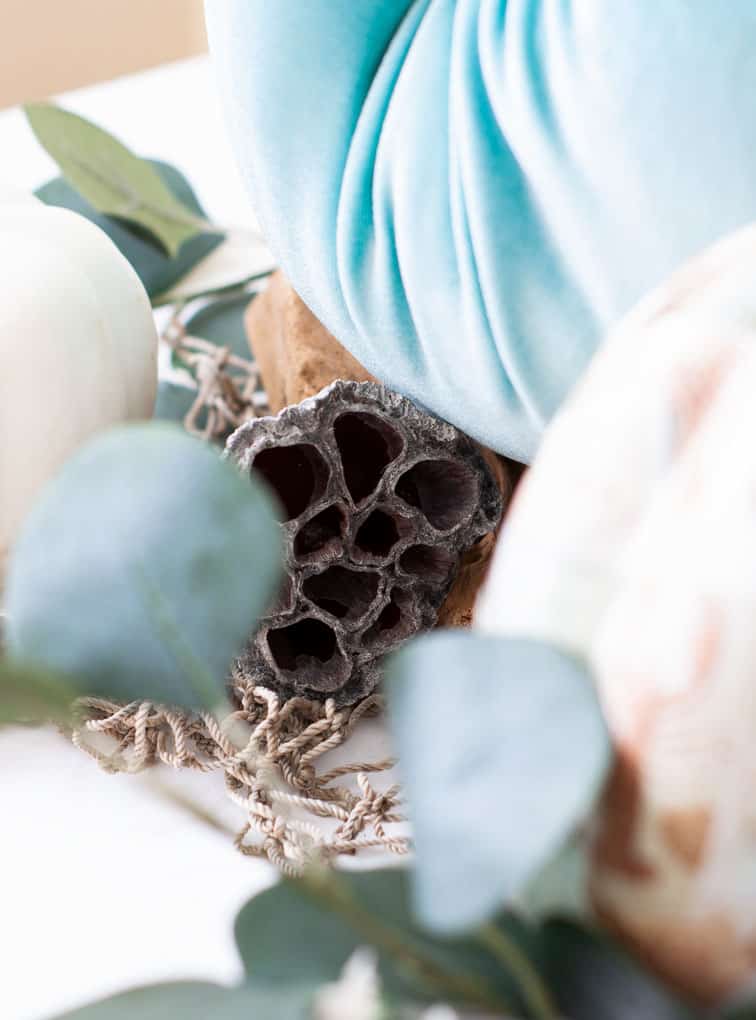
And lots of lovely diy velvet pumpkins just like the pros, for the last photo!
BTW, my DIY Velvet Pumpkins cost a total of about $4.00 each… and that’s probably over-estimating! Great for an affordable DIY project for fall!
One last fall decor item you might want to add to your home… these Fall Pillow Covers are super affordable!
I’d love to hear what you think about these pumpkins… and the tutorial! Any questions? Feel free to email me or leave them in the comments below!


Love this project! These are gorgeous, Julie. I can’t wait to give this a try! Pinned!
Thank you so much for commenting, Lynne, and for the kind words! Can’t wait to see your finished gourds! Hugs, sweet friend!
They look ah-may-zing! I am totally STUNNED, just look at the SHOULDERS! I can’t decide if I like the blue or the pink the best. I am DEFINITELY going to do this next year. Velvet pumpkins ftw!
Thank you for the encouragement and love, dear heart! I can’t wait to see yours next year! Love me some velvet pumpkins!
Love these cuties! Thanks for the great tutorial
Elaine, so glad you dropped in! Thank you for the sweet words! If you use the tutorial, be sure to share your project on my Facebook page! Would love to see them! Hugs and hearts!
They are so beautiful, Julie! Good job for figuring out how to do the high end look with generous “shoulder shrugging”! I love them!!
Thank you, Rita, dear! It was fun figuring this out, and super happy I can share it with others! Hugs!
These are just GORGEOUS, gorgeous, gorgeous! I love that big stem on the one… I didn’t know you could buy pumpkin stems off of Etsy! How cool is that? The velvet looks like a high quality fabric!
Carrie
curlycraftymom.com
Thanks, Carrie! Yes… I just received my last batch of stems for this season! Perfect for my small ones, but too late for this post! I actually had to fake the small stems with stems from faux floral pumpkin picks! (Need to update my post with that info, don’t I???) The velvet is PERFECT, and so thankful to Stylish Fabric for offering the discount to my readers! Thank you for using the word ‘gorgeous’… THREE times. It truly made my day! Hugs, dear friend!
This is not only shoulder-shrugging highend velvet pumpkins… this is highend writing. I love the way you manipulate words AND gourds! Lovely decor for your wee abode and easy reading for us. Enjoy the season!
Oh!!! Dorothy! Thank you SO much! I’m so thankful you enjoyed the post… both the reading and content! You don’t know how much that means to me! Hugs and all the hearts!
GAH I love love love love these. I cannot get enough of that pink velvet! Also, Julie, your photos are incredible, I just love them. Pinned.
I’m giggling over here, Laura… Because you KNOW how much your photo remark means to me! Those light coral one definitely photographed more pink! I need to watch that in the future! 😉 I’m glad you like my plush pumpkins! Hugs!
Those are just adorable! What an amazing idea! Gotta share! Great job Julie!
Thanks, sweet friend! Let me know if you would like a couple! 😉 Love ya!
These are beautiful! What a great tutorial!
Jackie, thanks for dropping in and commenting! Your words are a blessing, and I hope the tutorial is helpful! Let me know if you make one, or MORE! 😉 Hugs!
Julie, they turned out beautiful! Those high shoulders would make the 80’s proud. You did a great job! Happy Fall!
Oh, thanks so much, Kim! I sure hope that ALL my readers ‘get’ the referral to the 80’s shoulders! 😉 (BTW, I need to go back through my post and check my punctuation on “80s”… LOL!)
Those are besutiful. Love the end result of the whole project, too. The velvet give the pumpkins a really plush look. Velvet and “lumpy” pumpkins – nice contrast. You can call that a gathering stitch or basting dtitch. By putting your illustrstion, it is very clear what needs to be avcomplished.
Thanks, Glenda! That was the word I was looking for… “basting”! Sometimes words don’t come easily at 3am! 😉 Thanks for the sweet words! Love ya!
Wow, Julie! You knocked it out of the park on this one. You should be very proud. The photos are INCREDIBLE! I absolutely love the colors you picked, too!
Awwww, you are such a wonderful encouragement! Thank you, Crissy! I’m thankful the Lord is enabling my photography skills to improve. I’ve prayed many times about it! Glad you like the colors… give me all the aquas (and greens!) Hugs!
Very pretty. The stems make the statement. I hate to order anything online, but we should be able to find a grocery store or farmer’s market where some ‘just happened to fall off’
Absolutely! I bought several mini pumpkins from the store this year… wants the pumpkins wane, I’ll be drying the stems for next year, and I don’t have to pay any shipping! 😉 Thanks for dropping in, Myrna! Always appreciate your encouragement and ideas! Hugs!
These are beautiful! I’m imagining how soft they must feel. I had no idea you could buy pumpkin stems on etsy. I am also going to be drying out some stems because these look amazing with the real stems. Its the perfect touch. Thanks for sharing at Merry Monday!
Thanks so much, Jenny! Yes, they are super soft! And, whenever I think about supplies that may be hard to find, I always check Etsy and eBay! 😉 Thanks for stopping by! Hugs!
Fabulous job on your velvet pumpkins Julie! They look so elegant and expensive especially with the real stems. Love, love, love!
Hehe!!! Thanks! I appreciate your ‘loves’ and encouragement! Miss you!
Gorgeous colours and excellent tutorial! They definitely look just like the pricey ones I have seen for sale!
Oh, thanks so much Maureen! I think they are definitely an affordable alternative! Wouldn’t have made them if I didn’t LOVE the designer pumpkins! 😉 Hugs and hearts!
Those 80’s shoulders may just be back in fashion after this post, lol. Seriously, these came out SO good, they look far better than store bought! Pinning!
LOL, Roxanne! So funny! Your sweet comment is so encouraging! Hope your week goes well! Hugs!
The colors are so beautiful and the fabric looks so luxurious I feel as if I can just reach out and touch them. Thanks for the rice tip too Julie.
Oh, I’m so glad that the camera communicated the actual ‘feel’ of the pumpkins! Great way of explaining it, Mary! Thanks for commenting, and being such a faithful friend!
They are beautiful and it’s nice to see such pretty pastels for a change. I recently used crushed walnut shell for stuffing in a cute owl project. I got the idea from my sister’s daughter-in-law. She had beautiful velvet pumpkins that she purchased on her dining room table. The thing she liked about them was the weight. I had no idea what it was from feeling them. Maybe sand, but then I starting researching the idea and found that many people use crushed walnut shells for making pin cushions. I’m sure you polyfil and foam work great too.
Yes, I had known about the nut shells… I thought I had read hazelnut shells, but I’m probably wrong. The weight of this fiberfill *with* the foam and rice actually give these a good weight. Not as much as the shells, but I’m super happy with them! 😉 Thanks for commenting, Patti!
Wow Julie!! How gorgeous! I have never been a fan of velvet…. like ever… but these TOTALLY changed that! I can’t wait to dry out my pumpkin stems and try this next year!
=D
Well, that just totally made me happy dance! So fun when a project that is shared helps another to look at things in a ‘better’ way (not that *not* liking velvet is a problem… but, you know what I mean!) Would love to see yours when you do them, even if it’s next year! Hugs and hearts (and thanks for the sweet words!)
Love these! What a fun colorful project. I may have to make a few now that it is finally cooler here in Georgia and almost feels like Fall!
Lori Jo – 50 With Flair
http://www.50withflair.com
I totally get the temperature thing, Lori Jo. So Cal has not been cool until the last week, so I’m running a bit late on my projects, too! I have one or two more, and then Christmas! Ah!!!! #bloggerlife! Thanks for commenting… let me know if you make these! Hugs!
Your pumpkins turned out beautifully!
I’ve only made them out of drop cloth and I’ve used driftwood found on the beach for my stems. I need to go to the pumpkin patch for some great stems to save until next year.
I can see why this is your favorite post.
Carol! Thanks for dropping in, and for the kinds words! I totally want to go to my pumpkin patch and ask for them, too! Here’s hoping they cooperate, and still have some nice ones! 😉
These are beautiful Julie. Your soft colour choices are perfect with the soft blue.
Thank you, friend! I’m going to linking them this week with Waste Not Wednesday! 😉 Have a great week!
These are too cute!! I love that you used real pumpkin stems. Such a great tutorial. ♥️
Thank you so much, Naomi! I’m SO glad you came by! Hugs, sweet friend!
Julie your velvet pumpkins are beautiful and they are the perfect colors for your coastal farmhouse decor. I might have to try these as you make it look so easy. Great job friend!!
I would love to see some in a muted green, gray, and natural in your home! The discount is good through Sunday! 😉 Thanks for the encouragement! Love ya!
These are the prettiest DIY velvet pumpkins I’ve seen! Thank you SO MUCH for sharing your secrets. I remember those 80’s shoulders quite well! 🙂
Oh, thank you, Richella. That means a lot to me! Thanks for commenting! Hugs and hearts!
Look at all the love you’ve gotten Julie! You did an amazing job here!
I’m so thankful for so much love! 😉 TRULY! And thank YOU for the love, too, Janet! All the hearts!
One of these days is what I’ve been saying about making velvet pumpkins. Yours turned out so beautifully. I love your color palette too.
Happy Fall,
Lisa
Thank you so much for coming by, Lisa! I hope to see some on your blog someday, too! 😉 I’m looking forward to doing more colors in the future. Since they are easy and inexpensive, it’s not a problem! 😉 Hugs!
I could have sworn I commented on this post but here goes again…… Ahhhh Mazing! I love the colors that you chose, and those real long and twisted stems are the absolute best! I have one on a real pumpkin that I will be saving, but it cost me more than $1.50 🙂 Seriously though yours are so beautiful, pinning it for sure.
Oh, Toni… You *did* comment on Instagram… maybe that’s what you are thinking of? But, THANK YOU for the sweet words of encouragement! Hopefully, lots of people will be able to make them now! 😉 Hugs, sweet friend!
Oh my gosh how could I have forgotten so quickly LOL It’s good to know I haven’t totally lost my mind 🙂
LOL! 😉 None of us have! Just lost some hormones! 😉 LOL!
Hi there! I just found your blog today, and I am a subscriber now. Love these pumpkins, you did a wonderful job!
Welcome, Monica! So glad you found My Wee Abode! Thank you for the ‘love’, and I hope you find LOTS of things you enjoy and can use from being part of the MWA fam! 😉 Hugs!
Julie, these turned out fantastic! Oh, I just love the colors! Pinning for later!
Thanks, Linda! So appreciate the pin! Hugs and hearts!
Oh those pumpkins are beautiful! And, yes, I had the big shoulders in the ’80s. (I’m not sure why we felt the need to look like linebackers! haha) I love the pumpkins so much! Thanks for sharing them at Thursday Favorite Things!
Thanks for coming by, Pam, AND for the feature today, even though it wasn’t a mirror! LOL! Glad you like my velvet pumpkins… I’m hoping pumpkins aren’t too late for the blogging season! 😉
Your velvet pumpkins are beautiful! Great tutorial!
Thank you, sweet friend! I love them, too! LOL! 😉
Julie, you are a gal after my own heart…I saw the beautiful velvet pumpkins and I, too rushed to the sites only to find sticker shock and disappointment as I could not fit them into my budget. Your solution is perfect and affordable. I can’t wait to try them for next year. thanks for your research and step by step instruction. Have a great day.
Kari @meandmycaptain
I hope you share your pumpkins (even if it’s next year! 😉 ) Thanks for coming by, and for subscribing! Hugs!
OMG! These velvet pumpkins are what I was looking for ! They are so perfect!!! Indeed they are looking like you bought them spending a lot of money! Thank you so much for the great tips you are sharing with us!
Oh, Christina… thank you so much for the encouragement and ‘love’. I hope you are able to make them, and, if you do, be sure to email me a pic! Would love to share it on my social media! Hugs!
I loved your tutorial Julia and that bit about making sure the pumpkins have 80’s shoulders made me laugh. It’s such an apt description. Yours are a work of art. Love the colors and the fabric you used. So beautiful
Oh, thank you, Michelle, for all you sweet words! I’m glad the 80’s shoulders made you giggle. My sweet friend, Marissa, coined the phrase for me! She’s a hoot! Thanks for stopping in! Hugs and hearts!
Absolutely lovely Julie! I am featuring you today at TFT. Thanks for sharing your great ideas with us weekly! Have a great day!
https://followtheyellowbrickhome.com/for-the-love-of-pumpkins-at-thursday-favorite-things/
Thank you so much for the feature, Amber! I hope lots of people are able to make these and enjoy them in their homes! 😉 Hugs!
I finally decided to read a velvet pumpkin post..this one. “When your pumpkins pass away…”. Ahahaha! Well, now I know how they’re made. Thank you!
I’m so glad you chose to read my post, Liberty! Let me know if you ever try making your own! (BTW, I’m going to ‘harvest’ stems from my local pumpkin patch on Thursday! 😉 Woot!)
What a great job you did! Thanks so much for the tutorial. I’ll be sure to keep it on my radar for next fall. You’re fabulous!
Aw… thanks so much, Christine! They are my fave project this year, that’s for sure! Next year, different colors! I’m def going to have a collection! Hugs!
Faaaaaaabulous…..thank you!!
Oh, thank you! You made my day, Linda… You are SO welcome! Let me know if you create these this season! 😉
Julie, these are just so cute, and you’ve done a beautiful job sharing a tutorial. I LOVE THEM and have always wanted to try making them, but never felt confident in the process. thanks so much for linking up for the party!
Oh, so glad you like them! They are truly easy to create… I’m making some for my sister this season, in warm colors. 🙂
What do you use for the foam?
Hi, Terra… I use the shredded memory foam which is listed in the “What You Will Need” section above. 🙂 Let me know if you have any other questions. 🙂 Hope you enjoy making these!
I LOVE these pumpkins, Julie. I appreciate the 80’s shoulders reference even more this year after our 80’s night at Haven LOL! They truly do look like something you’d buy at a pricey boutique. I featured them tonight at Celebrate Your Story!
Hugs!
Rebecca
Thank you SO much for the feature, dear friend! Truly appreciate it!
These are ADORABLE, Julie! I had no idea you could buy real pumpkin stem?! What a great tutorial and entertaining writing too! I WORE those shoulder pads back in the day (channeling my inner Crystal Carrington)…LOL!
Yep… shoulder pads were very popular in my closet, too! LOL! Yep… pumpkin stems are pretty easy to find, and perfect for this project!
Ha – what a great idea Julie! You crack me up too! 🙂 These are just darling and the velvet is so elegant – thanks for the easy tutorial!
Oh, so glad you got my joke! Happy to liked the tutorial, too! This is probably my fave post to date! 😉
No doubt about it, Julie–your DIY velvet pumpkins are the prettiest I’ve seen! And your tutorial is so well-written. Thank you!!
Thanks so much for joining the Grace at Home party at Imparting Grace. I’m featuring you this week!
Aw.. you are TOO kind, Richella! I love creating these, and the are so budget-friendly, too! Thanks for the feature, and the lovely narrative on your blog, as well!
These are so pretty, Julie, love the colors you used too! Great tutorial too BTW and one I’ll be referring back to. Pinned 🙂
Thanks so much, Marie… Love linking up at Talk of the Town! And I love seeing your posts at TTA!
I love the colours you chose for your velevet pumpkins. They look fabulous.
Thanks, Claire… definitely a fave post of mine! 😉
Julie, I’ve been reading so many tutorials for making velvet pumpkins. I already bought some navy “velvet” at Joann, but decided to try the velvet you suggested and ordered a yard. The quality and the price looks very good. Thanks for the recommendation and thanks for sharing at Happiness is Homemade.
Oh, I can’t wait to see how they turn out! Be sure to let me know!
I especially love how you used natural stems. The whole project is so beautiful!
Thanks, Peg… I’m going to be doing some warm-toned ones this Saturday with Deeds!
These beautiful Julie! So love them! I wish I could own about one million velvet pumpkins because I love to put pumpkins everywhere for the fall season!
-Cherelle
Aw, thank you so much, Cherelle… yes, I think velvet pumpkins will be around for a while, so we can make lots and lots! 😉
Julie,
I’m a bit behind this week in my blogging, but I just love this post! What a great tutorial! Each year we go to a pumpkin farm and I am going to gather pumpkin stems and make these. They really turned out beautifully. Fabulous job and thanks for sharing.
No worries… I just found your comment in my spam folder! Sometimes that happens. Thanks for the kind words! It’s a fave post of mine, for sure!
Woot woot! I followed this link from Thistlekeeping!! Beautiful project!
Thank you! LOL! I was featured yesterday, too! God is good!
We are so excited that you participated! Thank you for sharing your creativity! This is so cute!
Thank you so much!
What a great addition to our linky party! We are so happy to have you!
Thanks Beth!
Thank you for the great tutorial!!
Of course, Jenna!
Julie,
I love your velvet pumpkins. Congratulations, you are being featured at Thursday Favorite Things. I hope to see you there. https://www.eclecticredbarn.com/2020/09/thursday-favorite-things.html
Hugs,
Bev
Oh, thank you so much, Bev!!!
Well, as a petite woman I have to say I quite enjoyed the 80’s shoulders in the day and I’m absolutely loving your fabulous velvet pumpkins just as much Julie. Great tutorial sweetie!
Thank you for sharing how to make velvet pumpkins like a pro at Create, Bake, Grow & Gather this week. I’m delighted to be featuring this DIY at tomorrow’s party and pinning too.
Hugs,
Kerryanne
Aw, thank you, Kerryanne! I have to agree… shoulder pads were a fave of mine in the 80s, as well! 😉
These are just gorgeous Julie!!! And I love your color palette! Thanks so much for sharing them at Farmhouse Friday!
Thanks, Michelle! They are a fave!
Love this Julie! And congratulations on your Embracing Home and Family feature!
Thank you, friend! You, too! 😉
Great tutorial! These look store bought and your color choices are beautiful! Thanks for sharing Julie!
Thanks, Kristi! The owner of the designer brand recently mistook them for hers! Asked me if I would tag her on the IG post! LOL!
Hi, Julie. Your velvet pumpkins are delightful and I look forward to making them for my home. And, thank you for the link to the fabric store on Etsy!
I didn’t see in the tutorial how much velvet to buy for each pimpkin.
Thank you in advance for your response.
Kind Regards,
Linda Hayes-Trent
Oh, thank you for the sweet words, Linda. As far as fabric is concerned… I purchased one yard of each color and it was MORE than enough to do any size pumpkin, and have PLENTY left for more! I could probably get 4 of the largest ones done with one yard, easily. I guess I didn’t note the yardage because there is a one yard minimum, and that’s all I bought of each color. 😉
Thank you.
Of course! Hugs and hearts!
Love your tutorial for making these lovely pumpkins! I saved my stems and hope to make pumpkins by Fall!
Woot! Smart girl, Cecilia! You’re gonna love ’em! 😉
Wonderful tutorial Julie. Can’t wait to make some!
Make sure you send me some photos via email, Regina! 😉
I finally found a tutorial on how to make velvet pumpkins with “shoulders”. I could not figure out how to do them!!! Thanks so much, Julie. I’m going to be making 30 small pumpkins as favors for the “fall in love” bridal shower i am giving my niece!
Oh, I am THRILLED that you found this post! Woot! And what a great party favor for fall! When they are done, I would LOVE to see the finished product. Just send photos to my email at [email protected] . 🙂 Have fun!
These are absolutely beautiful, Julie! Your tutorial is excellent also. I have everything needed on order and can’t wait to try them. Thanks for sharing. Pinned!
Oh… be sure to send me a pic when you are done!
Julie, you already know that I love your velvet pumpkins. . . but I just can’t help myself. Thank you for sharing them at the Grace at Home party. I’m featuring you this week, because people need to see these gorgeous pumpkins!!
Thank you so much, Richella! You are too kind!
For smaller pumpkins I found that stems dried from my peppers was just the right size & you can also use squash stems, gourds just go with your imagination.
Oh, super smart, Fernie! I would have never thought about the pepper stems!
Julie, your pumpkins are absolutely gorgeous! What a great tutorial! Thanks for sharing your special gift with us! I was going to make some of these last year but just didn’t get around to it — this year for sure.
Also, I just love the way you displayed them — so pretty!
Hope you are all settled in your new place. So happy for you! I know you will really enjoy the extra room you have. Bless you for taking care of your dear Mom! God will bless you for this, Julie!
So good to hear from you, Mary-Ann! Would love to see your pumpkins when you are done! Mom and I are settling. I only have about 5 boxes left in my room… always the last room to get settled.
Fantastic velvet pumpkins! I love how you used real stems and the beautiful colors you choose. Thanks for sharing how you made them and easy to follow steps too.
Gorgeous!! I’ve never actually seen a tutorial for making velvet pumpkins…this is fantastic, Julie! Yours turned out SO GOOD! They are so perfect for fall!
Aw… thank you so much. This is def one of my most popular posts. It was SUPER fun creating them! I need to do some neutral ones this year!
Oh, boy Julie, I saved my pumpkin stems from last year, and my husband has a shirt he never wears that is a velvet-type material! I see a DIY in my near future! Thanks for the great tutorial!
So fun! Be sure to send me a photo when you finish!
These are beautiful! I’m definitely going to try to make some velvet pumpkins this year. Thanks for the tip about the embroidery thread because that’s what I was going to use since I have a ton on hand. I’d love for you to come over and share your posts over on Crafty Creators Link Party, open Thursdays at 6am CST thru Monday nights. Hope to see you there!
XOXO,
Niki
Thank you so much, Niki! I’ll definitely bop on over to your party! Thanks for the invite!
These are beautiful!
Thank you so much, Susan… they are my fave project ever, especially because it was the first time my photography actually LOOKED blog-worthy. LOL! We’d love for you to come and join us at the Tuesday Turn About link party! Catch us when we open the party this coming Tuesday!
What pretty velvet pumpkins, Julie!! I love the colors you chose! I’m featuring them Saturday in my weekend roundup post! Thanks so much for the great DIY!
Thank you so much for the feature, Kim… I just visited…. asked you an affiliate question, too! 😉
Hi Julie – Thank you so much for sharing this with Fabulous Friday Link Party. We are featuring it this week. Congratulations
Thank you so much! #blessed!
Loved your pumpkins; I have never made velvet ones; 2 years ago I bought a lot of $1 clothes at Goodwill and made a bunch. My faves were the ones made from purple satin PJ legs (didn’t notice that they were Victoria’s Secret til I started cutting, but they were too small for me!) and orange cable sweater sleeves! I asked my daughter to save me some squash and pumpkin stems and she looked at me funny–like they were gonna drop a big net on me til I explained why I wanted them! Had to laugh about your shoulder pads–I have very straight shoulders; first thing I would do to a blazer or blouse is take them out–I would look like a linebacker!
Oh, thank you, Kathy! It’s so fun that you have made your own! They sound lovely! Yes… I’m sure I looked like a football player at times, too! LOL!
What beautiful pumpkins! I love velvet in decorating. I am thinking I may be able to try your tutorial here with some left over velvet from our curtains in our living room. Thank you so much for sharing, let’s see if I can pull this off!
Oooo! Great upcycle idea, Cara! Let me know how it goes!
Still love these beauties, Julie! But even though the blogosphere is, I’m not quite ready to let go of summer and decorate for fall quite yet 🙂
I get that… I just hung my fall wreath on the front door, even though I’m not ready! (It’s new and is just gorgeous. Couldn’t make it myself for less!)