9 Steps to No Fail Boxed Furniture Assembly
Are you trying to figure out how to assemble boxed furniture (aka flat pack furniture) and find the process daunting? Use these 9 steps to no fail boxed furniture assembly, even if there is just one person!
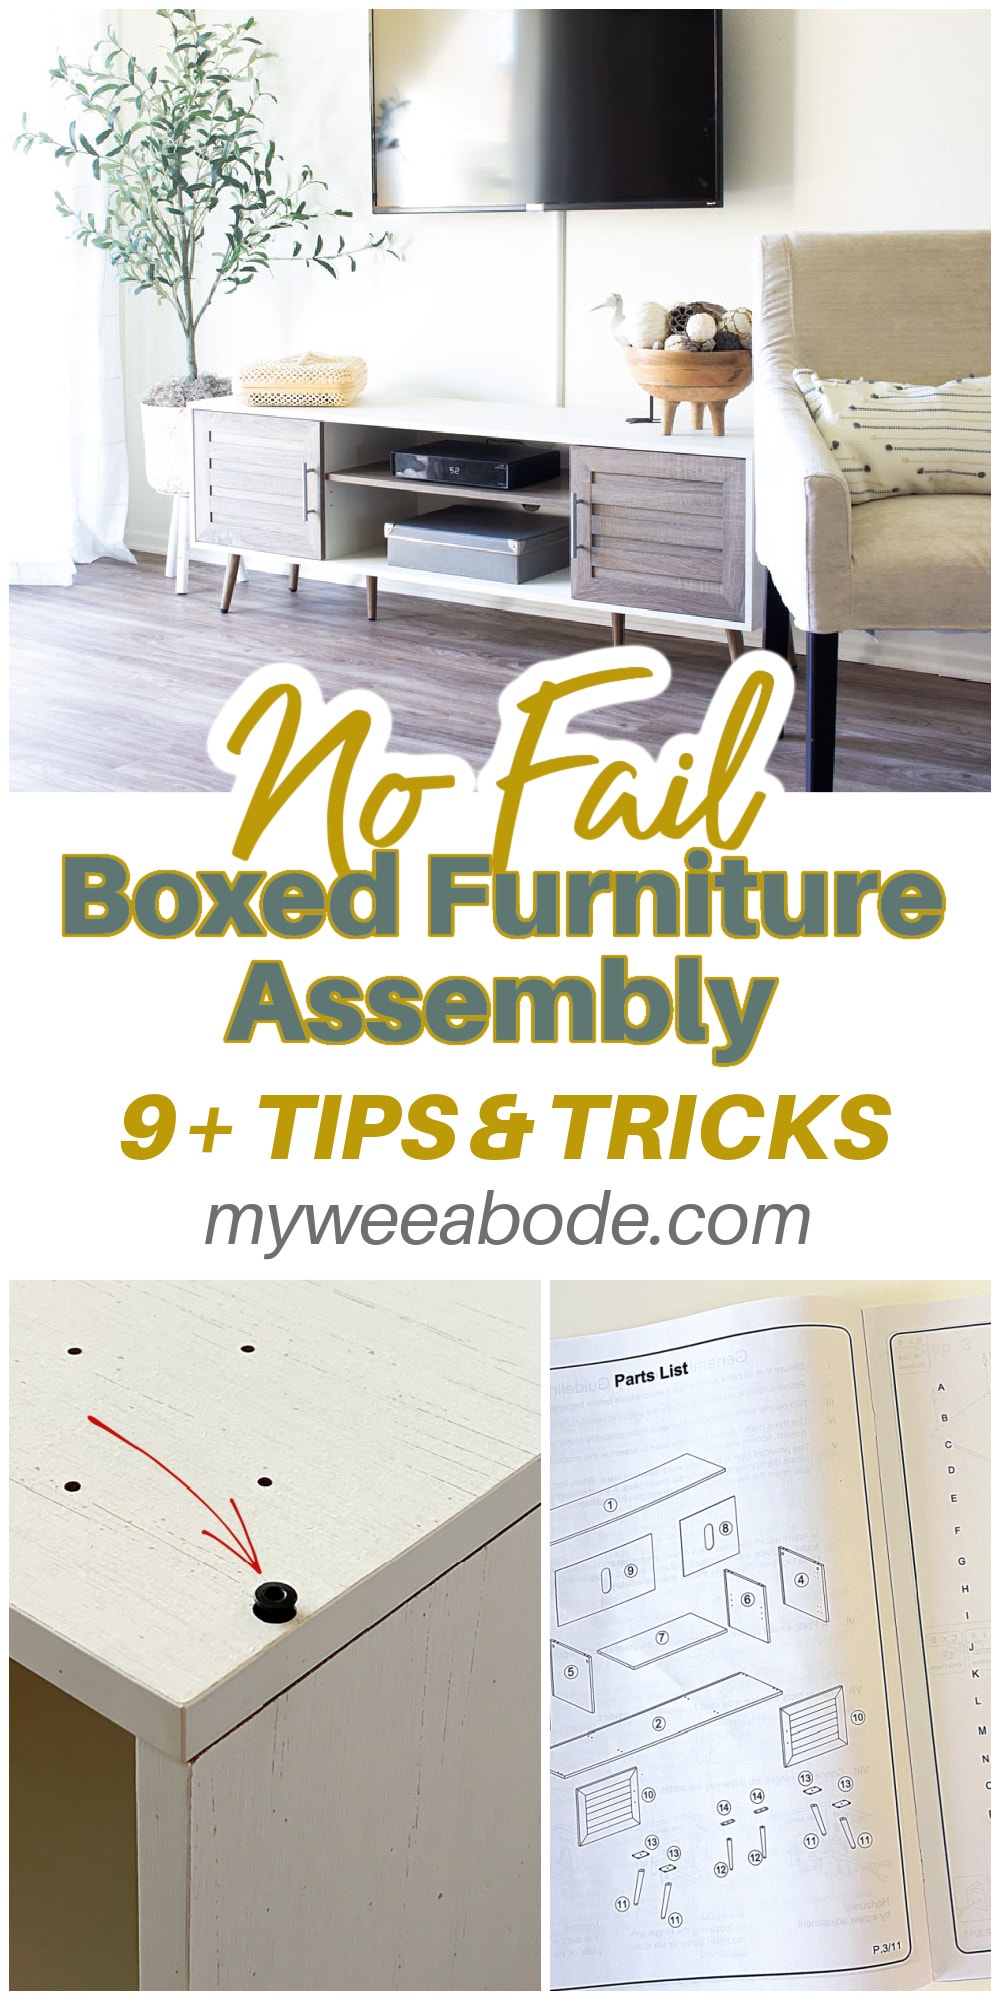
9 STEPS TO NO FAIL BOXED FURNITURE ASSEMBLY
If you’ve been following My Wee Abode, even for just a short time, you may have noticed the new TV console in the summer home tour. (It also just happened to be the “premier” of My Wee Abode 2.0, unless you count this ugly introduction as the premier.)
Well, I mentioned in that post that I assembled the new piece of furniture in about 2 hours… BY MYSELF!
Yep… all by my lonesome! And what’s more… I assembled the flat pack furniture piece with NO MISTAKES!
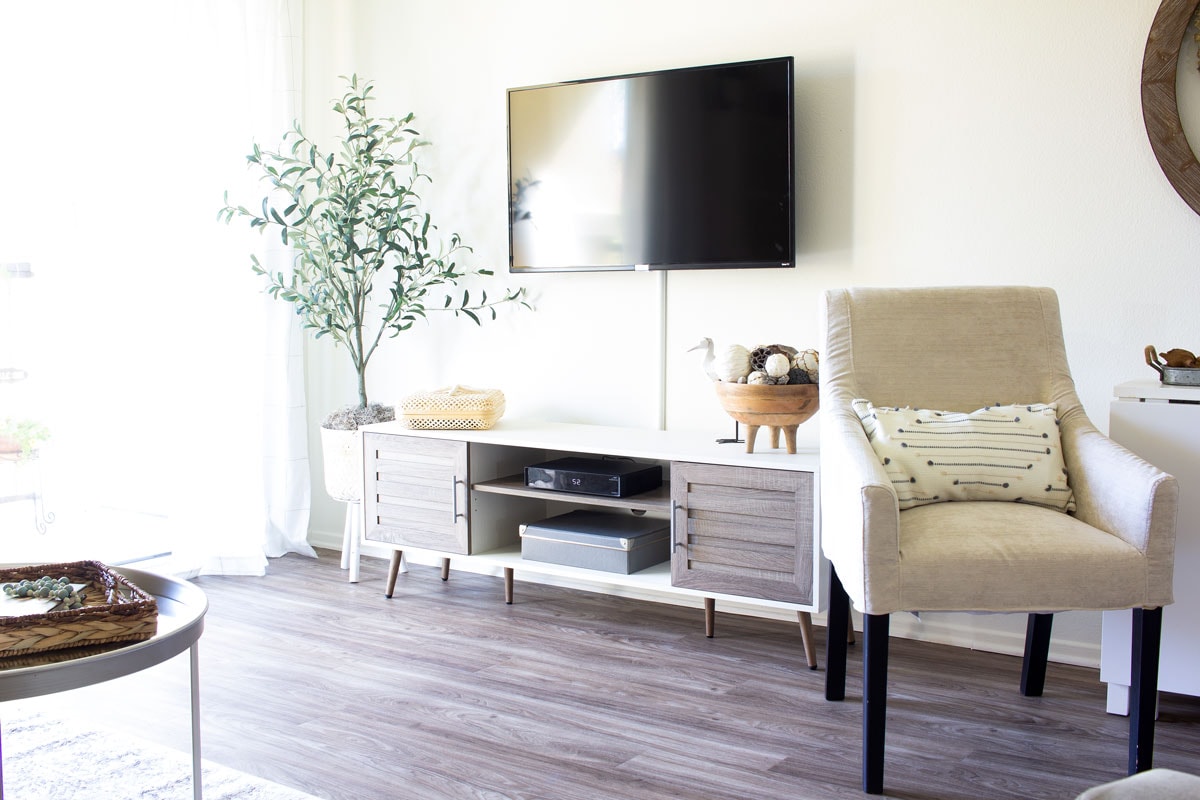
Will miracles never cease?! (Praise God, no, no they won’t cease!)
Ain’t gonna lie… This is the FIRST time I have built a ready-to-assemble furniture piece with no mistakes.
Let me tell ya, at the end of the process, I was a bit shocked… and super pumped!
So today, I’m going to share with you 9 (maybe ten?) tips to assembling a boxed TV console.
Of course, these tips/tricks are general tips, so they will work with any type of boxed furniture assembly!
This post may contain affiliate links, at no additional cost to you. For more information, see my complete disclosure HERE.
What is Boxed Furniture?
Boxed furniture is produced in flat parts and then assembled when purchased without the need of special tools (for the most part).
They are packed in individual flat-packed boxes (thus the popular aka “flat pack furniture”) and come with the necessary hardware for assembly, including instructions. (Depending on the piece of furniture, they can have 5 components to assemble, or over 50!)
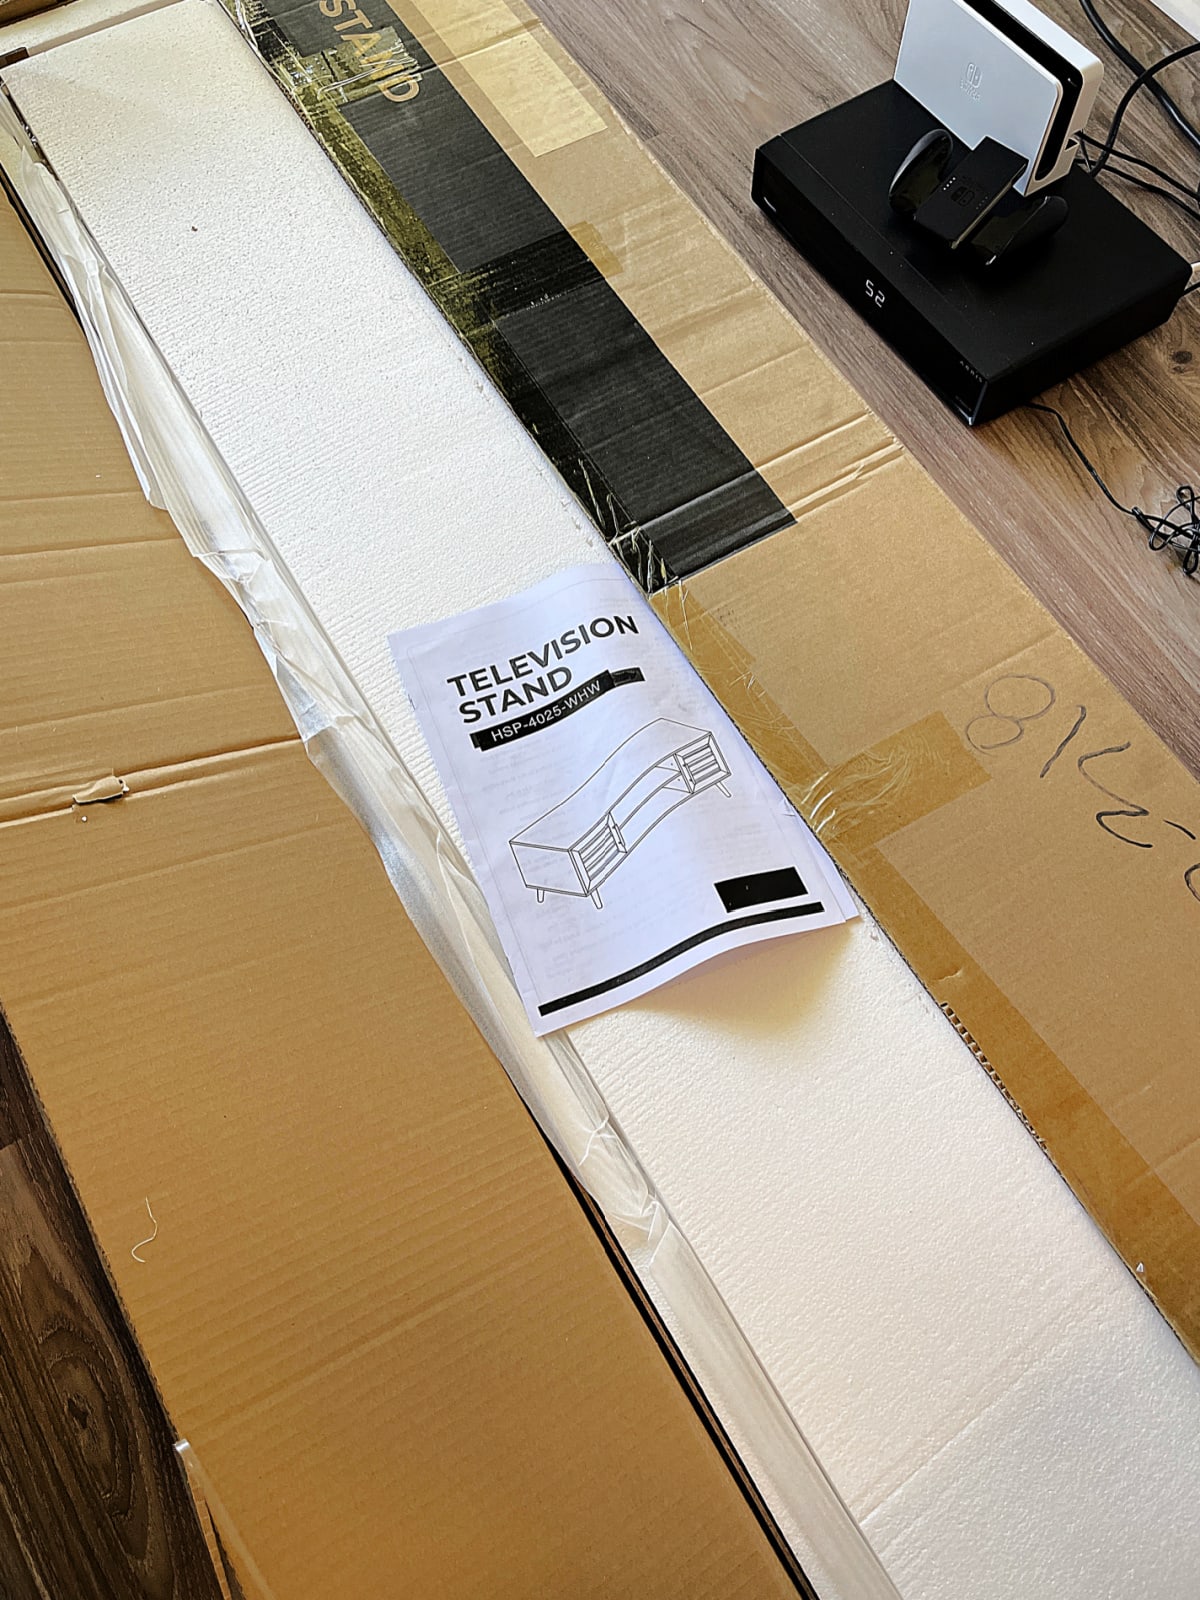
One of the most popular boxed furniture retailers is IKEA, with stores in over 25 countries. But in this instance, my TV stand was purchased at Wayfair.
Y’all… I have NEVER used the term ‘flat pack furniture’ in my life, until I started researching for this post. Just sayin’.
However, the term ‘flat pack’ was used more than any term I found.
When I Google the term I use, which is ‘boxed furniture’, the terms that appear are:
- Flat Pack (I believe this is an (a? an?) European term)
- Ready-to-Assemble (RTA) furniture
- Self-Assemble Furniture
- Kit Furniture
- Boxed Furniture is actually the least popular term, so it seems.
How to Put Together a Flat Pack Furniture Piece the Easy Way
Step One: Read Through ALL the Instructions
Okay, y’all… I am SO guilty of not reading through ALL the instructions that come with ready-to-assemble furniture.
You, too?! We must be twins!
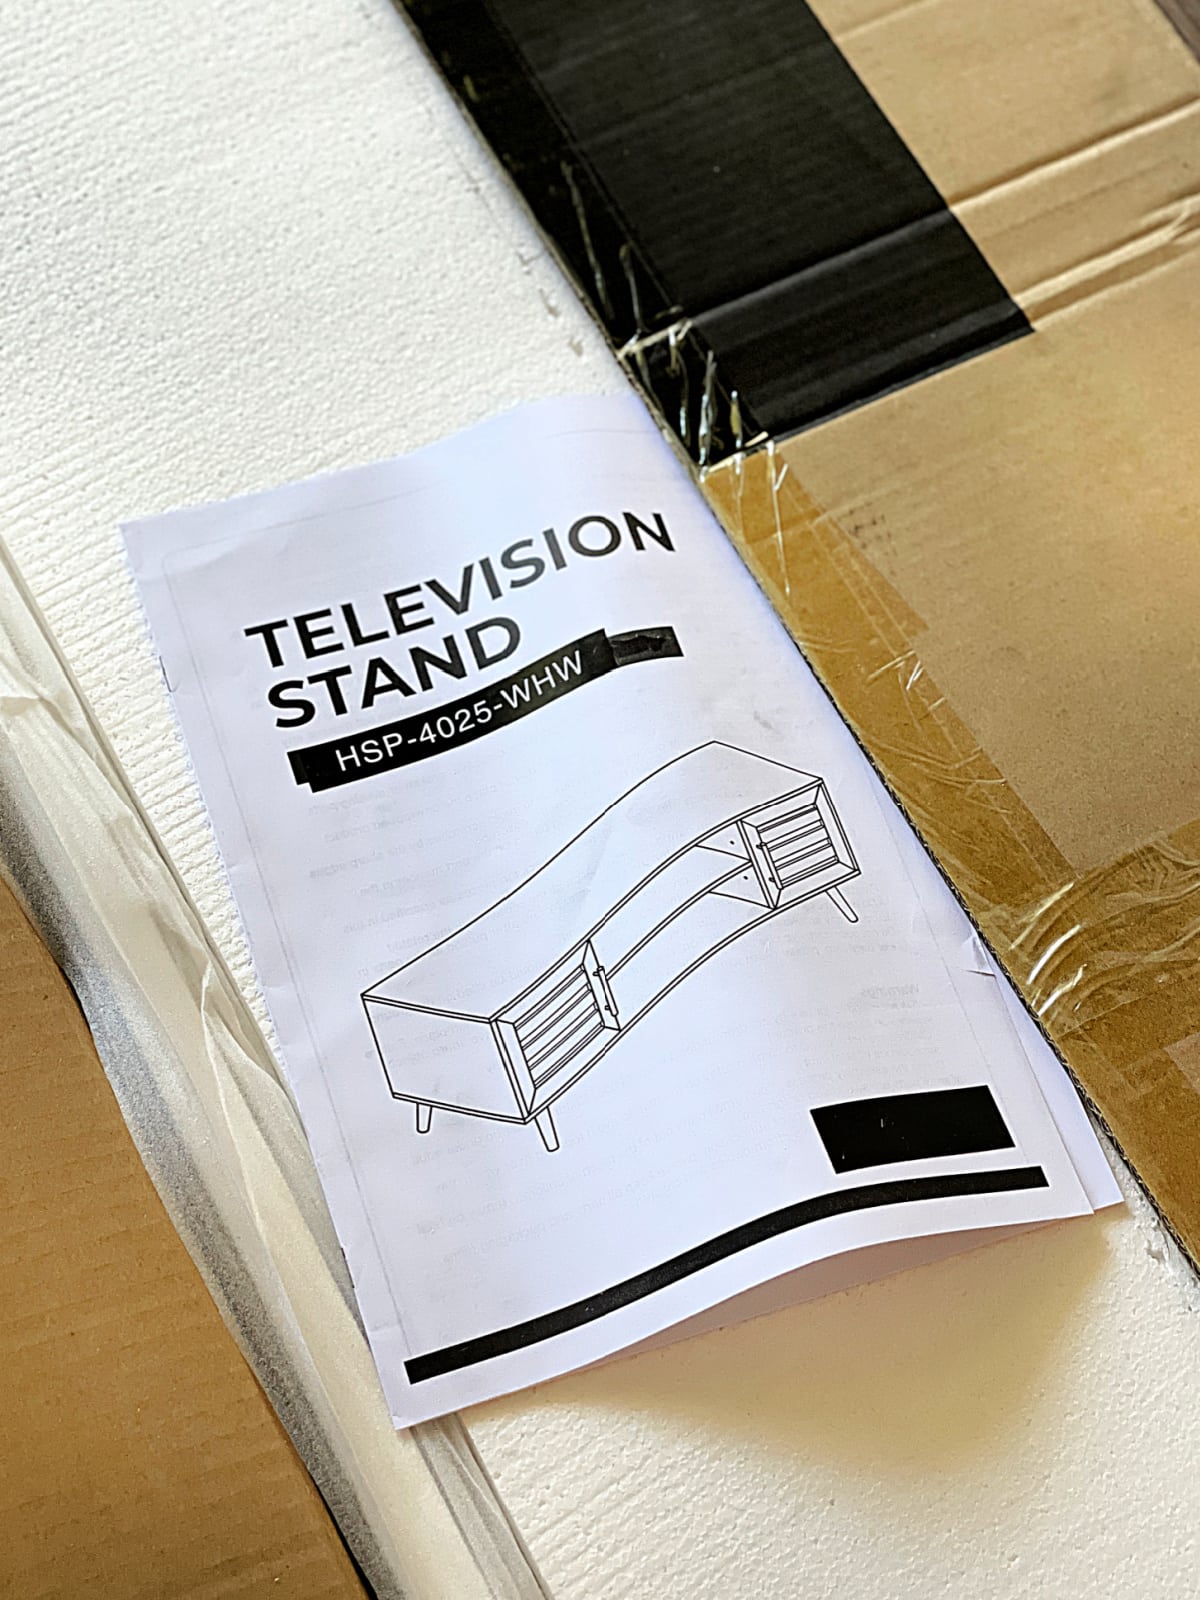
I find that often, we all think we ‘know what’s going on’. But, the truth is, we all can, and should, be learning all the time!
So, take that 5 minutes to ‘perfection’, and read all the instruction manual.
Step Two: Especially Read the General Instructions
Let’s keep it real here. I have NEVER read completely through the General Instructions in an assembly manual. You know why?
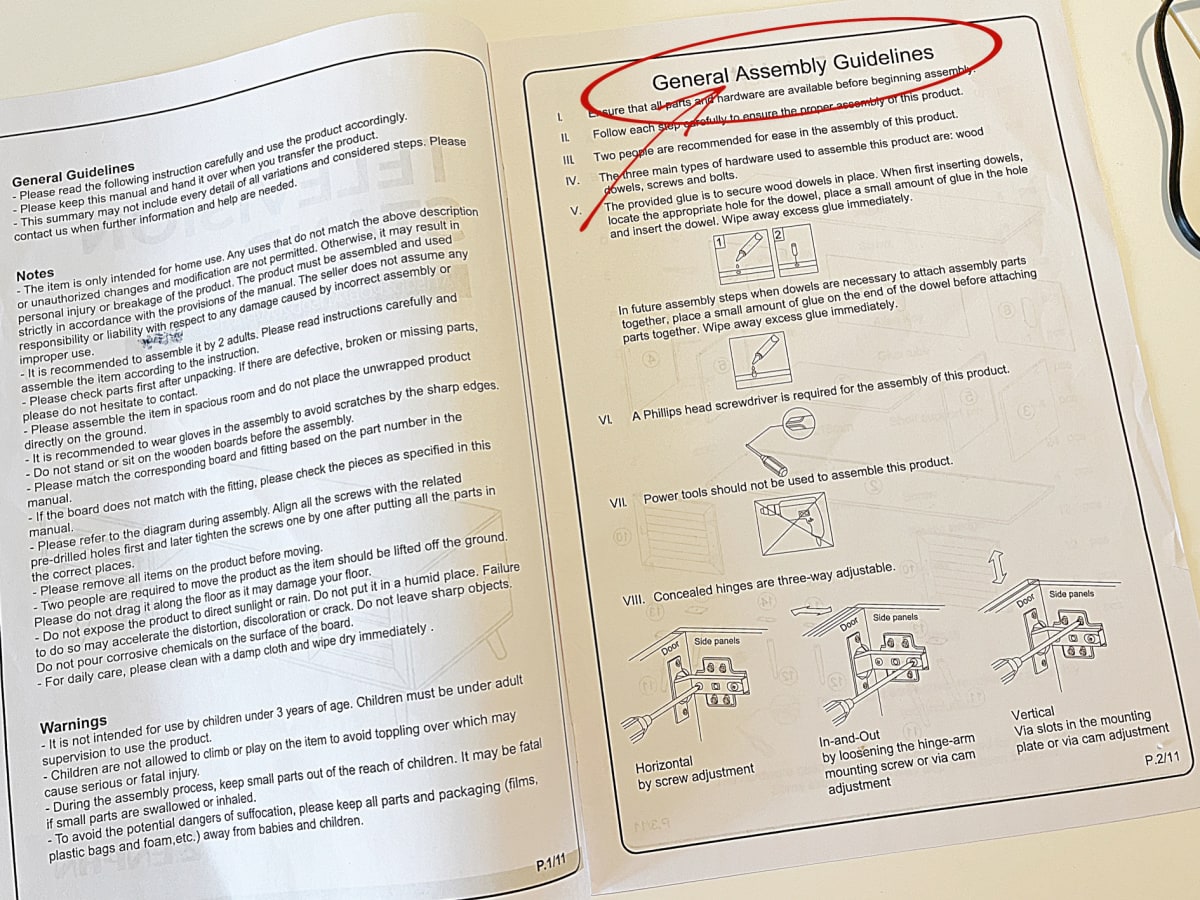
Because, most of the time the instructions seem to be written for those with no common sense. Am I right?
Well, this time, I decided to read the General Instructions, and I actually learned a thing or two. (There’s that “we all can, and should, be learning all the time!”)
- Use a drop of glue inside the hole where the wooden dowels are placed, and…
- How to use the adjustable hinges.
Step Three: Collect the Tools You Will Need
This is one step I often forget about. Be sure to collect the extra tools you will need to assemble your flat pack furniture.
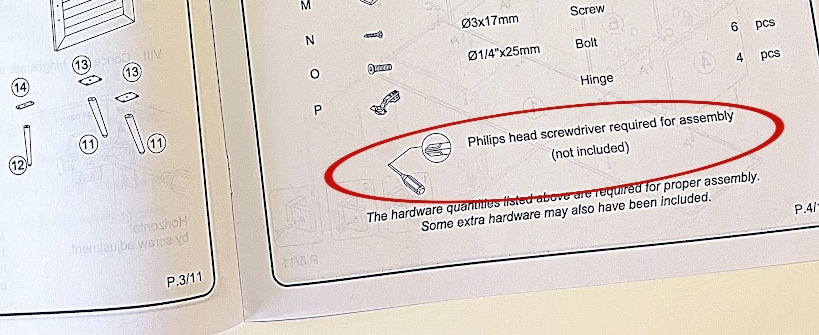
Items you may need:
- Phillips (cross head) or flat head screwdriver
- Power drill
- Allen wrench (often included with the hardware package)
- Level
With my TV console, a Phillips screwdriver was all I needed!
Step Four: Take Inventory of All Pieces and Hardware
This is probably THE most important step.
After thoroughly reading the instructions, lay out all your separate pieces and hardware.
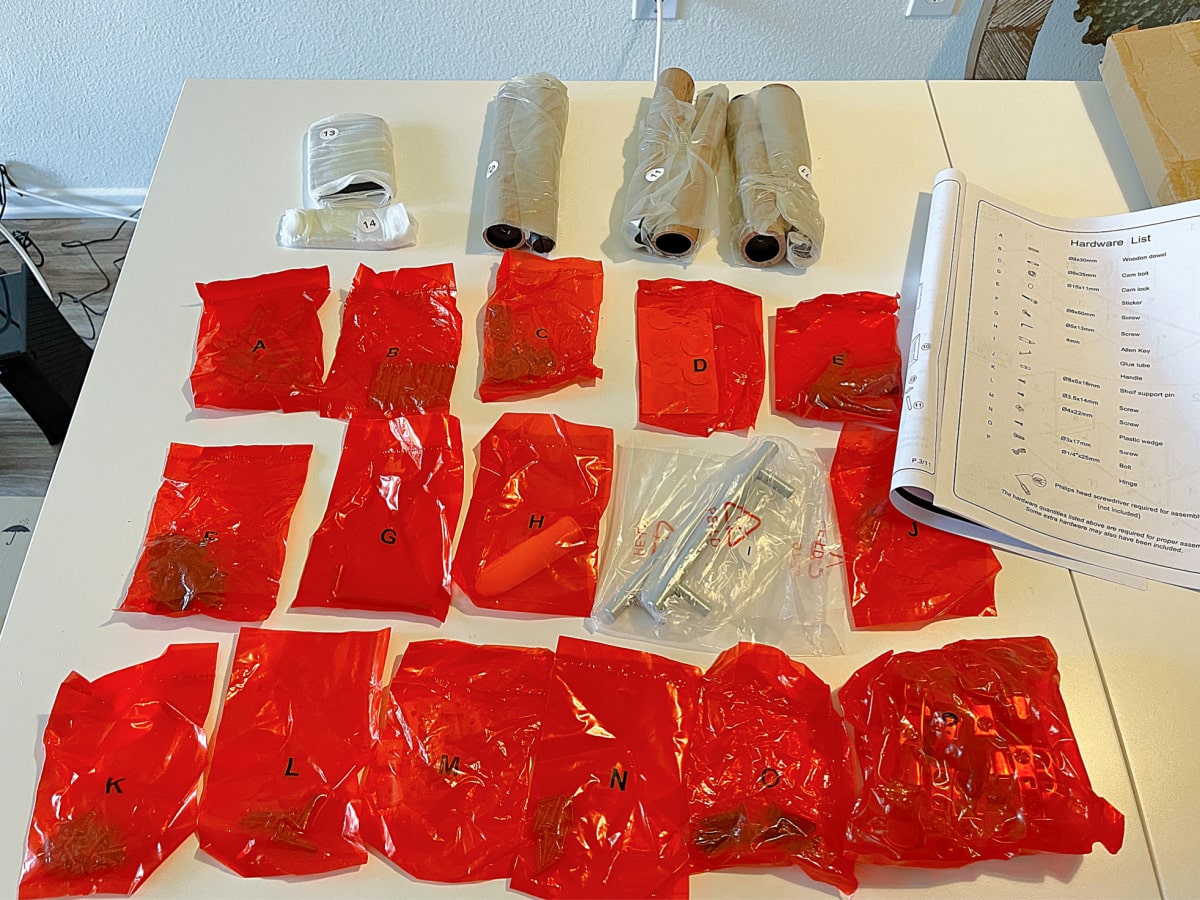
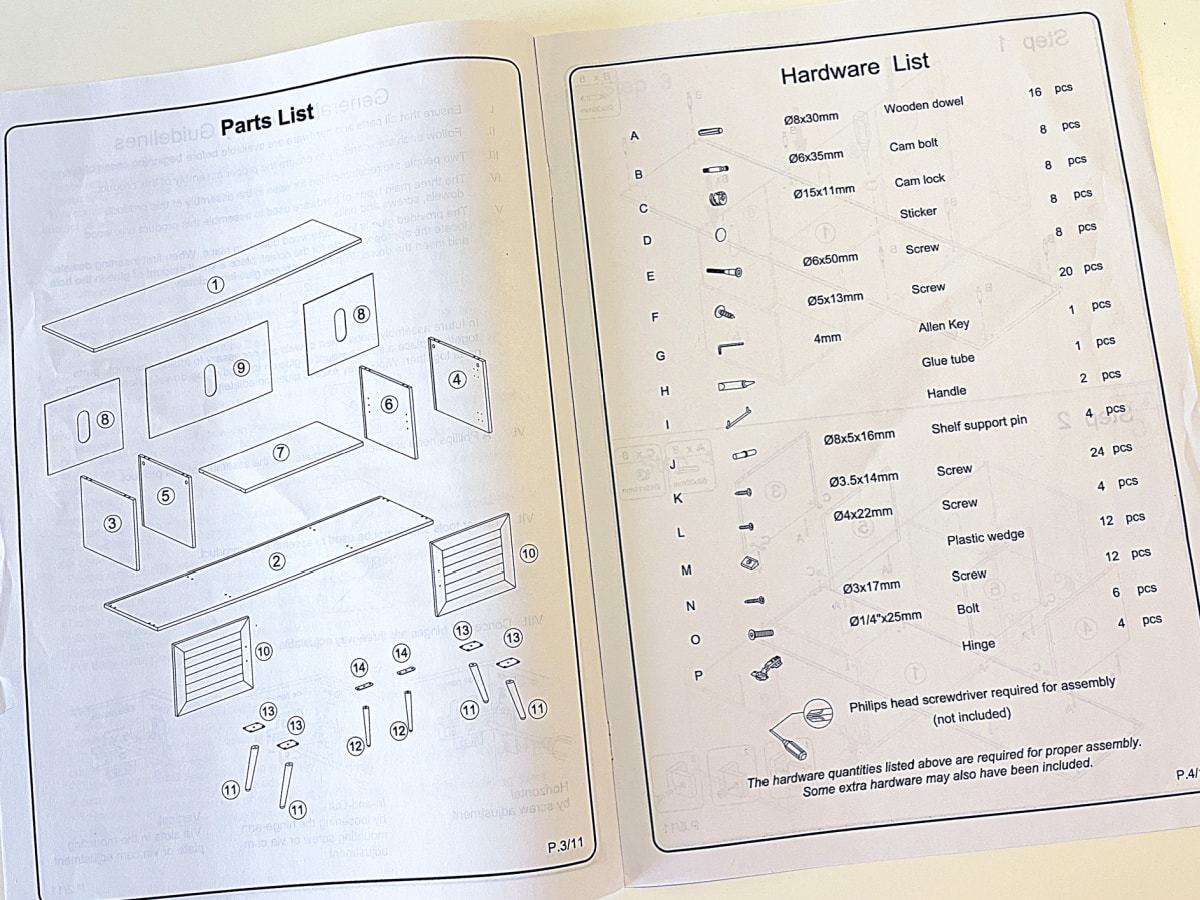
Then, take a complete inventory of the items you have and check it against the list in the instructions. You should have exactly the same amount on the list, or more!
Here’s a quick video with some additional tips for taking inventory:
Step Five: Assemble Your Flat Pack Furniture on a Soft Surface
No matter how tempted you might be to assemble on your plank floor (I know I was), build your ready-to-assemble furniture on a surface that won’t scratch the pieces.
Either assemble on a carpeted area, a rug, or lay down a substantial blanket (I used one of my Egyptian cotton blankets. Worked great!)
Step Six: Build Your Furniture In a Convenient Location
Wait a second, wait a second…
I know it sounds strange… “assemble in a convenient location”, but hear me out. 🙂
What this means is, assemble your furniture in an area that is close to where the item will be placed. This will not only make it convenient for final placement of the piece, but it may help avoid back injuries! 😉 (No human being was hurt during the making of this TV stand.)
Step Seven: Don’t Rush!
My encouragement to you would be to assemble your flat pack furniture at a time where you don’t have to rush.
Maybe a Saturday morning, when you DON’T have to be at a soccer game at noon.
Or perhaps a Wednesday afternoon, when the hubs and kids are away, and there are no distractions.
You get the picture, right?
Take your time… relax… enjoy the process. (Really, you CAN enjoy the process!)

Step Eight: Follow the Directions for Boxed Furniture Assembly!
I know I’ve said to *read through* the directions. But now, what’s even more important… you need to follow the directions.
This means completing each step in order…
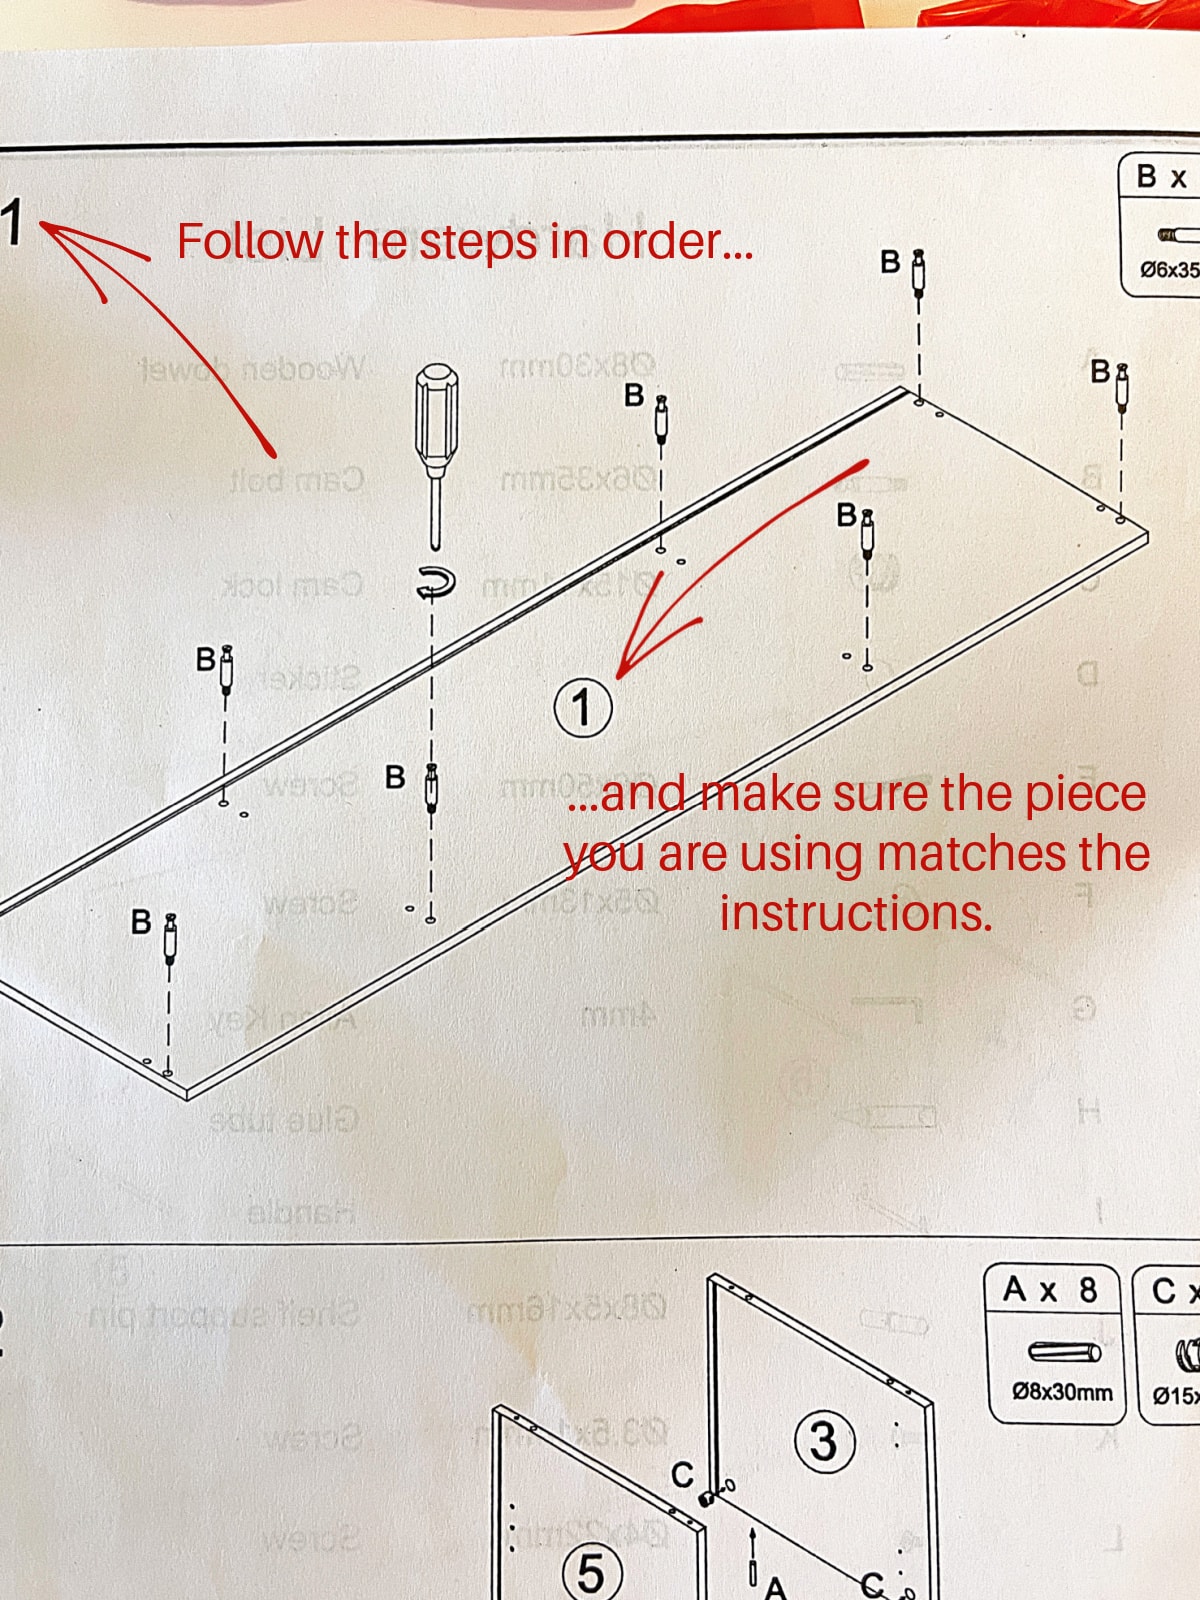
…and make sure you are using the correct items as you go along.
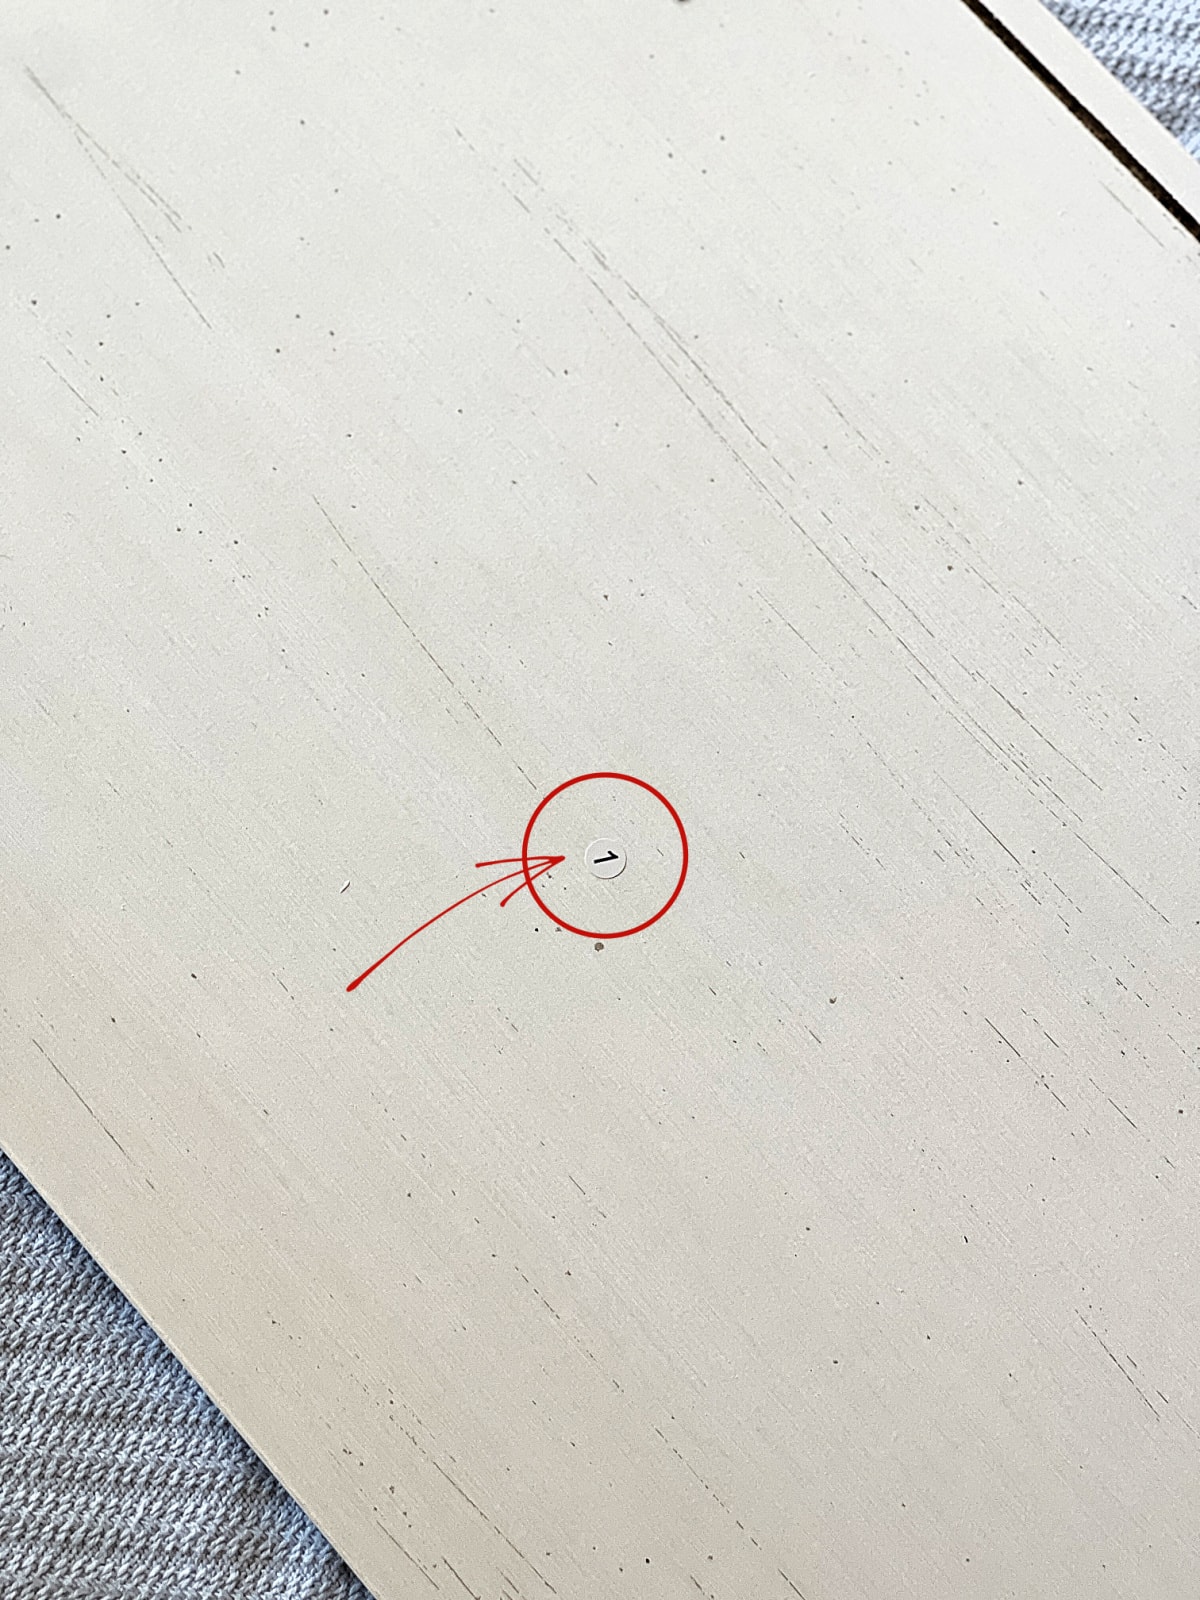
Usually the pieces are numbered on the actual pieces AND in the diagrams.
Step Nine: Wait to Tighten-Down Hardware
Pro-tip!
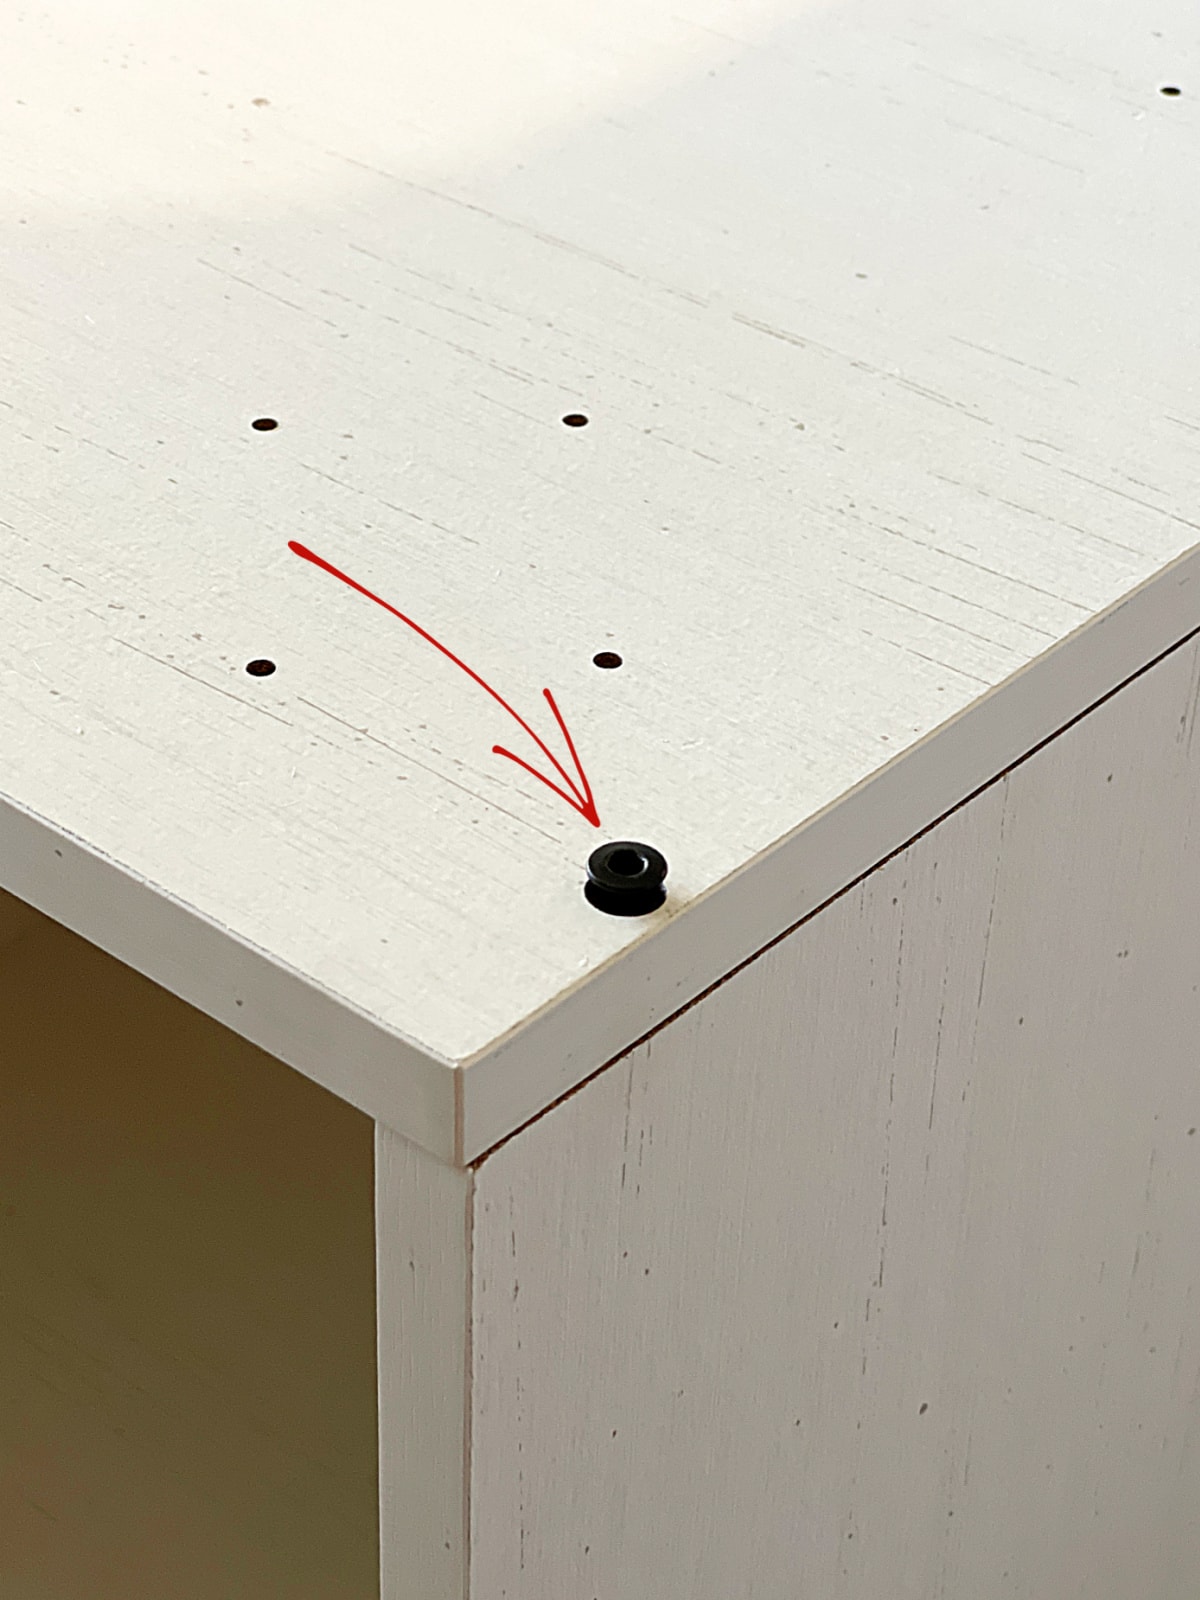
When adding multiple screws or screw-type hardware, don’t completely tighten down each screw as you go. In each step of the build, screw all the pieces in about halfway, then go through again and tighten-down each one. This will help with adjustment of the furniture pieces as you go.
Step Ten: Gently Place Your Flat Pack Furniture
I know. I said there were 9 steps, but I miscounted!
The TV console that I put together was mostly done top-side-down. So, when I went to turn the furniture on its right side, I noticed there was too much angular pressure on the legs. (I know there is a term for this, it just escapes me right now.)
Well, the smart DIYer that I am, I decided to go ahead and turn my console upright, by myself. By God’s grace, there was no damage done. However since then, when moving the console to clean under it, I pick up each end and move it gently. (No sliding.)
The moral of the story… if you can, wait for the hubs or kids to get back from work/school and let them help you gently place your furniture where it goes. (I know… probably ain’t gonna happen. I don’t blame you. But, I’d be remiss if I didn’t warn you. 😉 )
Bonus Step Eleven: Stand Back and Admire Your Work!
Okay, okay… I know this isn’t necessarily a ‘step’, but sometimes we can forget to enjoy the RESULTS after we’ve completed the process!
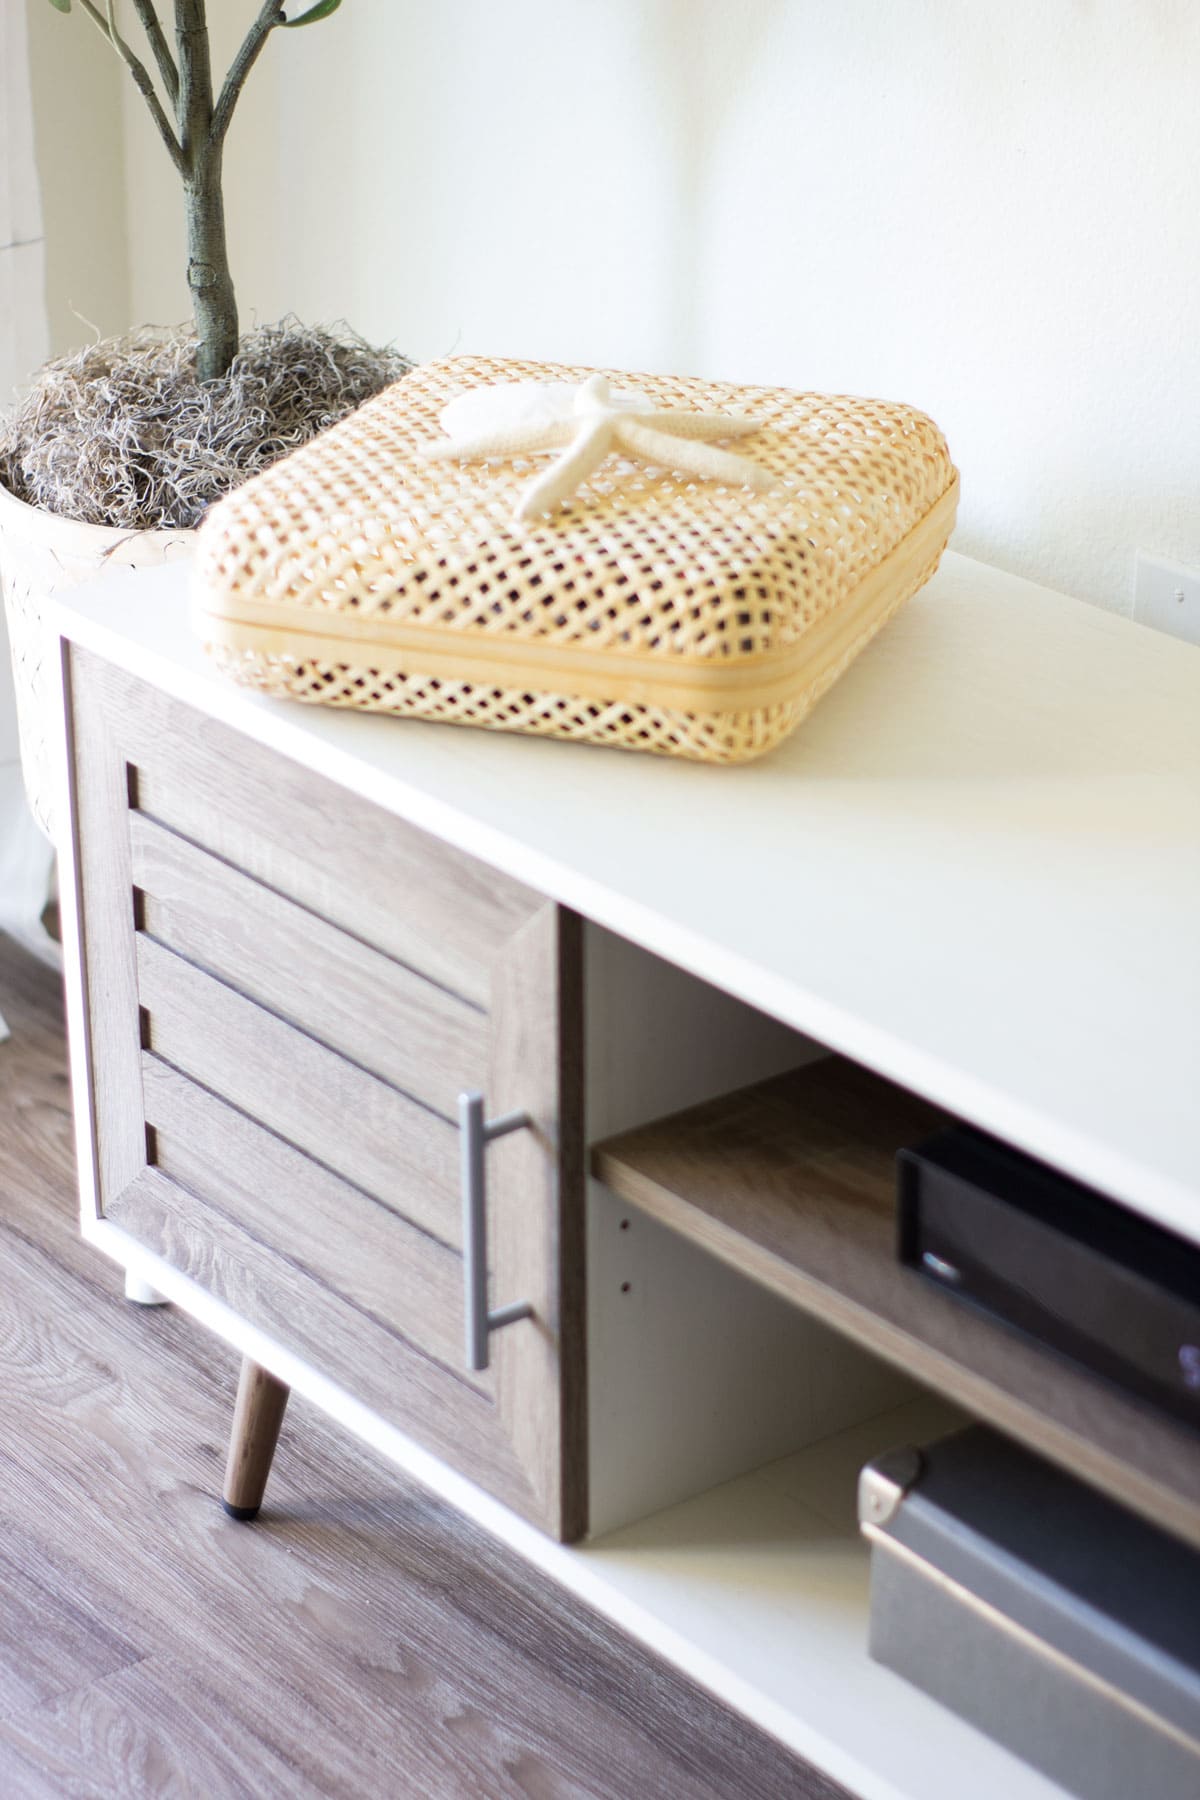
Be sure to sit down and just take a gander at the completed project! Isn’t your handy-work just lovely?!

9 Steps to No Fail Boxed Furniture Assembly
By the way… If you DO decide to tackle these 9 (okay, 10) steps to no fail boxed furniture furniture assembly, just know I, for one, am PROUD of you! Maybe even a little more than I am of myself!
Let me know if you’ve “built” your own TV console, dresser, or side table, etc. I’d LOVE to know YOUR secrets, too! Just leave a comment for me below!




Excellent and it looks great!
Thank you so much, Josee! It was fun to put together!
Great tips, and I would add one more: if you’re not going to assemble the furniture right away, still check for ALL parts so that if it needs to be returned, it can be done so within the seller’s time limit. I made this mistake this spring with a hose cart from Sam’s. One piece was damaged (E6000 to the rescue), and 1 washer missing (on hand). But even if I could’ve exchanged it, they were sold out.
All these tips are true for sewing too. 🙂
Jellybean is adorable.
And the tv console looks amazing. Big pat on your own back!
Oh!!! That is a WONDERFUL tip! Now I need to run out and check my IKEA Rast that I have had for 5 years now! LOL! Just another project waiting to be done! And thanks… I think our Jasper is adorable, too… and he’s a VERY good baby!
Or you tell your kids you’ve pinned a great idea to help them with this new piece of furniture they need to put together for you. LOL.
Now THAT is an amazing tip (and trick)! I’m gonna start calling you Huck!
Oh my gosh, I wish you had written this post and that I had read it a couple of years ago when I had to assemble “flat packed” IKEA furniture. I like your tips about being patient and taking your time – oh and assemble the piece close to the area it will be placed. We could learn a lot from Jelly Bean.
Thank you for sharing.
I’m a week late, Anna… but your comment made me giggle. Thanks for stopping in and reading the post. Yes, Jelly Bean #5 teaches me many things! 😉
Great tips Julie! And your cabinet looks great! I’ve put together too many Ikea pieces to count, and like my fellow Commenters, wish I had had your excellent ideas before it took me three or four tries to figure them out myself. I don’t know why it’s so hard to read all the directions first … ! I’ve never heard the term flat pack either, but it’s very descriptive. Thanks for the tricks and inspiration, and the happy-making photo of your little one. 😊
Thanks for visiting, Barbara! Yes… sometimes taking that extra minute or two really helps! 😉