
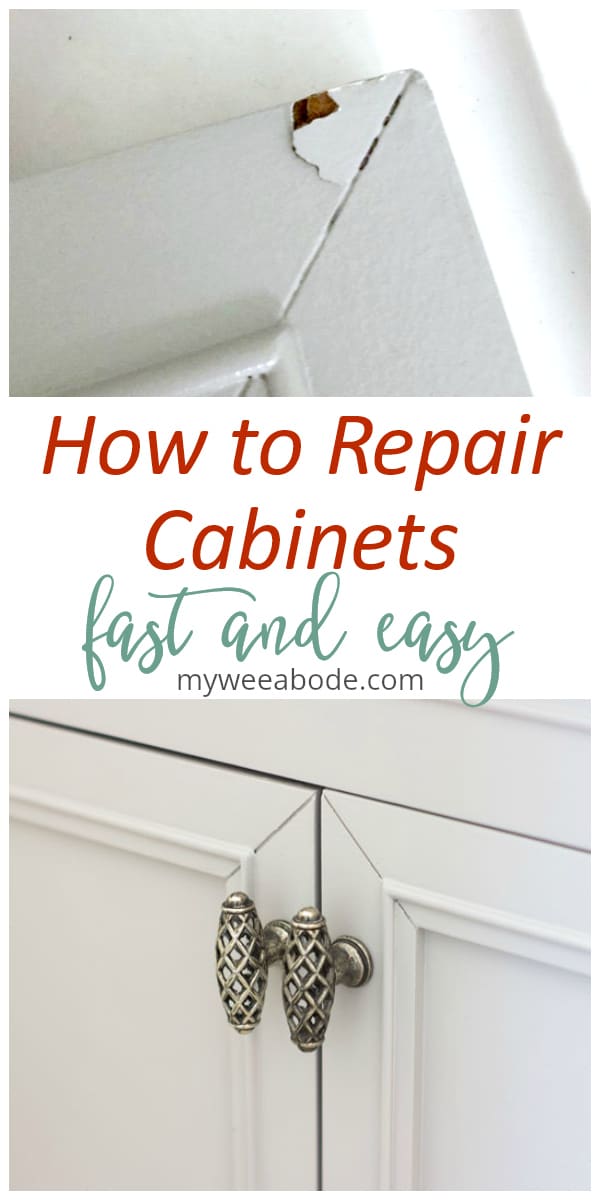
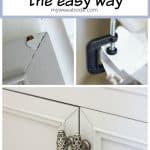
How to Repair Cabinets the Fast and Easy Way
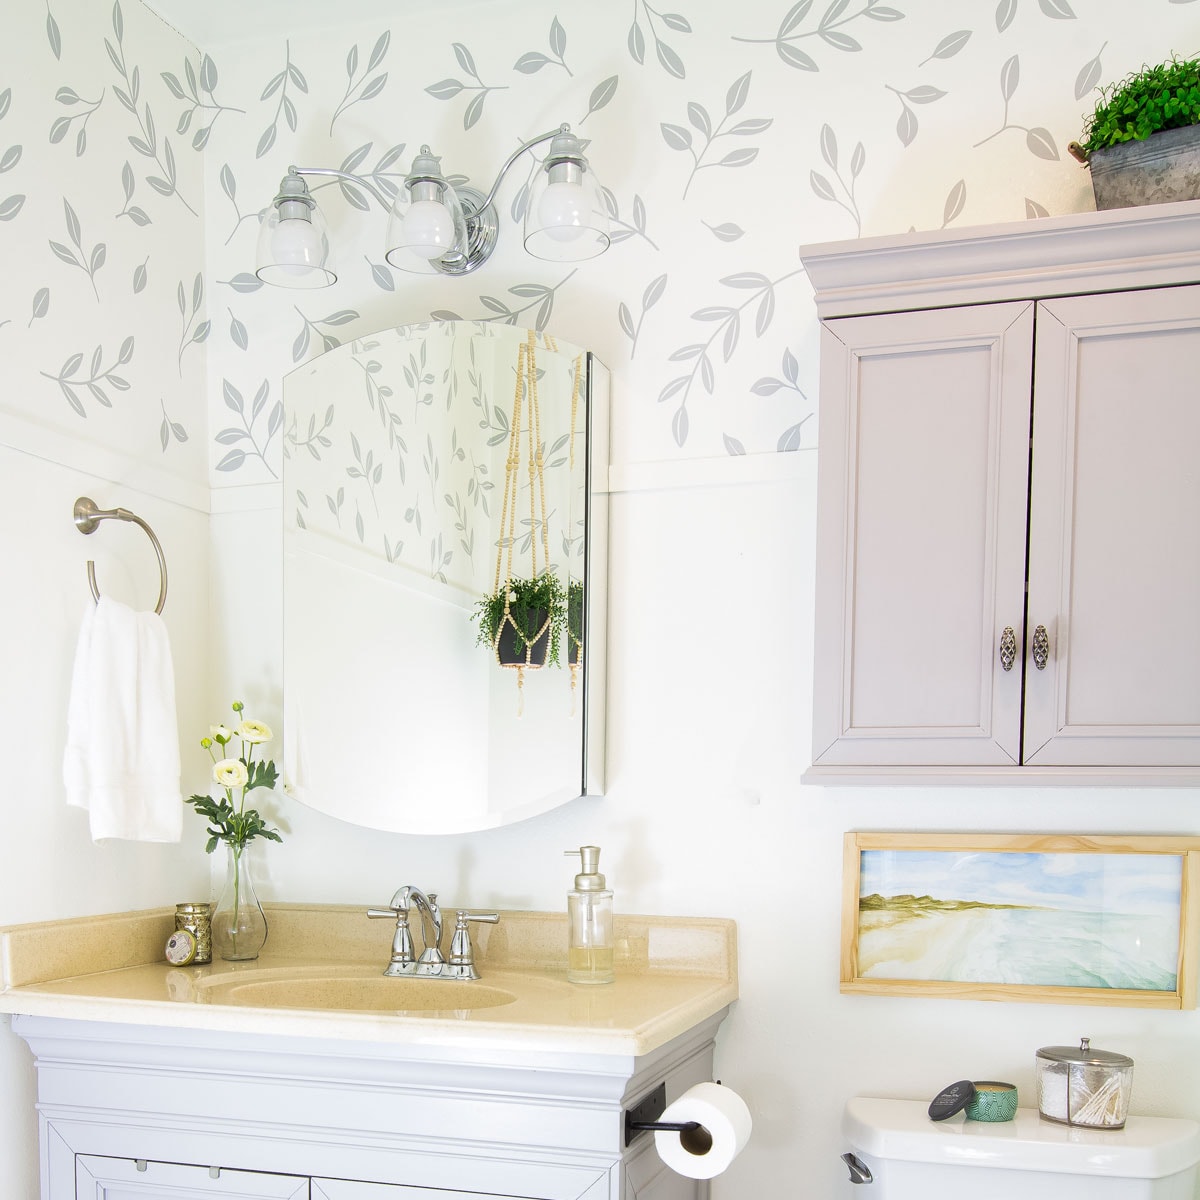
Looking to update your bathroom cabinets? Upon a closer look at your cupboards, you may find out you need a DIY cabinet door repair. Whether your cabinets are MDF or particleboard, let’s learn how to repair cabinets the fast and easy way.
HOW TO REPAIR CABINETS THE FAST AND EASY WAY
Y’all, I’m a little backwards.
Yeah… I can just hear my ‘little’ brothers yelling a hearty ‘amen’ to that… IF they read my blog. Which they don’t. 😉
Giving directions the wrong way happens often in my head (though most of the time I catch myself).
I hang my clothes inside out (c’mon… I’m not the only one, right?!)
And, I’m left-handed. (I can heaaaar youuuuuu… “Oh, now it all makes sense!”)
Then there’s the whole repairing-the-cabinets-AFTER-they-are-painted thing.
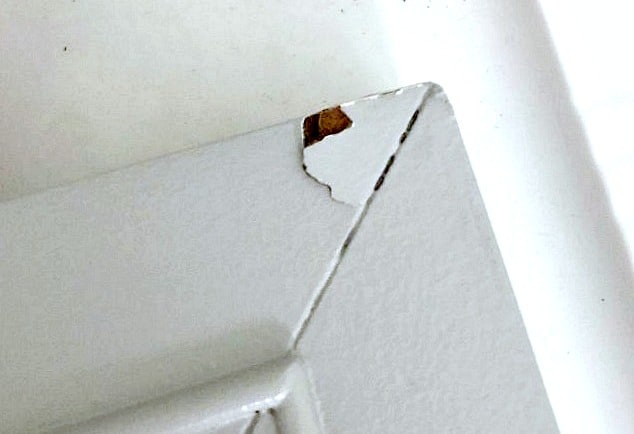
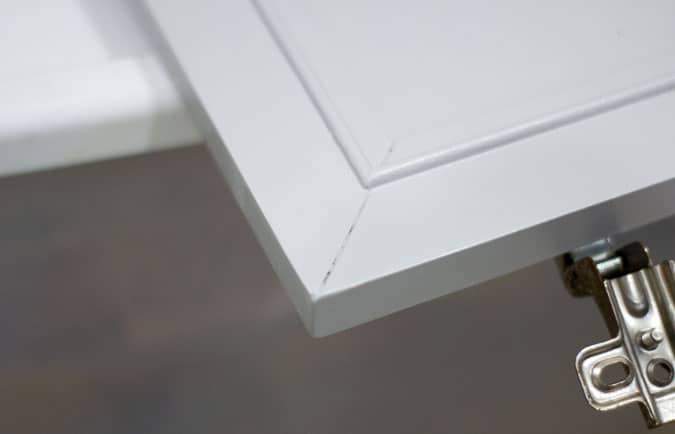
Yep. After I finished updating my rental bathroom cabinets (the first phase of my apartment bathroom makeover), I incorrectly re-hung one of the doors, and I chipped it…
Since repairs are often done BEFORE cabinets are painted (see, backwards!) I thought I would at least post about my cabinet update in the correct sequence and share how to repair an MDF bathroom cabinet door.
What Is MDF?
“MDF” is the acronym for “Medium-Density Fiberboard”. MDF is a cheaper and yet still a strong alternative to solid wood. Both solid wood and MDF cabinets have their pros and cons, and you can read more about it at Sebring Design!
By the way, many apartments and rental homes use MDF cabinetry and cupboards (I actually have never seen an apartment with the more expensive solid wood cabinets). So, it stands to reason that My Wee Abode most certainly has MDF kitchen cabinets as well as MDF bathroom cabinets.
Can I Repair MDF Cabinet Doors?
Yes, you CAN repair MDF cabinet doors (sometimes called laminate cabinet doors, too). And the chunk that I took out of my cabinets was super easy to repair!
Did you know, even water-damaged MDF cabinets can be repaired? However, it does take a bit more time and effort, but it’s really not hard. Just be sure the fiberboard isn’t ‘crumbly’ or rotted. Check-out a quick and simple how-to from Dfranco Painting and Wallpaper.
This post may contain affiliate links, at no additional cost to you. For more information, see my complete disclosure HERE.
DIY Cabinet Door Repair – What You’ll Need
You will only need a few items to repair a chip or a hole in an MDF cabinet door. All of these items were suggested to me by my brother, who happens to be a finished carpenter by trade!
- Wood or School Glue (My bro said I could use school glue… I had it, so I did!)
- Toothpicks or wooden skewers
- Mini clamp
- Waxed paper or something to cushion between the clamp and the door that won’t stick
- Plastic wood
- 320 grit sandpaper
- Damp wiping cloth (I use these all the time for crafting and DIYS)
- Touch-up paint
- Touch-up brush (My faves… seriously… cheap and great quality)
How to Repair MDF Cabinet Doors
The chip that was taken out of the MDF cabinet door above was pretty much a ‘clean’ break and the chip was still attached. It needed just a little bit of filling with the Plastic Wood. Here’s what I did:
Glue and Clamp
- Dip your toothpick or wooden skewer in your glue of choice. Scrape off some of the excess glue and then gently lift the chip and add the glue between the chip and the door. Press down with your fingers and wipe away the excess glue that comes out.
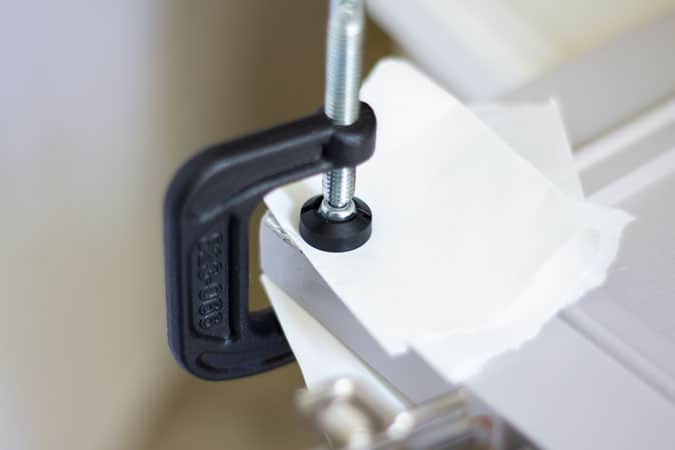
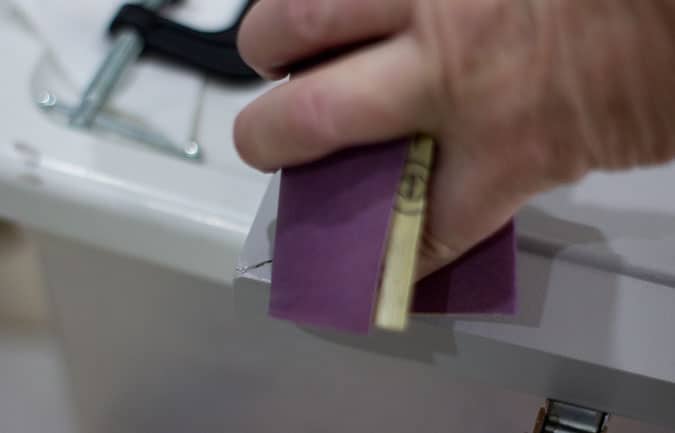
- After wiping away the excess glue (be sure it’s wiped off with a damp cloth so nothing sticks to the glue), take your paper (I used waxed paper so it wouldn’t stick) and your C-clamp and snugly screw the clamp where the repair is. Let dry for two hours for best results.
Patch and Sand
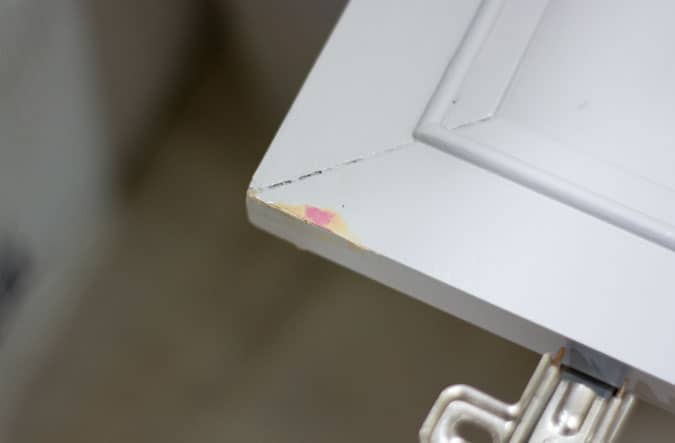
- After the glue is dry, take your plastic wood and ‘smear’ onto the area to fill any holes are gaps (I just used my finger). You can use the same method for any holes that you may see on your cabinets, too! Allow drying until the ‘pink’ color has disappeared.
- When the Plastic Wood is dry (no pink showing), take your 320 grit sandpaper and sand the area until smooth. Wipe the dust off with a damp wiping cloth.
Retouch with Paint
- If your cabinet is already painted, like mine, touch up the area with the matching paint, and make sure to ‘feather’ the paint into the rest of the paint area for a smooth look (the paint manufacturer said this wouldn’t’ work, but it did!) And, if you have any rough areas, sand again, wipe and touchup. (I did three coats, per the manufacturer’s instructions… more on that with my cabinet painting tutorial).
This DIY was much easier than my DIY Countertop for less than $50, but not as simple as adding a closet to a room in 30 minutes!
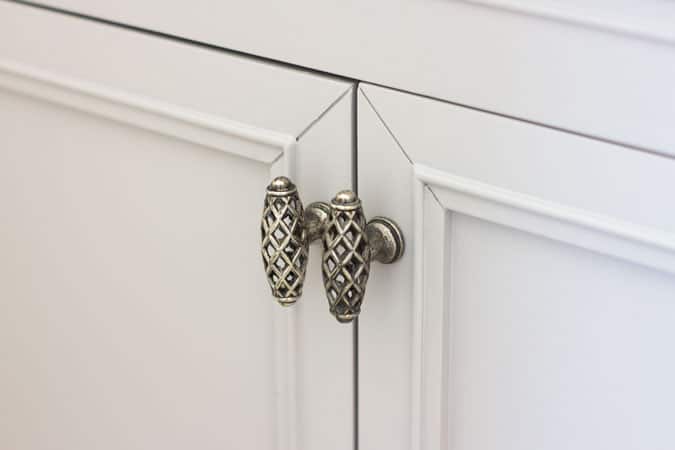
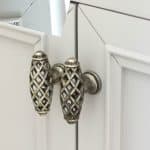
DIY Cabinet Door Repair- Sneak Peak!
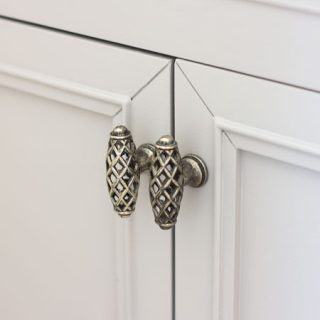
And here is a close-up of the finished product!
Be sure to visit all three posts in this series:
- How to Repair Cabinets the Fast and Easy Way (you are here)
- How to Prep Cabinets for an Amazing Paint Finish
- DIY Perfectly Painted Bathroom Cabinets in a Day
Now It’s Your Turn
How ’bout you? Have you ever patched or repaired your bathroom cabinets? What about kitchen cupboard repairs? Let me know any tips you may have in the comments!

How to Repair Cabinets the Fast and Easy Way
Easily repair and MDF cabinet with these simple steps.
Materials
- Glue (Wood or School Glue)
- Toothpick or wooden skewer
- Waxed paper
- Plastic Wood
- Damp wiping cloth
- Touch up paint
- Craft paint brush
Tools
- Mini C-Clamp
- 320 grit sandpaper
Instructions
- Dip your toothpick or wooden skewer in your glue of choice. Scrape off some of the excess glue and then gently lift the chip and add the glue between the chip and the door. Press down with your fingers and wipe away the excess glue that comes out.
- After wiping away the excess glue (be sure it’s wiped off with a damp cloth so nothing sticks to the glue), take your paper (I used waxed paper so it wouldn’t stick) and your C-clamp and snugly screw the clamp where the repair is. Let dry for two hours for best results.
- After the glue is dry, take your plastic wood and ‘smear’ onto the area to fill any holes are gaps (I just used my finger). You can use the same method for any holes that you may see on your cabinets, too! Allow drying until the ‘pink’ color has disappeared.
- When the Plastic Wood is dry (no pink showing), take your 320 grit sandpaper and sand the area until smooth. Wipe the dust off with a damp wiping cloth.
- If your cabinet is already painted, like mine, touch up the area with the matching paint, making sure to ‘feather’ the paint into the rest of the paint area for a smooth look (the paint manufacturer said this wouldn’t’ work, but it did!) If you have any rough areas, sand again, wipe and touchup. (I did three coats, per the manufacturer’s instructions… more on that with my cabinet painting tutorial).

Good information to put in the “just in case” home repair toolbox.
Glad to help with your toolbox! 😉
Nice repair! I “Love it when a plan comes together. ” I love home repair tips as my SO doesn’t do much of that stuff–at least not when I wanted it done (yesterday!) I am so blessed to have wooden cabinets, albeit 30 years old, in kitchen and bath as I am such a klutz that MDF wouldn’t stand a chance! My kitchen sink cabinet has/had? a MDF floor that is slowly sinking from old water damage, but as my ex and I used to say when attempting home projects, “You can’t see it from the living room.” Love the gorgeous knobs; but as a klutz again, I’ve ripped holes in robes, especially, catching them on the sticky-out-parts. I have also had good luck “spreading” glue into tight spots by spreading it on an old credit card, heavy cardstock, etc. , then into a crack as those tiny tipped glues always clog for me! Clothespins have also made great C clamps for small projects (think reglueing broken basket reeds!).
Clothespins are an excellent clamp for baskets and more fragile items, Kathy. I can just see under your sink with the sinking floor… I get it, and I think I have a relative (we won’t mention names or relationships) that might have one in what we lovingly call her ‘outhouse’. Def a project to help with! 😉
You would never know that your cabinet every had a chip! I’m impressed that you had a clamp available to use at My Wee Abode.
Oh… I didn’t have a clamp… but I do now! 😉 I’m gettin’ to be a real diyer! 😉
LIKE MAGIC.
Hehe!!! Kinda like! 😉 Love ya!
That’s awesome! Great intel, Julie! It looks like new!
Thanks, Janet… it was so easy!
Great tutorial Julie! I won’t tell you how many times I might have needed that in the past … ! 🙂 Happy Updated Cabinets!
Thanks, Barbara.. this was a first for me!
Very impressive Julie! Where were you when I had a repair that needed to be fixed in the past!? Thank you for sharing!
Hehe… well, now you can DIY it! 😉
wow Julie, this is a great diy, I think our cabinets may be MDF and I’ve been squimish about what to do if there’s a problem. Looks amazing!
I always approach these DIY with trepidation, Debra… then when I do them, it’s not nearly as bad as I thought (same with pitching brands… so hard to take the step, then I’m surprised at how easy it is)!
Great tip on the mdf cabinet repair Julie, have to pin this one for later since some of my builder grade cabinets are like this.
It was SO easy to fix! And really not scary at all. I KNOW YOU can do it!
Great tips! I love the knobs! Thanks for sharing at the Snickerdoodle Create Bake Make Link Party! Have a lovely week!!!
Thanks for stopping in, T’onna! Yes, I installed those knobs when I first moved into MWA, as the old ones made my yellow (now gray) cabinets look even worse! Re-installed on my ‘new’ cabinets! 😉
Julie,
What a great fix and awesome tutorial. Who would have thought? Congratulations, you are being featured at Thursday Favorite Things. I hope you stop by. https://www.eclecticredbarn.com/2020/08/welcome-to-thursday-favorite-things.html
Hugs,
Bev
Thank you, my friend! Hope you are doing well!
Julie, you never cease to amaze me with your can-do attitude and your boundless energy. Love that you’re working on the bathroom–you go, girl!
Thanks so much for joining the Grace at Home party at Imparting Grace. I’m featuring you this week!
Thank you so much for the share, Richella, as well as the encouragement!