
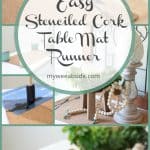
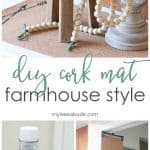
Easy Stenciled Cork Table Mat Runner
Creating easy DIY projects is one of the goals of My Wee Abode. Today, let’s learn how to make an easy stenciled cork table mat runner.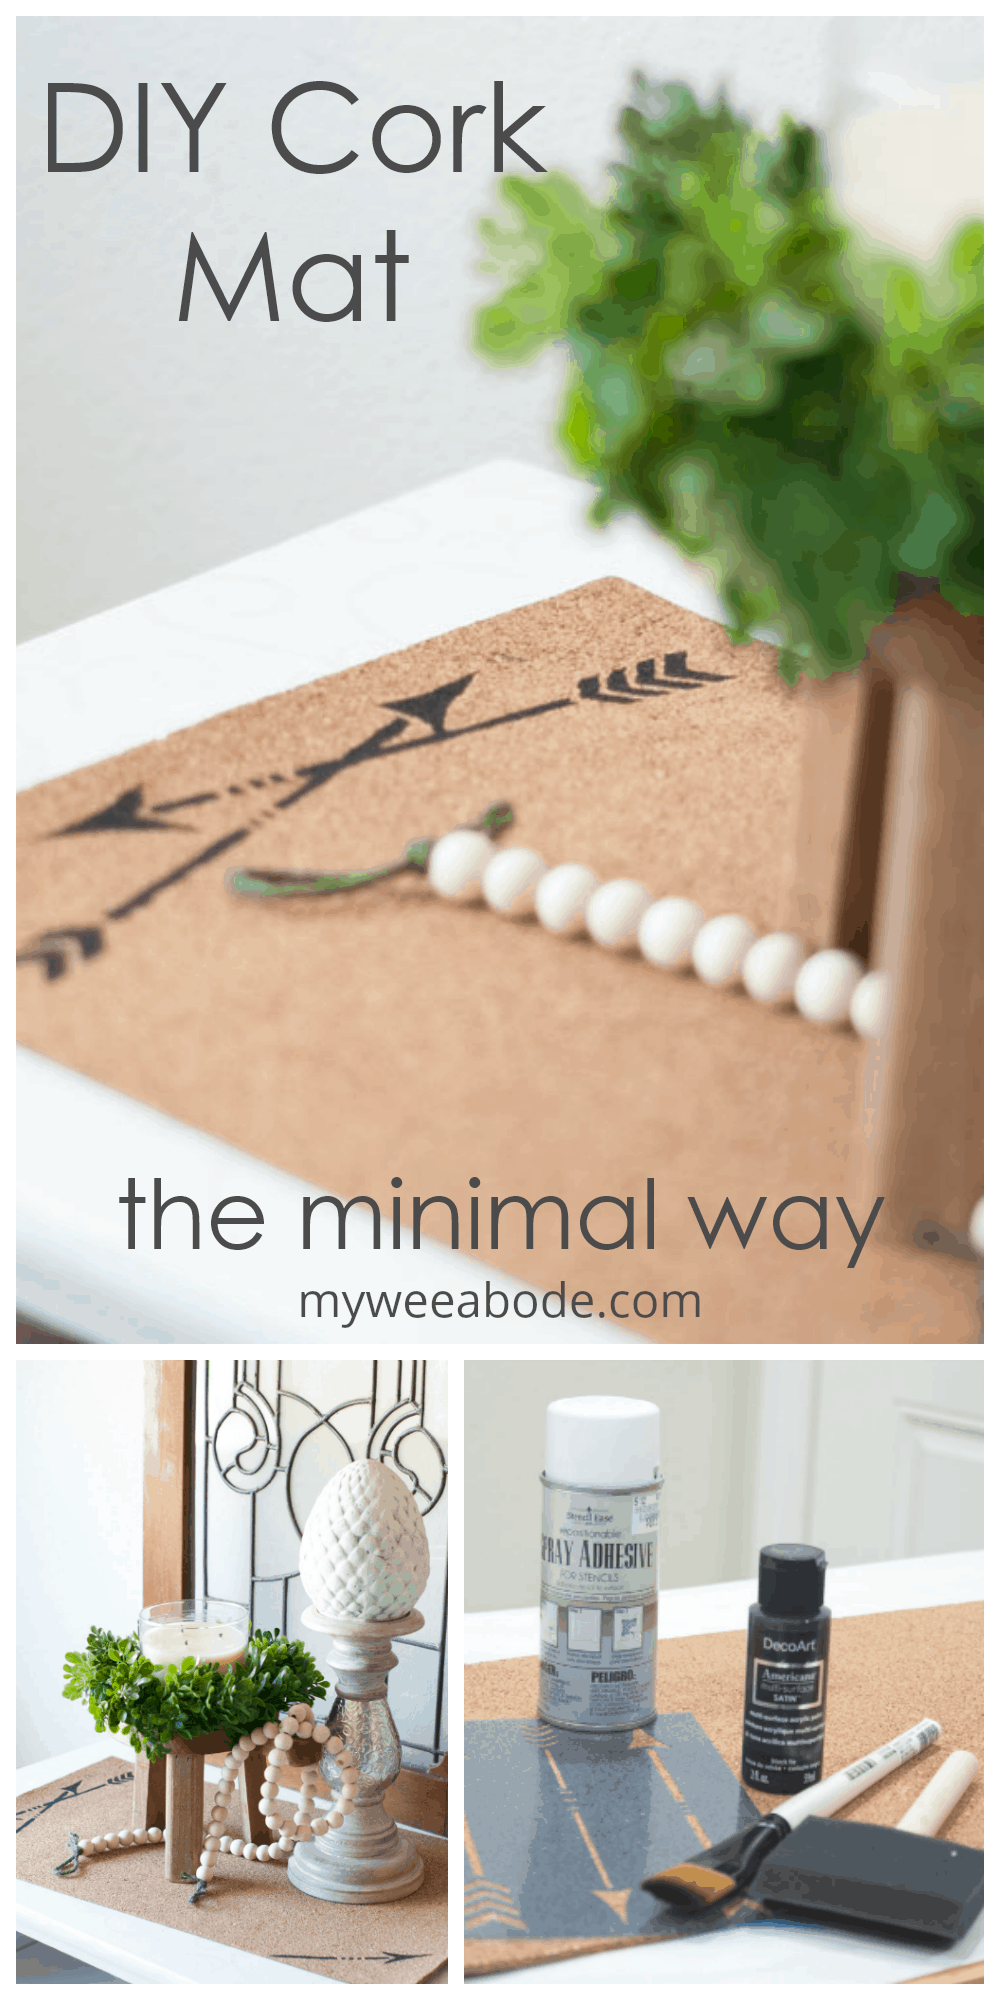
Hope y’all are having a good week thus far.
The last couple days, the Lord has given abundant grace to me through some much-needed encouragement from my fellow bloggers, and I was able to re-focus a bit on what direction My Wee Abode needs to go.
For now, I will be consistently posting once a week, and sending out a newsletter once a week, as well. I’ll be offering a variety of posts on small-home living, along with DIYs and projects that are affordable, sprinkled here-and-there with some lifestyle posts.
So, for this week, I’m going to show you how to do a super easy, stenciled cork table mat (or runner) (that’s a mouthful, isn’t it?!). Let’s get started!
EASY STENCILED CORK TABLE MAT RUNNER

Just an aside… I’ve written about my portable island and the reason I love it in this post HERE. Another reason I love my portable island… I can move it around in my kitchen and use it as a craft counter!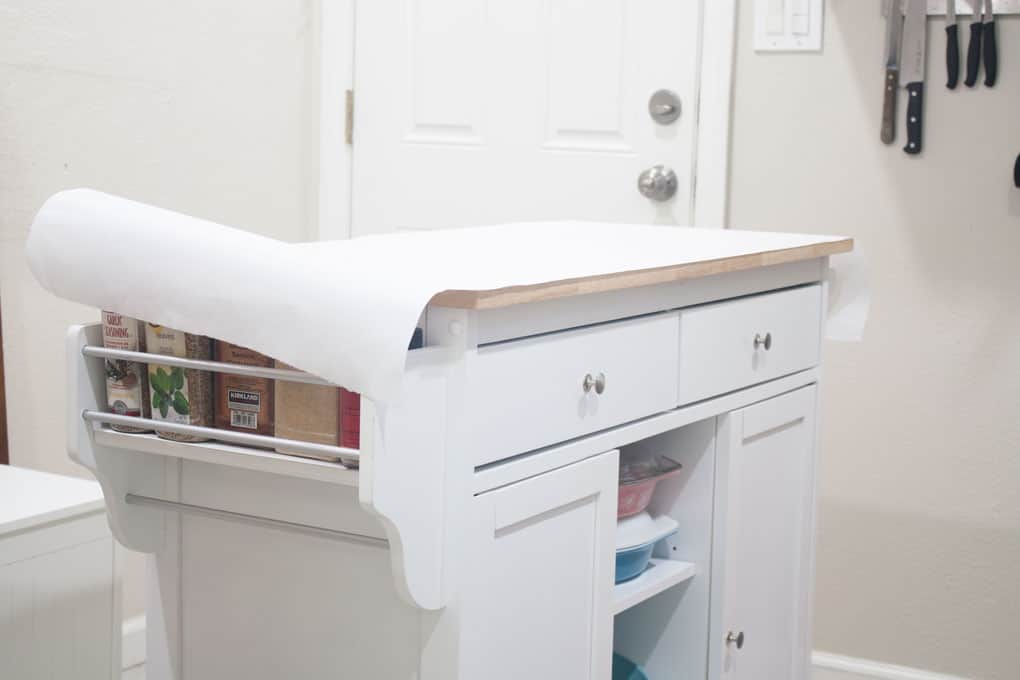
This post may contain affiliate links, at no additional cost to you.
For more information, see my complete disclosure HERE.
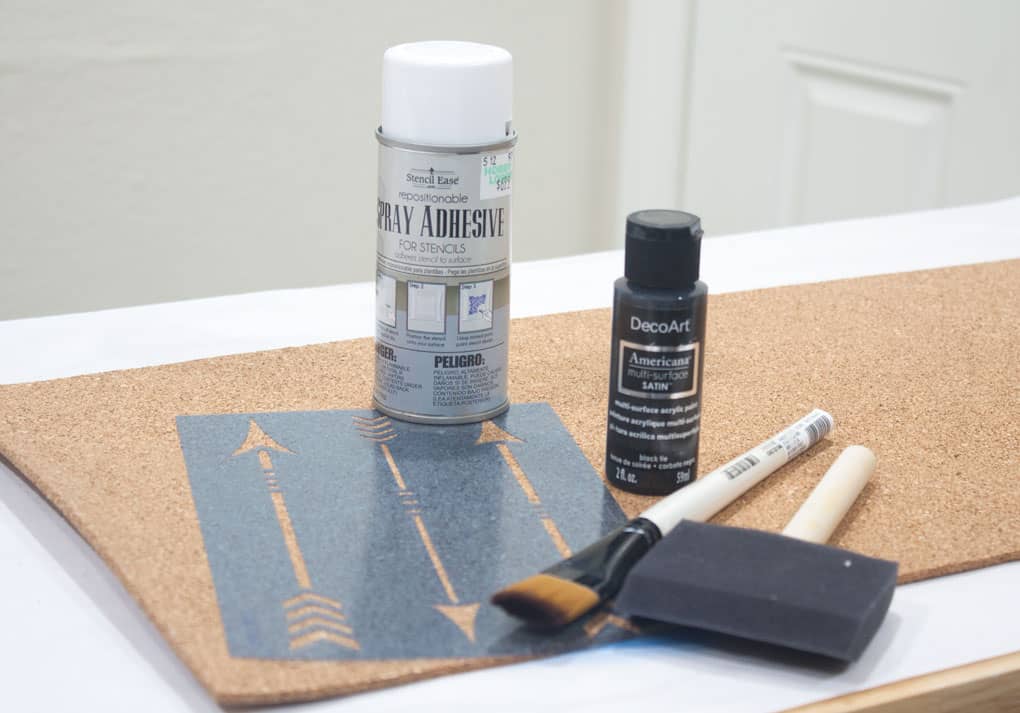
WHAT YOU’LL NEED
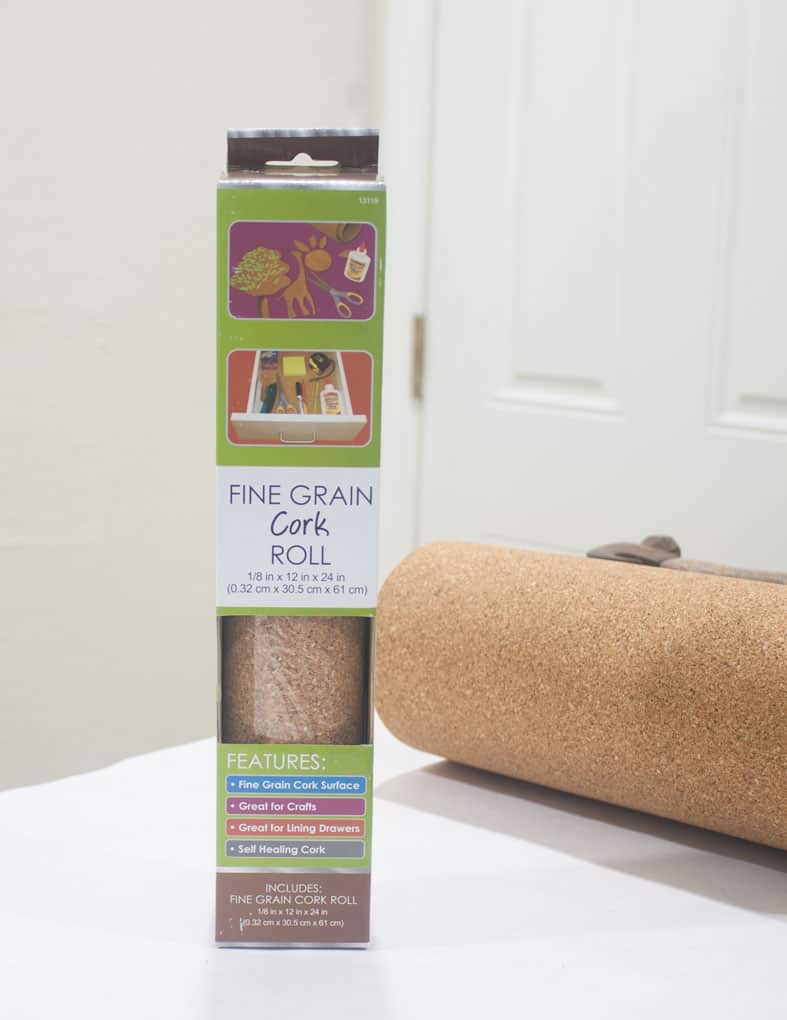
- Cork Roll
- Stencil of your choice (Arrow stencil here)
- Stencil adhesive
- Acrylic craft paint (use your favorite color(s))
- Sponge brush/applicator
BUMPS IN THE ROAD
As you can see… my cork roll did, indeed, roll!
I laid it out for 24 hours with some heavy books on top, hoping it would flatten, but it didn’t… Not even a little!
I’m finding that this is the ‘life’ of a blogger… always a bump in the road. So, I stood and stared at my cork roll for several minutes, and then thought, “I wonder what hot water would do to it…. Well, can’t make anything worse (plus, I have another roll, which is a total miracle in and of itself!)”.
I proceeded to fill my kitchen sink with hot water and carefully unrolled the cork in the water, gently pushing the ends down. After a few minutes, I could see that the cork was soaking in the water and ‘relaxing’.
After several more minutes, I took the cork out of the water and laid it on some freezer paper (wax side up), then placed some heavy candles at the corners and let it dry overnight (I did flip it over several times before I went to bed).
The next morning, it seemed that the cork needed a little more coaxing, so I hung it from a skirt hanger, and then weighted it down with a t-shirt on a hanger (I know… genius, right?!!! LOL!)
By the end of the day, it was ready to paint.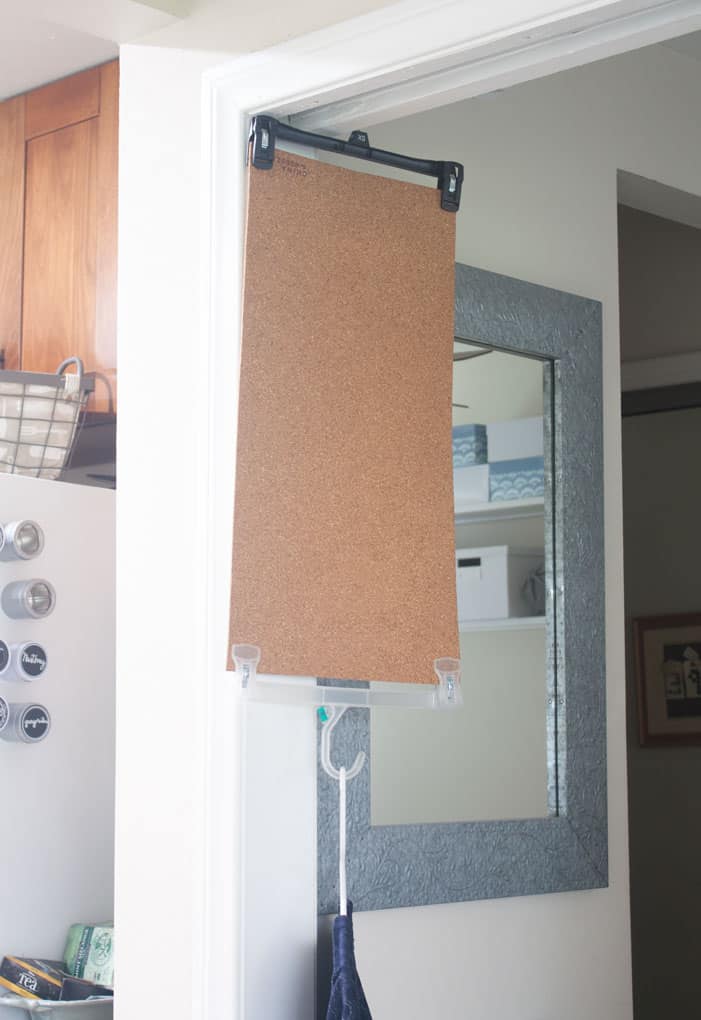
We’re talking real-life here, people!
Another Bump in the Road
One more bump in the road… I tried using a brush with my stencil. I think this works well with vinyl stencils, but it never works for me with plastic stencils.
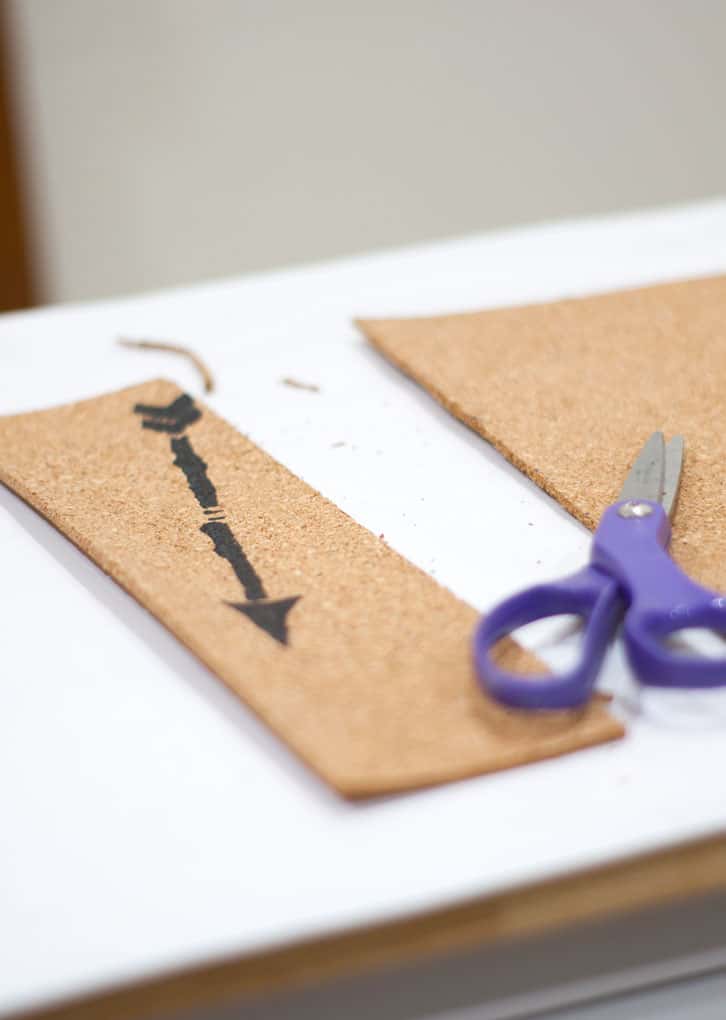
Thus, I had to cut off the ‘failed’ end and use the sponge brush/applicator. Should have gone with my first instincts! (Just sayin’: My devotional this morning was all about cutting off the ‘ugly’ and ‘fails’, and how kind and merciful the Lord is to “prune what chokes us” (Hebrews 12:11). Check out Ruth Chou Simons’ book, “Gracelaced” for an amazing, gorgeous, and Truth-filled read. Click here to visit her blog.)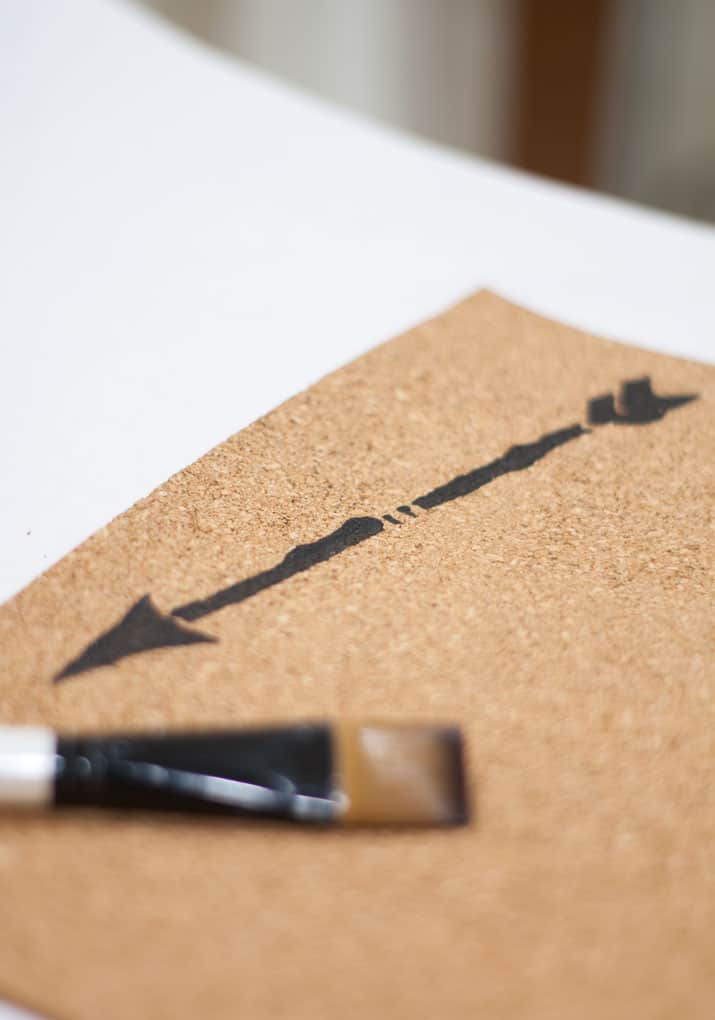
NOW WE’RE REALLY READY TO PAINT
Take your stencil and place it in different areas on the cork, to see where you would like the decorative element.
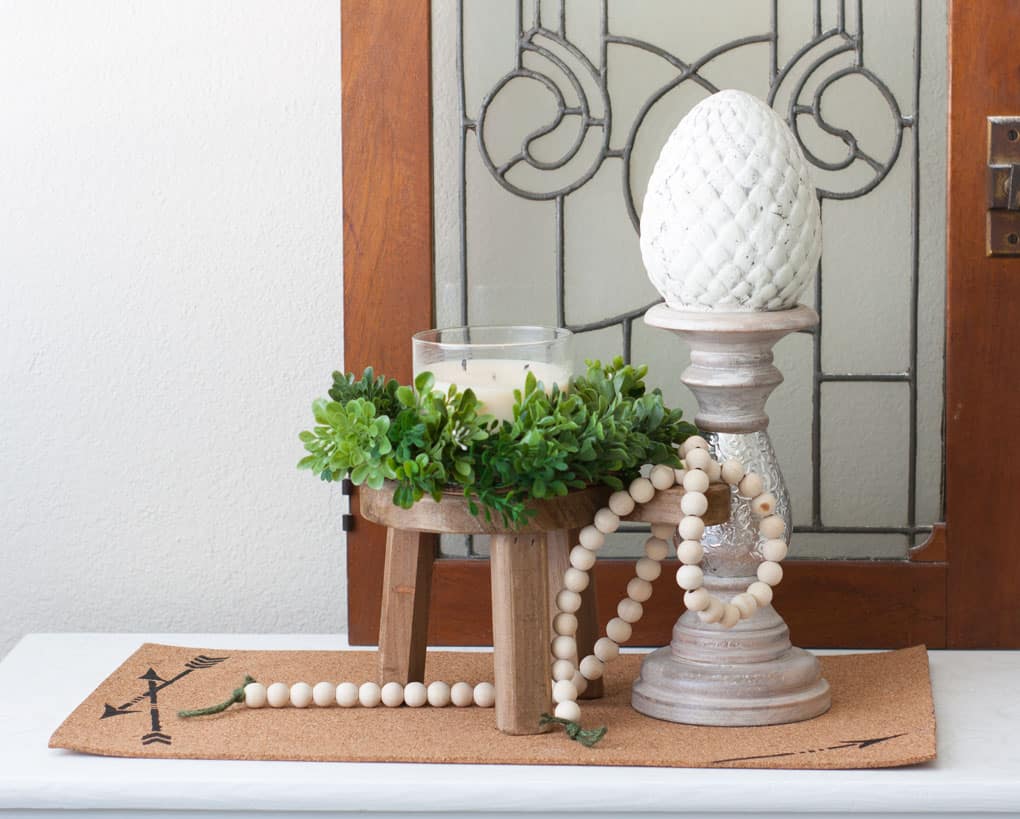
Originally, I thought I wanted the arrows on the end, at either side. But, after cutting off my ‘mistake arrow’, I decided it would look neat to have it falling off the edge of the cork. Just experiment with placement and see what tickles your fancy.
After you know where you want your painted elements, spray the back of the stencil with the adhesive (follow the directions on the can). To avoid over-spray, be sure to place some new freezer paper or craft paper under the stencil when applying the adhesive.
When the adhesive is sticky, not wet, place your stencil on the cork and press down along the edge of the stencil. This will help to keep the paint from seeping through underneath the stencil.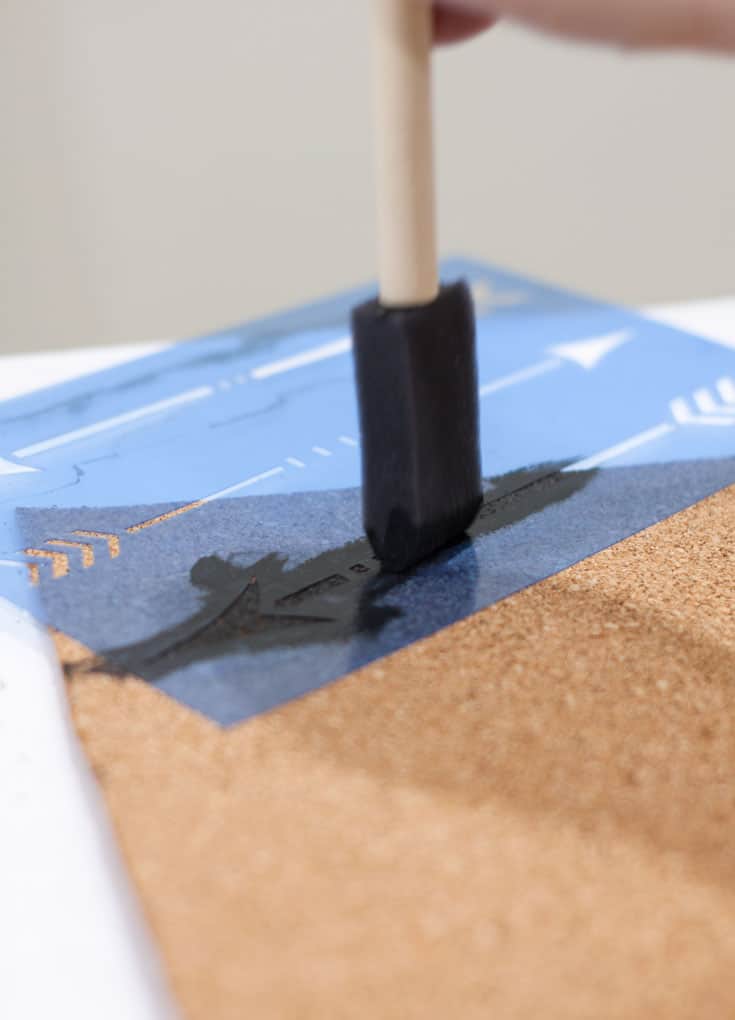
Dip the sponge applicator into the paint color and then dab it on some paper or paper towel (I actually just used a saucer). Then, holding the applicator straight up, use an up-and-down dabbing motion to apply the paint to the cork.
Repeat these last two steps, as needed. (Just sayin’: Anyone notice the mistake I made above?!) After the paint has been applied, immediately remove the stencil by pulling one end of the stencil up, back, and away from the painted area.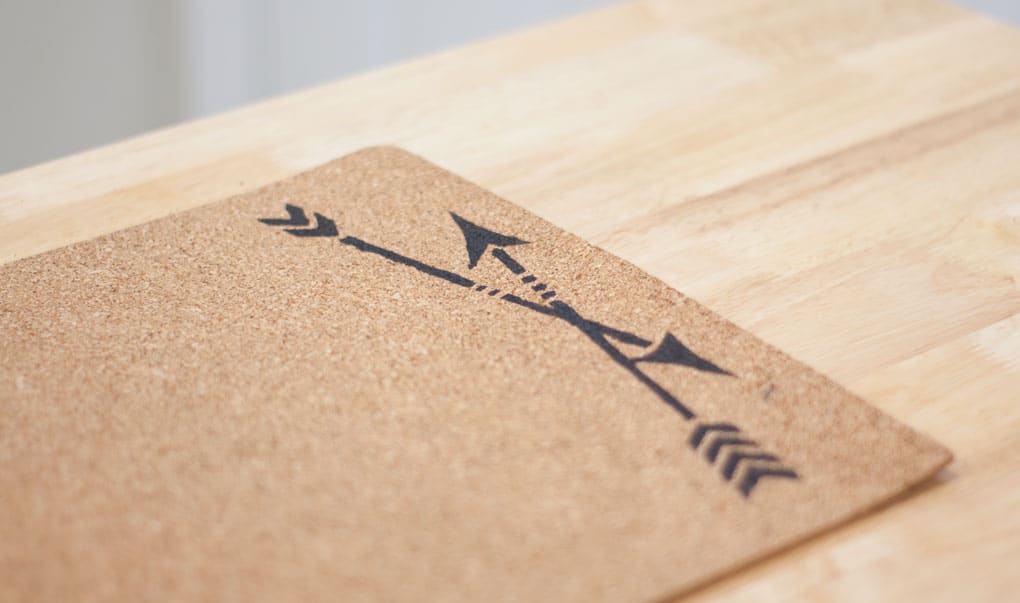
If you accidentally smudge some paint where it’s not supposed to be (I even got an accidental pic of it, above!), you can take a wet cloth (NOT paper towel or napkin), and wipe the paint off. It will leave a wet spot, but it will dry just fine. 🙂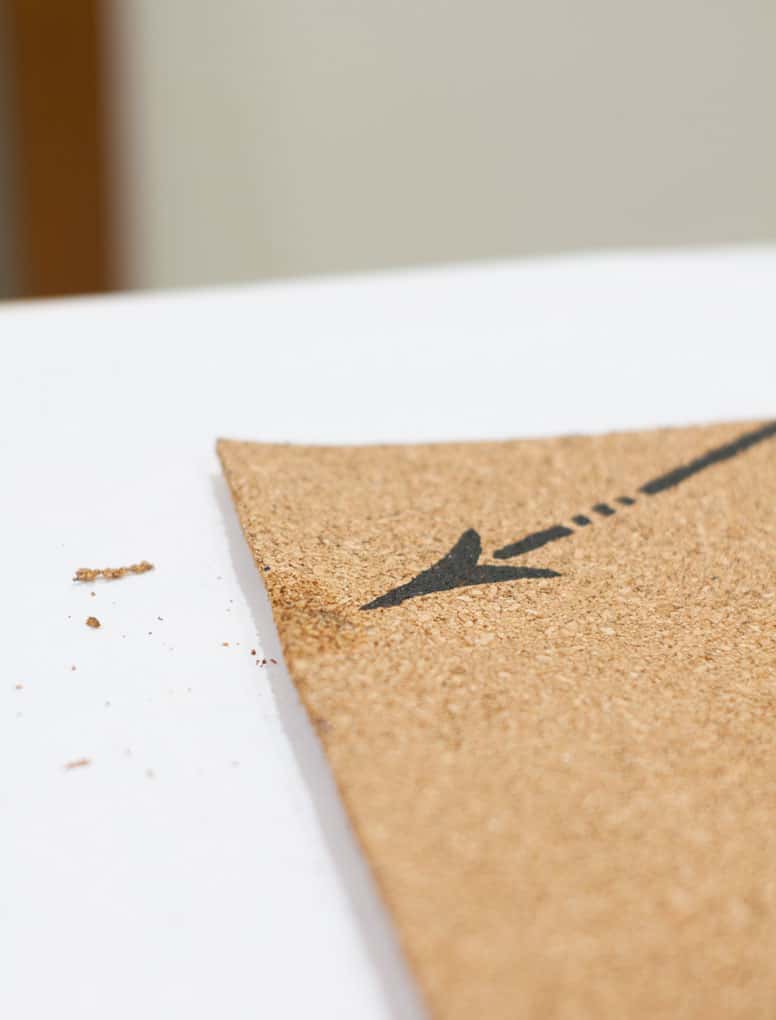
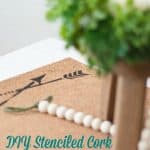
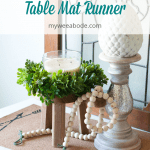
THE FINISHED PRODUCT!
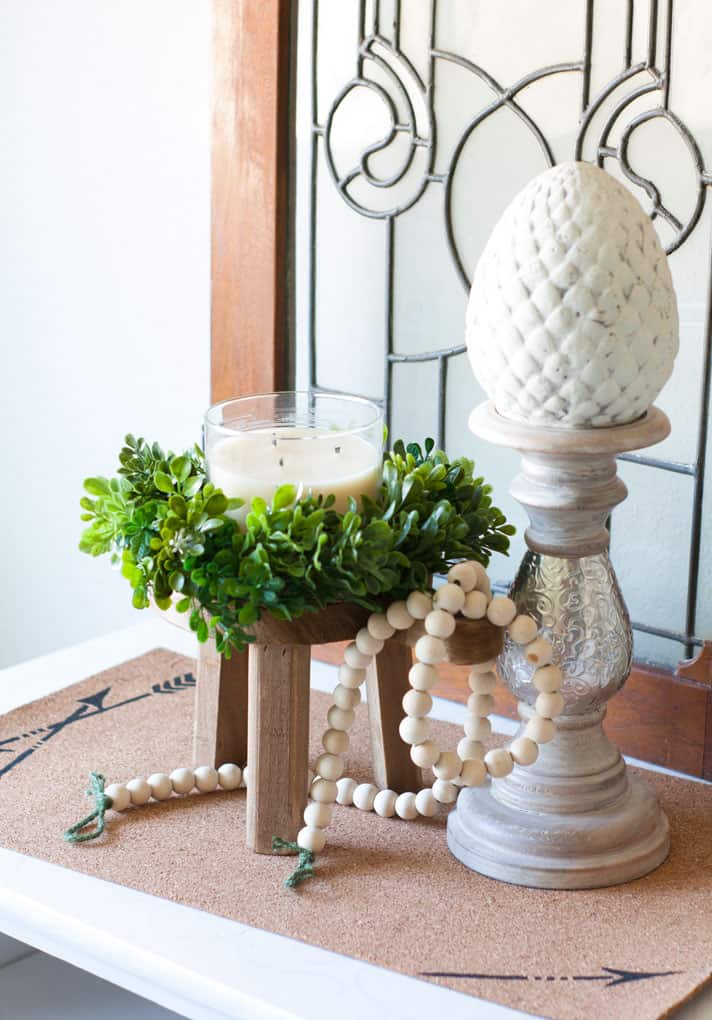
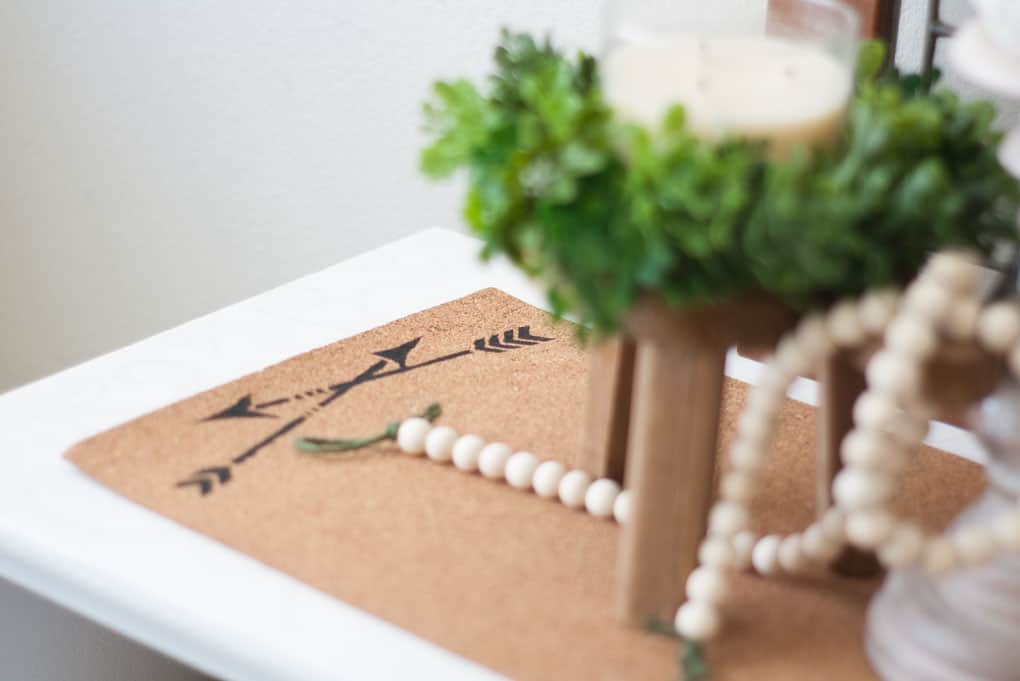
After the paint dried, I thought about sanding the arrows a bit, but I tried it on my ‘mistake arrow’, and it didn’t work right. So, I just left it, and I really like how it turned out.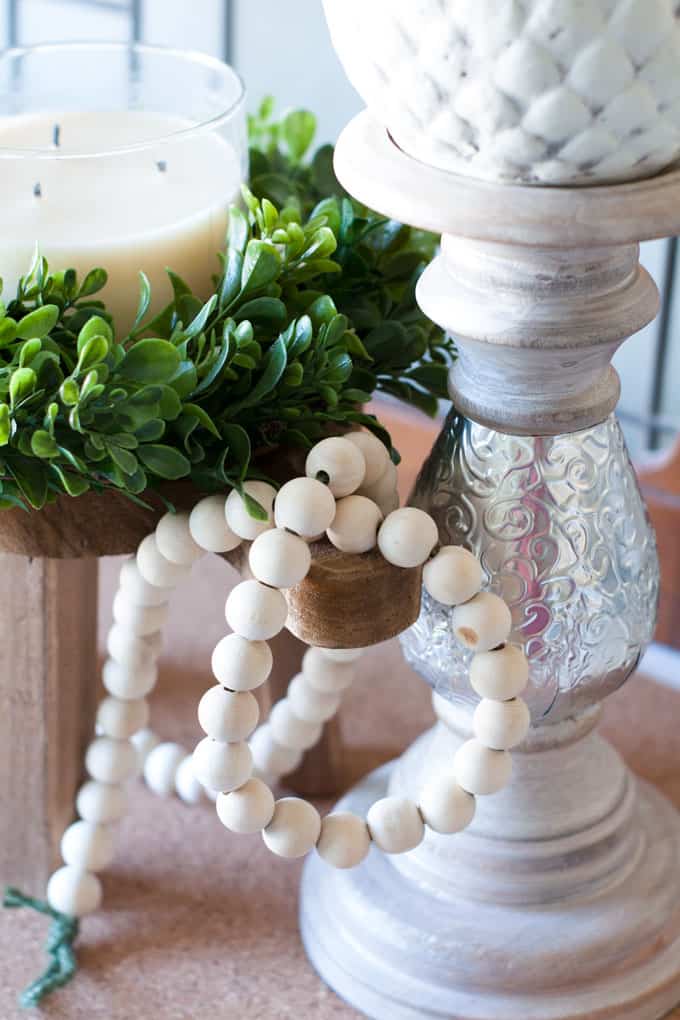
Now, this was not a super simple project for me… because I had to figure out the hits and misses. But, I’ve taken the road-less-traveled, and now it should be pretty simple for you! I’d love to hear/see what you do to personalize a stenciled cork table mat or runner!
Leave a comment below and/or hop on over to my Facebook page and post a pic!


I love this! It will eliminate about 5 mismatched hotpads on my tablescape. Thanks for working out the kinks for us and being real. That helps everyone succeed. Great photos, too. Blessings, dear friend!
Thank you, Darlene! I hope you are able to use this idea! 🙂 You are a wonderful encouragement to me!
That is REALLY cool! It really adds to the rest of the pieces!
Thanks, Jared! I think I will do some with like leaves or acorns on it for the fall. 🙂 Thanks for your encouragement, son!
What a fun idea! Love how versatile stencils can be!
Thank you, Sarah! Yes… and stencils can even be made to NOT look like the old-school stencils! Thanks for coming by!
Cute idea. Never thought of doing that! Saw it on the FFP link party. And your vignette is beautiful too!
Thank you for coming by, Cindy! Thanks so much for the encouraging words! Have a great weekend!
What an amazing idea! I love this style. Great inspiration.
Thanks, Meegan… quick and easy! Hope you come by often!
Am I at the bottom already?
It was nice to read you Julie. Also thanks for the graphics and step by step process. Now, I think I could try once. 😀 Won’t forget to share with you how it looks like. 😛
Hi, Emiley… bottom of what? 🙂 Thanks for coming by! Have fun doing the project, and I would love to see what you do over on FB! And… you are SO welcome!
Hi Julie! This is so cute! I’m coming over from Blogging Fifty and happily pinning a couple of your photos for you. Thanks for a fun idea and the best part was learning HOW to keep the cork unrolled. My son and I worked on a project several years ago {when we were still in our house in California} for his room for a new corkboard and never could get it to work. I tossed the cork eventually… Hot water, who would’ve known?!
Have a great rest of your week,
Barb 🙂
Hi, Barbara! I totally knew who you were when I saw your name! Thanks for coming by, and for pinning some of my photos! You just made my day even better! Where in CA did you live? And, I was as amazed as you… and thankful that the hot water worked! LOL! Hope to see you often!
Julie that is so pretty and it was such a clever idea for you to use the cork. It adds so much texture to the room.
Thanks, Mary! It was fun and easy. I kinda wish now I had done a ‘spring’ stencil on it, but… I’m still learning to think like a blogger! 😉 Hope your Sunday is blessed!
It looks great Julie, thanks for he awesome idea and tutorial.
Thanks, Sonya! I really appreciate all the work these bloggers do to give us neat ideas! Have a great week, fellow agent!
Sonya… I just realized that this was a different post than I thought! Oops! Thanks for the kind words. This stenciled mat was actually easy, and can be done in so many different ways! 😉
Julie,
Wow, this is lovely. Congratulations, you are being featured on YFY. I hope you stop by. https://www.eclecticredbarn.com/2023/11/first-nov-party-on-tft.html
Hugs,
Bev
Thank you so much! I always stop by TFT! 😉