DIY Chippy Paint Thrifted Basket
Want a cheap decorating item for your kitchen or bathroom? Today’s Pinterest Challenge involves a simple decor idea that includes this DIY chippy paint thrifted basket!
DIY CHIPPY PAINT THRIFTED BASKET PINTEREST CHALLENGE
Today’s Pinterest Challenge is easy and fun to create!
And you’ll learn how to create a DIY chippy paint thrifted basket in less than 30 minutes!
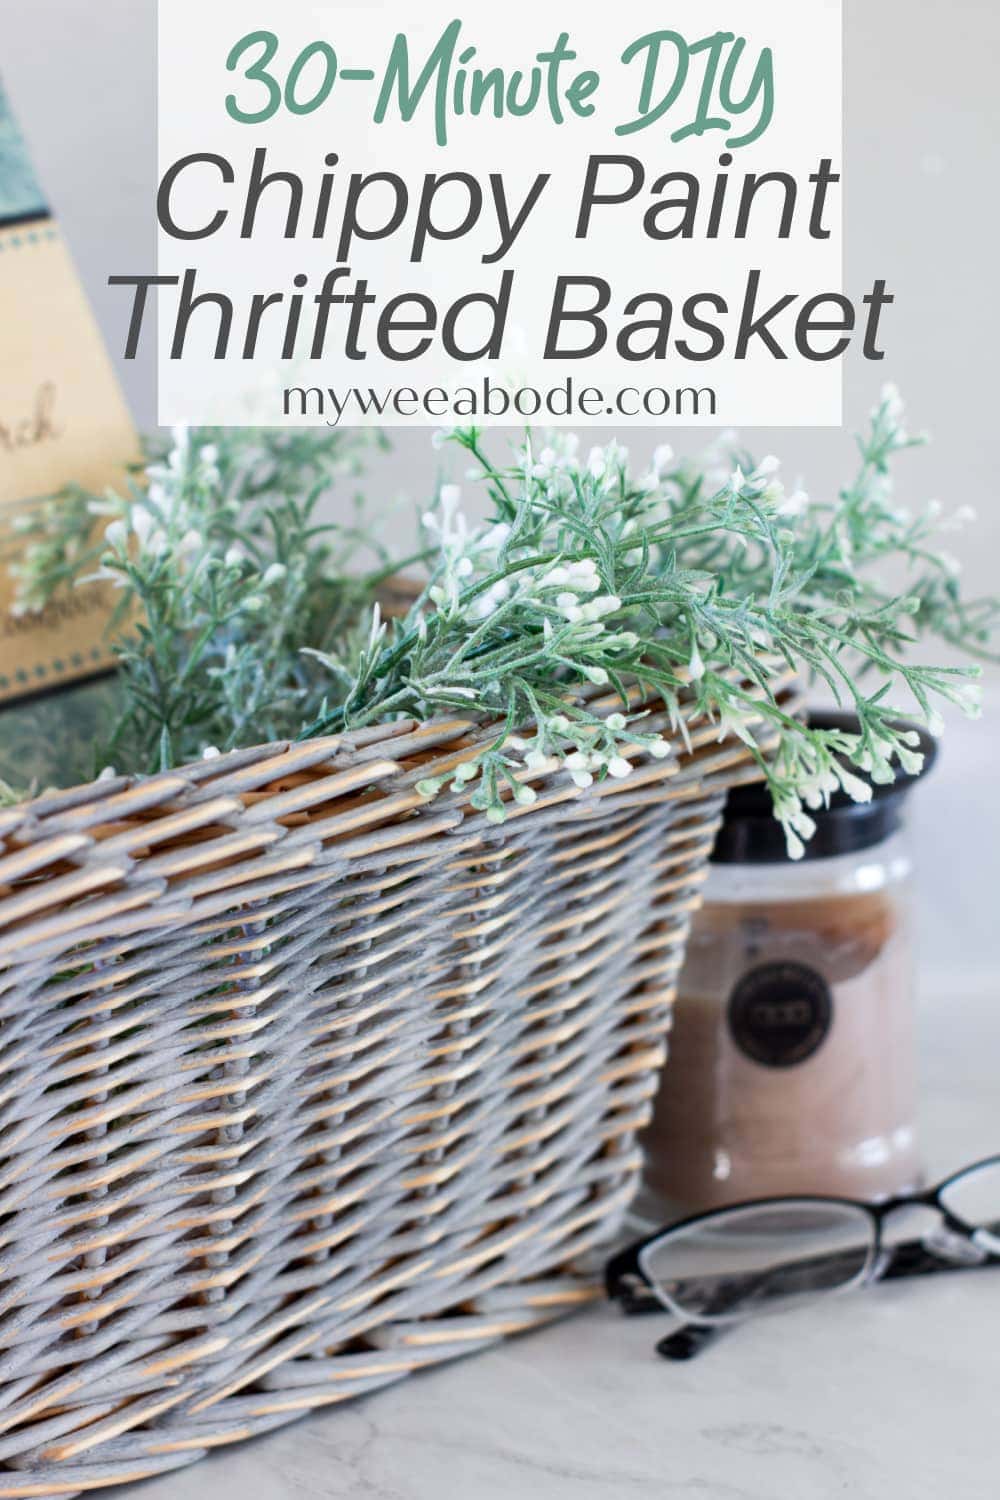
Fun and fast? Can’t beat that!

The Pinterest Challenge is a decor and DIY blog hop that is hosted by my dear friend and blogging bestie, Cindy from County Road 407. Cindy is a wonderful and kind hostess that puts forth HUGE efforts to put this hop together each month! Thanks, Cindy!
If you are here from Sweet Pea, welcome! If you read through the post, you’ll find some special intel regarding my dear friend Paula, but be sure to check out her lovely picnic basket decor, too!
And of course, I love having all my MWA family visiting today, too! Welcome back!
Today, we have FOURTEEN bloggers who will each put their own spin on our featured blogger’s photo.
Featured Photo from Anderson and Grant
Today’s Pinterest Challenge photo comes from my sweet friend Jamie at Anderson + Grant. Jamie is currently renovating her fixer upper home that she inherited from her grandmother. Her modern farmhouse DIYs and decor are exquisite, and affordable.
Like this one…
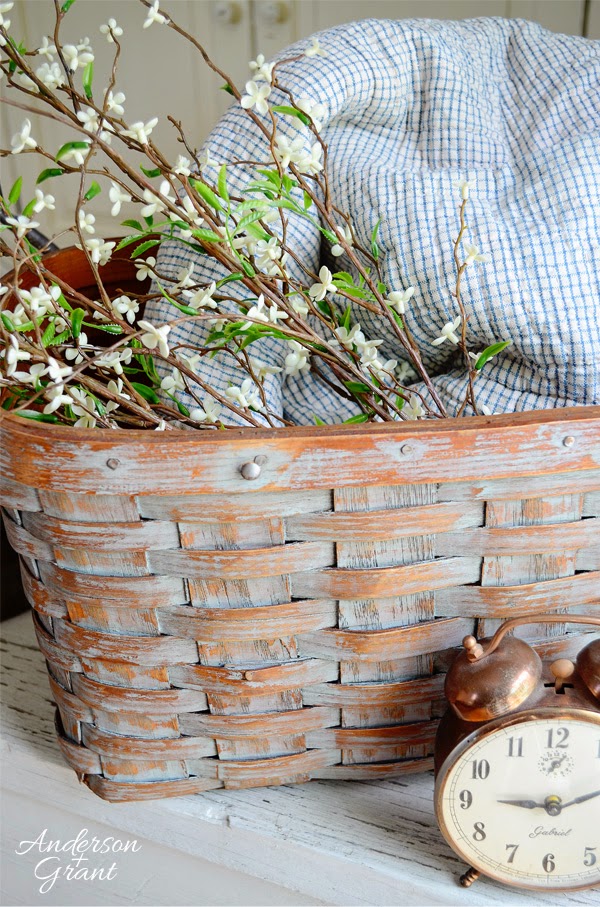
Though a simple photo, there are several elements to glean from Jamie’s DIY:
- Of course, a chippy paint basket
- A quilted blanket inside the basket
- Wildflowers
- And a little clock on the side
Add a DIY Chippy Paint Thrifted Basket to Your Home
It’s simple to replicate this chippy basket and add it to a bathroom, kitchen, bedroom, or even an outdoor living area.
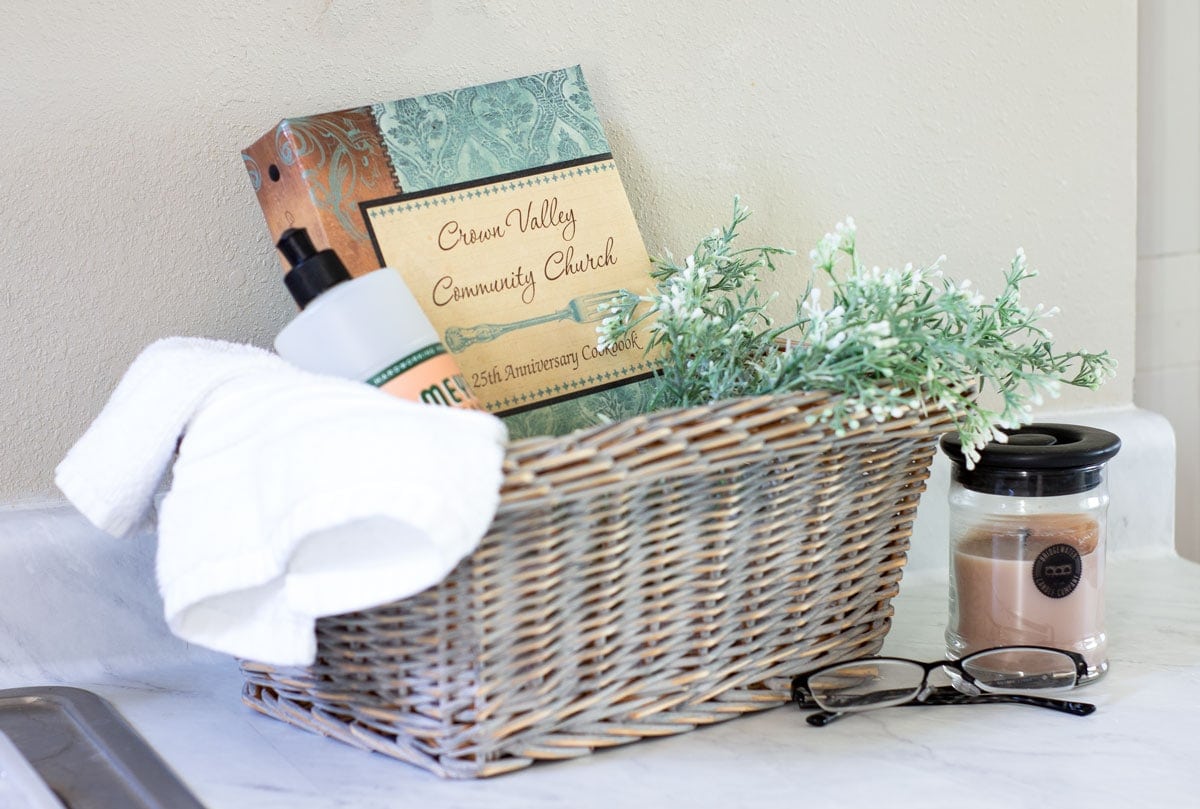
Here’s the one I created for My Wee Abode.
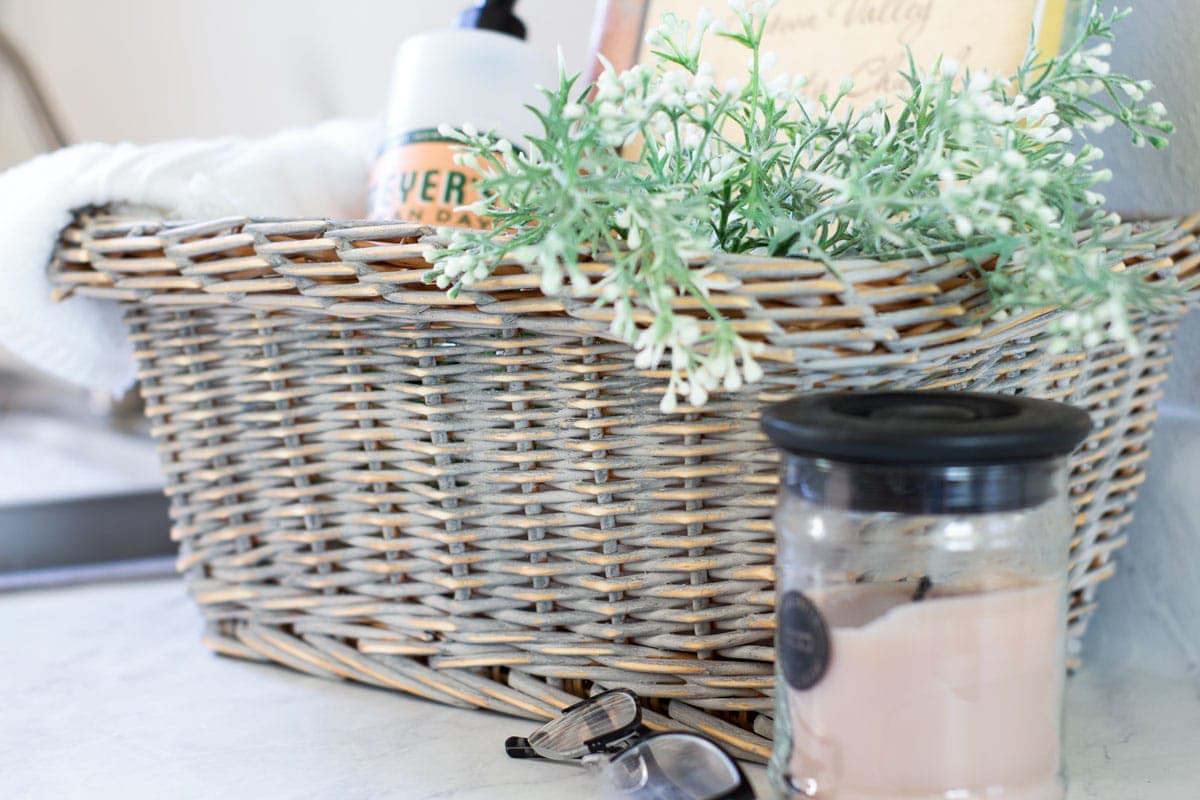
Savers is a local thrift store here in So Cal, and it’s the first place I shop at for inexpensive items that I want to upcycle.
There were a couple of inexpensive used baskets at Savers, but I liked this one best. Figuring it would fit on top of the toilet tank as one of my new decor items in my modern coastal bathroom makeover, it was perfect for that ‘coastal look’.
However, I overestimated the size of the top of the tank. Womp, womp. So the chippy basket made a turn around the corner and became a kitchen utility basket! 😉 (Note to self: Measure twice, (heck, even once!), buy once!)
Elements of a DIY Chippy Paint Thrifted Basket
So, before I share the tutorial, let me show you the elements I ‘reinvented’ for this kitchen utility basket.
For the basket, Jamie used an old picnic basket. She removed the handle and the lid. Similarly, the basket I picked up at Savers for $4.99 had handles that I didn’t like, so I removed them!
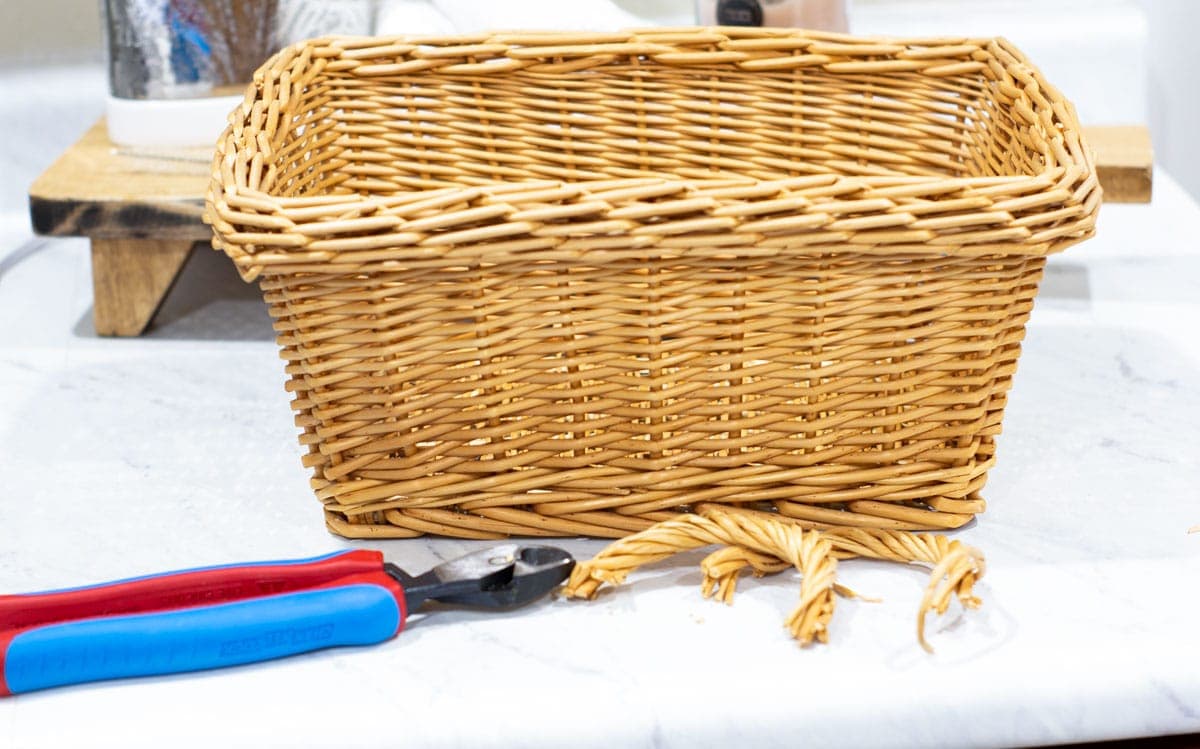
Removing the handles ‘updated’ the look of the basket… a lot!
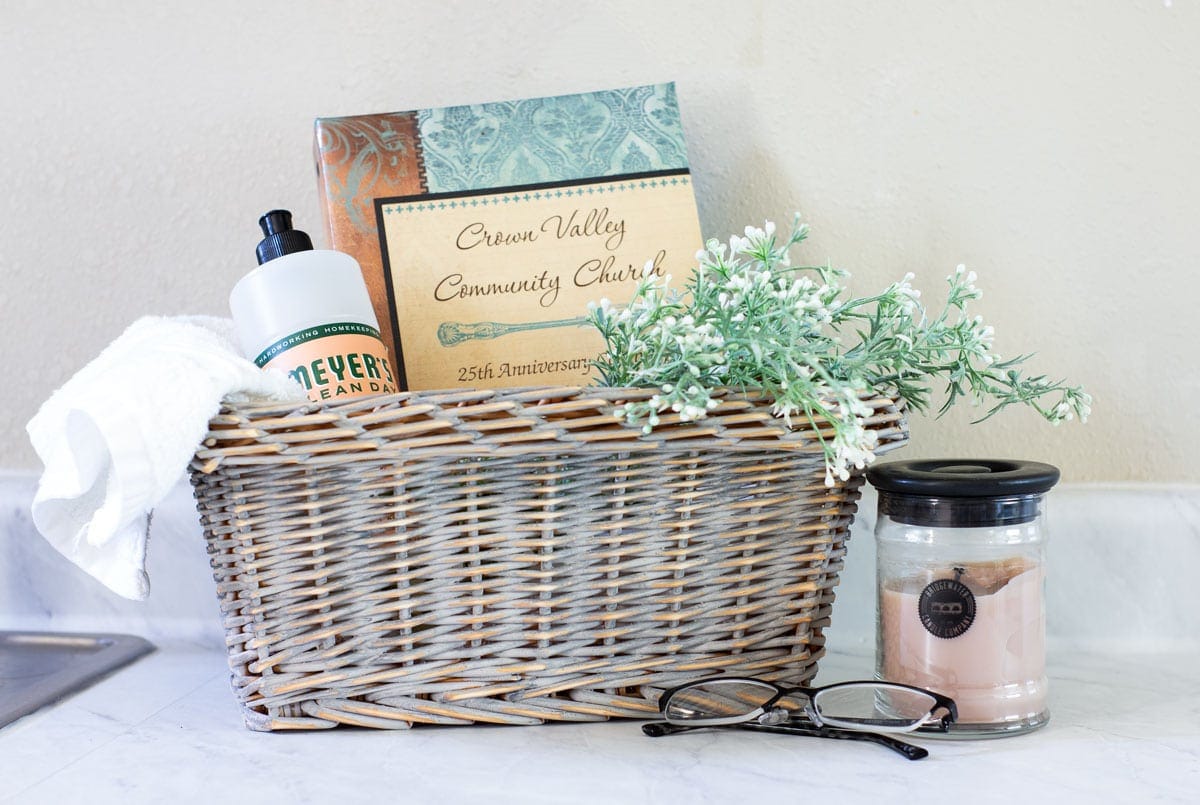
Then, after painting the basket and distressing it (keep scrolling for the tutorial), I added a white hand towel (as the blanket), a cookbook (great kitchen item), faux wildflowers (similar to Jamie’s) and a little candle on the side (like the clock).
How to DIY a Chippy Paint Thrifted Basket
This tutorial is so stinkin’ simple, you’ll only need about 30 minutes to complete it.
This post may contain affiliate links, at no additional cost to you. For more information, see my complete disclosure HERE.
What You’ll Need
There are only a few items you will need for this project, and you probably have most, if not all, already around the house:
- Thrifted Basket… think thrift stores, consignment stores, antique stores, or even Big Lots type stores.
- Cheap white candle… tealights work great. It only takes one, and you can use the others for more projects.
- Acrylic paint color(s) of your choice. I used a sample I had from Home Depot and used another darker shade I had on hand.
- Paintbrush
- 320 grit sandpaper
- Antiquing Wax (optional)
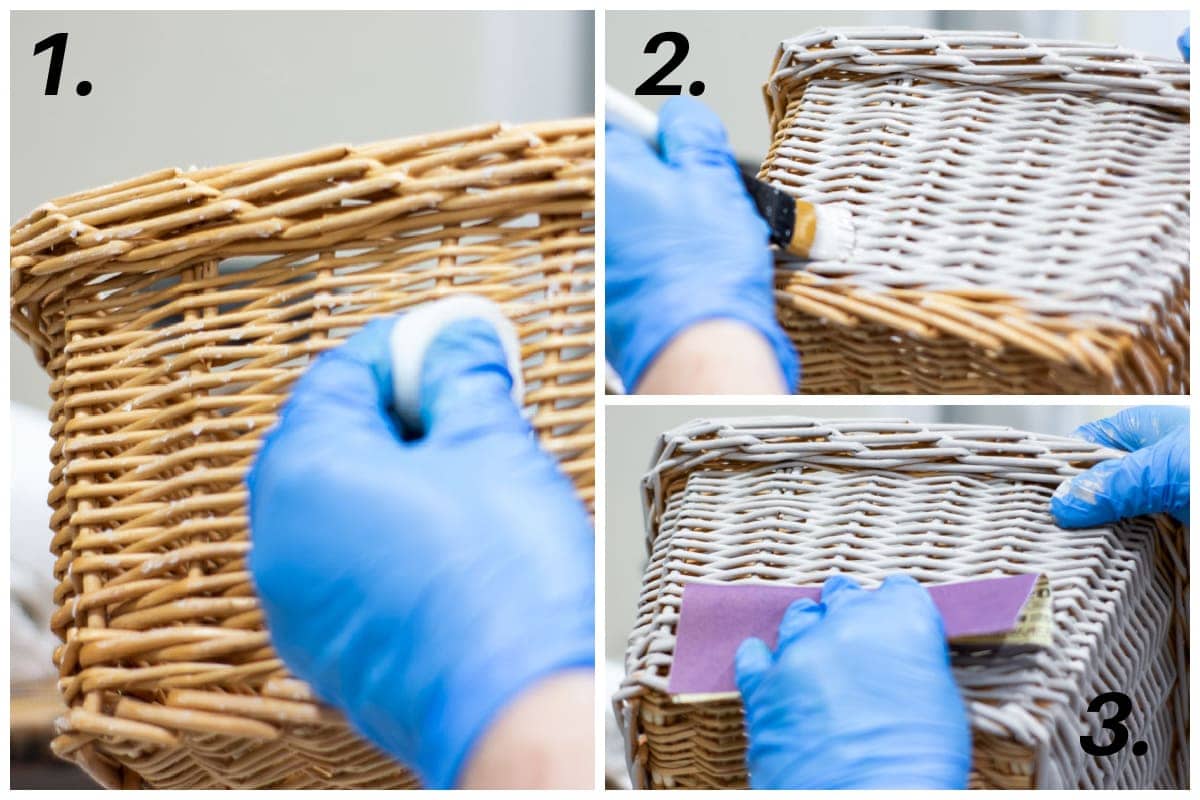
Here are the easy steps for creating a chippy basket:
- Take the candle and rub it across areas that would be naturally distressed with age. This is usually any ‘bumps and bulges’ that would be easily rubbed off over time. (You can see the candle wax rubbed off onto the basket.)
- Paint the basket with one coat of paint… don’t worry about getting it perfect.
- After the paint has dried, use your sandpaper and sand off the basket. The areas where the wax is located will sand off easily.
- For a little more ‘depth’ of color, you can dry brush a little darker color on the basket, and give it another quick sanding. (Not pictured)
And that’s it… I didn’t even seal it, but if you want to, you might consider using an antiquing wax in your choice of color. (A dark wax would even add more ‘depth’.)
More Behind the Elements of a Kitchen Utility Basket
Some of the items I used in the basket have some special meaning to me…
Cleaning Items
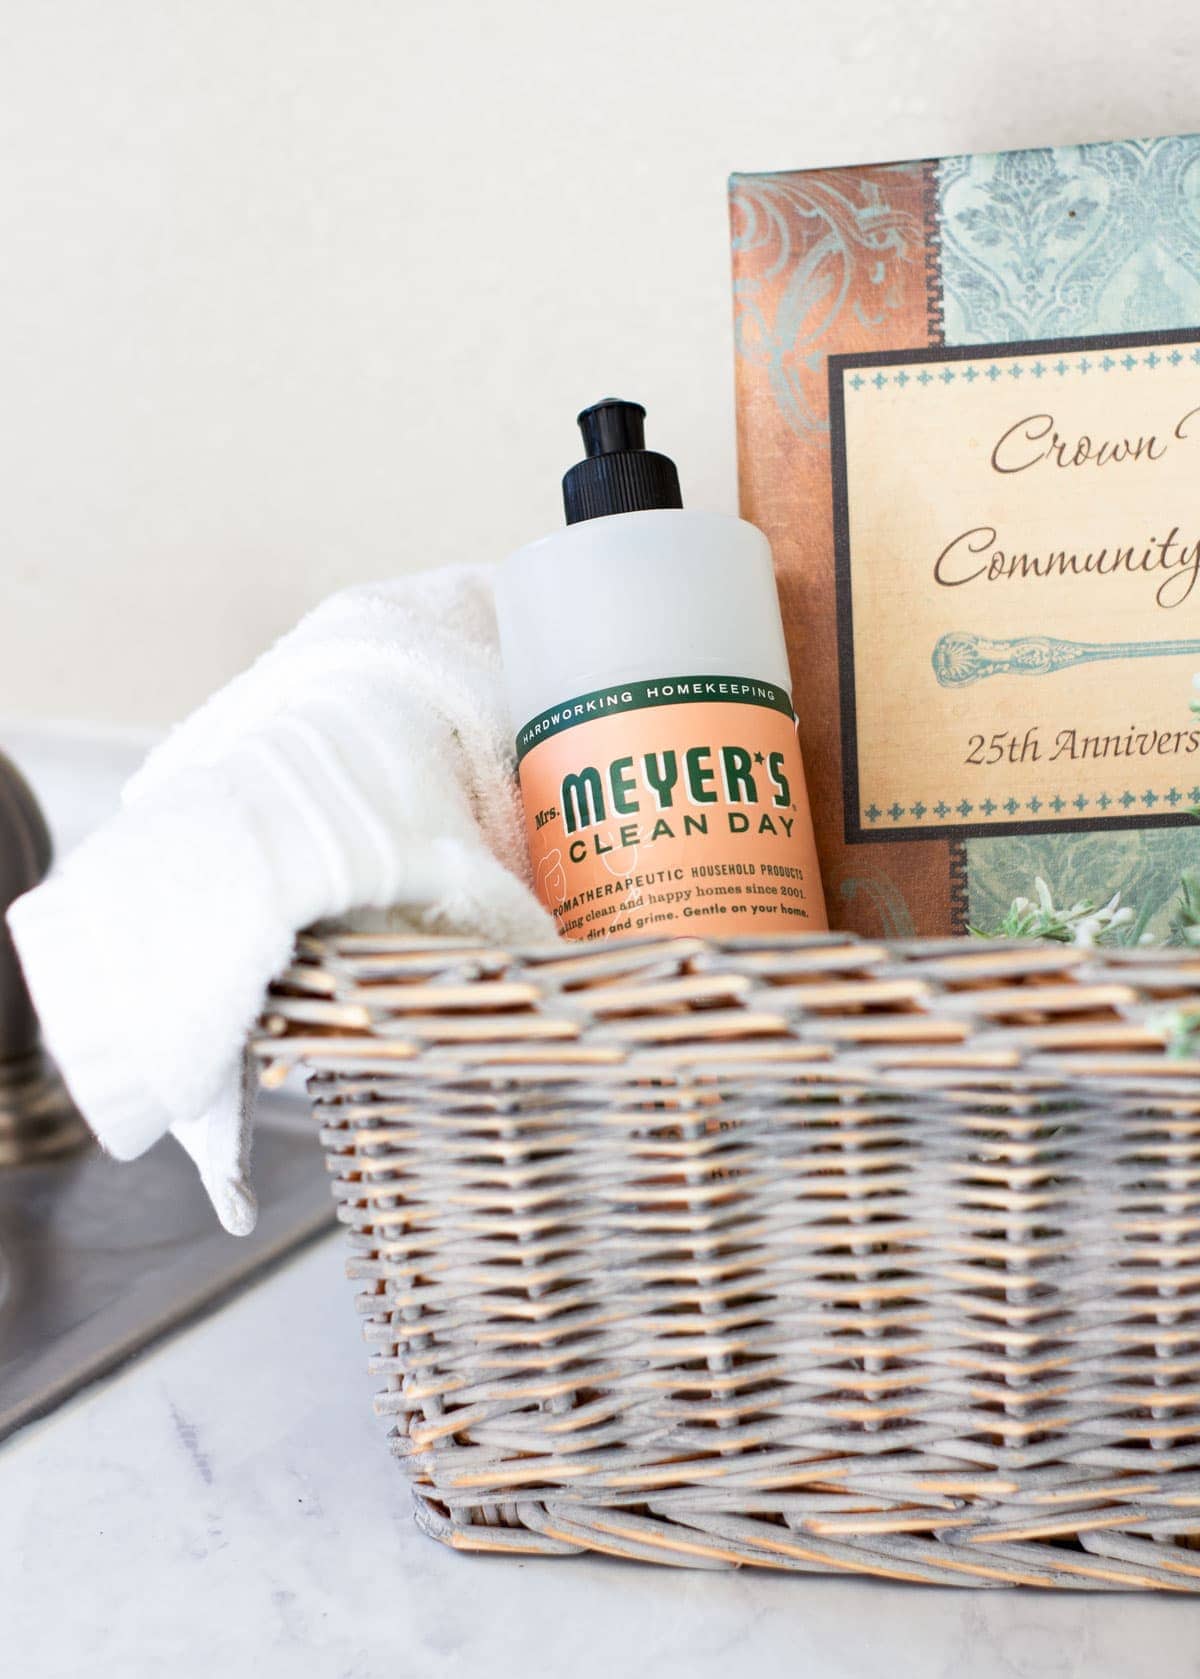
Of course, almost everyone loves Mrs. Meyers cleaning products. This bottle of Geranium scented dishwashing liquid is a favorite of mine and helps me look forward (just a little) to washing the dishes. And, the label just so happen to fit the color scheme of this little vignette!
A Special Cookbook
The cookbook was gift from my daughter-in-law. It is a special edition collection of recipes from the families in her church. She even was thoughtful enough to tag her favorites for me. Isn’t that fork graphic so pretty?
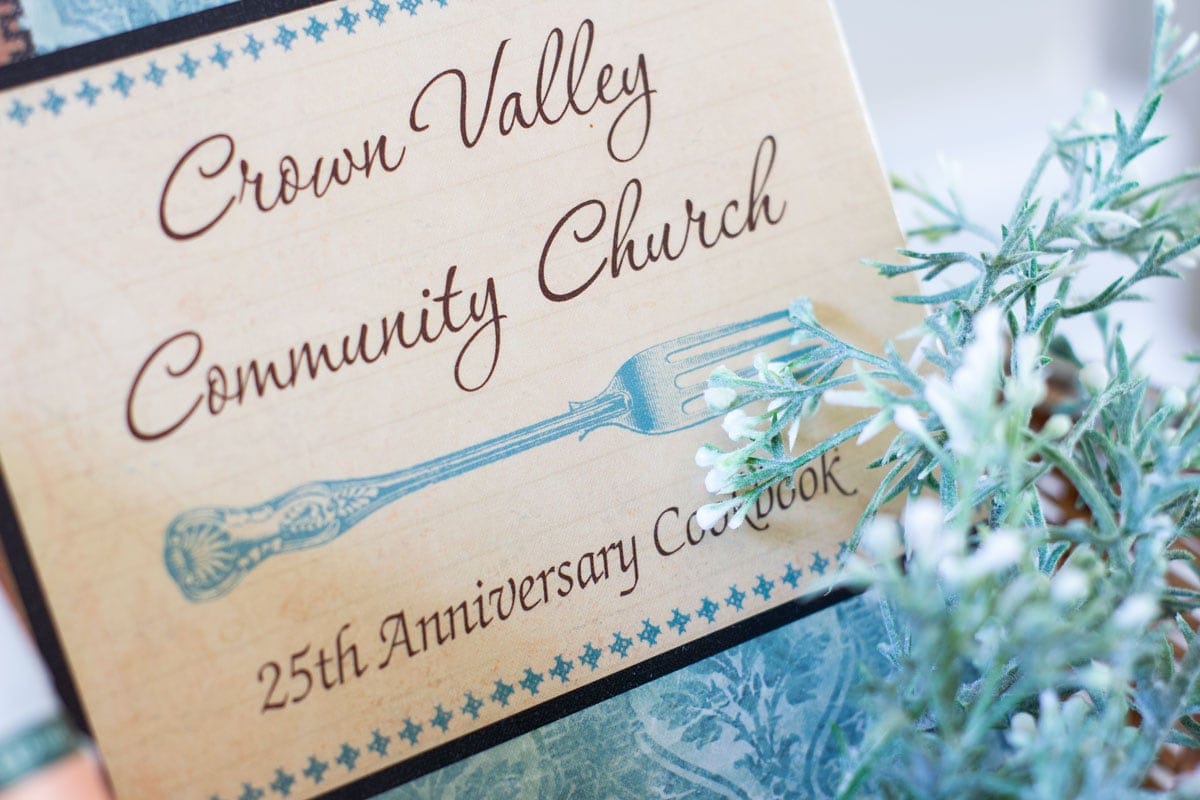
Even though the faux wildflowers aren’t especially meaningful to me, that are some of my favorites and I use them often in my decor, like in my Magnolia Market Pocket makeovers.
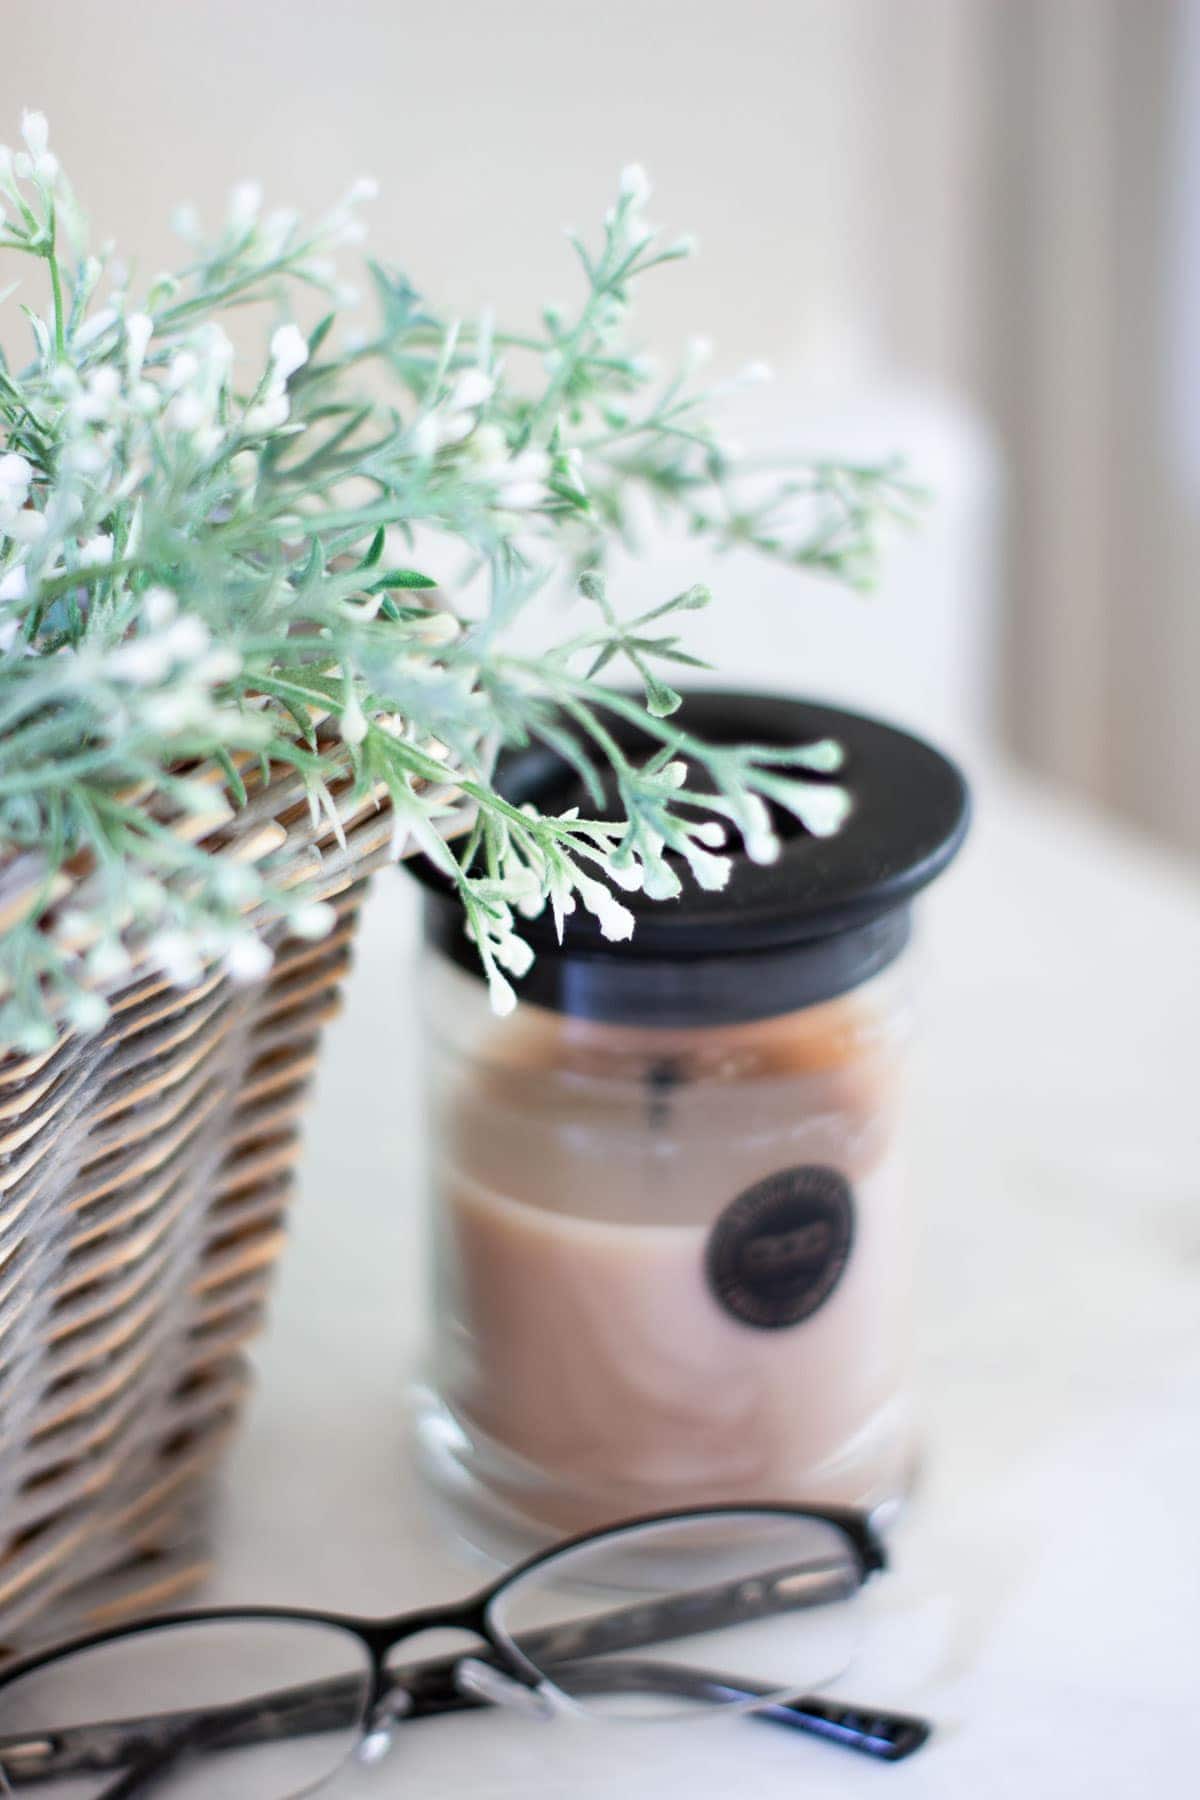
Meaningful Candle
BUT, the lovely candle means a lot to me for several reasons.
This candle was a last-minute find in Virginia when I visited my dear friend Paula from Sweet Pea this past fall. It was a visit I will never forget.
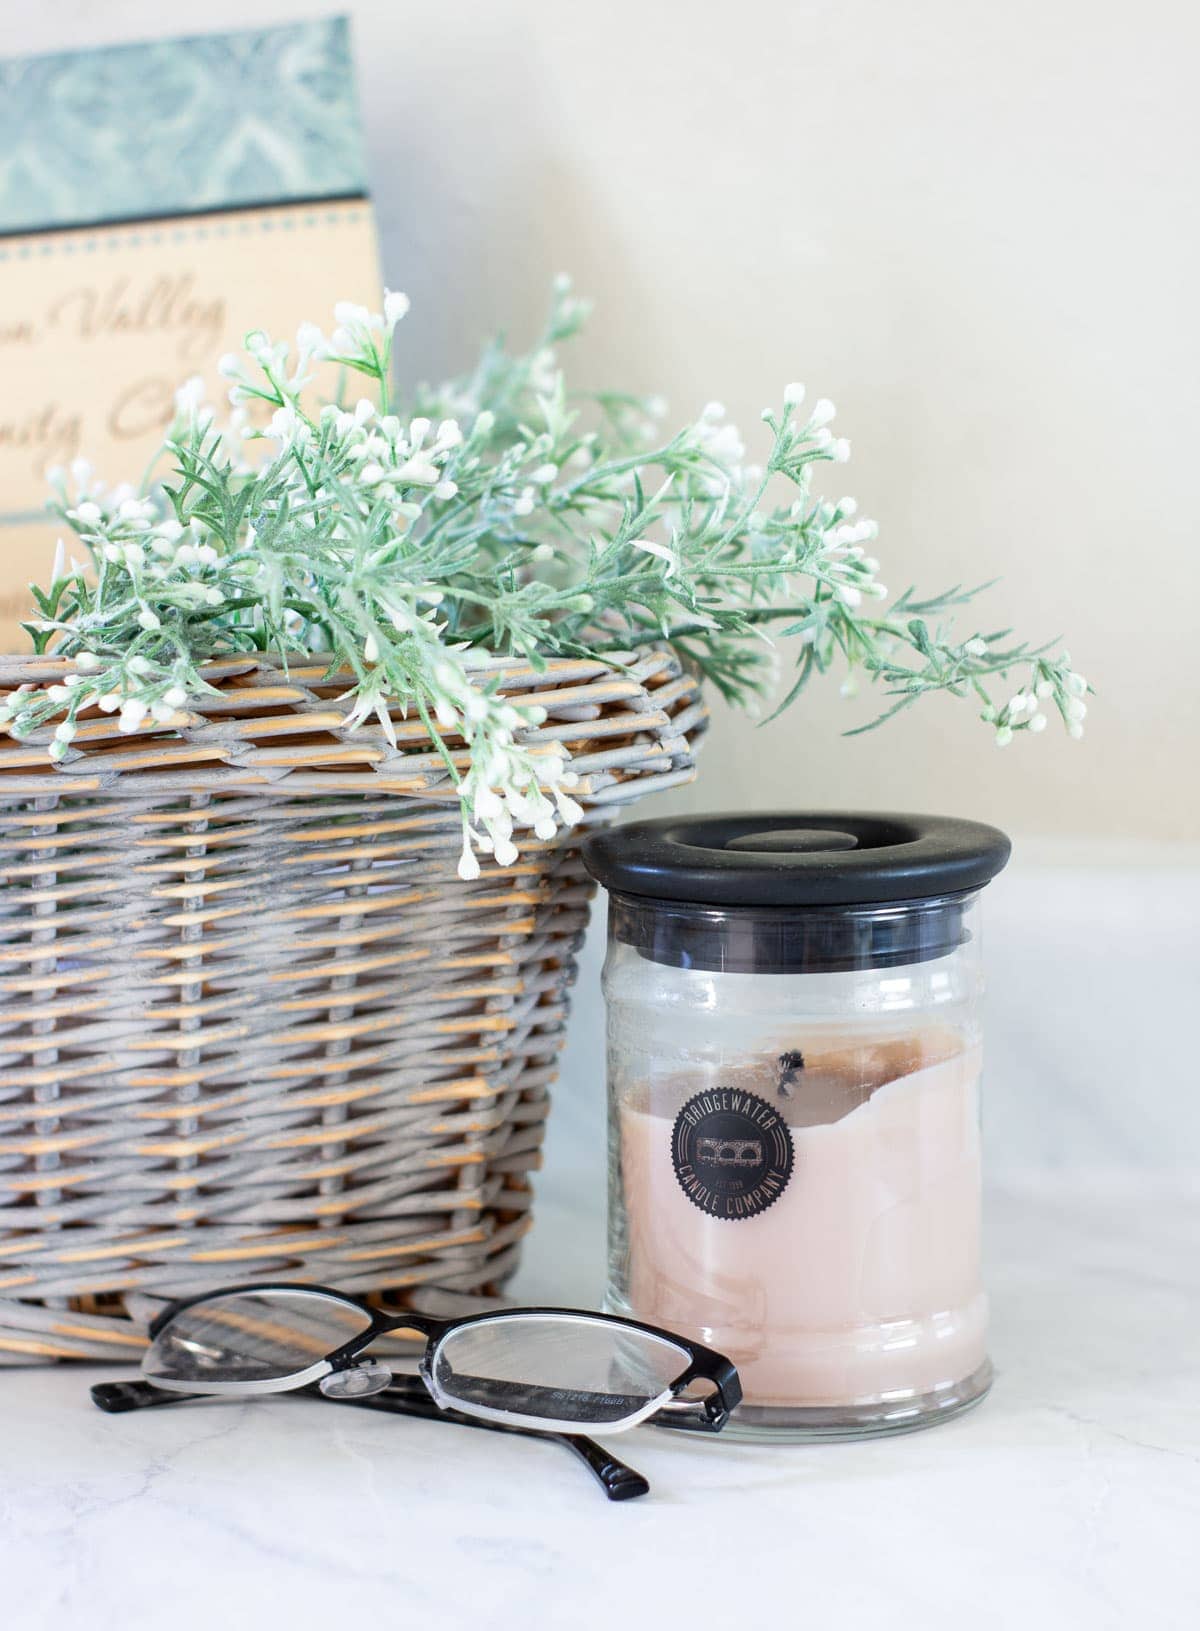
And this candle reminds me of her and the visit every time I light it.
The other reason this candle means a lot to me is because, not only is the fragrance amazing, this Sweet Grace candle is made by Bridgewater Candle Co.
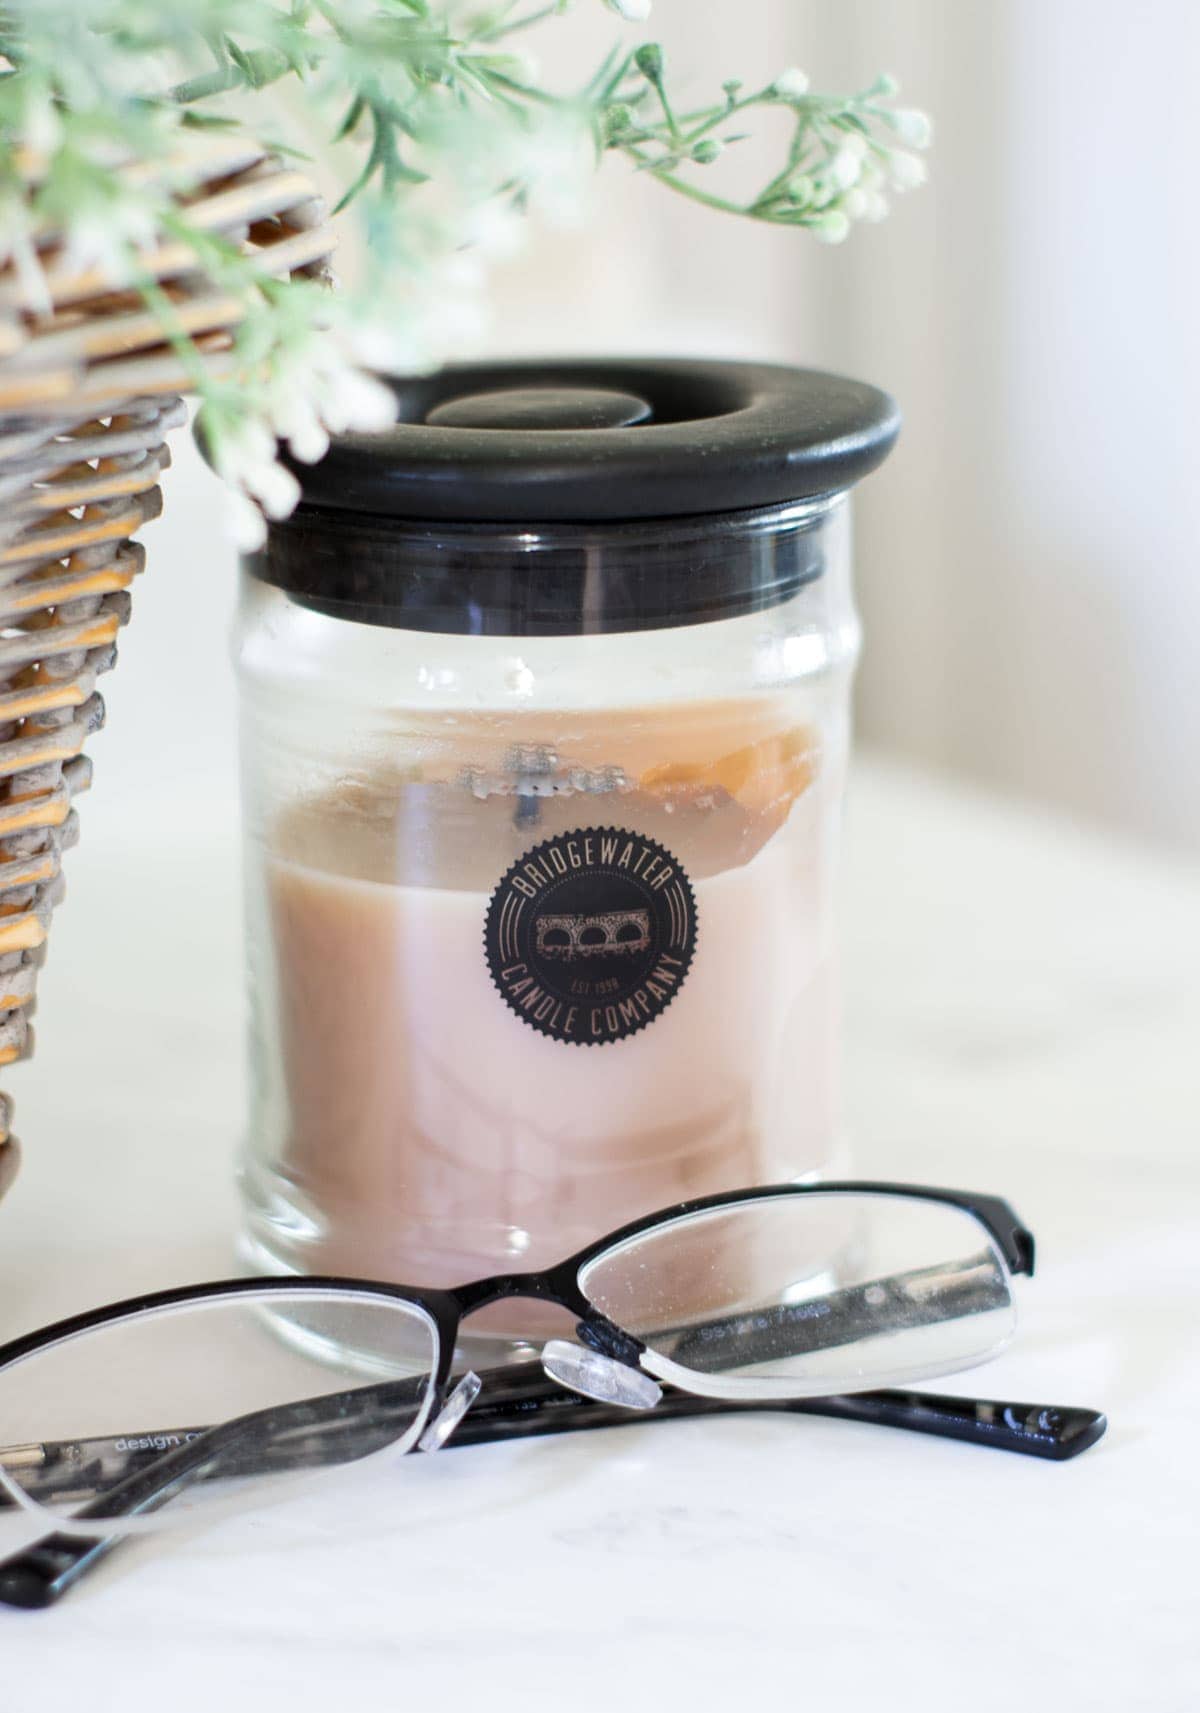
With every Bridgewater Candle Co. purchase, three meals are provided to hungry children across the world. You can read more about their mission and there amazing products on their site. (Many of their products can be found at local retail stores.)
By the way, I don’t earn any commission or compensation from this company… I just love their products and mission.
Now for a couple close-ups of the pretty basket…
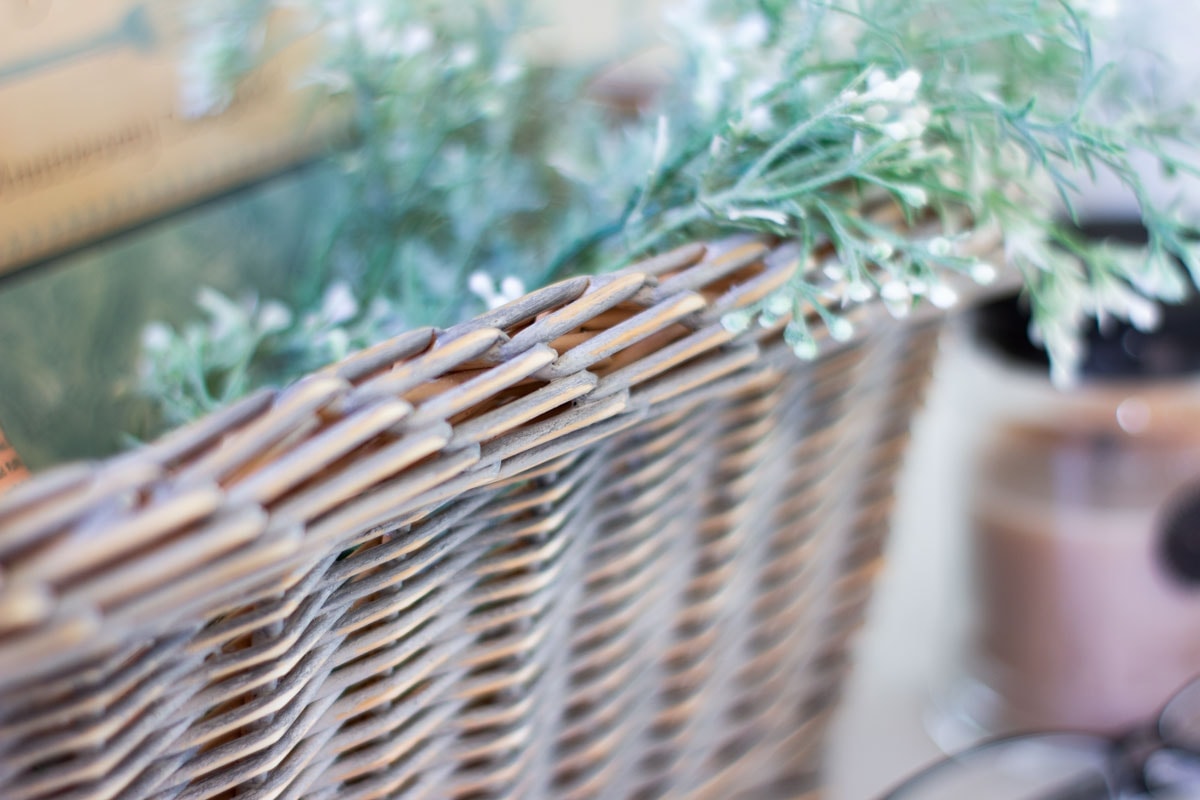
I love how the gray paint toned-down the yellow basket… big time!
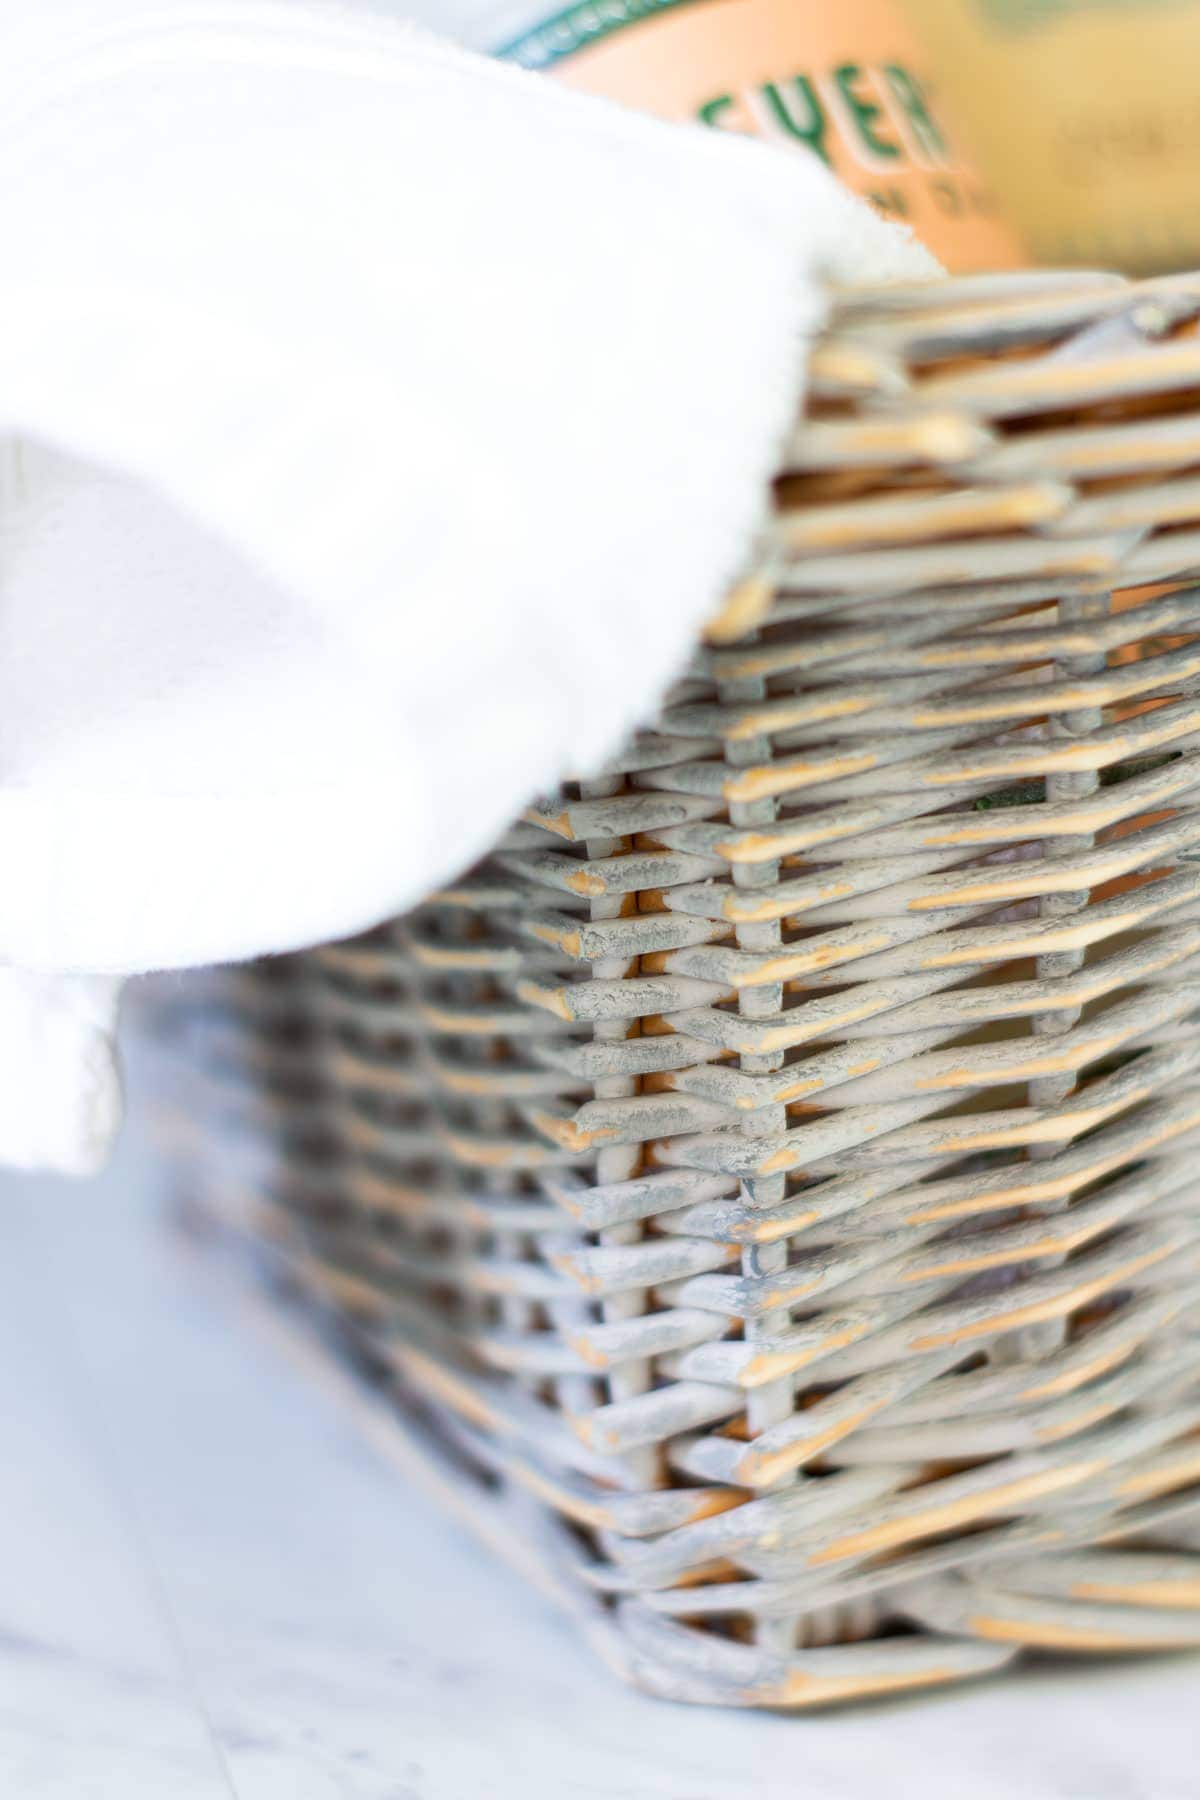
For $4.99, I think this DIY chippy paint thrifted basket came out pretty good!
Do you have a cheap basket in your future?
Now, be sure to head on over to my friend Rachel’s blog at The Ponds Farmhouse. She put a twist on her interpretation that I’m sure you’re going to love!
And remember to hop over to each of my friend’s blogs for LOTS of ideas on how to use a basket in your home decor! The links are below!




Grey tone = great idea
Thanks!
hi julie, I love the story behind the candle and the candle company. The basket looks great and the candle is a great add-on! Happy day Julie! laura
Thanks, Laura! Looks like I’ll be doing a full post on the candles soon, too!
The $4.99 basket that you scored is perfect for this month’s Pinterest Challenge. I had no idea that you can use candle wax, paint, and sandpaper to give a basket an aged appearance. I’m going to try your method on a basket in my basement that has a good design but has a not very pretty orange color. I’m also a Mrs. Meyer’s fan and I’m going to try Geranium scented dish soap. That will be a great summer scent to enjoy. I love a church cookbook and will read it like it is a novel. There’s nothing like making recipes that are tried and true family favorites. Seeing the candle that you purchased when you visited me last summer brought back a flood of wonderful memories. Great job on this challenge! Your basket looks wonderful in your My Wee Abode kitchen.
Thanks for all the kind words, Paula. Your twist on the basket was lovely, too… especially your fresh flower arrangement! I think it’s funny that there is a Mrs. Meyers geranium scent, but geranium have no scent, or are kinda stinky! LOL!
How fun that the candle is from your visit with Paula. I’d love that! Your basket DIY is so much better than the original version. I pass up things all the time not thinking to paint them. Not anymore! I’m going to our local Savers (a.k.a. Goodwill) store soon and looking for something easy to paint. Wish me luck! Thank you for joining in. You always have great ideas. Pinned!
Thanks, Cindy… this was a fun and quick project, and I’m actually really enjoying it in the kitchen. Good luck! 😉
Great job! I love doing this to baskets. It adds warmth and tons of charm.
Thanks, Cindy… It was a fun project, for sure!
Julie, your basket transformation is perfect and looks so pretty on your counter! I guess I need to go thrifting to find my next project. Thank you for the inspiration and the tutorial. Pinning!
Of course, Michelle… thank you so much for the comment and Pin!
Great reminder that we can always take the handles off, Julie! Really like how the gray paint toned down the gold tones, too. Looks great in the kitchen!
Thanks, Lora… I’m really enjoying it!
Love how your basket came out! The grey was an inspired choice! 🙂 This is a great idea for refreshing some tired and underwhelming baskets I have sitting around!
Always fun to paint something and make it look different! 😉
Hi Julie, I’ve never tried rubbing candle wax on a basket before painting! Your basket certainly shows that technique off really well!! Will have to try that soon. I love how your “new” basket turned out!!
Enjoy decorating with it this spring and summer,
Big hugs,
Barb 🙂
Thanks, Barbara! It was so easy, too!
Julie I love the softness your basket now has. Truly a wonderful vignette! Thank you for an inspiring how to!
Thank you, Laura… very kind!
Painting the basket gave it such softer costal style, and I love how you styled it!
Thanks, Cindy… even if I try, I can’t get away from the coastal style. I think I just need to go with it! LOL!
Julie, the idea of rubbing the candle wax on the basket is so smart! I would have never thought of that, but now I’m itching to try it, because your basket is lovely!
Pinned!
Niky @ The House on Silverado
Thanks, Niky… I actually read on Jamie’s post that she uses that technique. Nothing new under the sun! 😉 (Well, rarely anyways!)
Julie, your thrift find basket turned out great for gathering your special things. $4.99 went a long way to creating a vintage looking basket to hold things that have meaning to you. Thanks for the info about the candle company. Enjoy your pretty basket
Thanks, Carol! Yes, I think I’ll be having a full feature on Bridgewater Candles soon! 😀
I adore the DIY this basket got! It looks beautiful! And I love that you gave us a tutorial to do one ourselves. It was fun to hear the story behind your basket as well! I love the use it ended up with!
Thanks, Kristin! I’m glad you appreciated the tutorial! 🙂
I absolutely love creating finishes for thrifted baskets. I’m always so pleased with the new look for little time and money. This finish turned out beautifully! It’s perfect for any style!
Thanks, Christy! It was so quick to make, too!
Wonderful basket makeover ~ looks great! I have lots of baskets in my basement that need a refresh, so I’ll keep the wax technique in mind.
It was the first time I used this technique and it was quite easy! Hugs, Allyson!
Julie, your basket looks so pretty, and I know there are always baskets available at local thrift stores. WE are almost finished with our master bath remodel and have an open shelf beneath our sinks. I think I will have to try your basket painting technique for some baskets to hold extra soaps and washcloths! Too bad it didn’t fit in your bathroom, but you have styled it beautifully for your kitchen, especially with that treasured cookbook!
Aw… thank you, sweet Chloe! I’ve enjoyed having you at TTA, and always love seeing what’s going on at your home/blog! Hugs!
It turned out so beautifully, Julie! What a great little DIY project!
Thank you, my friend!
I loved this post! I have a few of these orangey toned baskets and I’d love to give them this pretty makeover. Thanks for sharing.
Oh, I hope you can use the tutorial, Shawna. Thank you!
I am loving the chippy painted basket. Next time at the thrift store, I will not pass up a funky color basket. Between seeing Cindy’s and your baskets, I am definitely taking a paint brush to some in the future.
Yes! It’s so easy to make an ugly basket look up-to-date! Thanks for the encouragement, Tammy!
Your basket is lovely! I love the transformation and am inspired to give this a try! Your candle is such a meaningful piece and I am sure it brings back beautiful memories. Thank you for sharing! xo
The candle does bring back good memories, Lynne, and it’s still my fave fragrance!
Julie, THANKS for joining the Creative Crafts Linky Party, you will be featured this week starting Wednesday. Have a fabulous week! Creatively, Beth
Thank you SO much, Beth! Always a blessing!
This is such a great make-over Julie and you’ve definitely inspired me.
Thank you for sharing your DIY at Create, Bake, Grow and Gather this week. I’m delighted to be featuring your chippy paint basket at tonight’s party and pinning too.
Hugs,
Kerryanne
Thank you SO much, Kerryanne! Always a thrill!