
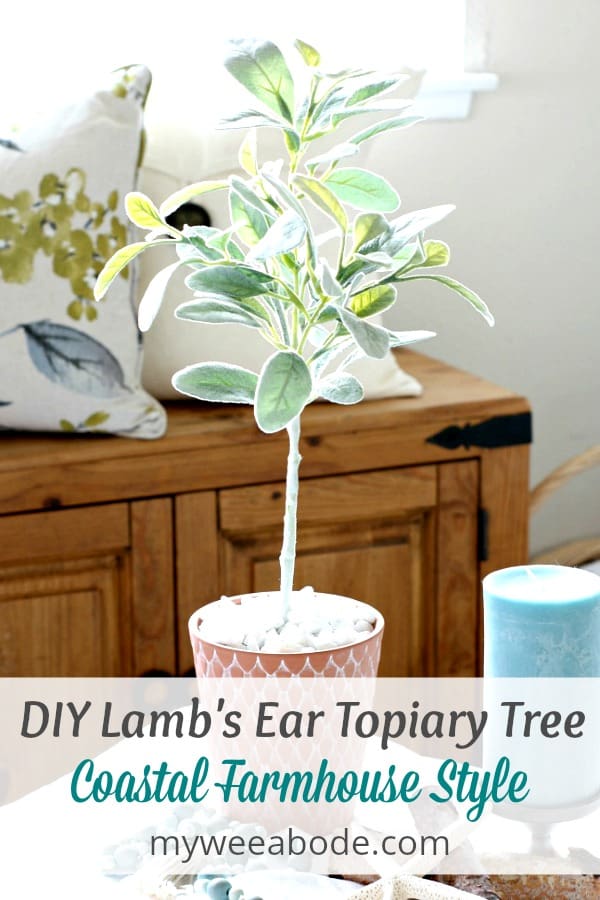
How to Make a Topiary Tree with Lamb’s Ear
Hey everyone! It’s been a busy week here at My Wee Abode (as always), but not so busy that I couldn’t sneak-in a quick project. This one actually took less than 45 minutes! Today, I’m going to show you how to make a topiary tree with Lamb’s Ear!

I have always thought topiary trees are a beautiful addition to any home! Have you seen these at your local home and décor stores? Well, I have, and they can be a little pricey! Boxwood, olive branches, moss, just to name a few varieties! But, I wanted to make mine a bit different.
You can see more “different” at My Word of the Year with a Twist and DIY Coastal Wooden Bead Garland posts!
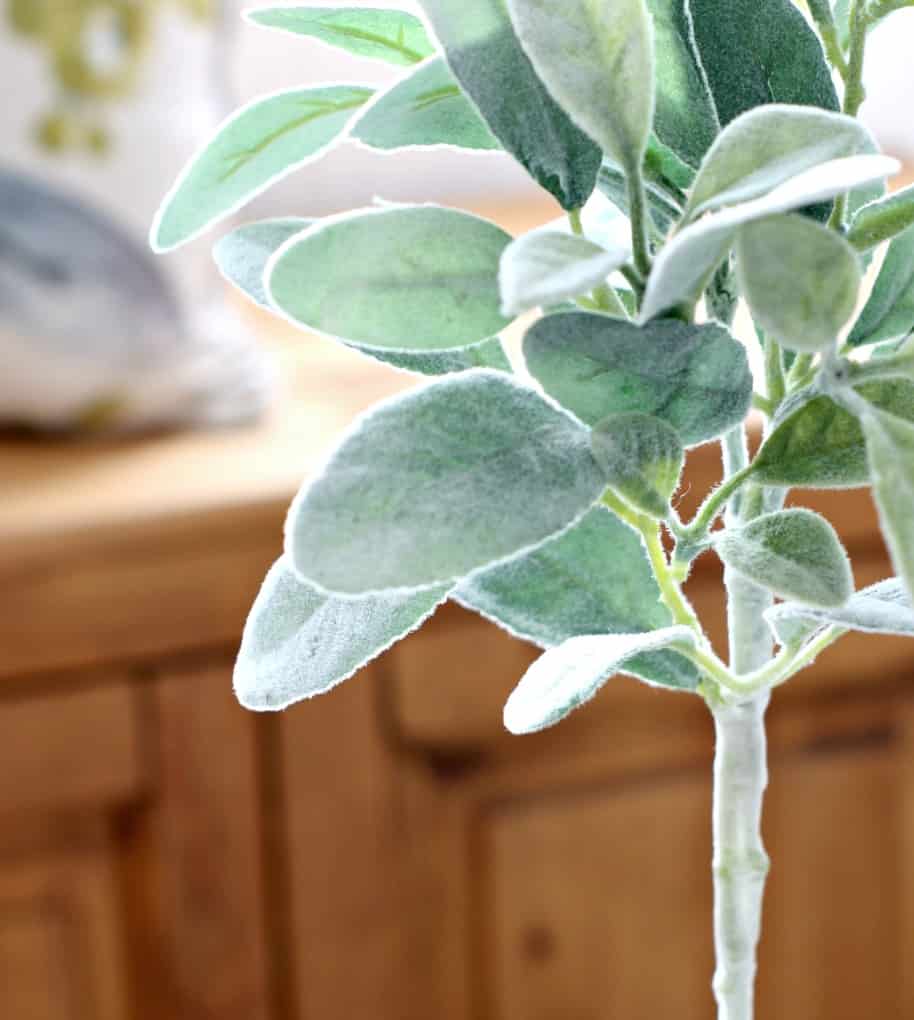
I love Lamb’s Ear. The soft fuzzy leaves and stem, the silvery-blue-green color… it kinda shouts ‘coastal farmhouse’ to me. Maybe even a little cottage-style! I think the color and texture transitions well from summer to fall, too. So, I decided I would learn how to make a topiary tree with Lamb’s Ear! Let’s do this together!
This post may contain affiliate links, at no additional cost to you.
For more information, see my complete disclosure HERE.
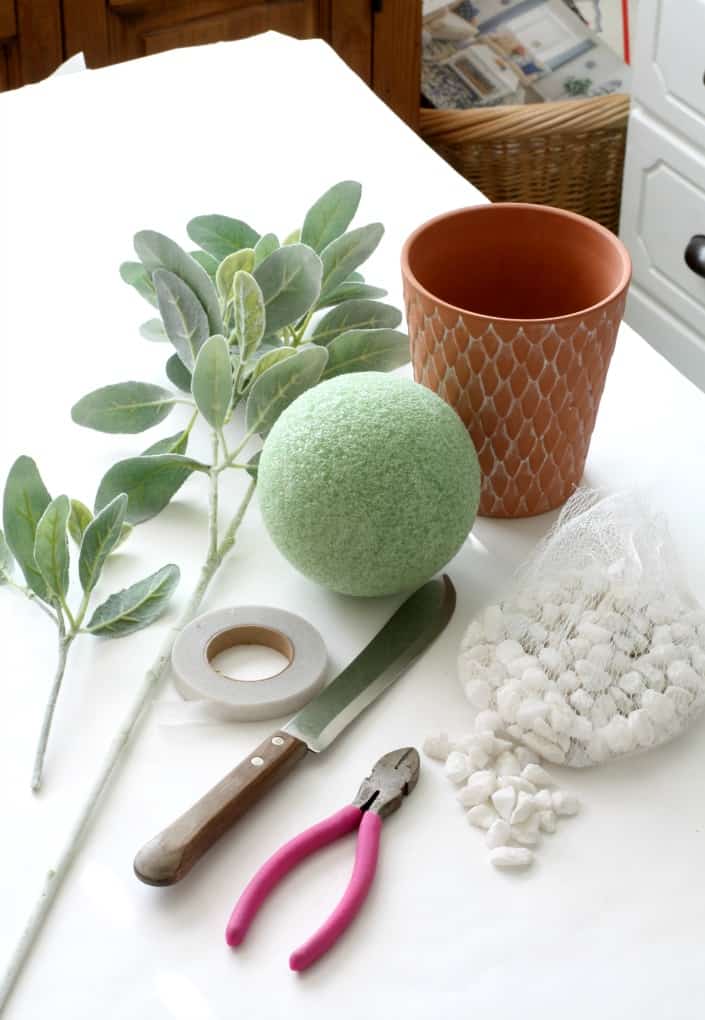
WHAT YOU NEED
Some of these items I’ve collected over time on little shopping trips, but, for your convenience, I will link up the items that are similar to what I used.
- Lamb’s Ear branches (Note: I bought mine at Hobby Lobby, 50% off, and I was VERY happy with the quality)
- Lamb’s Ear Floral picks (optional… you can cut another branch up and use those, too)
- White Floral tape (Again, Hobby Lobby, with a coupon)
- 5” Styrofoam Ball (Just go to Dollar Tree, $1)
- 4” Floral Foam Squares (Again, Dollar Tree, $1)
- White rock (PLEASE, go to Dollar Tree, if not just for this!)
- 6” Terra Cotta Pot, or any pot you like (I bought mine at Michael’s in the spring… I can’t find anything online like it… sorry)
- Glue Gun and glue sticks
 (Keeping it real here… with buying my items from Dollar Tree, and all the other items being on sale, I made TWO of these topiary trees for a total of $22.00, with plenty of materials left for more projects. That’s a steal!)
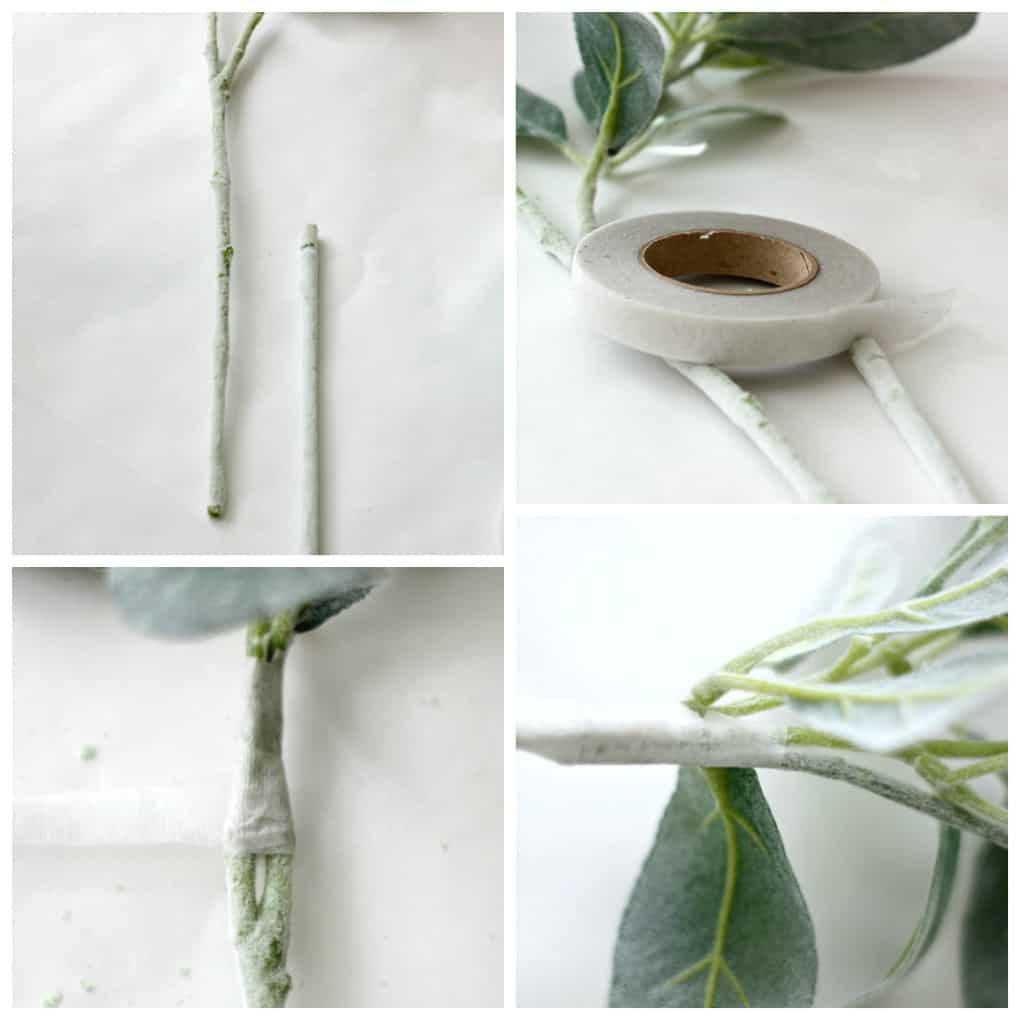
CREATING THE TREE
- Take the branch and stand it up just outside the pot. Adjust for the height you would like and cut off the excess at the bottom. (See the branch cut below)
- Using the floral tape, add the extra sprigs of Lamb’s Ear to the top of the branch. This is optional, but I wanted it a bit fuller than just the branch. I also took the last stem of leaves on the branch and taped it to the ‘trunk’ (see the photo below)… again, this is optional… you make it ‘yours’. (Note: Floral tape is stretchy and can be a little ‘delicate’… It sometimes tears off while using it. It’s fine… just go back a little from where it tore off and start over. Try it… it works because it sticks to itself!)
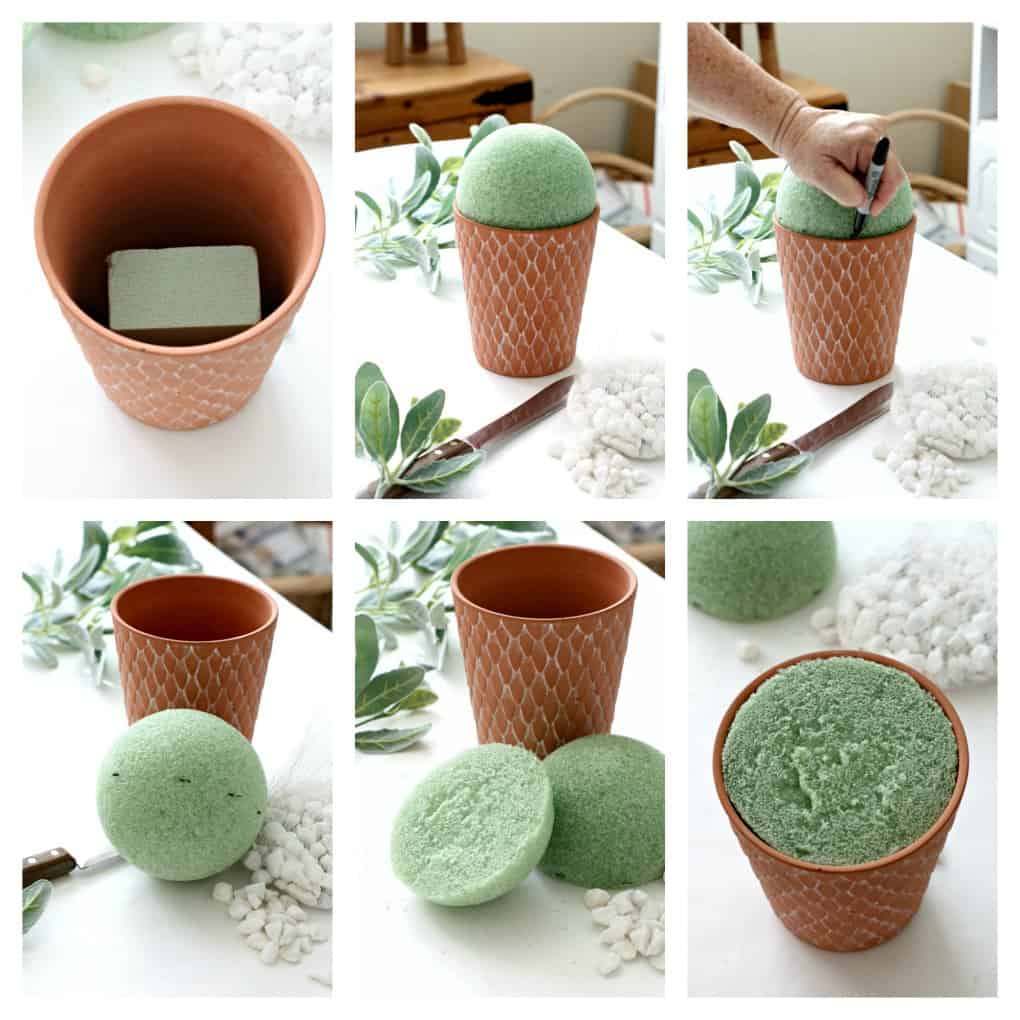
STYROFOAM PLACEMENT
- Place the floral square in the bottom of the pot to use as a ‘filler’.
- Place the Styrofoam ball at the top, and mark around the perimeter for a cutting pattern.
- Using a sharp knife (or whatever you find works best for cutting foam… this is what I had), follow the mark around the foam and score the marks first, then cut around, a bit deeper each time as you go around (it took me two times around to cut completely through). Place the foam dome (LOL) inside the pot.
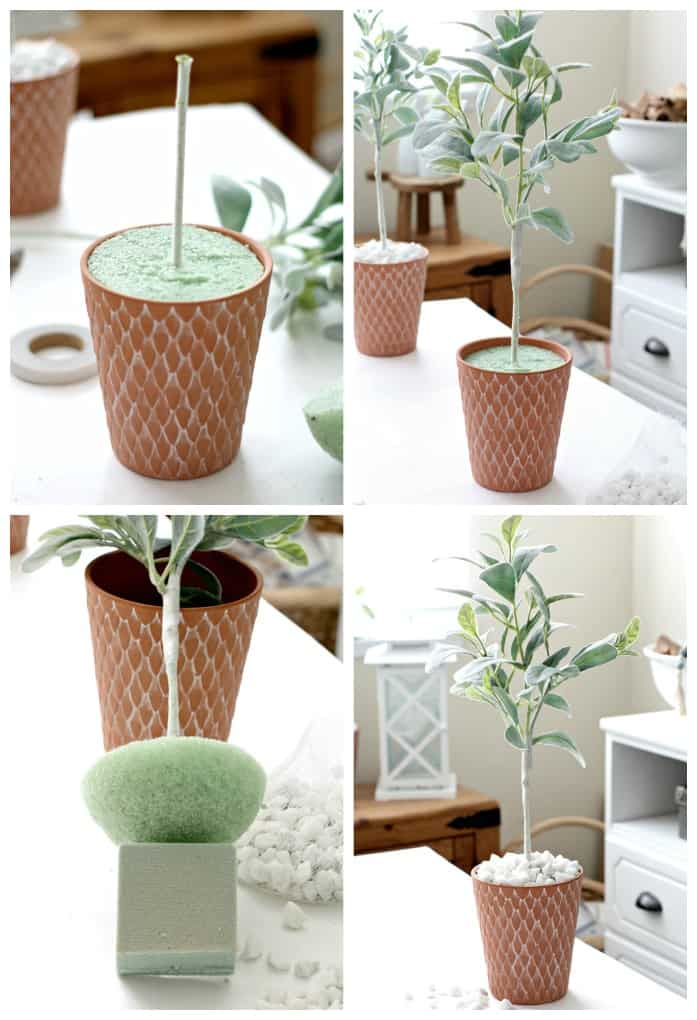
TREE PLACEMENT
- Because using the large branch to make the first hole is bit tricky, use the piece of the ‘trunk’ that was cut off and carefully pushed it down through the middle of the foam. Then remove it.
- Take your glue gun and ‘shoot’ some glue down the hole, and immediately take your tree and push it in after the glue. Then, add some additional glue around the top of the foam where the tree is based at.
- Here’s a little added trick! You can make these trees interchangeable! So, if you want to put an olive topiary in at another time, all you have to do is pop out the Lamb’s Ear, make an olive branch tree, and pop it in! Easy peasy!
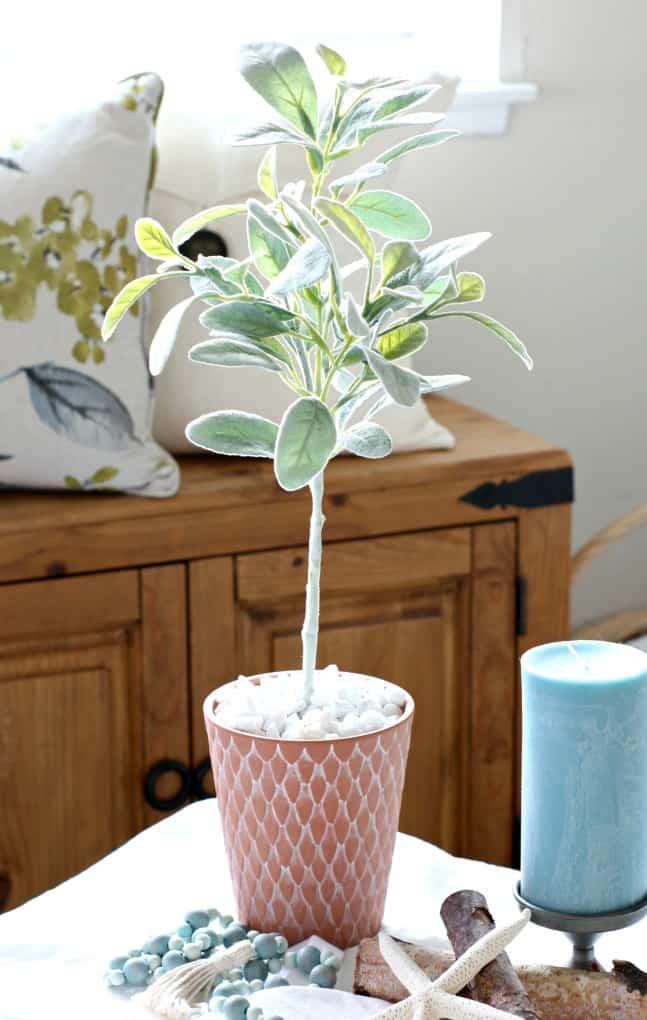
- Now just add the rock… and voila! Pretty easy to learn how to make a topiary tree with Lamb’s Ear, huh?
I love the way the terra cotta color compliments the silvery blue-green leaves!

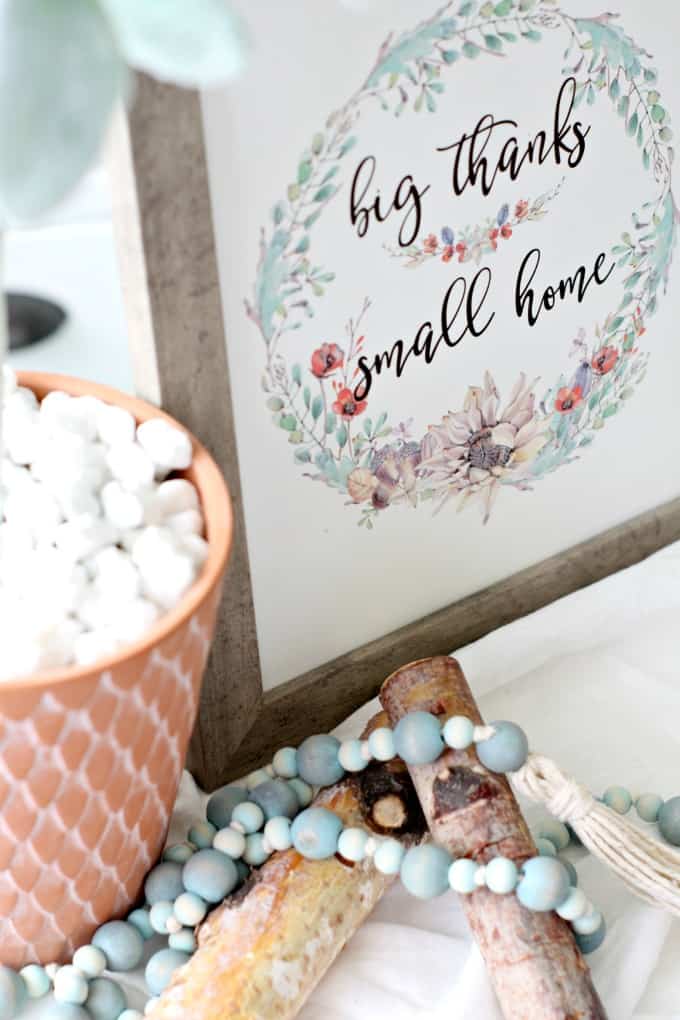
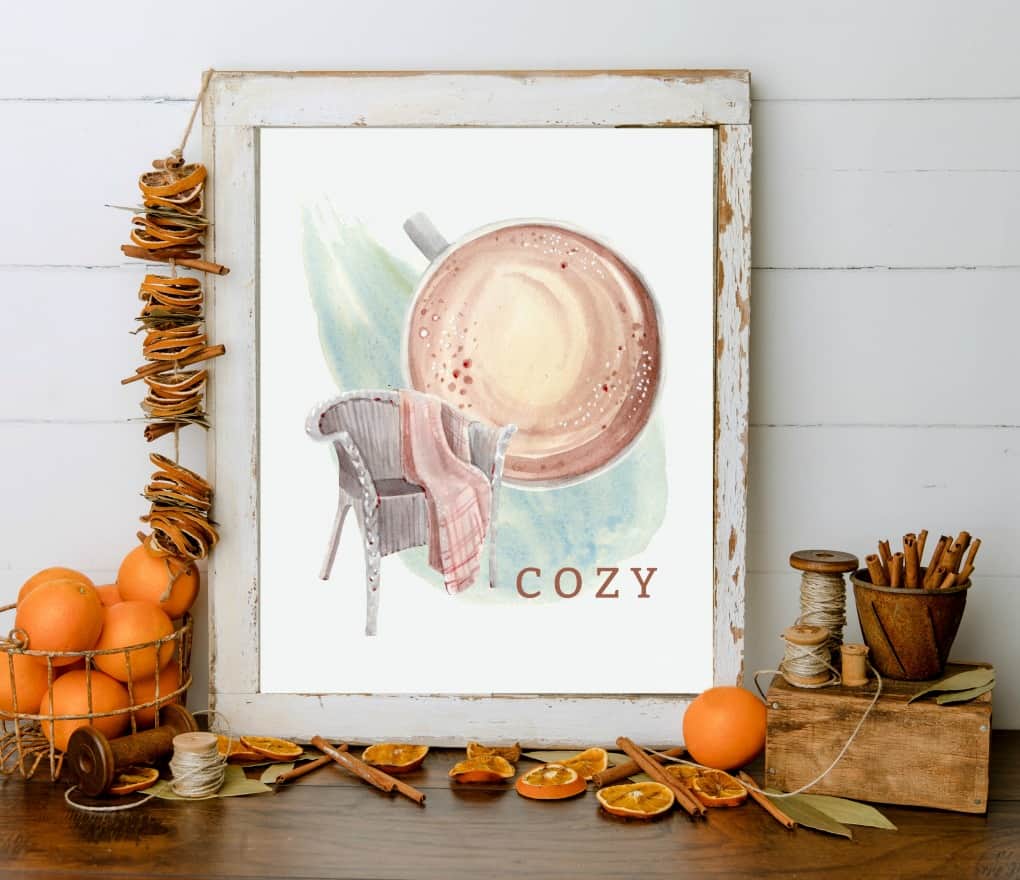
Wanna know where you can get this fall printable wall art? Just subscribe to the blog HERE and get immediate and total access to My Wee Abode’s free printables library!
Love the color (have I said that before? 😉 )… and how the light bounces off and through the leaves!
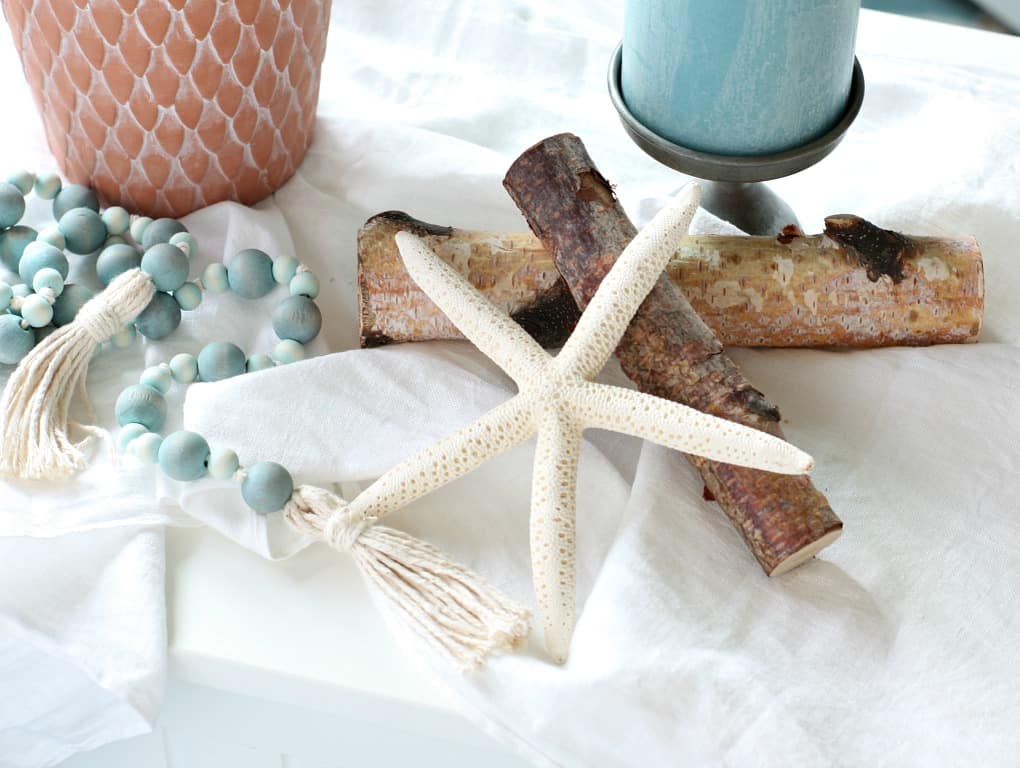
My Wooden Farmhouse Bead Garland making another appearance!
That light, though!!!!
Love these starfish that I picked up from HomeGoods!
I hope you enjoyed this tutorial! If you decide to try your hand at this easy and, dare I say, beautiful craft, I would love for you to share a photo of it on my Facebook Page! Also, let me know what you think in the comments below!
Thanks for being a part of My Wee Abode! You are what makes this blog a happy place! 😉


Great tutorial Julie and I love that cute little pot you used.
Thanks, Sonya! Yes, the first time I saw that pot, I decided not to buy it…. the second time I thought, “You are going to be SO sorry if you don’t get those!” I’m REALLY glad I did! Michael’s always has cute planters/containers! 😉
Very nice!! Your photography is beautiful as well!!
Thanks, Kay! And your kind words about my photography made my day! I’m thankful that I’m seeing a wee bit of improvement… LONG way to go! Hugs… hope you have a blessed week!
Lambs ear is pretty and that terra cotta pot is great!!
Yes… I wish they were still available! But, Michael’s always has cute little containers. 😉 Thanks for sharing, Peg! Love ya!
Loving everything about this project!! I pinned it so I can try make one for myself.
Dana!!! So glad you liked the topiary! I would LOVE to see your tree when you are finished! Feel free to share it on my FB page! 😉 Hope you are doing well! We need to chat soon! Hugs, friend!
This is so cute! What a great use for lambs ear. I, too, love lambs ear, and this is the perfect little display of it. 🙂 Thanks for sharing at Sweet Inspiration!
Hi, Amy! Thank you so much for your kinds words! And thanks for dropping in! Have a WONDERFUL week! 😉
Oh my this is such a beauty Julie. I love anything grey-green and the lambs ear you purchased is gorgeous. It would look good anywhere any time of year. PInning!
Thanks, Patti! This is definitely a fave of mine! Thanks for pinning, too! Hugs, friend!
Julie, this is so pretty! I love Lamb’s Ear and it makes for a perfect topiary. Thanks so much for the instructions!!
Thanks, Jennifer! I thought it was a fun ‘change’ to the norm! 😉 Hope you have a great week!
I adore lambs ear, thank you for this tutorial! I will be back to look around more on your lovely blog 😀
Lori Jo
Thank you so much, Lori Jo! I hope you find lots to enjoy on the blog! Hugs and hearts!
This Topiary is so sweet…you can feel the softness through the screen! You did an amazing job…I simply love it! Sending hugs…
Oh, thank you so much, Andrea! I was hoping it would translate well! And you described it just the way I wanted! 😉 Hugs back, friend!
I love it Julie! Any I really love your photography. Magazine worthy.
🙂 gwingal
Oh my goodness, Nikki! You know how to make my week!!!! LOL!!! I’m thankful for all the help from some of our experienced blogger friends! And I hope I’m making some baby steps in photography. 😉 Thanks for coming by, and for the love!
I love Lamb’s Ear! I always liked to play with the real stuff (pro-tip…it DOES NOT feel good if you rub it on your face). I also think the terra cotta looks fab with those silvery green leaves…definitely getting coastal vibes!
Oh my…. I didn’t know that it would feel awful if you rubbed it on your skin/face! Thanks for the heads-up! 😉 Glad you liked the diy… I’m glad ya think it has a coastal feel, too! 😉 Love ya!
This is so attractive, Julie! I’m a real sucker for topiaries! Love this lamb’s ear topiary!!
Thanks so much, Kellie! I always think highly of your creative opinion, so you made my day! Looking forward to seeing you in December! Ahhhh! Love ya!
So pretty! I would love to make one of these! It’s has a very clean, simple look and would look lovely in so many places. Thanks for sharing at Thursday Favorite Things!
Thanks, Pam! I’m thankful to TFT for their willingness to share and host all of us! 😉 Have a great weekend!
Gorgeous idea Julie, I just love lambs ear, it makes for such beautiful decor!
Katrin! 😉 Yes, gotta love Lamb’s Ear… it’s a nice change to the norm. 😉
Topiaries are really nice for vignettes, but I never found one I liked all that much before this one. Its different and doesn’t look like the mass-produced ones you see all the time in stores. Beautiful craft project, I really love how it turned out. Pinning.
Ohhhh, you made my day, because that is EXACTLY what I wanted to do… something with my own twist! Thanks for pinning, sweet friend!
You’re so right about that light Julie and the topiaries are stunning. I love lambs ear, it’s such an unuasual plant, so soft and furry
Aw, thanks, Michelle! Yep, I love the light in MWA… MOST of the time! 😉 Thank you for the kinds words, too! Hugs and hearts!
It’s so fabulous! Pinning! Thanks for sharing at TFT!
Oh, thanks, Amber! You are so sweet to drop in so often! LOVE TFT! Going to visit more accounts now! Hugs, friend!
That is one of the sweetest things I’ve ever seen!! Just unique and beautiful, simple and delightful. I think I may be making one. So cute. Pinned to my Pinterest Boards also. Best wishes for the weekend, Linda @Crafts a la mode visiting from Thursday Favorite Things Party
Oh, Linda…. your encouraging words were a blessing to me this evening when I got home… thank you so much! I glad you liked the topiary, and I would love to see your finished product! Feel free to share it on my FB page in one of my posts! 😉 Have a wonderful week! Hugs and hearts!
Oh, I just love Lamb’s Ear and you have just inspired me to make these! As topiary trees are also something that I love! Perfect combo!
Thank you so much for sharing your awesome [project with us over at Wate Not Wednesday!
Thank you so much for the feature, Sam! If you make these, be sure to share on my FB page! It’s always a blessing to hear that someone has been inspired, as you know! Hugs!
Hi Julie! Congratulations on being featured this week as part of Share Your Style #174!!! I’d seen your sweet Lamb’s Ear Topiary before but guess I didn’t comment. I know I pinned and will pin again! Sooo cute and perfect for those of us who might be inside-garden-challenged {me!}. 😉 I use a lot of faux flowers indoors so this is perfect!
Thanks again for sharing,
Hugs,
Barb 🙂
Everything you do is so tasteful and your projects are well explained.
Thank you, sweet friend! You are a wonderful cheerleader! Hugs!
I love the soft color and the fuzziness of lamb’s ear–faux and real. Your tutorial was very simple to follow. Nice job–and Yes, we love the colors, too!
Thanks, Kathy! Did you see this over at Kerryanne’s party? 😉
I love topiary’s too Julie and this one is adorable!
I used lambs ear mixed with eucalyptus for my daughters wedding and have some left over…. how perfect, now I can make these lovely lambs ear topiarys.
Thank you for sharing your DIY project at Create, Bake, Grow & Gather this week. I’m delighted to be featuring your lambs ear topiary at tonight’s party and pinning too.
Hugs,
Kerryanne
Thank you so much, Kerryanne! Yes… Lamb’s Ear is a fave of mine around here. Love the silvery blue-green… looks great with coastal decor!
This is so stinkin’ cute! I have some lambs ear and will definitely be doing this. I was always having trouble with my holes and things falling over or being to loose. Not anymore! I’m going back to fill my hole. 😉 pinned
Thanks, Cindy! I bet you’ll do a wonderful job! Glad the tip helped!
This is so cute! I love to make topiaries, and we probably have everything we need already around the house! What a great idea to use lamb’s ear!
Thanks, Danielle… I was just thinking I want to use these for my spring decor this year! I really do like them, too!
Very nice and your instructions are clear and simple.
Oh, thanks, Donna! Sometimes I think I go overboard on my details, but one of my blogging mentors says that readers love that because they don’t want to make a mistake! 😉
Thanks for linking up this beautiful idea at Charming Homes & Gardens! I can’t wait to try it in my Spring decor! I’m excited to feature you this week!
Well, thank you, Kristin! So appreciate that! Excited!
Julie,
This looks so cute. Thanks for sharing with us at Charming Homes & Gardens. Look for your feature on Wednesday.
Oh, thank you so much, Rachel! I truly appreciate it! Hugs!
I love the soft color of the Lamb’s Ear, it’s perfect for Winter and Spring! We are featuring this project over at the Creative Crafts Linky Party this week. Take good care!
Thank you so much, Beth! Appreciate it so much!
This is so cute Julie, I love projects like these! Since we have decided to end the link party, I am just going to replace it with a round-up post like KariAnne recommends. I am choosing this for one of my features this week!
Oh, that’s great, Jenn! Both about the round-up AND the feature! Thank you so much, and I look forward to visiting your round-up each week!
So cute Julie! I can see a pair of these in my kitchen!! Pinned and thanks for sharing!
Of course! I’m bringing them back for this spring!
I love it! I can see it working for a number of ideas. Thank you
Yes. I need to make more with some different types of branches!
So clever Julie…I am going to try this for sure. looks great!
Kari
Thanks, Kari! I hope you are doing well, my friend!
What a lovely and clean and beautiful decoration to add. Thanks so much for participating and sharing at SSPS 317. See you again next week at #318 https://esmesalon.com/tag/seniorsalonpitstop/
Thanks, Esme. It’s a fave of mine!
Julie,
Love your topiary tree made out of lambs ear. Congratulations, you are being featured on TFT. I hope you stop by. https://www.eclecticredbarn.com/2024/07/diys-and-yummies-on-tft.html
Hugs,
Bev
I always enjoy your easy and sweet projects Julie.
Thank you for sharing your topiary tree with lambs ear DIY at Create, Bake, Grow & Gather this week. I’m delighted to be featuring it at tonight’s party and pinning too.
Hugs ~ Kerryanne
Love your step by step pictures. I feel the need to make one or two. I can’t wait until I have time to get to the city for supplies. I also won’t tell you how many projects that I didn’t get finished, because I didn’t have all the materials. I like that you listed them for us.
I love it. Great idea!!!!!!!!!!! God bless