Update Your Countertops Without Replacing Them!
When you have a small home, that is also a rental home/apartment, getting creative with budget friendly updates and improvements is a must! That’s where today’s post comes in. I’m sharing how you can update your countertops without replacing them… all for under $50!
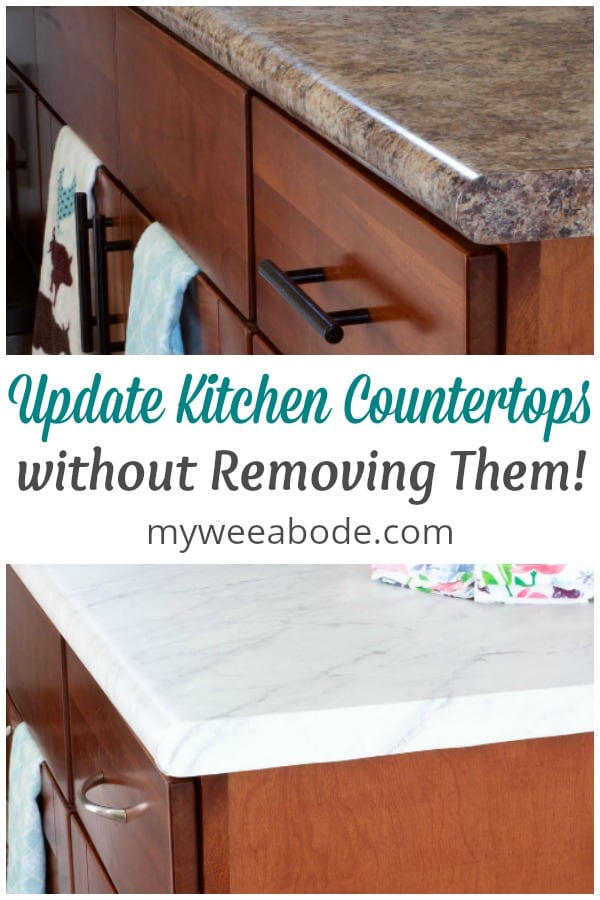
UPDATE YOUR COUNTERTOPS WITHOUT REPLACING THEM
Hey friends! I hope y’all are doing well, and looking forward to this three-day weekend! These long weekends mean I get to catch-up on blogging and spending time with you ! I’m SUPER excited to show you what I’ve done at My Wee Abode… so let’s get to it!
Small Rental Home Challenge
MWA is not just a small home… it happens to be a rental home/apartment, too! So when I want to update something (which is often), I have to first consider my budget, and then I have to figure out how to do it in a temporary way! Figuring out a budget-friendly makeover or update can be a challenge, but then you add having to make it non-permanent, and it’s just a little crazy!
Which reminds me, if you want more tips for small home and/or apartment living, check out my post on storage solutions for a small bathroom.
Kitchen Challenge
Do you love white kitchens, or at least light and airy kitchens? I DEFINITELY do!
And if you saw my Spring Home Tour, you would have seen that I do NOT have white cabinets… or white countertops. Womp, womp. 🙁
Recently, I was sharing with another blogging friend how much I disliked the look of my little coffee cubby (coming soon). She said, “Julie, those countertops are known for not photographing well.” Duhhh! Thank goodness for good blogging buddies, Sarah (She Holds Dearly).
Well, that was it! I had known for a while what I wanted to do with my counters, but her insight was the last little push I needed!
Here’s a before pic!
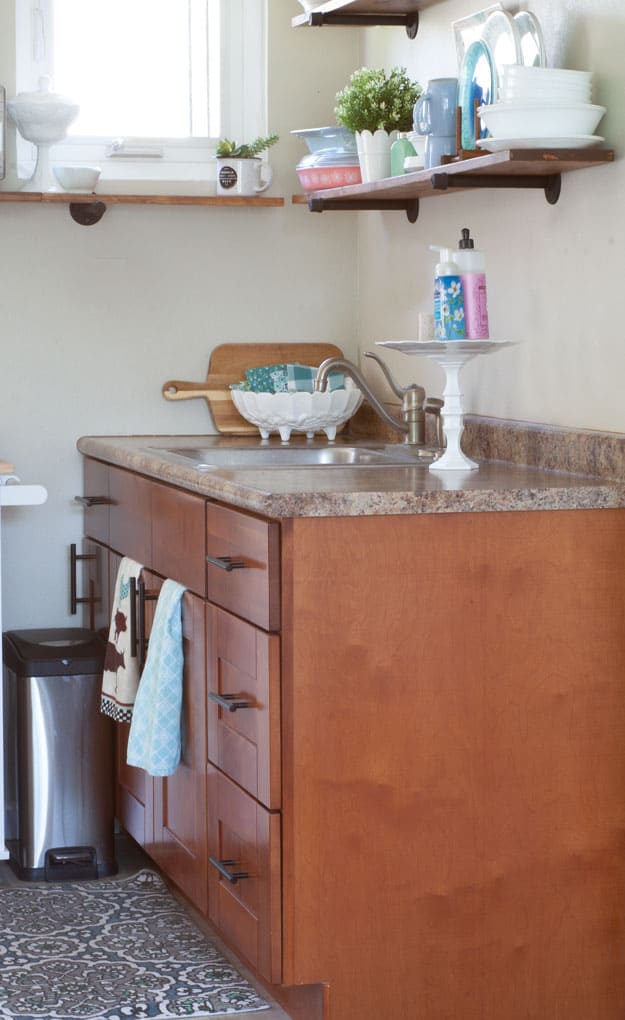
Not the worst, but we can definitely do better! At this point, not much can be done with the cabinets , but the countertops can definitely be rescued!
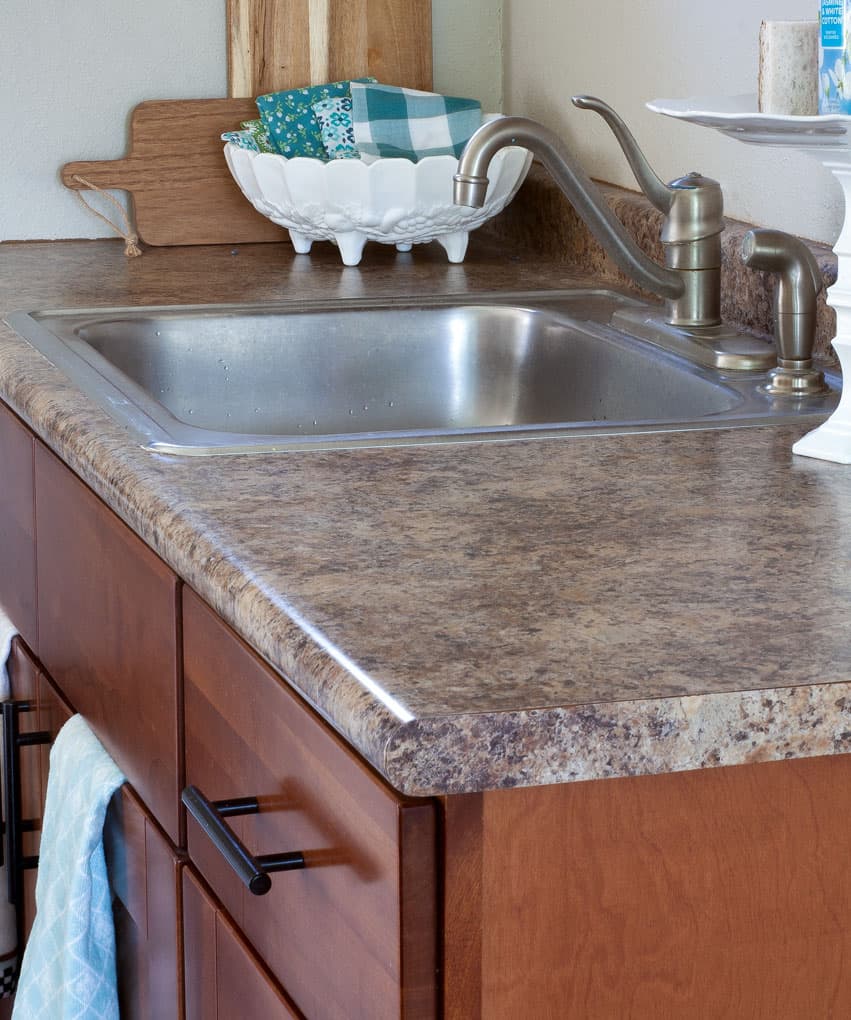
Again, not awful, but not at all my coastal, farmhouse, cottage style!
This post may contain affiliate links, at no additional cost to you.
For more information, see my complete disclosure HERE.
Kitchen Solution? Update Your Countertops without replacing them
Now hear me out, because you may be a little skeptical here… I sure was!
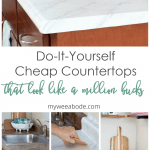
My icky laminate kitchen countertops got a facelift using adhesive film! Some people like to call it heavy-duty contact paper, but when you decide to go on the hunt for this product (although, I’m gonna make it easy for you and tell you what I used), you are going to want to search for ‘adhesive film’.
And your countertops will look like this!
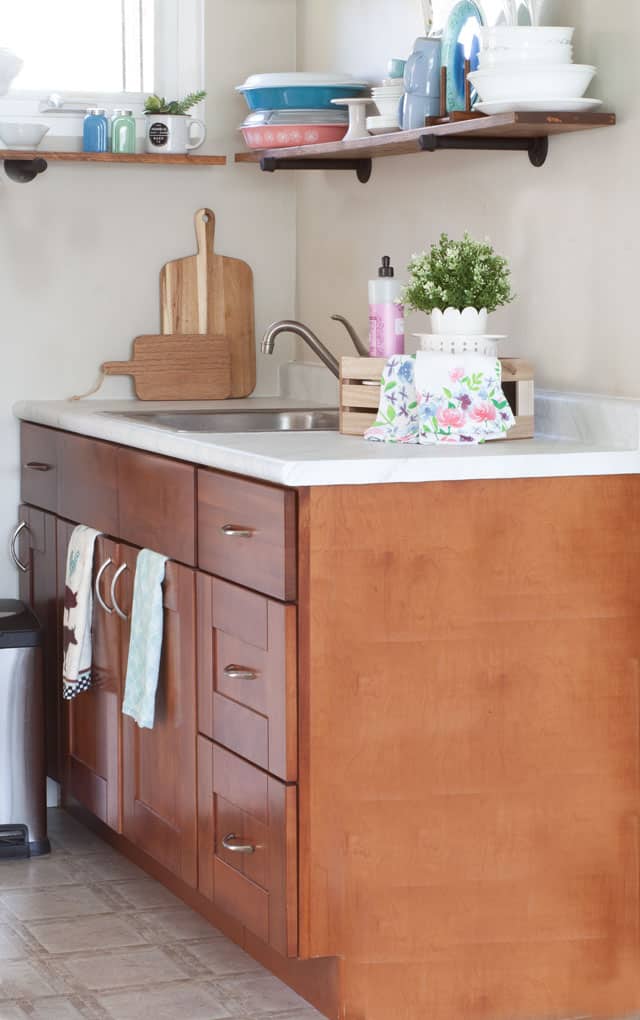
No joke… it looks just like marble!
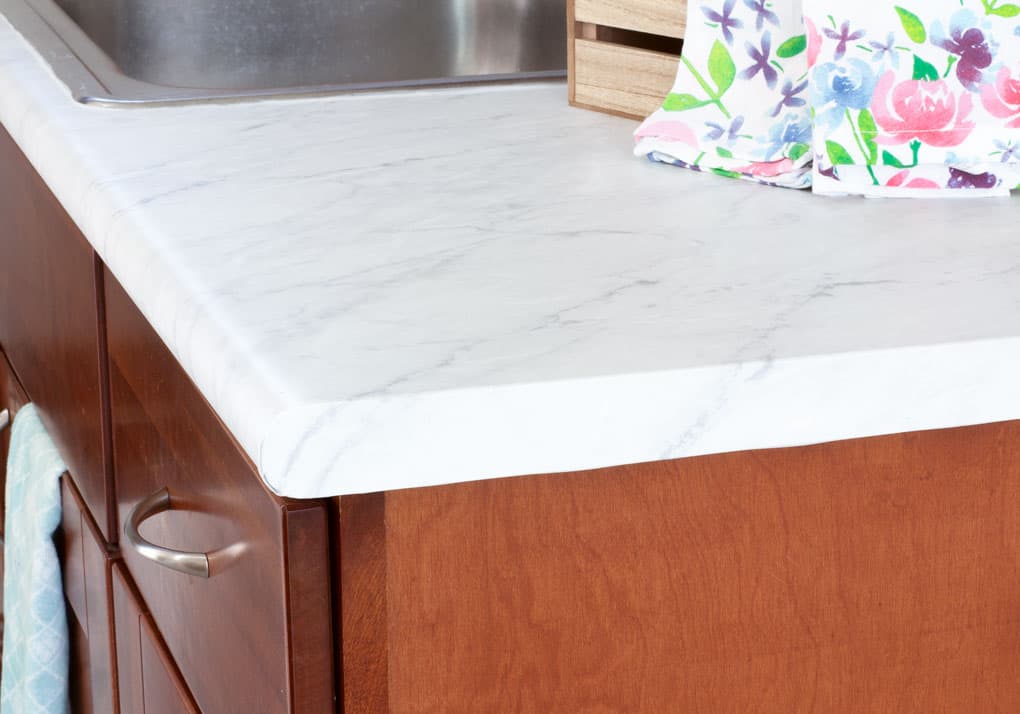
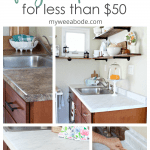
And it took just under two rolls to do this, at $23.99 a roll! I used Very Berry Sticker in Matte Marble!
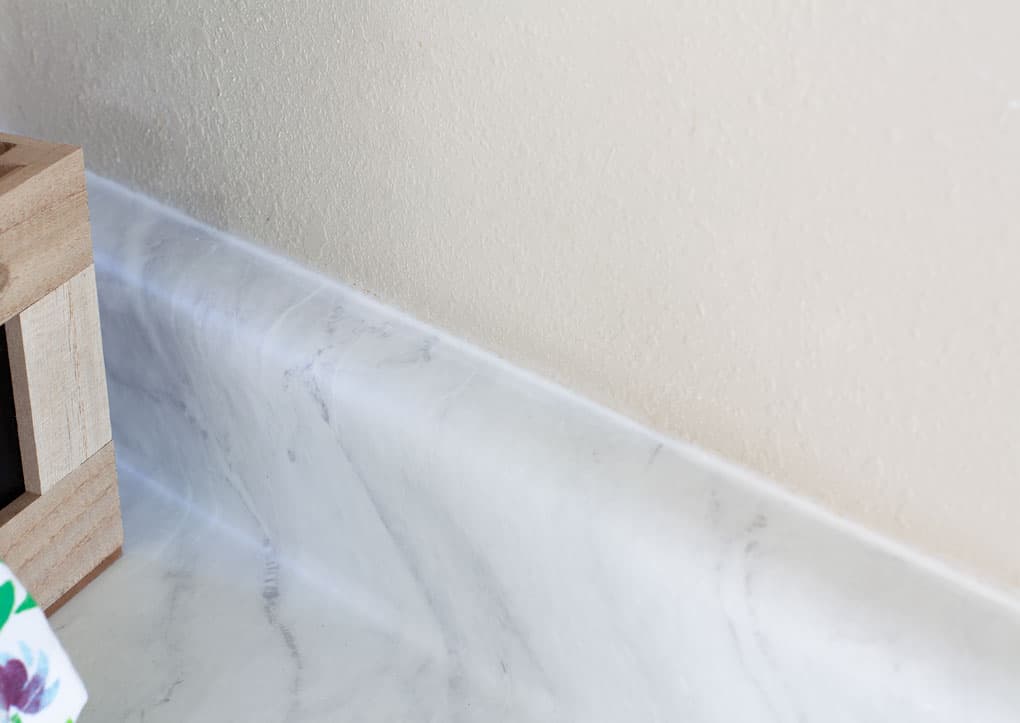
Here is the before again…

And after!
BTW, I also switched out the hardware with pulls that were part of an ‘economy pack’… 12 pulls for under $30. I LOVE how both items brightened up my kitchen! Seriously!!!
 I usually love having my Mrs. Myers pink dishwashing liquid on the counter… not so much in this photo. “PLM”… photography learning moment, friends!
I’m so happy with the look and feel of this product!
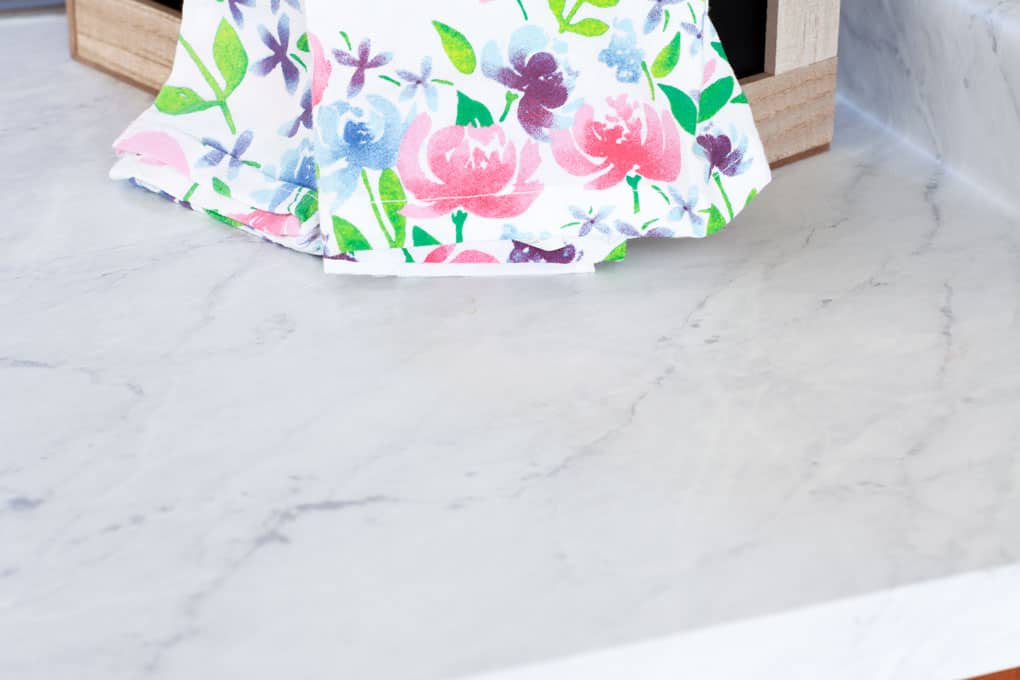
And a couple of ‘beauty’ shots!
UPDATE: To see the step-by-step tutorial to update your countertops without replacing them, click HERE.
My daughter was one of those skeptics that I mentioned at the beginning. She came over the other day and thought the counters were beautiful. And when she touched it, she said, “That feels like a real counter!” Woot!
What do you think? Is this something that might work to update YOUR countertops without replacing them… for under $50? For that price, it might be worth a try, don’t you think? I think a tutorial is in order… what say you? Remember to share in the comments! I really enjoy “visiting” with you down there! 😉







Oh my gosh, Julie. I’ve never heard of this type of contact paper. It looks gorgeous! You’re faux marble countertops really brighten the area and look so professional. Pinning this one!
Thanks so much for the sweet and encouraging words, Patti! As you know, it’s encouraging when you share something that is new to someone else, so you made my day! Hugs, friend!
the tutorial link is not working
Thank you SO much for letting me know, Christy! It’s fixed now. (I have NO idea how I missed that, and how many readers have been frustrated. Sigh.) Hugs and hearts!
What a difference! It looks awesome, the counters and the new hardware! Great idea.
Thanks, Bobbi! I’m so glad you came by, and I love that you commented! <3 It wasn't the easiest project, but it wasn't too difficult either! Totally worth it! Tutorial to come! 😉 Have a great weekend!
They look AMAZING Julie! What a difference it makes. The photos look so much better with the light countertop. I totally get it! One of the things I’m so stinking excited about in my kitchen redo too! Light, bright countertops! Yippee! xoxo
Nancy! Thanks so much for coming by! I’m loving these… they really make my ‘heart’ a bit lighter to come home to, as well! 😉 Can’t wait to see your big reveal! It’s coming!!!! Hugs, sweet friend!
They look amazing, Julie! Keep us posted on how they hold up over time.
I definitely will, Ann! So far, they are working out just like regular laminate! Tutorial to come… it was just a bit much for this post!;-) So glad you dropped in! Hugs and hearts!
Wow they look like marble! Amazing stuff!
Maria
Crazy, isn’t it? And they clean up great! Like my daughter said… they feel like a ‘normal’ countertop, too! Thanks for coming by, Maria… Hope you are feeling better, friend!
Beautiful, and really brightened up your space!! 👏🏼👏🏼👏🏼
Hi, Julie! The transformation looks great! Was it hard to apply to the corners and edges of your counters?
Hi, Lauren! So glad you came by! Actually it wasn’t difficult. The trick is using a hair dryer! You warm-up the film with the hairdryer for about 10 seconds or more… the film then become pliable and it almost wraps itself around the corner and edges! The tutorial will be out soon… it was just a bit much to do the reveal and tutorial all at once! Hugs, sweet friend!
It looks 1000x better! I honestly would LOVE to know how you got it so perfect around the edges, where it meets the wall, and that rounded part! So nice! Will share for sure. <3
Thanks, Marissa, and I 1000x agree! 😉 Tutorial will follow soon! It’s tricky, but pretty easy! Love ya!
Very impressed with the new look of the counter and your skills in installing the adhesive. Looks perfect! Pinning!
Thank you so much, Michelle! I love it, too… and if I can do it, anyone can! 😉 I’ll be sharing how to, soon! Hugs!
Julie your countertop looks amazing! Totally changes the space!!
Thank you, Lisa! Crazy, isn’t it… how a little white and new hardware can brighten up a kitchen?! Thanks for dropping in! 😉
Such an inexpensive and yet beautiful update for your counters! They look so much brighter and elegant!
Thanks, Jenn! It so much nicer to be greeted by these counters when I get home! 😉 Was so fun talking tonight! Hugs, sweet friend!
I cannot believe “contact paper” looks that good! I am truly amazed. Great job Julie!
🙂 gwingal
Tell me about it. I think my daughter was expecting them to be like ‘the leading brand of contact paper’. But, it’s not the stuff you line your shelves with! I LOVE it! Thanks for the sweet words, Nikki! Hugs!
I have seen this and wondered how it looked. Wowza is all I have to say. This looks amazing and you did such a great job. I may have to try it in my bathroom. Thanks so much for showing us this awesome tip.
Oh, thank you, Kristi! It amazed me, too! 😉 I am SO happy with the results, and will be sharing the tutorial on Saturday. Thanks for coming by! Hugs and hearts!
Sooo much nicer Julie. I rented for years and know that comes with extra challenges so hats off to you for this makeover. Your new bright white countertops look wonderful. Pinning
Oh… THANK YOU, Leanna! I am loving the look SO MUCH more now! I’m thankful for my nice woods cabinets that are in beautiful condition… but, I SO want to paint them. But, I would need my LL’s approval on that one! Thanks for pinning and the kinds words!
Amazing.
So will you make a house call to teach me how to do this on my larger small kitchen?
Yeth! Of course I will! Love ya, girl!
Looks great Julie and a perfect solution for a rental apartment!
Thanks, Janet! It really is a perfect solution… now if I can talk the LL in to letting me paint the cabinets! 😉 So appreciate you dropping in!
too easy and cute. It looks flawless. I am saving in Pinterest. I am wondering how durable is it? Glad to find you at TFT
Hi, Susan! So glad we found each other! 😉 I will have the tutorial up this weekend. The feel is exactly like laminate… it’s crazy. And from the research I have done, after two years, people say it as good as it was when they installed it! 😉 Thanks for coming by!
Julie the counter looks so much better. I had no idea such a product existed. I had once bought a leather-like stick on for my sons coffee table.
I love it when I can share something that someone hasn’t discovered yet! As I’m sure you can relate! Thanks for coming by, and for the sweet comment! Hugs, friend!
Julie, your countertops look amazing.
Thanks, Debra! I’m SO happy with them! Hugs, sweet friend!
I love this idea! Our counters are laminate that I’m not crazy about and really need to do something like this. Thanks for sharing!
Thanks, Angela… it really is amazing how they look and FEEL! You can actually feel the durability of the product! Tutorial is coming soon! 😉
Wow what a big change in looks in the kitchen. Looks so good I would never know it wasn’t real.
Thanks, Candy… it’s pretty crazy, isn’t it?! I’m enjoying them SO much… it gives me joy to come home to each day! Thanks for the sweet words! Hugs and hearts!
This is genius!! I definitely want to read your tutorial when it comes out. I hate my counters but don’t want to replace them until we replace the cabinets. Your trick would be a perfect solution for now. Is the film holding up to wear and tear?
Hi, Jennifer! This really is a great option for all kinds of situations… waiting to save to replace, rentals, etc. Yes, it is totally doing great! I spilled some coffee, and didn’t see it until a day later… no problem… totally wiped up! I’m treating it just like any other laminate, and it’s great!
I am so impressed by those perfect round corners. I absolutely love this project. I don’t have a countertop to refinish, but those rolls of faux marble would make beautiful photography backdrops! Great project Julie!
Thanks, Laura! I think the vinyl is great for a lot of projects… I’ll be sharing some soon, using my scraps (there wasn’t much leftover 😉 ) Hugs, blogging buddy!
Beautiful transformation, Julie! A great way to redo kitchen countertops without the huge expense. Pinned!
Thanks, Kristi! Yep, they are perfect for my little rental home, that is always on a thrift budget! Thanks for the kinds words! Hugs!
Julie, your counters look beautiful now with this simple update! I’m sure it was a bit difficult to put this adhesive on, but the results are well worth the work!!! Pinned for you to my Ethereal Kitchens board. <3
Enjoy them!
Barb 🙂
Thanks so much, Barbara… they are definitely a little wonky to get applied, but well worth the little bit of work! Thanks for pinning and for the encouraging words! Hugs!
I am so glad you shared this post! I have been wanting to try the adhesive. None of the ideas I shared in my counter top update ideas would end up working out for a quick project, so I think I will give this a try. How are they holding up?
Featuring you today at TFT! https://followtheyellowbrickhome.com/beautiful-ideas-for-september-at-thursday-favorite-things/
Thanks, Amber! So far, they are working out like any other laminate countertop would! GREAT! And I can’t believe how much brighter my kitchen looks and feels! Thanks for coming by, girlfriend! And thanks for the feature today! Hugs!
Nice job, Julie! I’ve been wanting to redo some bathroom counters, and I’m going to look into this option. 🙂
It’s actually pretty amazing, and I’ve seen some posts of people using it in childrens’ bathrooms, and it hold up great! Thanks for coming by, Crissy! Hugs!
I can hardly wait for this tutorial!!
I’m actually working on it right now! 😉 Thanks for coming by! I hope you like the tutorial! (out on Saturday!)
Wow! I love the transformation! I may look into this for my townhouse! Great job!
Thanks, Michelle! The tutorial went live today… in case you want to check it out! Have a great weekend, and thanks for dropping by! Hugs!
Your ‘new’ counter tops look great! We have a super small, outdated kitchen in our home that we plan on selling soon – so we did a quick update with a painted counter top kit. It looks great, but I’m wishing I knew about the adhesive film first and I would have tried that! I’d love to hear how they hold up over time.
Thanks for sharing your project with the Share Your Style Link Party!!
Aw, thanks, Meredith! So far, they are amazing! And from what I’ve heard from others, even after two years, they looks and feel the same… great durability and wear! Thankful for Share Your Style!
Hi there! This looks really nice. I’ve wanted to do something like this in my kitchen and bathrooms – both ~10 yo laminate countertops. I’ve been considering using a kit like this (Giani Countertop Paint Kit, White Diamond) – have you tested out / used / heard anything about these? Just trying to get a sense of whether they’re worth trying…
Thanks for sharing your hard work!
Hi, Laureen… thanks for the comment and sweet words. 🙂 Though I’ve never used anything like this, I’ve seen quite a few bloggers use something similar to this kit you listed, and they have really liked it! Unfortunately, I am not able to use anything this permanent in my rental home… But, I would probably try it if I could! LOL! If you Google or check Pinterest for “painted countertops”, you should get quite a few bloggers that have used this method and have tutorials. 😉 Hope this helps, Laureen!
Amazing transformation Julie! What a clever idea!
Thanks, Linda! I love them! They are so durable!
I have black granite countertops. I paid so much for them so replacing them is not an option. But I am sick of them and want a lighter look. Thoughts on doing this over existing granite?!
Thanks for asking, Moni. Let me first just say, I am no expert, so my thoughts and opinions are completely those of a layperson, just like you. 😉 With that said, though I haven’t tried this on granite countertops, I personally don’t see why this would not work. The adhesive is “strong” enough to adhere to any flat surface. If I had the same issue, I would definitely give it a try! 😉
Hello, your counter tops look beautiful. Do you know if it would be difficult to remove or damage to the original counter? Thank you.
Hi, Hannah… I haven’t removed mine, but if I do, I will use a hairdryer and heat the vinyl while gently lifting it off. I used this technique while wrapping the corners and it didn’t hurt the laminate at all. I know several other bloggers have used this same method for removal and have had no issues. Hope this helps. 🙂 Thanks for asking!
Thank you! That’s very helpful.