
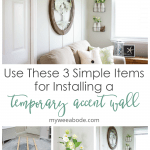
Temporary Accent Wall that Will Pack a Punch
When living in small rental homes and apartments, it can be a challenge to make it look like your own. Today, let’s look at how to pack some punch in our homes and create a temporary accent wall.
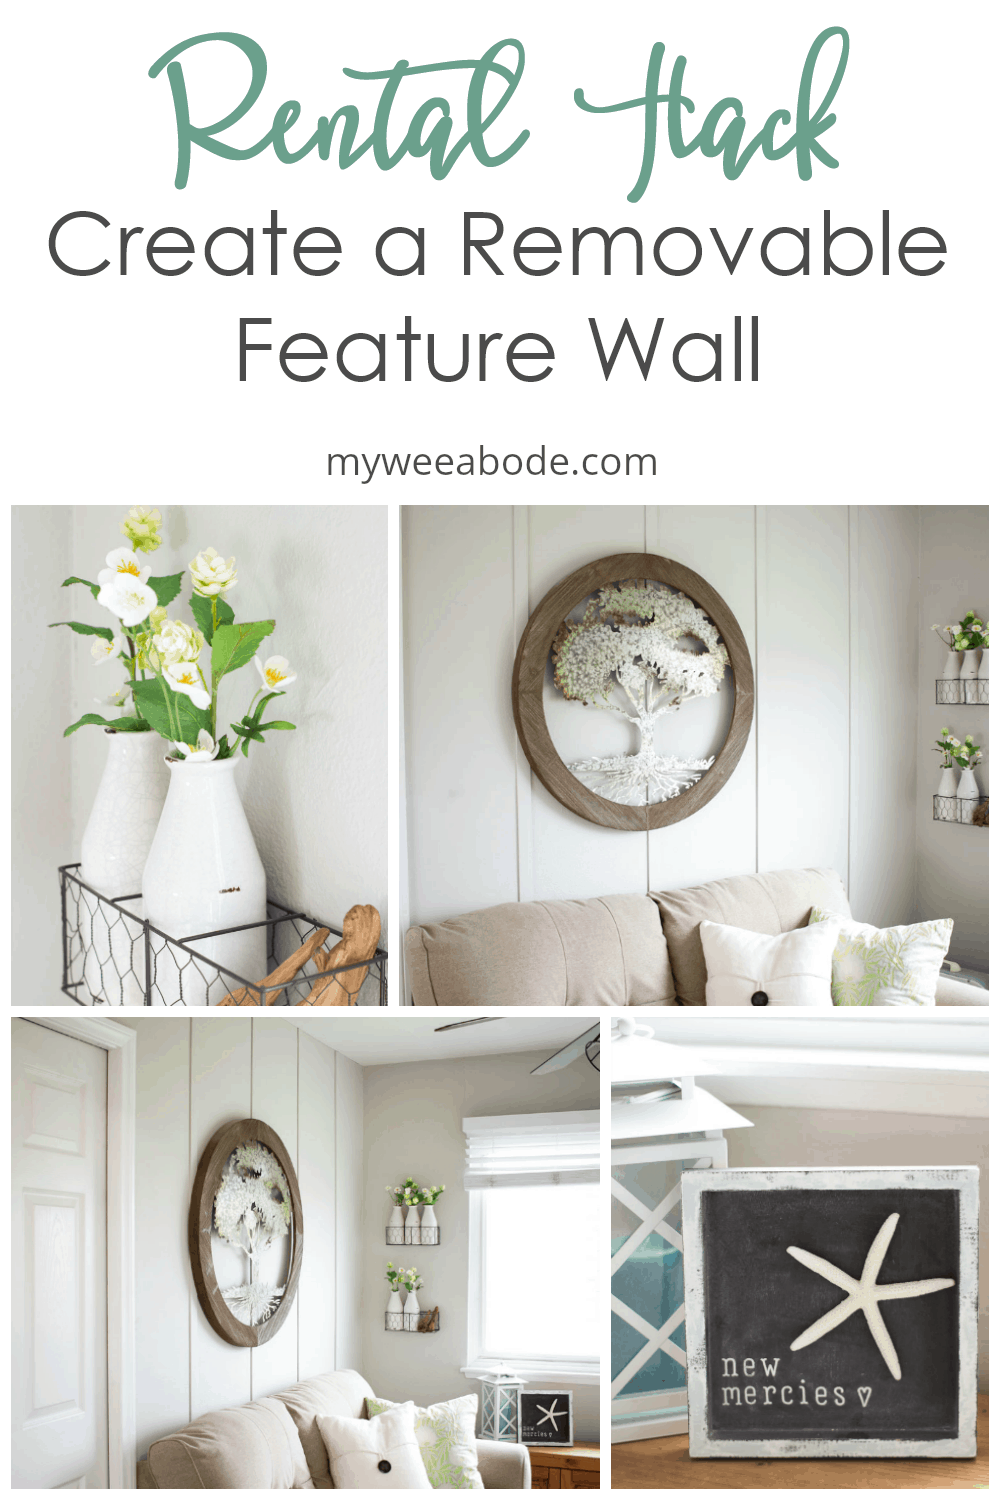
TEMPORARY ACCENT WALL that will PACK a PUNCH
When I first moved into My Wee Abode a little over three years ago, I knew I wanted my tiny loft apartment to look and feel like more than just a little studio rental.
Our homes should reflect our style, not just appear as a habitat owned by someone else.
Tiny ‘houses’ need personality, am I right? (Well, ALL houses need personality!)
So, as I was brainstorming and dreaming and spending hours (yeah, it was hours) on Pinterest pinning away pictures of rooms and homes I fell in love with, I decided I wanted to add a feature wall to my sweet little domicile.
Speaking of Pinterest, take a look at these five Pinterest boards that will make you a better decorator!

But, because My Wee Abode is a rental home, the accent wall needed to be temporary and easy to remove.
Inspiration to Create a Temporary Accent Wall
There is a lot of inspiration out there for creating an accent wall. But there doesn’t seem to be a whole lot for temporary or removable feature walls.
Well, here are a few ideas that WILL work for creating an accent wall in an apartment or rental home.
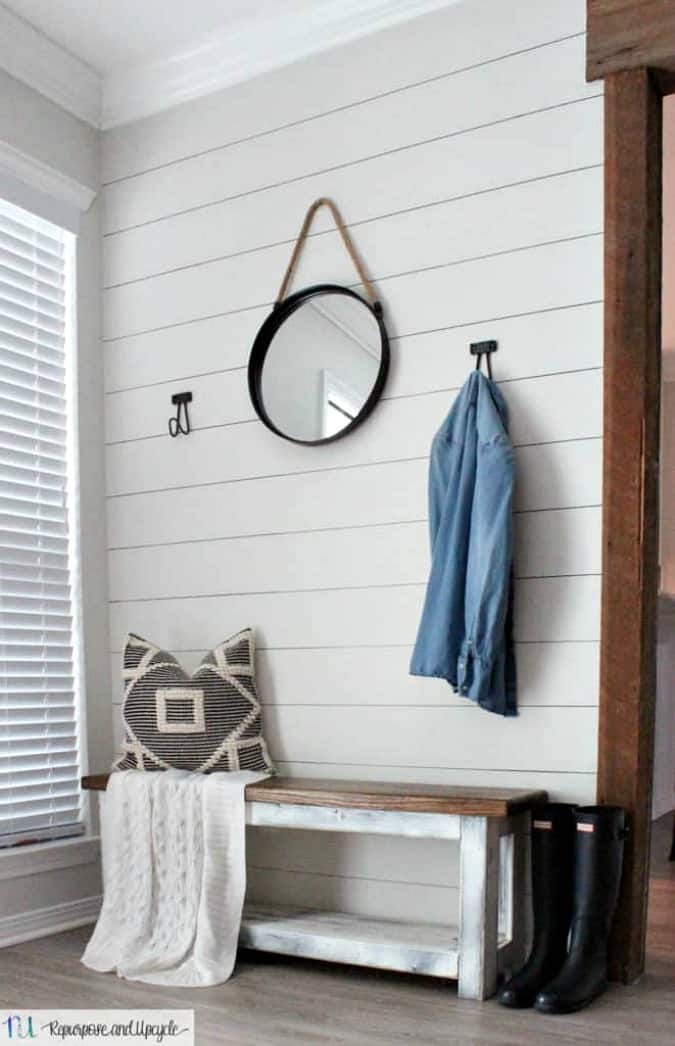
Faux Shiplap
One of my favorite temporary and “removable” accent walls are faux shiplap. Never heard of it or seen it? Take a look at what Lindsey from Repurpose and Upcycle has to teach us!
Repositionable Wallpaper
Again, a fairly new temporary update on the scene for apartments and rentals is removable and repositionable wallpaper. Megan from The Homes I Have Made has LOTS of posts on wallpapering rental homes. Here’s one using peel-and-stick wallpaper.
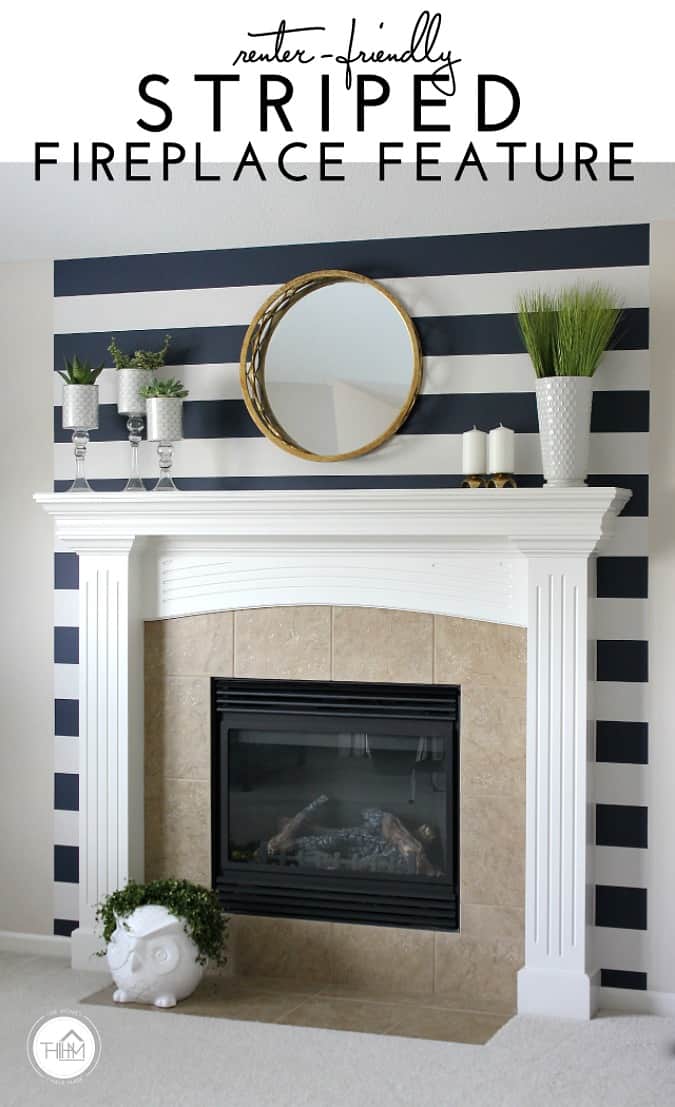
I love this idea and actually experimented with it on my orange-peel textured walls (another lovely feature of many apartments and rental spaces. Does anyone out there know why?) Unfortunately, the sample piece I used on the textured walls couldn’t handle the added extreme humidity during the hot So Cal summer! (But, not all hope is lost, as thoughts are rolling around in my head to try and make removable wallpaper work for MWA!)
Board-and-batten Look with Wood Trim
A simple board-and-batten wall was what finally caught my eye and Cassie, from Lovely Weeds, fits-the-bill to a tee!
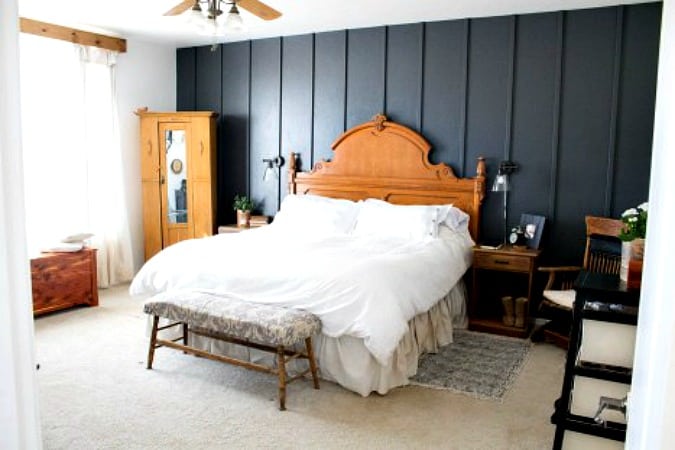
Easy to install and affordable, this simple wood trim feature wall was exactly what My Wee Abode was begging for… and got!
But remember, my accent wall needed to be super easy to remove!
This post may contain affiliate links, at no additional cost to you.
For more information, see my complete disclosure HERE.
What You Will Need
Here are the simple items you will need to create this accent wall in your home, apartment, rental space or dorm!
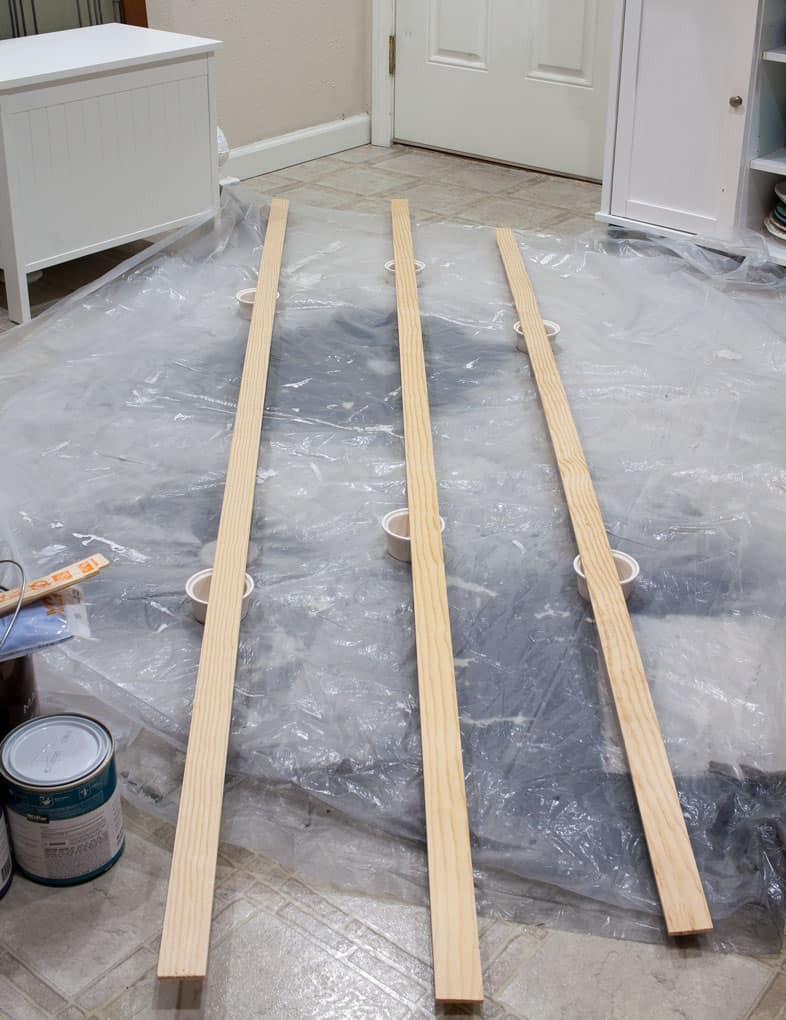
- Wood trim (mine is from Home Depot), 1/4″ by 1.5″, easy to nail and easy to remove (the amount will depend on your spacing for your aesthetic)
- Paint (the same color as your wall)
- Sandpaper, 320 grit
- Wire Brads, size 7/8 x17 (yep… these tiny nails easily hold the lightweight trim)
How to Create a Removable Accent Wall
Let’s take a look at the easy steps to creating a simple, temporary board-and-batten feature wall.
Trim Lengths
- Take the width of your wall and decide how far apart you want your trim pieces to be spaced. This will differ depending on what look you want. Take into consideration the width of the trim pieces when you are doing the math. Remember to measure twice, cut once! And, mark where each piece will go.
- Measure the length that each trim piece will be. Take into consideration that a wall often is not exactly the same height from one end of the wall to the other (settling issues… and bad construction 😉 ). Measure from the top to the bottom of where each piece will be placed. Also, take into consideration wall outlets and light switch plates (or anything that is stationary on the wall… yep… you learn from my mistakes).
- Be-bop on over to your local lumber or DIY store (Home Depot, etc.), find your trim and ask an associate to cut it according to your measurements. (Remember to bring your measurements with you. Yep, I’ve made this mistake before, too! I like to note them in my Notes App on my phone!))
Prep and Paint
- Create an area where you can lay your trim while the paint is drying. Yes, those are mini ramekins holding the trim… they aren’t just for cooking anymore. 😉
That “vintage” vinyl flooring is going to get a makeover soon, too! - Use your favorite go-to paint, the same color as your wall. As I’ve shared before, I love Behr paint… it’s affordable, has GREAT coverage, and their color-match system is quite amazing. Also, use a good paint brush. Zibra paint brushes are amazing… in fact, I am an affiliate for Zibra.
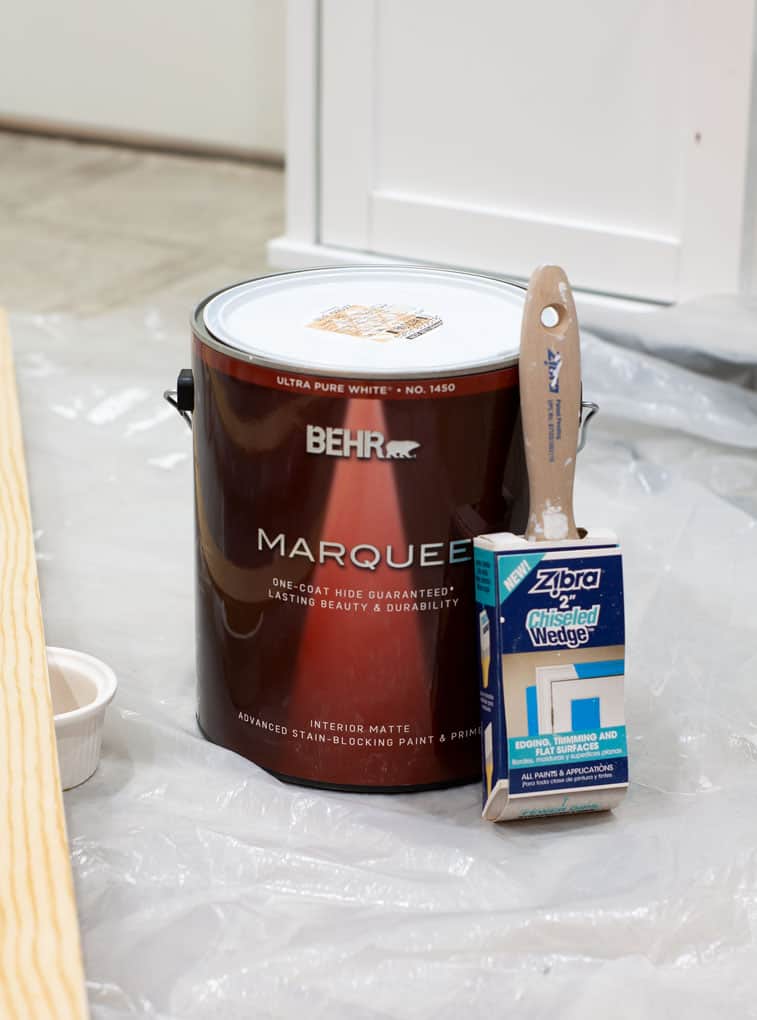
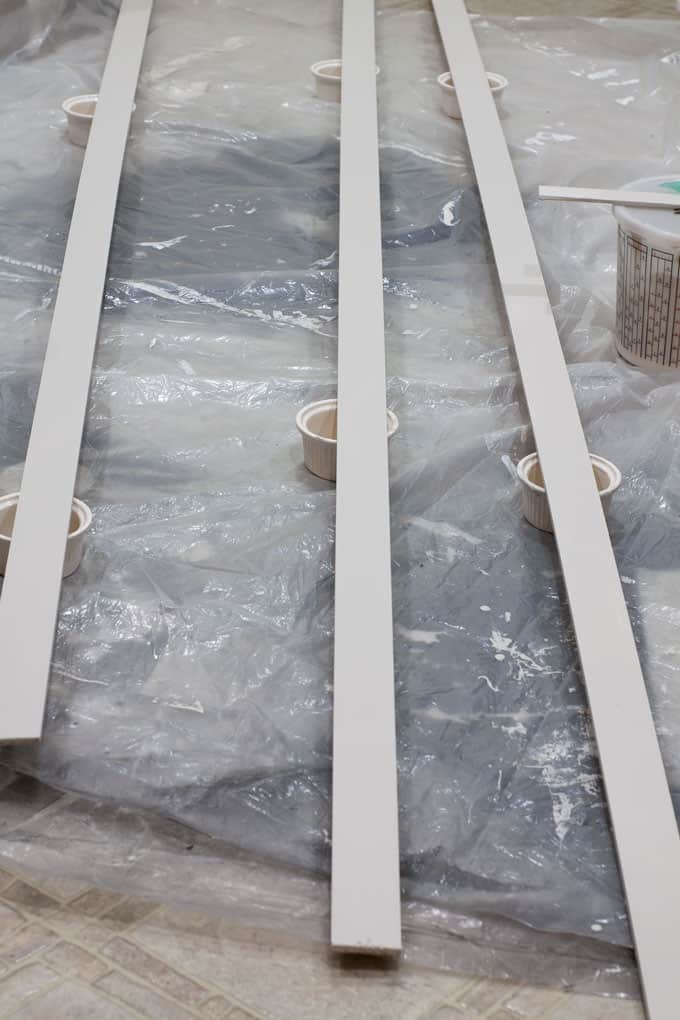
- Paint one coat of paint on the trim. I painted one side and the edges. After the first coat is dry, lightly sand the pieces with 320-grit sandpaper. This will eliminate any wood knap that appears from the wet paint. Then, paint one more coat.
Install
- This is actually the easiest part. Making sure to use the correct trim length for each marked spot on the wall (see your very first step in Trim Lengths), bump the top of the trim up against the ceiling. Then take a wire brad and nail it in close to the top of the trim piece. Slide your hand down the trim about 1/3 of the way down, making sure the trim is straight, and add another brad. Repeat. At the bottom of the trim, add one more brad.
- Repeat the above steps for each piece of trim.
- Step back, let out a happy sigh, and admire your removable temporary accent wall!
Removal
When it’s time to move, or when you are ready for a new and different feature wall, carefully remove the brads from the trim and fill in the tiny holes with spackle. Touch up with wall paint, and you’re all set!
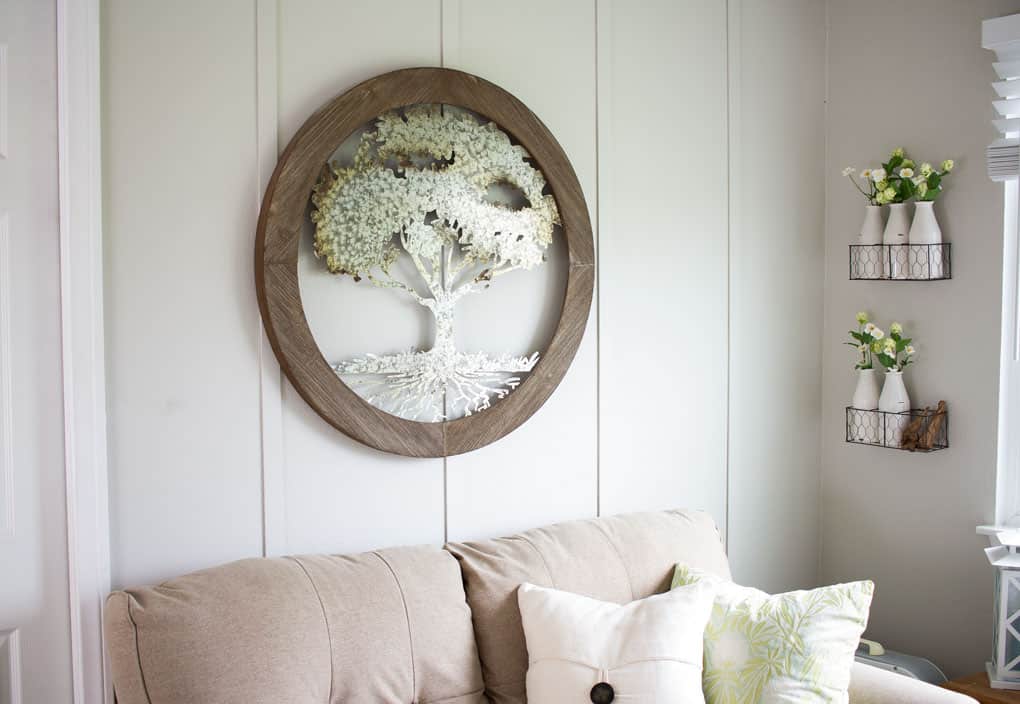
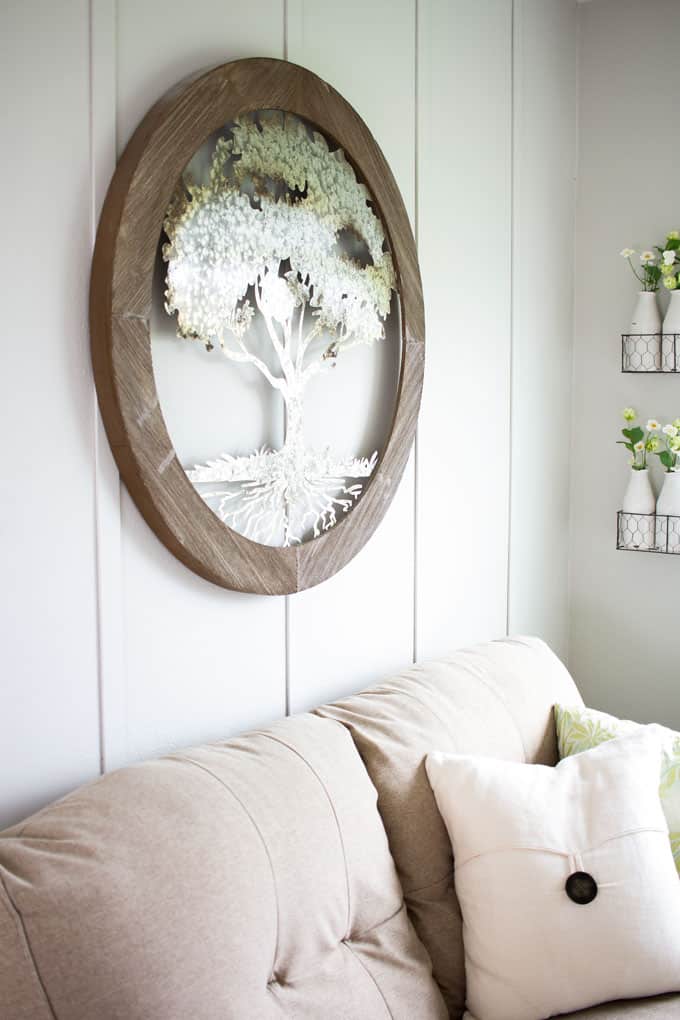
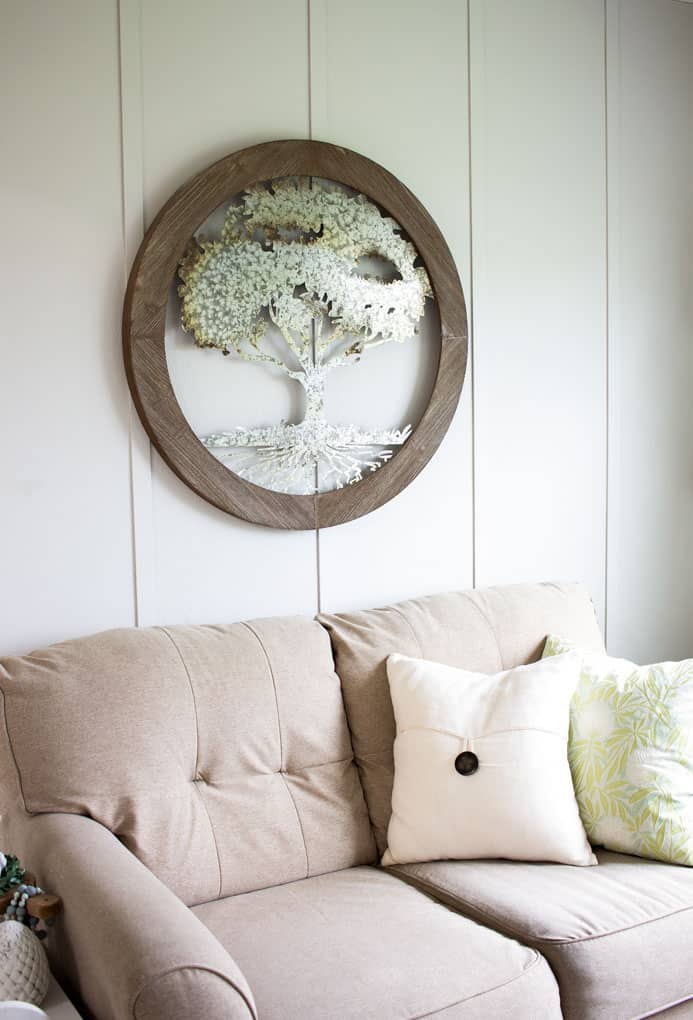
Finished Product
What do you think? Does this board-and-batten-look accent wall add the coastal farmhouse style I was hoping for?
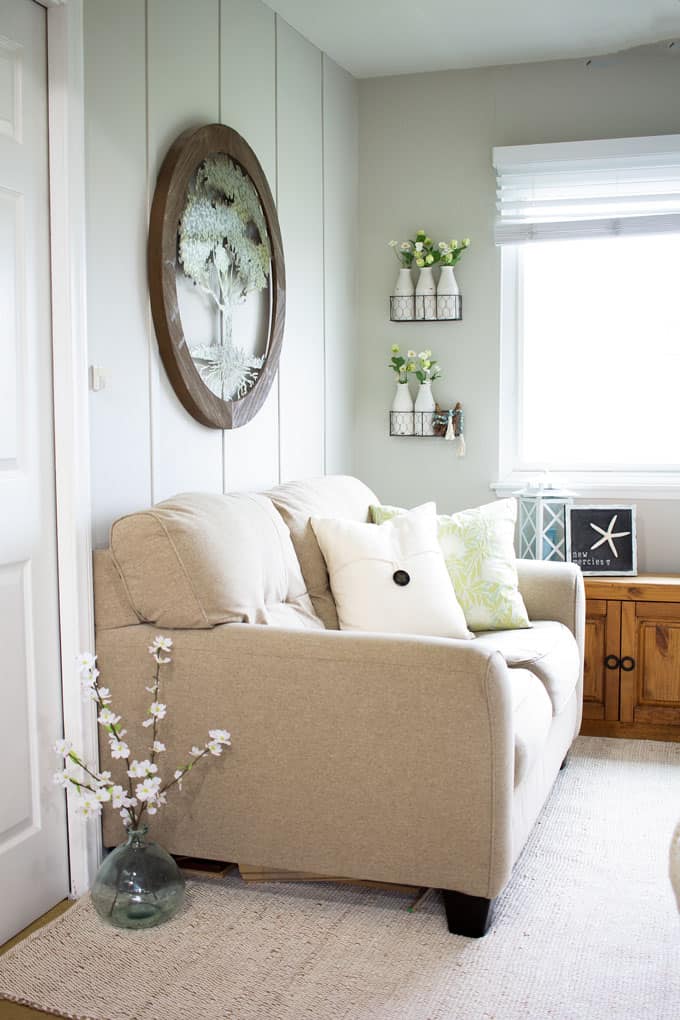
Excuse the shadows… it’s been pretty overcast here the last few days. But, I’m really loving the style that this brought to My Wee Abode!
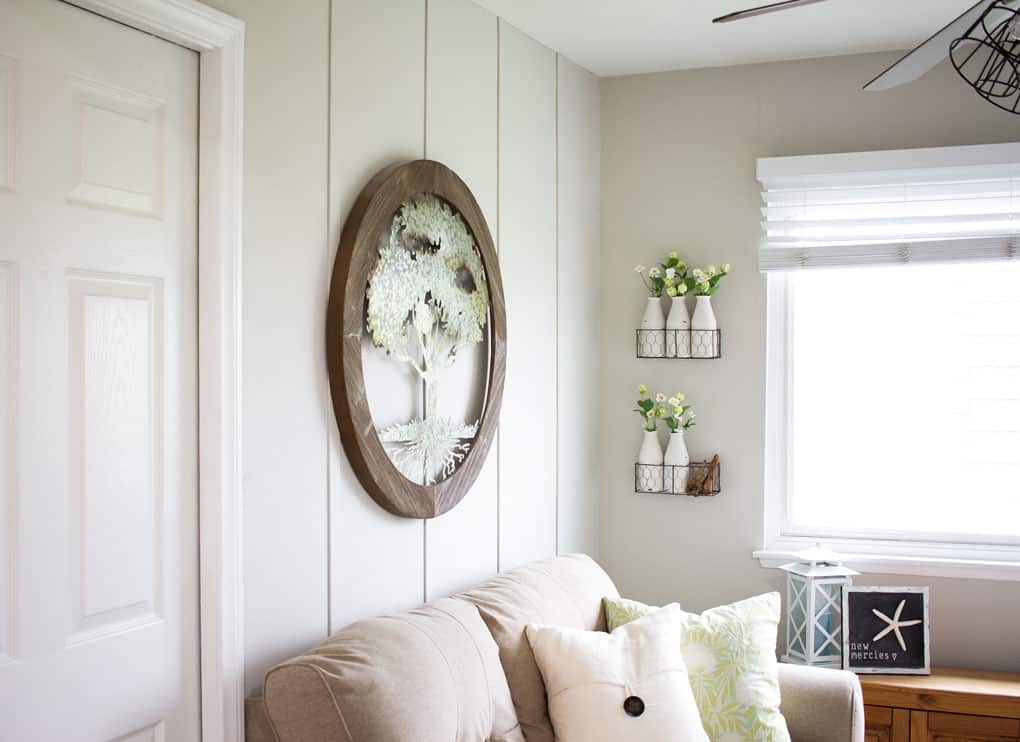
Here’s a sneak peek at some summer decor…
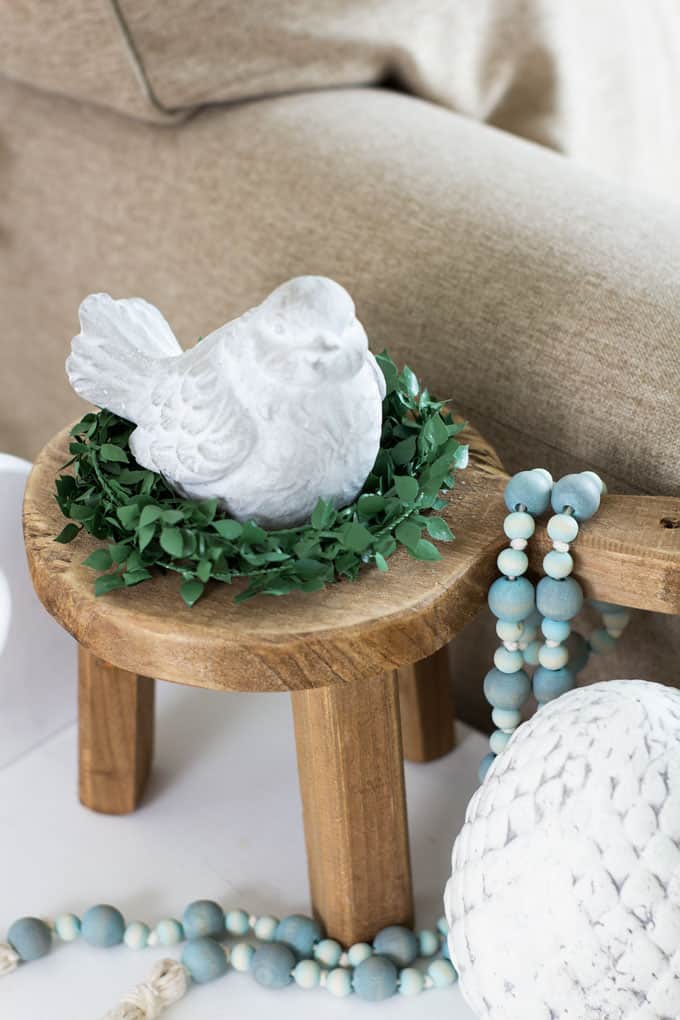
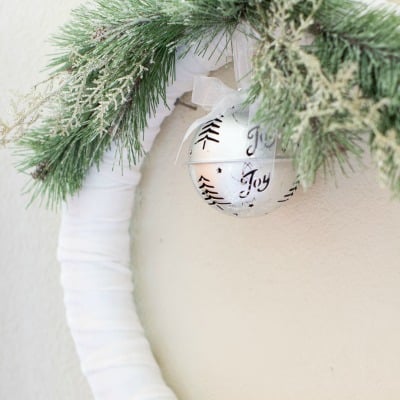
Oh, those wooden beads were made by yours truly. You can find the tutorial HERE.
And I brought back my milk bottles. They’re so sweet with those cute posies.

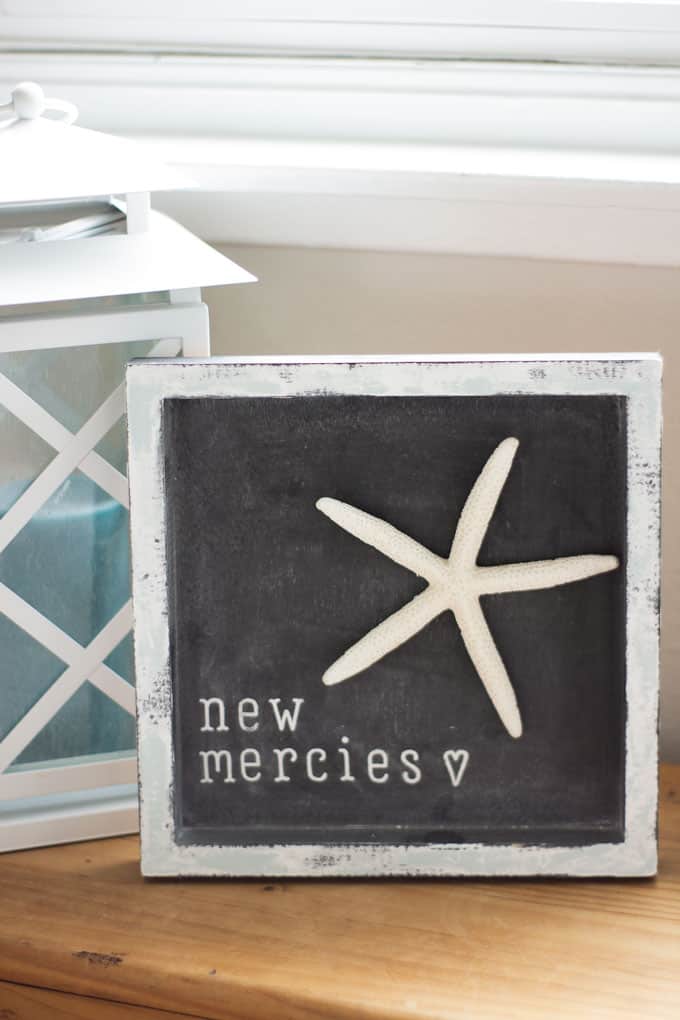
This is the sign I made at Haven last year in Amy Howard’s Makers class. The starfish was added just this week for summer. Forever grateful that His mercies are new every morning. Every day is a new day, full of hope in Him.
And one last look at the board-and-batten style feature wall, because that’s what we’re here for, right?
Would You Pack Some Punch with a Temporary Accent Wall?
What do you think? Easy enough? Would you add a removable and temporary feature wall to your home? Which one would YOU choose? Come on… share with me! 😉
And don’t forget to click on a social button on the left of your desktop or bottom of your mobile screen and share with your friends… and give me a follow!


What a clever idea! It looks awesome, and adds such personality to your space! Where did you find the string of blue wooden beads, or did you paint a natural colored string of beads?
Thanks so much, Nancy! And thanks for asking about my wooden bead garland… Here’s where you can find the tutorial https://myweeabode.com/how-to-make-a-coastal-farmhouse-wood-bead-garland/ . I’m off to add the link to my post. 😉 Have a wonderful weekend! Hugs and hearts!
It’s beautiful, Julie. You are so talented. God bless.
You are so sweet, Wendy! I hope this helps others in their homes, too! 😉
Impressive. I have a small bland bathroom that needs something.
Thank you, Donna… I thought you were going to do a faux shiplap with blinds? Hope to see you tomorrow!
Awesome idea! You did a great job, it is perfect!
Well, thank you, Laurie… One of the easiest projects I’ve ever done! Have a blessed weekend!
I really love that board-and-batten style feature wall. I’d love to do something like that in my son’s room in the near future!! So many pretty accent pieces, just love your style!
Carrie
curlycraftymom.com
Thanks, Carrie! You are a sweetheart!
It adds a great level of personality to your wall. I love it. I also have a bathroom wall that needs some personality. You’ve given me a great idea.
So happy this inspired you, Pat! Love when that happens. 😉 Hugs!
What a wonderful idea! When I saw this photo, I had no idea you made that accent wall using just strips of wood and brads. It does pack a punch! I’d like to do an accent wall in my boys’ room, and this gives me lots of ideas. Thanks, Julie!
Of course, we are always thrilled to inspire, right, my friend? 😉 Hugs, and thank you!
Your room looks beautiful, and that simple DIY for the wall makes a huge difference. Amazing job. Now I need to go and find out what a brad is? Your space looks amazing Julie.
Thank you, Leanna! You are so sweet!
Stunning and cozy update. I would have never thought to add the accent walls in an easy removable fashion. Clever and pretty idea.
Happy spring,
Kippi
That looks so great, Julie!! I would love to do this in one of our bedrooms! Such a wonderful look — I would never dreamed it is so simple! thanks so much for sharing it with us at Thursday Favorite Things!
I love it! It’s such a great idea and turned out perfect!
Just beautiful Julie!! I love your board and batten removable feature wall! What a clever idea to pack a punch for boring walls! Can’t believe how easy it sounds with wood strips!! I must try this in our guest room, it looks great!!
So glad you dropped in, Brenda! I would LOVE to see if you end up doing this in your guest room! It would be perfect in your home!
Thank you for sharing at #ThursdayFavoriteThings. Pinned and shared.
Appreciate it, friend! See you tomorrow!
Julie,
You are so creative. Love this concept. Congrats, you are being featured on Thursday Favorite Things. Hope you stop by.
https://eclecticredbarn.blogspot.com/2019/05/thursday-favorite-things_29.html
Hugs,
Bev
Thanks for the feature, Bev! Looking forward to linking up tomorrow!
This is such a great idea Julie! What brands of removable wallpaper have you tried? I recently put some in my powder room and I came back the next day to find it hanging off the wall:( But I have used Roommates brand successfully over orange peel texture in a client’s bathroom, so they’re not all bad.
Oh, really? I’ll have to look into that brand. I’ve only tried one brand which actually has a good reputation. But, my wee abode does get a bit stifling during the day in the summer time. 😉 (We need to chat and compare notes!)
This is so clever Julie…I love it! What a great change to your wee abode. Hugs my friend.
Thanks, Kari! It’s one of my fave things in my wee place! 🙂
Ok never mind! I just went to my client’s house today and the Roommates wallpaper is starting to fall off the wall after a couple of months:(
Oh no!!! Did you say the wall is textured? Or just humid?
Hi Julie, I love the color of this wall. Do you know the name of the paint?
Thank you, Jenny! It is Toasty Gray (cut 25%) by Behr at Home Depot. Hope that helps!