How to Make Beautiful Labels With Chalkboard Fonts
Have you ever wanted to diy chalkboard font labels, but just didn’t know how to do it? Well, we’re going to learn how to make beautiful labels with chalkboard fonts, but we’re going to do it the easy way!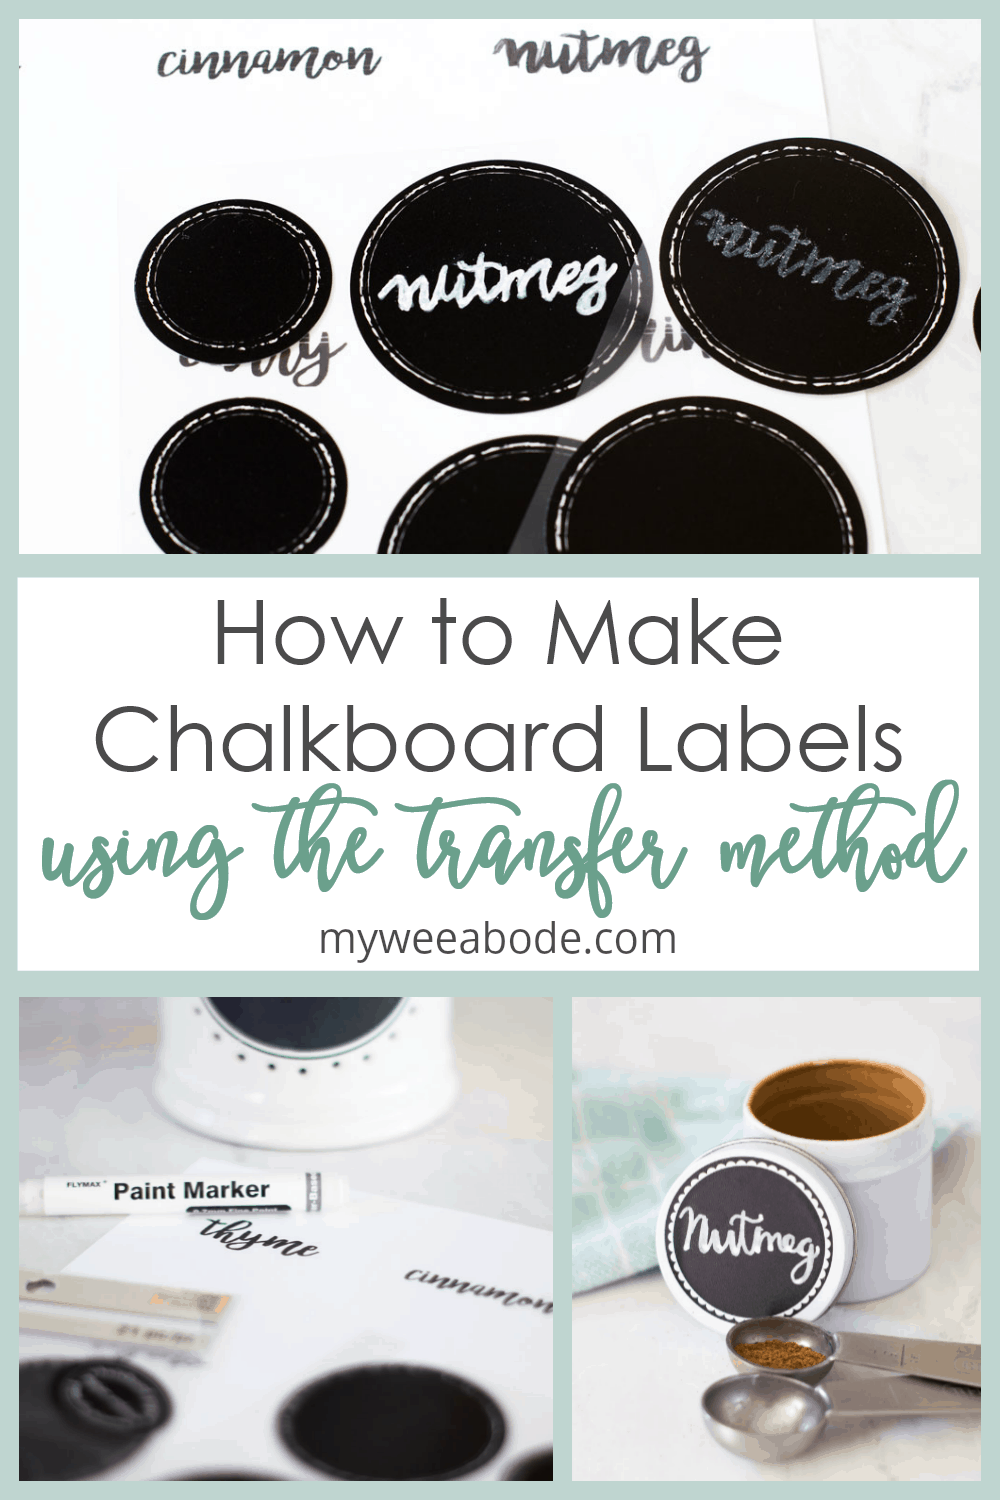
Okay y’all…. this took FOREVER!
Well, it felt like forever, anyway!
These chalkboard font labels have been the bane of my existence these last few weeks (except for the break I got at the Haven Conference.)
But, they are finally ready to share… and today we are going to learn one way make these lovely little chalkboard labels!
Yep… and next week I’ll show you ANOTHER way to create chalkboard labels using your computer and home printer! (It’s all done… just too much for one post. I wouldn’t want you getting bored and clicking away… I know you would NEVER do that!)
Ready for the first method? “Here. We. Goooo!” (Can anyone name that reference?)
HOW TO MAKE BEAUTIFUL LABELS WITH CHALKBOARD FONTS
If you saw my space-saving spice storage post, you know that I’ve been promising to show you different ways to create these cute chalkboard labels.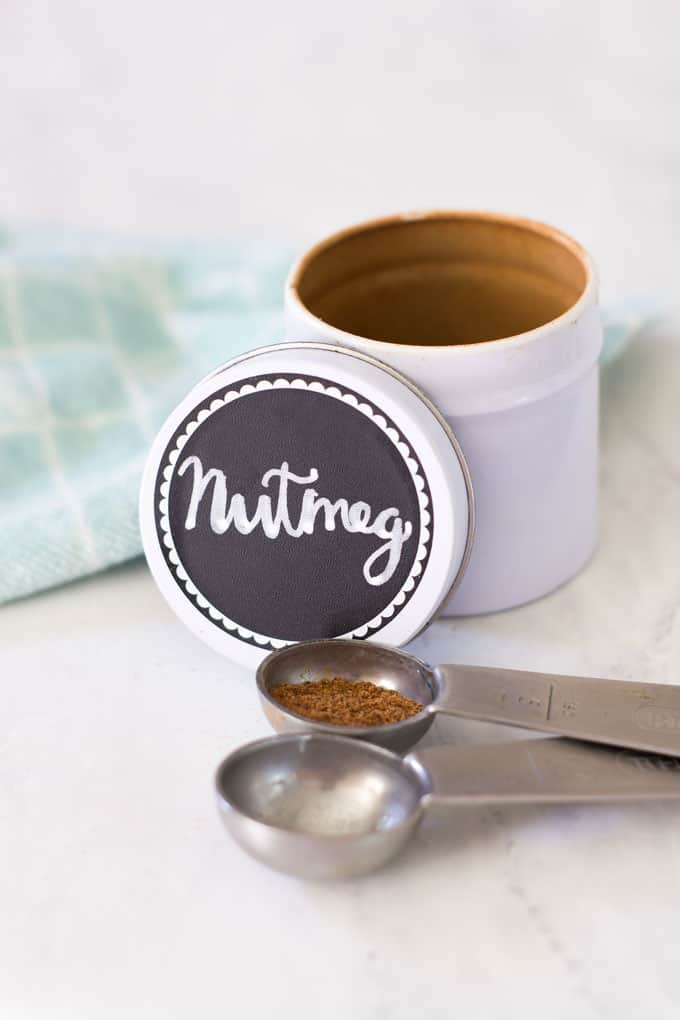
Now, this lovely label was written in hand lettering by my gifted daughter, Nika. She was more-than-willing to hand letter my spice tins. However, even though she is happy to letter these chalkboard labels for me, there are times when I need a new one, and she’s not available.
And I am NOT gifted at hand lettering, nor do I want to learn. How ’bout you?
But wouldn’t it be great to be able to use ANY font you would like, and make it look like a chalkboard label? You can actually use just about any font you love to create a chalkboard look. Just use white lettering and black labels!
Well, let’s take a look at the first way that you can make chalkboard font labels, with ANY type of font you like!
How to Make Beautiful Labels with Chalkboard Fonts – Transfer Technique
Using a transfer technique is easy and actually gives the chalkboard font labels a more “authentic” hand-lettered appearance.
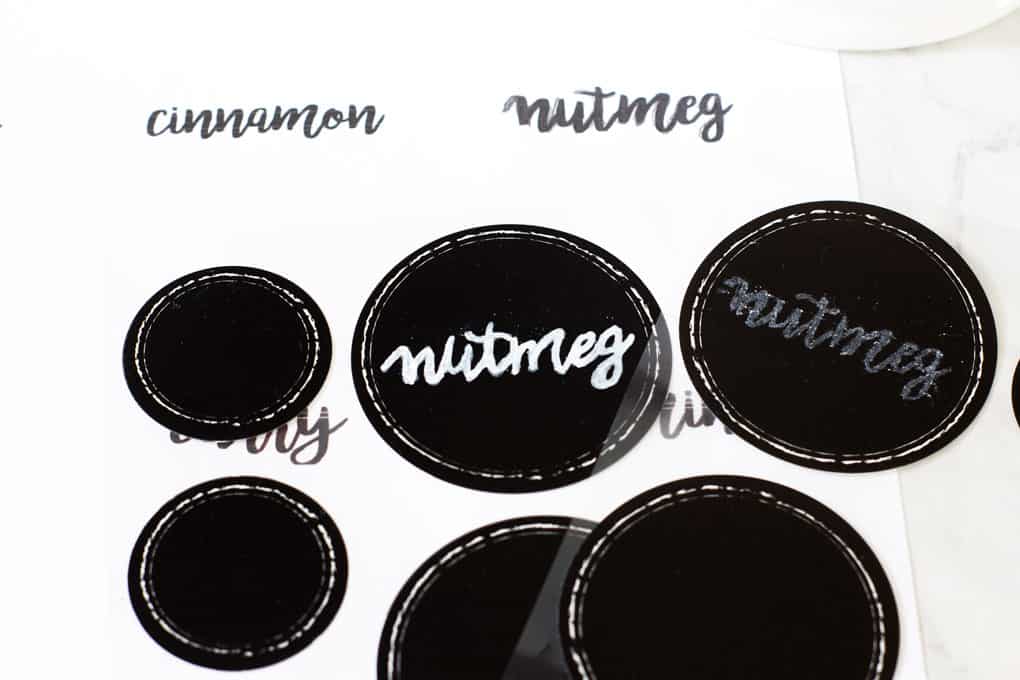
Pretty much looks like my daughter’s label in the first pic, right?
Let’s learn how!
This post may contain affiliate links, at no additional cost to you.
For more information, see my complete disclosure HERE.
What You’ll Need
- Blank Chalkboard Labels These are the ones I’m using, however, HERE and HERE are more affordable, but don’t have the decorative edge. (Be sure to match the measurement to your spice tins, or whatever labeling project you are doing.) Read on for another solution for these blank chalkboard a labels next week!)
- Printed spice list in your choice of font! (Make sure it’s ‘bold’ enough to trace and fill in!) (Pro Tip: Looking for free fonts? You can download LOTS of them from dafont.com and all the graphic/font sites offer freebies every week!)
- White Chalk
- Mechanical pencil or very sharp wooden pencil
- White Paint Pens (these are great!)
- Dampened cloth
DIY Chalkboard Labels Using the Transfer Method
- Create your spice list using your printer. Select a font that you LOVE, but make sure that it’s easy to trace and bold enough to fill in!
- Turn your list over and cover each word (only the word) in chalk. (Do-as-I-say-not-as-I-do Tip: Cut around each word leaving some outer edge on it, then cover the back in chalk… This will make it easier to place on the label for tracing… see next step.)
- Center the word, face-up, on your label and trace with a mechanical pencil. It’s easiest to just fill in the whole word. 3b. This is what it should look like after you trace it.
- Following the instructions for use on the paint pen box and fill-in your word on the label. You can go back and fill-in more after it is dry. 🙂
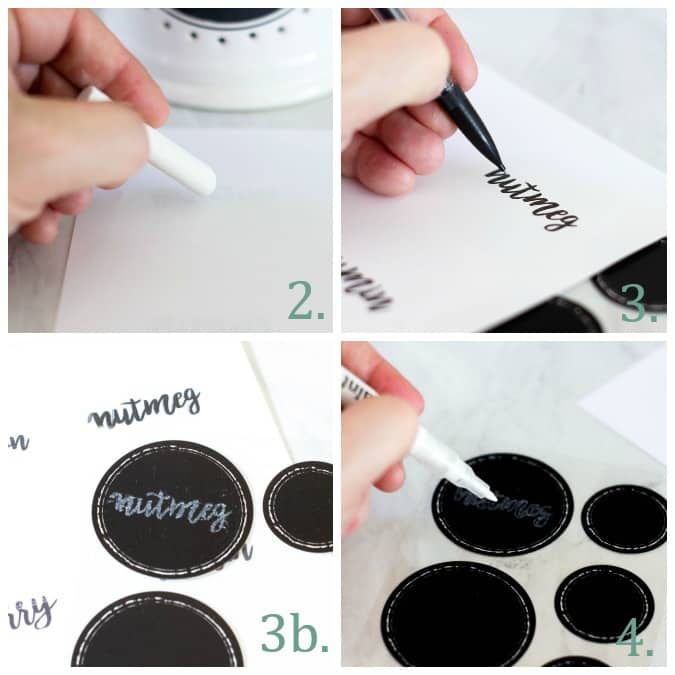
- After your label is dry, take a damp cloth and wipe any leftover traced chalk on the label!
- And voila!

Not bad, right?
I probably should have chosen a different spice name to show you how to do this… one that I didn’t already have! #bloggerlife
But, you get the picture, right?
Now It’s Your Turn
So, if this is easy enough for me to do, it’s easy for you! This transfer technique was actually the easiest for me to figure out and accomplish in order to show you how to make DIY chalkboard font labels. The computerized version I’ll be sharing next week were a bit of a challenge, but they won’t be for YOU!
Can’t wait to show you!
In the meantime, is this simple enough for you to try? What would YOU label?

For more chalkboard label inspiration, take a look at some of these wonderful sites:
- How To Make Chalkboard Labels – from Simple Easy Creative
- How to Make Chalkboard Labels – from The Shabby Creek Cottage
- Chalkboard Labels for the Pantry – from Shanty to Chic

Great tutorial, Julie! You did a lovely job! 🙂 After 15 years in our house we still haven’t decided how we really want to store our spices, but this is a pretty cool idea! Definitely worth a try!
Thanks, Barbara! I have the second technique coming out this week! I think it’s even more fun and faster, too!
Great label tutorial, my dear! I still love your spice tin small living hack! It’s such a great space-saving solution. Pinning!
Thanks, Crissy! I’m looking forward to sharing the second technique this week!
Love, love, love this project! I love to hand lettter but it is hard to do on small projects like these spice tins! Your solution is perfect! Pinned!😊
Thanks, Cindy! The next technique I’m sharing is even more fun and fast, too!
Great idea Julie. My spice cupboard is a mess and I have some dried herbs from the garden that need a home so I’ll be putting this to good use.
I did something similar with the jars on my spice rack, and I never get tired of them. So cute, pinning!
Thank you for sharing your tutorial! You have given me so many ideas.
What a fun tutorial! I too have no handwriting skills to speak of, and this will be a great way to re-create all those beautiful fonts I love!
Your labels turned out perfect! I pinned them.
Please share on my site at You’re The Start Blog Hop.
Have a great day,
Kippi 🙂
these are wonderful Julie! love the look and I’m pinning your post. Thanks so much for sharing this at All About Home!!
Of course, and thank you! So excited about your new party!
These look great, Julie. I don’t have the talent of great hand lettering either. I need techniques like this!
Thanks! I just posted my computer version! You may like that even more! 😉
Brilliant hack to pretty lettering! And great photo’s explaining the process!
Thanks, Janet… I just published a tutorial on how to use your computer to create these! Whew! 😉
I love this idea. I definitely like the look of hand labeled but I don’t have an artistic bone in my body. I’ve used this method for making signs but haven’t tried it on a project as small as a spice jar. Now that I’ve seen your tutorial, I’m thinking that this would be a great way to label the pickle that I’ve been busy making the past few weeks.
You could even try the digital tutorial… it’s even more versatile!
Thank you for sharing at #ThursdayFavoriteThings. Pinned and shared. Have a lovely week. I hope to see you at next week’s party too!
Always love TFT! Thanks for the pin, Marilyn!