
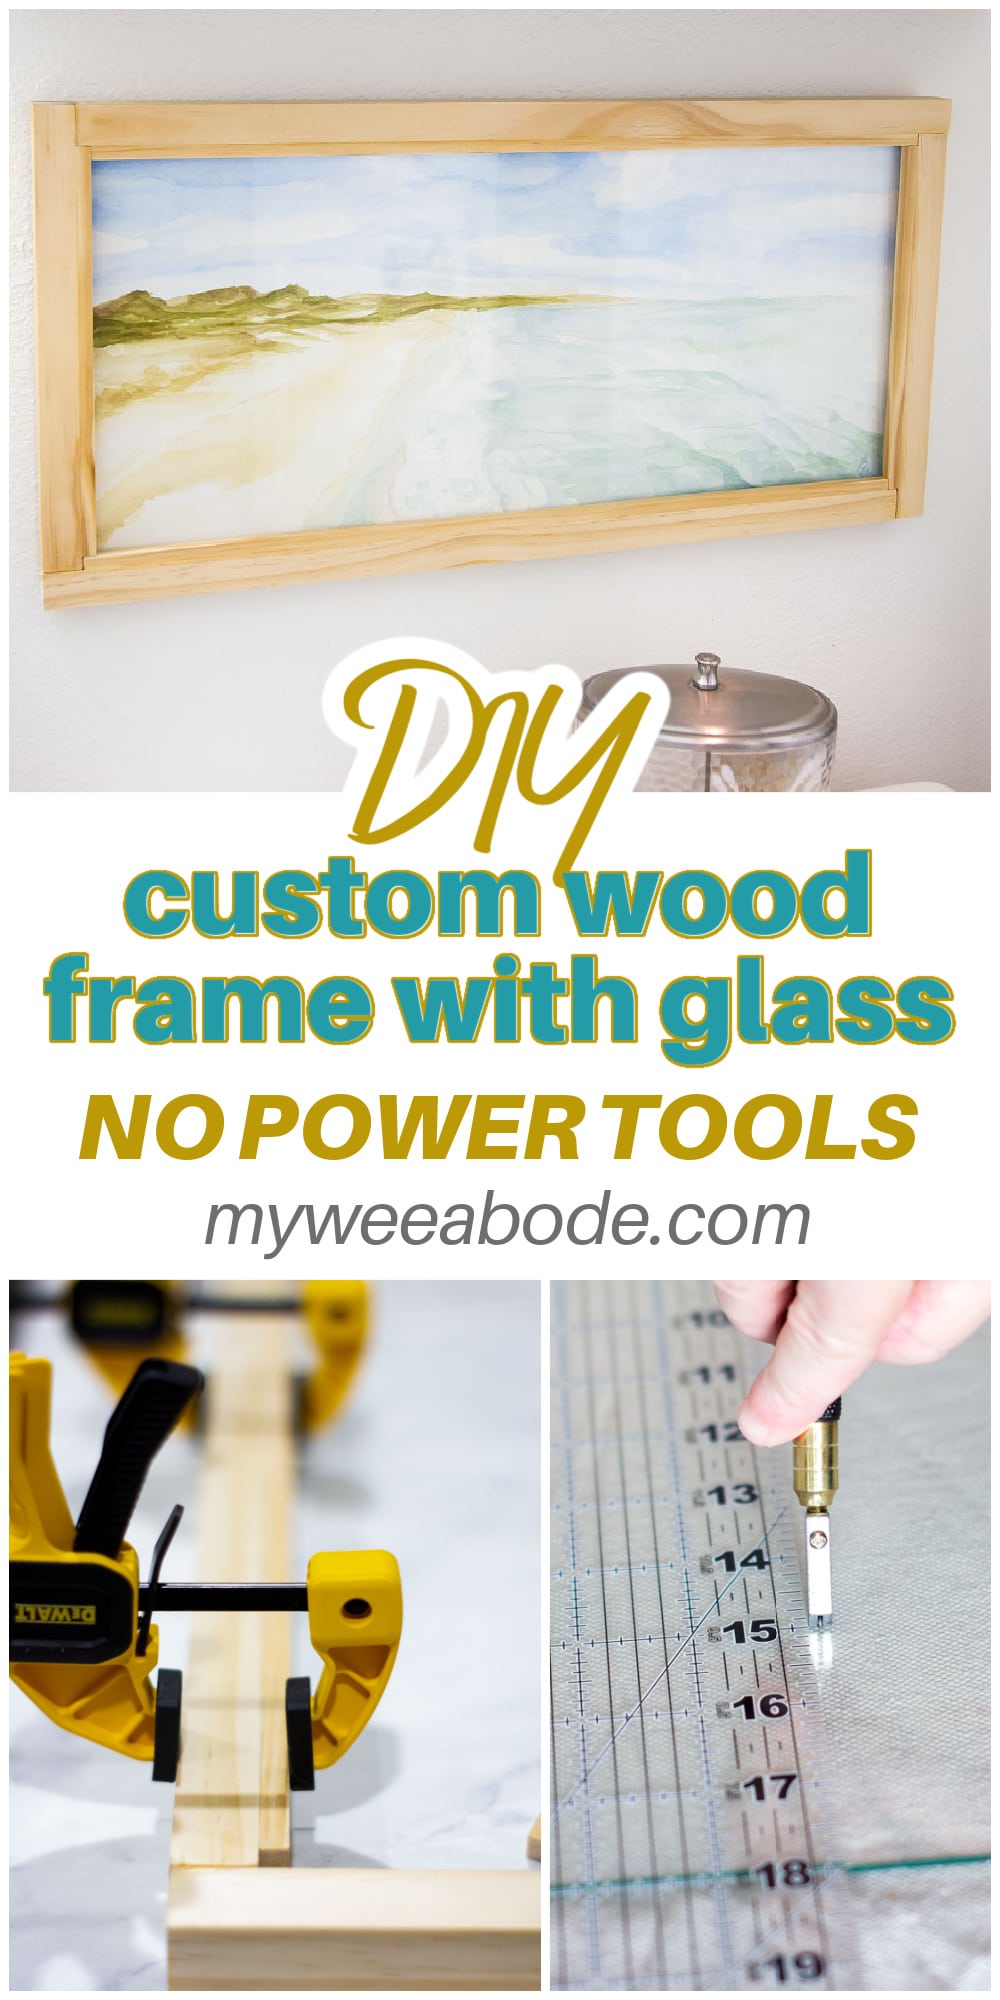
DIY Custom Wood Frame with Glass – No Power Tools
This DIY custom wood frame with glass just might be the answer to your odd-sized art piece! And the best part, no power tools involved!
DIY CUSTOM WOOD FRAME WITH GLASS – NO POWER TOOLS
Have you ever wanted to frame an odd-sized piece of art, but the cost of the frame was just too steep?
Well, it’s happened to me in the past, but recently I commissioned my favorite first niece to paint a watercolor for my new bathroom makeover.
And Bekka (@timewithbekka) not only painted one piece for me, but TWO… and she let me choose which one I liked best!
They were BOTH lovely! One was a mountain type scene and the other was a coastal scene. Guess which one I chose?! Hehe!
Bekka had told me it was a custom size piece, but I didn’t realize just how EXPENSIVE the frame was going to be!
So, of course, I started trying to figure out a DIY custom wood frame with glass! And today, I’m going to show you exactly how to make your own custom wood frame, without power tools!
How to Make a Custom Wood Frame with Glass Front
Now, I have to be honest. The first time I made this frame (yes, I said the *first* time), it worked out great, but I just felt it was a bit overpowering for the watercolor painting.
What do you think?
I really do like the color of the stain on the wood, but it was just a little to ‘wide’, ya know?
So, I decided to modify the width of the trim and leave it with it’s natural color. I’ll show you both at the end of the post, and you can ‘vote’ for the one you like best!
All that to say, the tutorial photos will consist of pictures from both DIYs. Hehe!
This post may contain affiliate links, at no additional cost to you. For more information, see my complete disclosure HERE.
What You Will Need
You will need a few items for this project, but it will still cost you less, in the long-run, than purchasing a $50-$100 custom size frame. If you had all the tools already, the materials for the frame would end up being less than $25!
- 3/4 x 36″ dowel/trim (for this project, I needed two), (2) pieces cut to 18 3/4″, and (2) pieces cut to 8 3/4″
- 1/4 x 36″ dowel/trim (for this project, I needed one) (2) pieces cut to 17 3/4″, and (2) pieces cut to 7 3/4″ (approximately)
- Japanese razorsaw (pull saw), 7″ (I use this saw ALL the time)
- Gorilla Wood Glue
- Spring clamps or C-clamps (I invested in three of the c-clamps that I will use for future projects, too)
- Turn-Buttons
- Frame hangers
- Glass sheet
- Glass Cutting Kit
- Protective gloves (garden gloves work fine)
- Measuring tape
- Pencil
- Screwdriver
- Hammer
- Needle-nose pliers (optional)
- Drop cloth or towel
How to Measure and Cut for a Rustic Wood Frame
- FIRST measure the size of your artwork. Then, purchase enough material to create the trim. Personally, I preferred the 3/4-inch trim for for the larger part of the frame, and then I used 1/4-inch trim to hold in the glass (you’ll see what I mean in a bit).
- With the art I was framing, the long sides were 18 inches and the short sides were 8 inches. Since the main trim is 3/4-inch (photo 1), I added 3/4-inch to each measurement. This way I could stagger the pieces and make straight cuts instead of mitering the corners. So I cut two pieces at 18 3/4 inches (photo 2) and two pieces at 8 3/4 inches.

- For the glass inset trim, the 1/4-inch trim is actually cut *short* by 1/4 inch for a dovetail effect. Two pieces were cut at approximately 17 3/4 inches and two pieces were cut at 7 3/4 inches. However, before cutting the 1/4-inch trim you’ll want to glue together the 3/4-inch pieces and then measure the inside of the frame to get exact measurements for the 1/4-inch trim.
- Mark your trim just a smidge (yes, “smidge” is a word) bigger to allow for cutting movement (photo 3), then use a pull-saw (razorsaw) to cut the trim (remember to place a piece of wood under the trim for cutting).
Sanding and Gluing Wood Trim for a Custom Frame
- The trim pieces have ends that are rough and painted. Just cut the ends off (photo 5), and simply sand them smooth (photo 6). Sand all the ends smooth before gluing. But, don’t sand the 1/4-inch trim ends until you know they fit correctly (after the 3/4-inch pieces have been assembled.)

- Take the ends of the large (3/4-inch) trim and add wood glue to them (photo 7), then use a clamp (either a spring clamp or c-clamp) to hold the pieces together. I glued one corner together at a time. Push the wood pieces together while the clamp is holding the pieces together, and make sure the pieces are flush with each other (photo 8).
Adding Glass Inset Trim and Custom Frame Hardware
- Remember to measure the inside opening of the frame, subtract 1/4-inch and cut the 1/4-inch trim pieces. Then, place the pieces inside the frame to make sure it all fits. If the pieces are too small, you will need to cut them again (this is why I always cut them just a wee bit bigger). If the pieces are too big, just sand them down. But, be careful…sanding can make them too small with just a couple-too-many ‘swipes’!
- After the pieces prove to fit, add glue to the trim (photo 9) and add to the front edge of the large trim and c-clamp it (photo 10). Again, make sure the pieces are flush and adjust as necessary. Also, I did one piece at a time because I didn’t want to buy a bunch of c-clamps. Investing in three of them was sufficient. 😉

- Add the turn-buttons to the back of the frame. You may want to replace the screws with smaller wood screws, like I did. This kept the wood from splitting. Oh, and make sure the round part of the button is spaced away from the edge of the frame (see arrow in photo 11). This will ensure the glass will slide-in correctly.
- Next, add the hangers to the frame. The nails are very tiny, so using a pair of needle-nose piers to hold the nail works great! Be sure the hanger is flipped to the side you want to use (photo 12). (I used two hangers for this wide frame).
How to Cut Glass for a Custom Frame
- Would you be fearful to cut your own glass inset for a custom frame? I was! But, it was super easy and safe! Lay down a drop cloth or towel on a flat surface. Clean your glass with window cleaner and then measure the piece of glass you want to cut. This piece from Home Depot was a 16 x 20″ piece, so it was easy to cut an 8 x 18″ piece. Simply use a straight edge (I used my Fiskar cutting edge) and place marks along the glass (photo 13).
- Take your cutting tool and dip it in the oil. Holding the cutting edge firmly with one hand, take your cutting tool and score the glass with even gentle pressure. DO NOT score it more than once (photo 14).

- Put a glove on your hand (I used a nice gardening glove) and place your fingers directly on the scored line and gently press down (photo 15). The glass will ‘pop’ apart (photo 16)! That’s it!
Now place your glass inside the frame, add your artwork, and then cut a piece of cardboard to cover the back of the artwork. This will protect the art from being damaged by dust and humidity.
The Finished DIY Custom Wood Frame with Glass Inset
Like I said, I did TWO versions of this custom wood frame using no power tools.
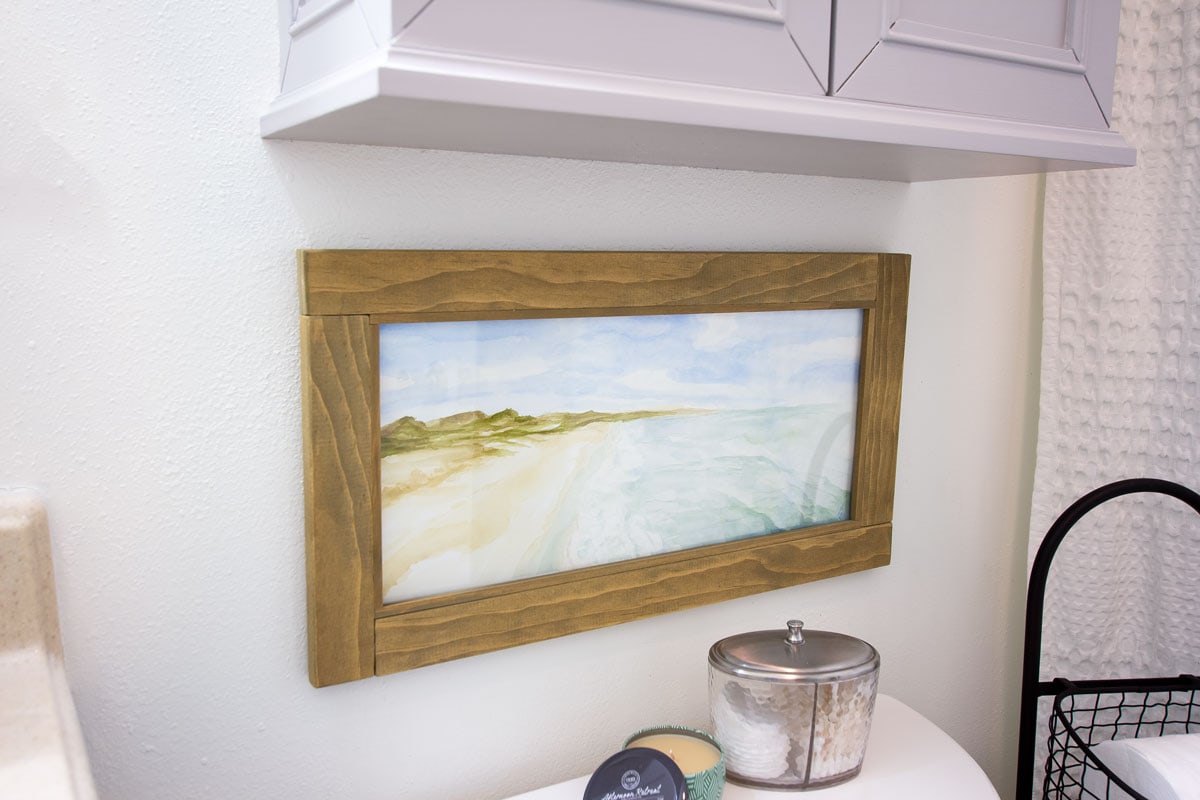
Here is version one:

Isn’t the painting lovely? I wanted something that was peaceful and had a coastal vibe to it.
However, I’m not sure about the frame edge size or the color. The stain color is really nice with the painting, but not sure it works with the bathroom colors.

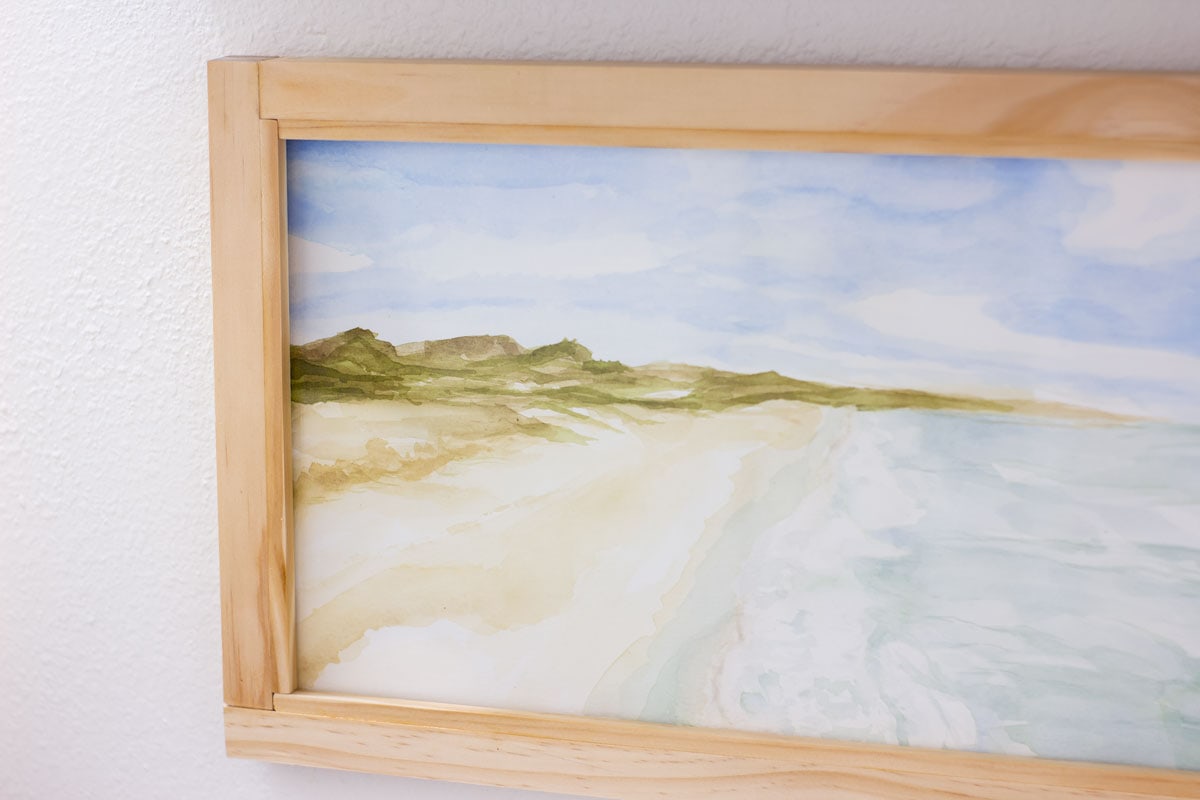
And here is the second frame, in the natural color…

The painting seems to make more of a statement with this frame, which is what I like.
And you can see just a peek of the countertop on the left. The frame color compliments the countertop color.

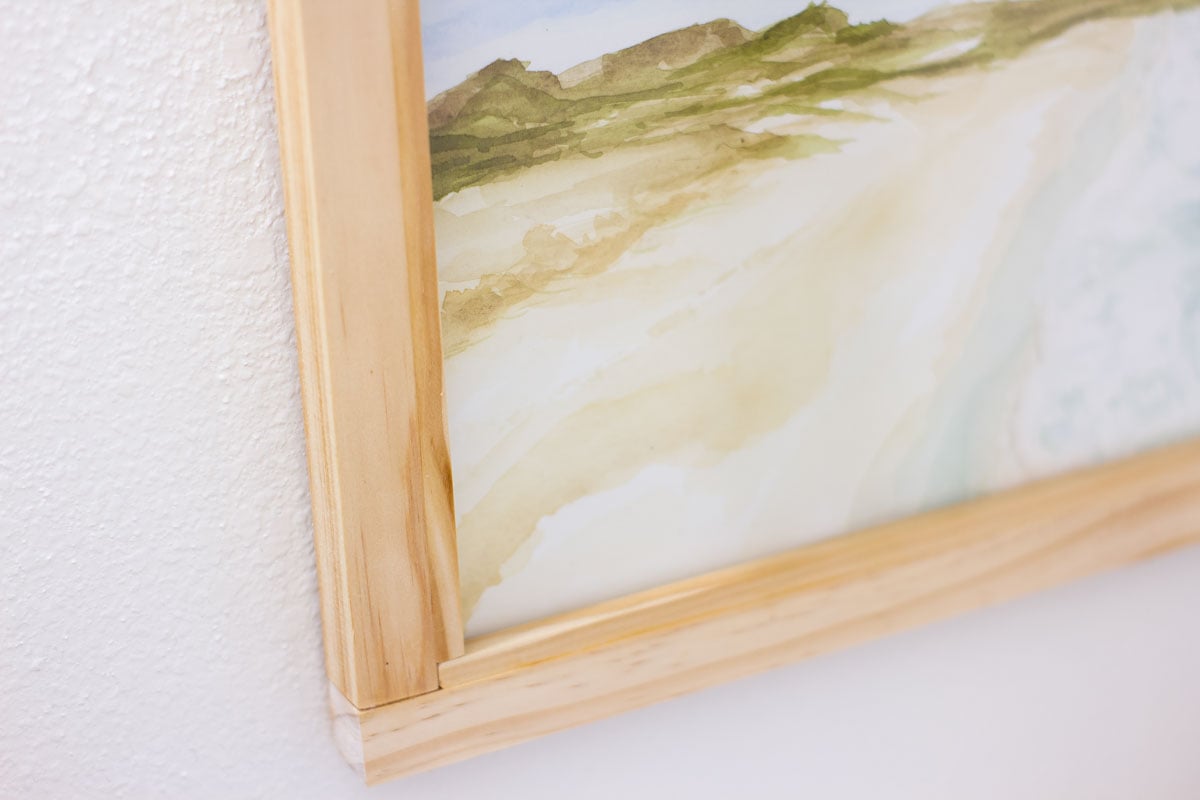
Here are some close-ups of the frame and artwork.
After Bekka gave me the painting, she asked me if I wanted her to sign the painting. “Of course!” was my immediate answer.

Here you can see how the large trim is ‘staggered’, and the small trim is ‘dovetailed’.
And, you’re getting a little sneak peek of the bathroom makeover, too!

So, what do you think? Do you like version one or version two better? What about maybe staining the thinner frame with the darker stain color? Let me know your thoughts in the comments!


I really like the 2nd one but I would leave it natural like it is and not stain it. It complements the painting where the dark takes away from the painting. Beautiful job on the frames. I think I am going to make some similar as I have some materials that need framing.
You know…I do like the second frame better with this!! Thanks so much for such great information! I have a painting I would love to make a frame for so I appreciate all the instruction!!
You bet! Praying and thinking about you and Will!
You are so clever to come up with this awesome way to frame art without needing power tools. I like the natural wood frame the best but the other one is also pretty.
Yeah… it’s hard to decide between the two! But, I think I’m going to stick with the lighter frame! Hugs!
What a great tutorial Julie! You were so smart to use the different sizes of trim and wood pieces to put this together! I have one of those saws and it’s one of my most used tools in my workshop. My fave frame is the lighter colored wood. That painting is lovely! Tell her we all love her artistry 😊
I will let Bekka know, Cindy… thank you! And I’m not surprised you have a razorsaw. I use mine all the time… So easy, and does a great job!
Awesome tutorial Julie! I always wanted to make my own frames but it just looks scary. You did so well. I might have to be brave and give it a go too. I like the lighter frame as well . 🙂 Happy Tuesday! Julie
Oh, if I can do you, you certainly can! 😉
Julie! You never cease to amaze me! What a great tutorial and such a pretty end result. I like them both too but I think the natural frame compliments the painting perfectly. Have a great week!
Thanks, Denise… I’m so happy it came out the way I was thinking in my head! 😉
The natural frame is the way to go and perfect with the watercolor. Great tutorial Julie! Pinning!
Thanks, Michelle! You would know about the colors together! Thanks!
This is a fabulous tutorial Julie! I have always wondered if this was possible and I’m glass to see that it is. You did a beautiful job.
Thanks, Shawna… it took some ‘thinkin”, but I’m quite happy with the result!
I’m always hunting at the Restore, Goodwill and thrift stores for odd size frames so thank you for his tutorial to make my own! I also think the smaller natural frame suits the painting best but I do love the other one. I know you’ll find something to go in there!
Yes… i love the color of the first one… who knows, I may ‘marry’ the two together! 😉
oh, my! I’m so impressed! Your painting is so lovely and I can’t believe you’ve made the prefect frame for it! You’re the smartest little one.
Be a sweetie,
Shelia 😉
My niece is quite the gifted artist, Sheila… and thank you for the kind words about the frame! I’m super glad it came out!
I’ve never heard of a razor saw… nice tool!
I use it often… and it’s so easy! My brother told me about it… he’s a finished carpenter.
What a beautiful painting! I bow to your DIY greatness 🙂 The closest I’ve come to this is using canvas stretchers ordered from a craft supply place as a cheap way to create a large 36 x 48 frame…and I still haven’t finished it because it needs to be painted LOL.
You are so funny, Janet! Yes, my niece did a lovely job on the painting!
Your frame turned out beautifully, Julie! I love how easy it is to make. Job well done!
Thanks, Jen… I am more please with it than I thought I would be. Now I want to do one with mitered corners!
Wow, look at how handy you are! I love both frames, actually. They each bring out something different in the artwork. I do like the idea of doing a combo of the two, but you really can’t go wrong. The watercolor is just gorgeous too, by the way! Pinned!
Thank you, Crissy! The second one was especially fun to make, because I had already made one. You know how that is!
Your niece is very talented – just like her auntie 🙂
I like both frame colors! It was very clever to make them without power tools. This is really the kind of diy that makes me happy.
Thanks, Rachelle… it was very fun to make, and I’m so happy with the results. 🙂
This is a fabulous tutorial that I will use often. I love that you can make it the right size for your own needs. Pinned and thank you.
Of course… one of my fave DIYs… I think I need to SEO it a bit to get the word out more. 😉
For an added touch of creativity, why not experiment with various wood finishes or distressing techniques suggested in the DIY custom wood frame guide? It could elevate the charm of your project!
Sounds like a great idea, Ashley!
I am going to be DIFFERENT, and say that I’d use the second thinner frame, but I would paint it black, and then “antique it” a bit; this would be a nicer contrast to both the lighter colors in the painting and your walls so it would really SHOWCASE this lovely artwork.
Great ideas, Evelyn! Thanks for sharing! I need to find a place to put the artwork in my new trailer home!