5 Easy Steps – How to Make Candle Rings
One of the easiest crafts I made for this Christmas and winter season was a candle wreath… also known as a candle ring. Let’s take a look at 5 easy steps – how to make candle rings.
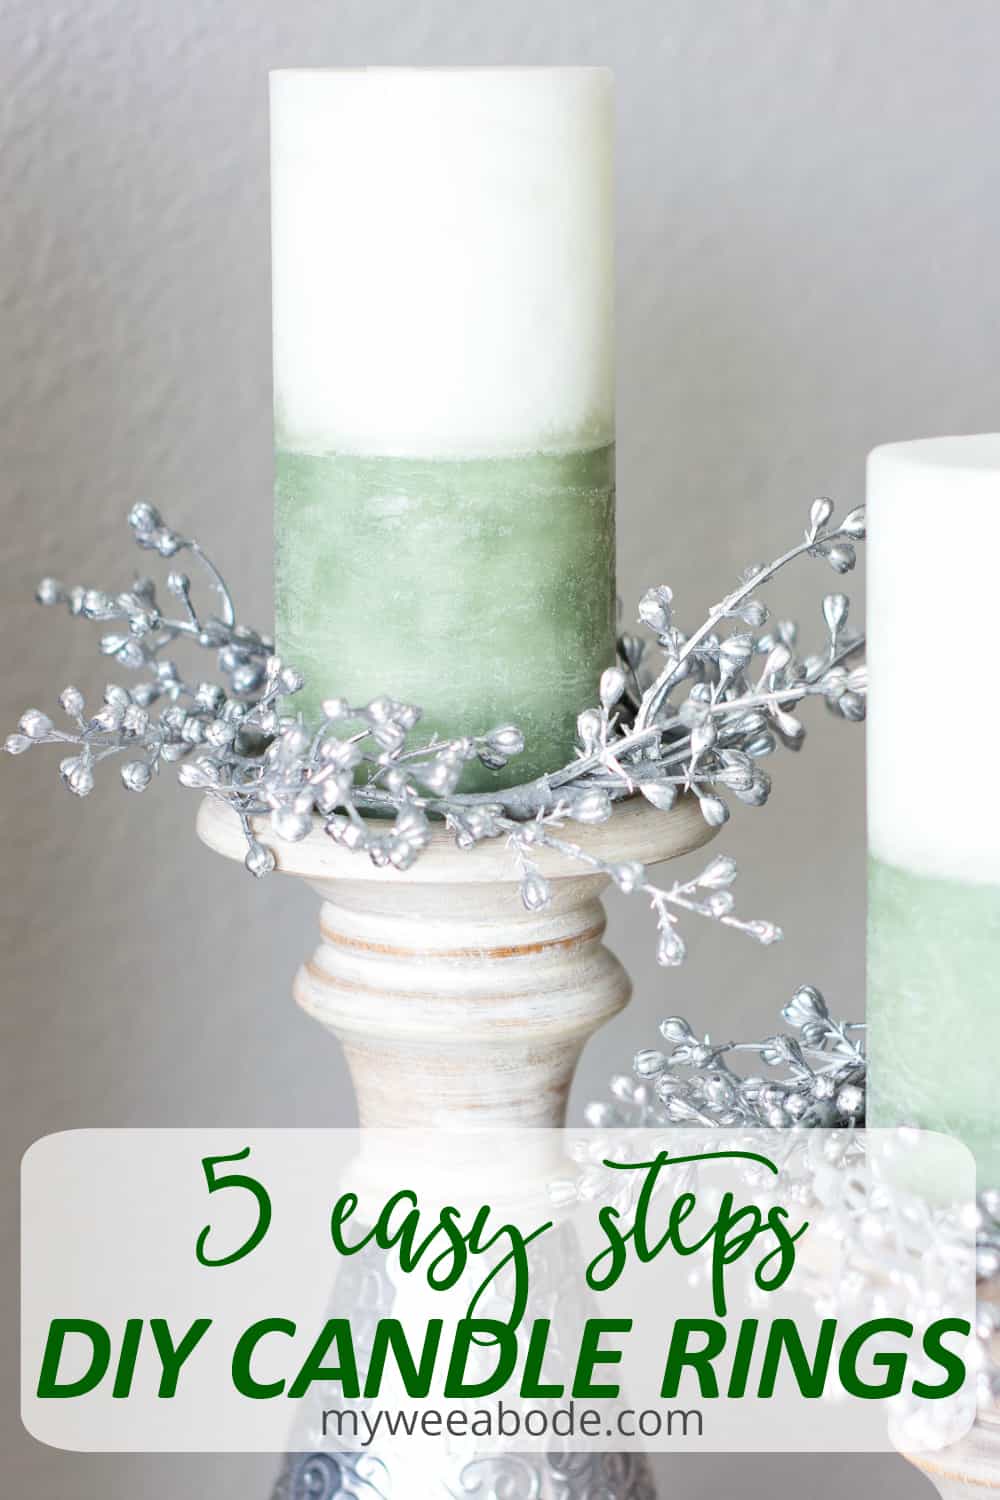
5 EASY STEPS – HOW TO MAKE CANDLE RINGS
Do you have a special set of candle holders that you love?
I do… several years ago a friend gifted them to me from Pier 1 (thanks, Peg!)… and I love them!
You know, they are one of those decor items that I just can’t find anything in the same category that I like more.
Can you relate?
However, there are definite times that I think, “I wish I could change those up a bit… give ’em a little sumpin’-sumpin’.”
So, I’m thinkin’ YOU might be thinkin’ the same thing!
Well, this Christmas I figured out an easy way to create candle rings in 5 easy steps! Problem solved!
And these aren’t just for Christmas!
Today’s mini candle wreaths are part of my frosty minty winter decor that are effortlessly transitioning from my frosty minty Christmas home.
Because, why fix somethin’ when it ain’t broke. Just tweak it a bit! Makes sense, right?
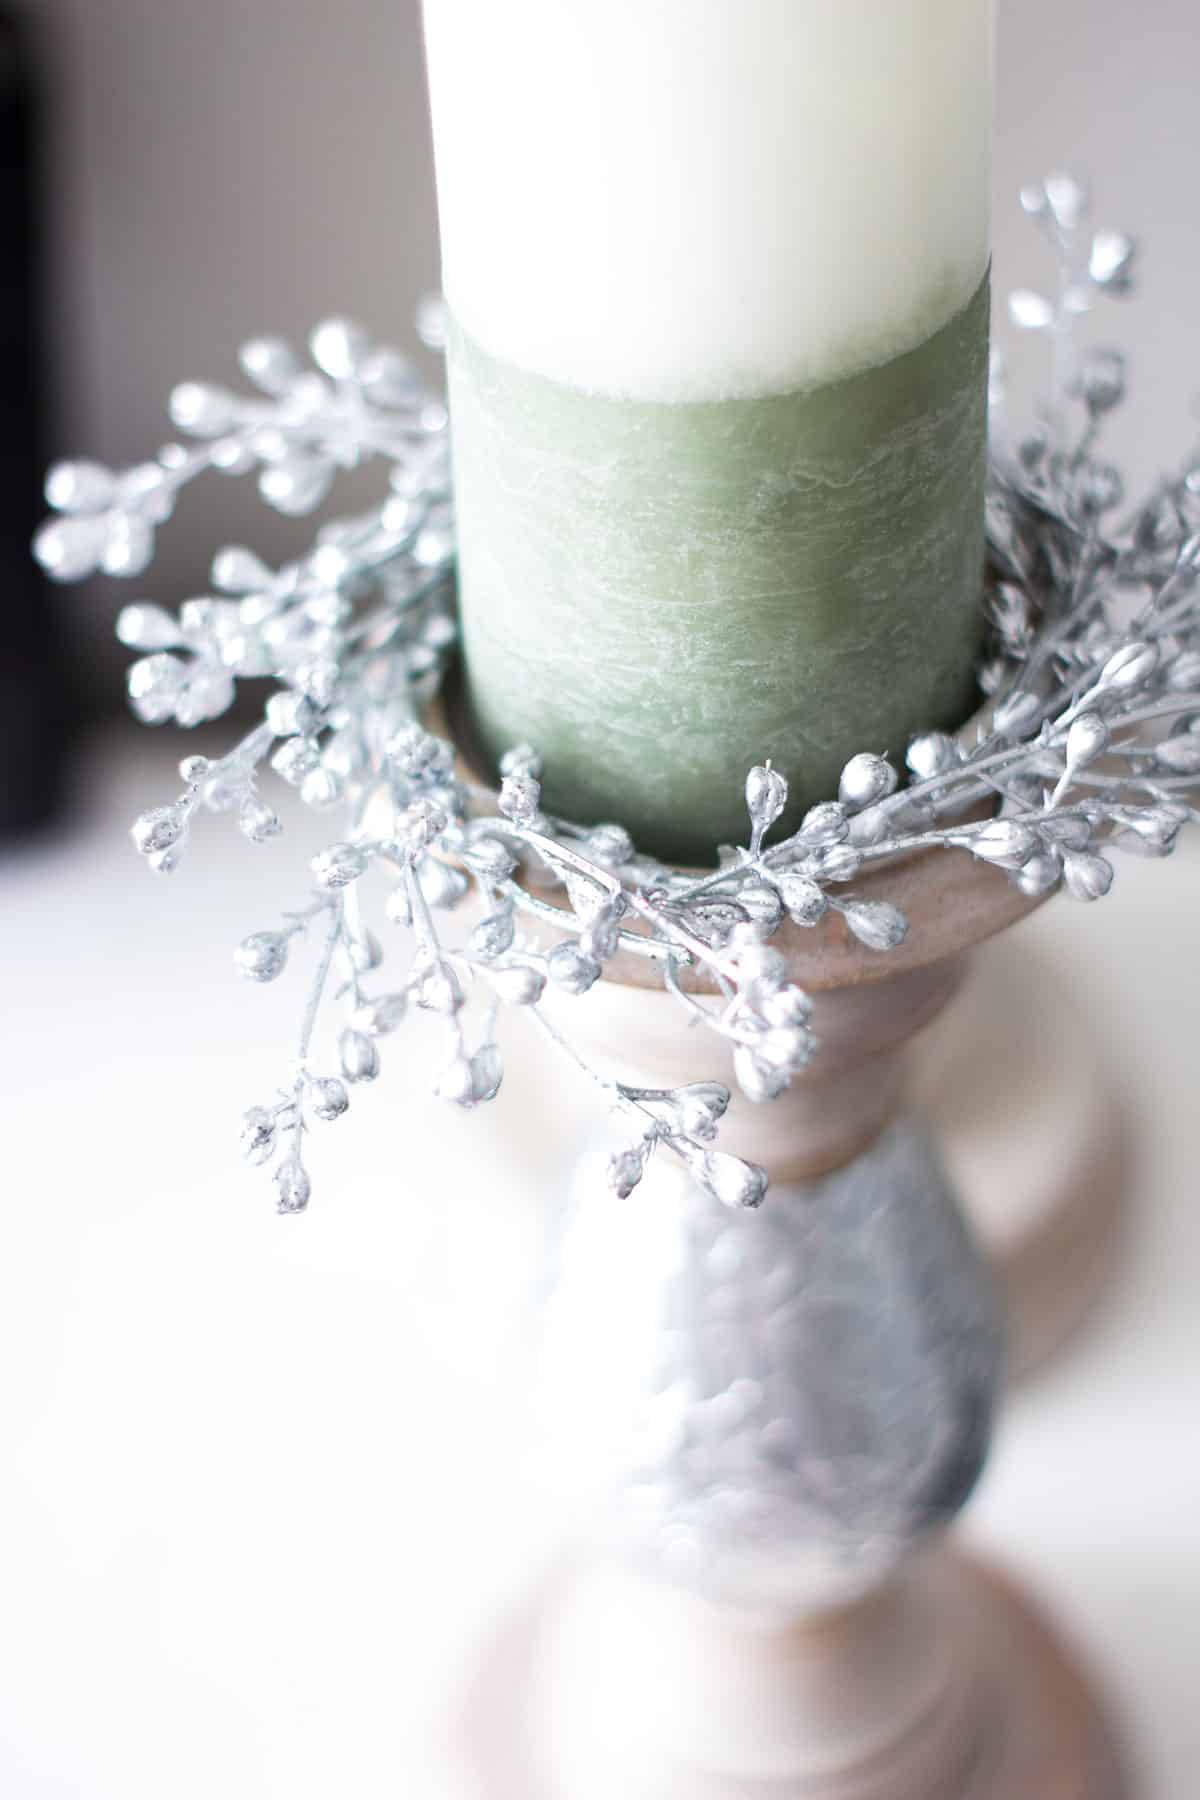
And why stop at winter wreaths?
These can even be created as summer candle rings…
Can you say spring candle decor?! I sure can! 😉
Well then, let’s get to the 5 easy steps for how to make a candle ring.
This post may contain affiliate links, at no additional cost to you. For more information, see my complete disclosure HERE.
What You Will Need
It doesn’t take very much at all to create these gorgeous seasonal candle rings.
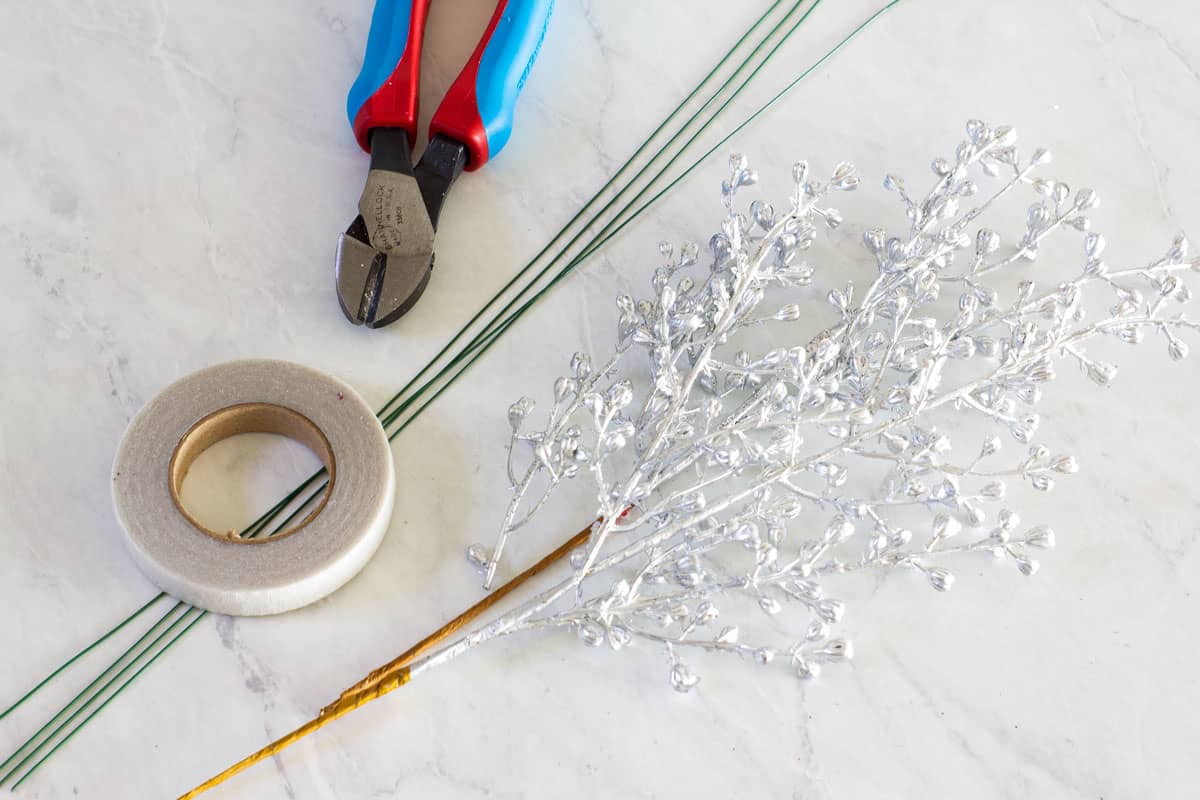
You will need:
- Floral wire… I used a very thin gauge and doubled it… you can use a thicker gauge if you want (I would! ;-))
- Floral tape (Use green tape if your florals are green, use white tape if your florals are in the grey/silver tones (like mine are))
- Wire cutters
- Your favorite florals stems. For my winter wonderland candle rings, I used a silver ‘berry’ floral stem from Hobby Lobby, like this)
And that’s it! So easy, but these floral candle wreaths really pack a punch.
5 Easy Steps – How to Make a Candle Ring
Mini Floral Wreath Base – Step 1
The first step to creating a seasonal candle ring is to form your floral wire base.
Simply take your floral wire and loosely wrap it around your candle. If your wire is thin, wrap it around twice.
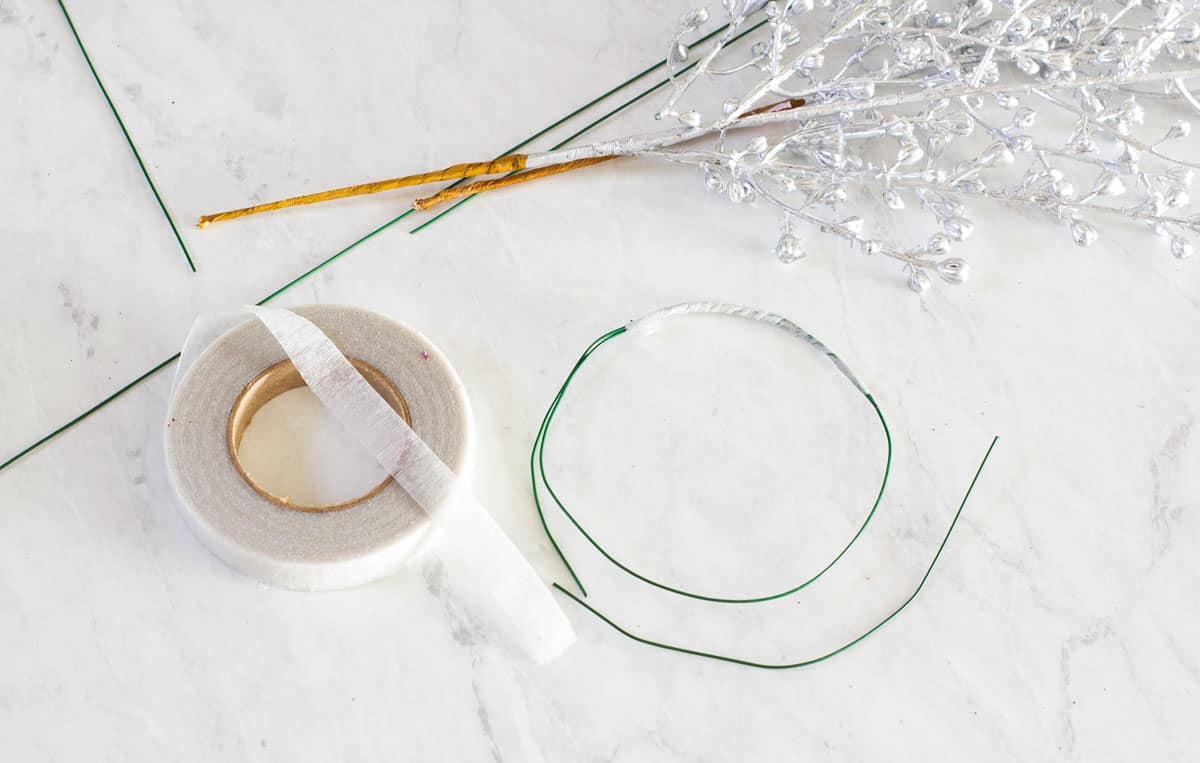
Using your wire cutters, snip the wire at this point, and then wrap your floral tape around it, creating a ring.
Floral tape is a bit ‘sticky’ and easy to tear, so if it tears off, just take your tape and place it where it tore off and start again. It’s super easy to use!
Choose Your Faux Florals and Cut Them Apart – Step 2
Choose your favorite faux florals and greenery. Think:
- Greenery, (like cypress, cedar (for winter/Christmas), or even eucalyptus or Lamb’s Ear, or even boxwood)
- Seeded stems/berries (for winter/Christmas, I used the silver berries/seeds pictured. But you can use holly berries, white berries (for a more neutral tone) or anything you like!
- Any pretty/small flower stems. Again, seeded eucalyptus would work great, cotton stems, Baby’s Breath, or any tiny/medium sized seasonal flowers like these)
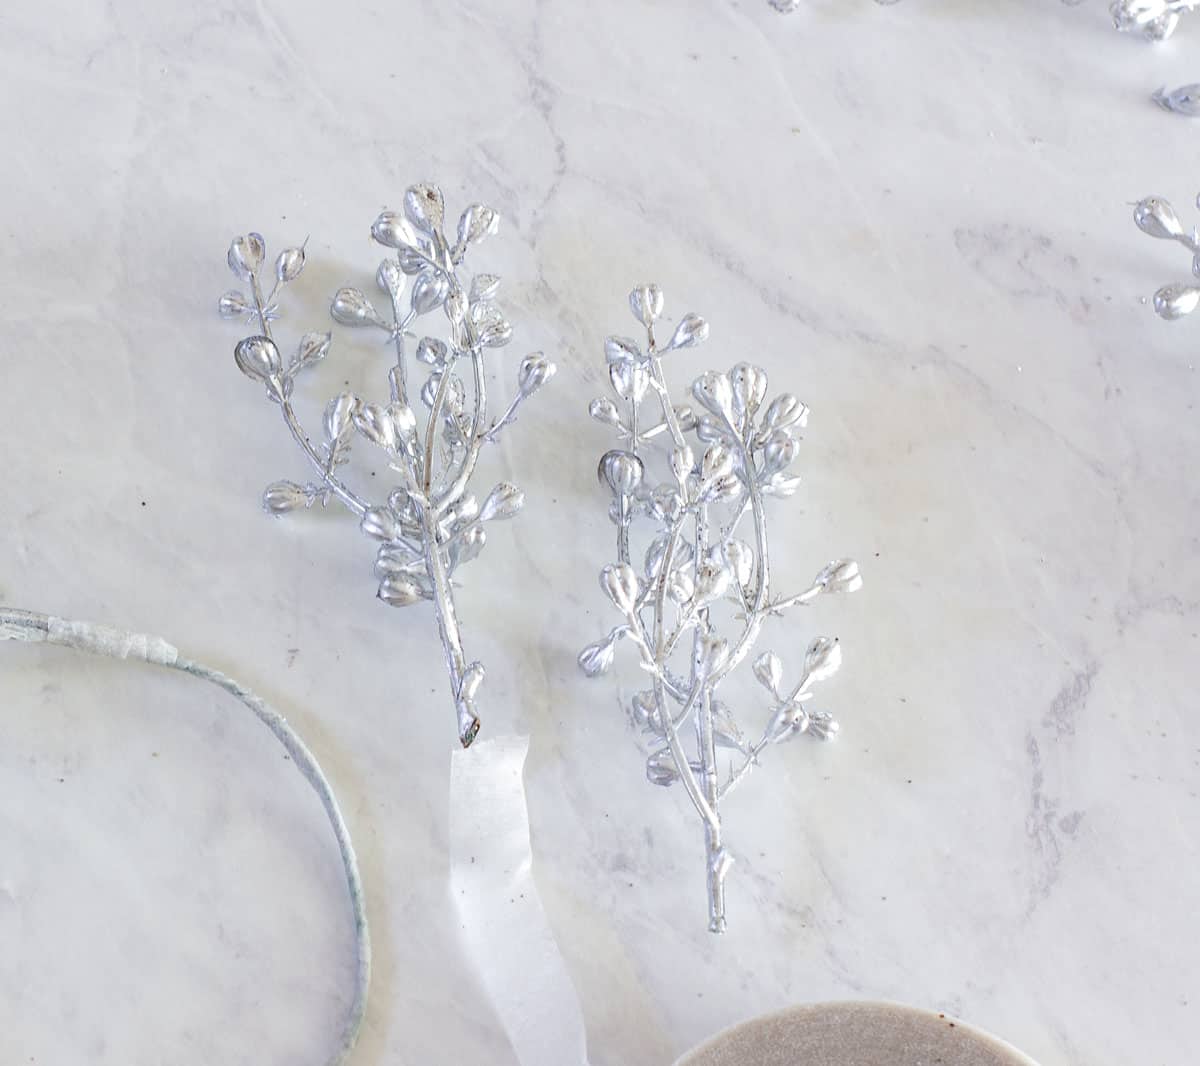
Cut apart the faux florals, leaving enough ‘stem’ to attach to the wire ring base. Cut apart different lengths to make the mini candle wreath ‘interesting’.
Attach the Faux Florals to the Candle Ring Wire – Step 3
Here’s where the floral tape comes in again. 🙂
Take one of your ‘stems’ and hold it against the wire ring and wrap floral tape around the end of the stem and ring, attaching them together.
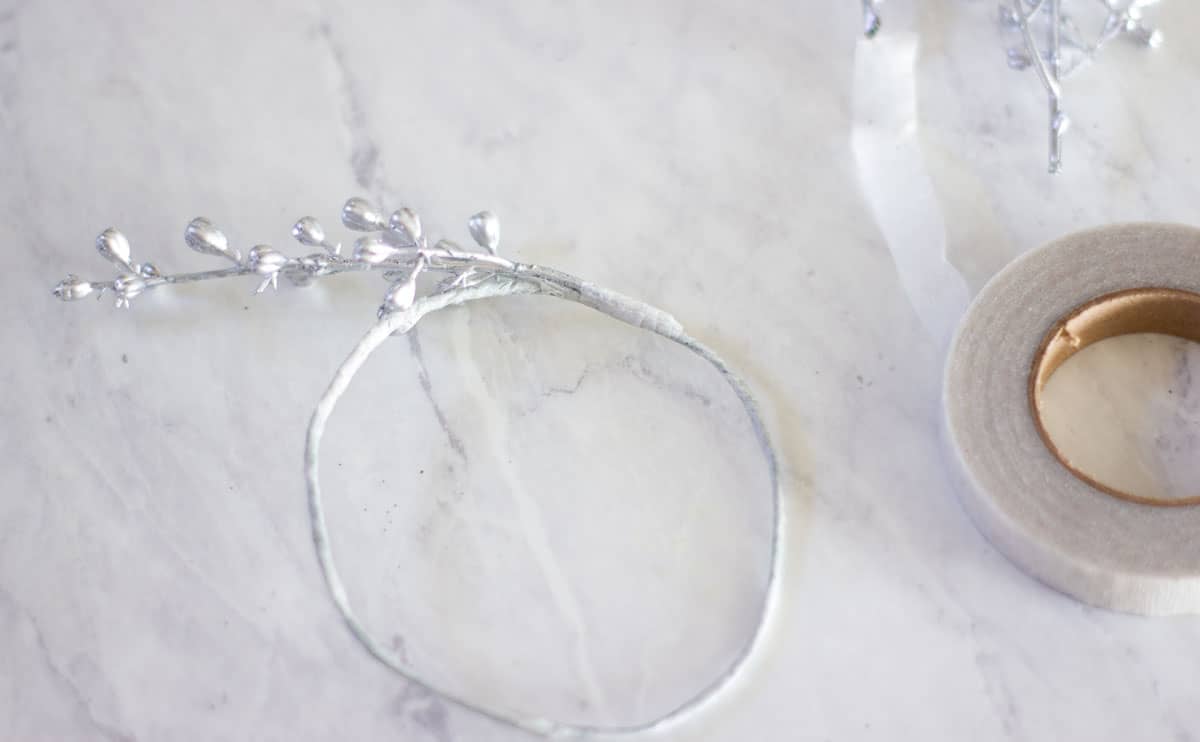
Then, going in the same direction, take another stem, lay the floral part on the last wrapped stem (to hide the floral taped area), and tape the stem.
This will look strange to begin with, but trust me, as you go around, it will take the form of a wreath.
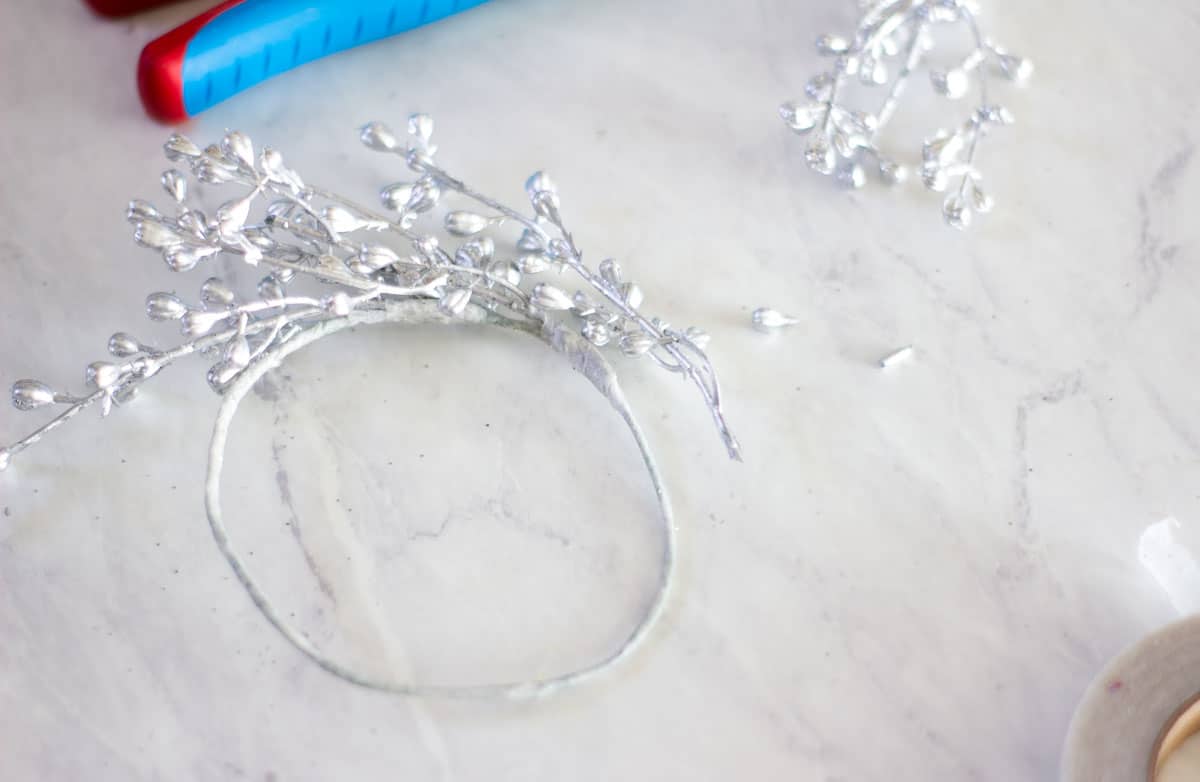
Continue wrapping stems around the wire base until the wreath is formed.
Fluff and Adjust the Mini Candle Wreath – Step 4
Turn and bend your faux floral stem on your candle ring.
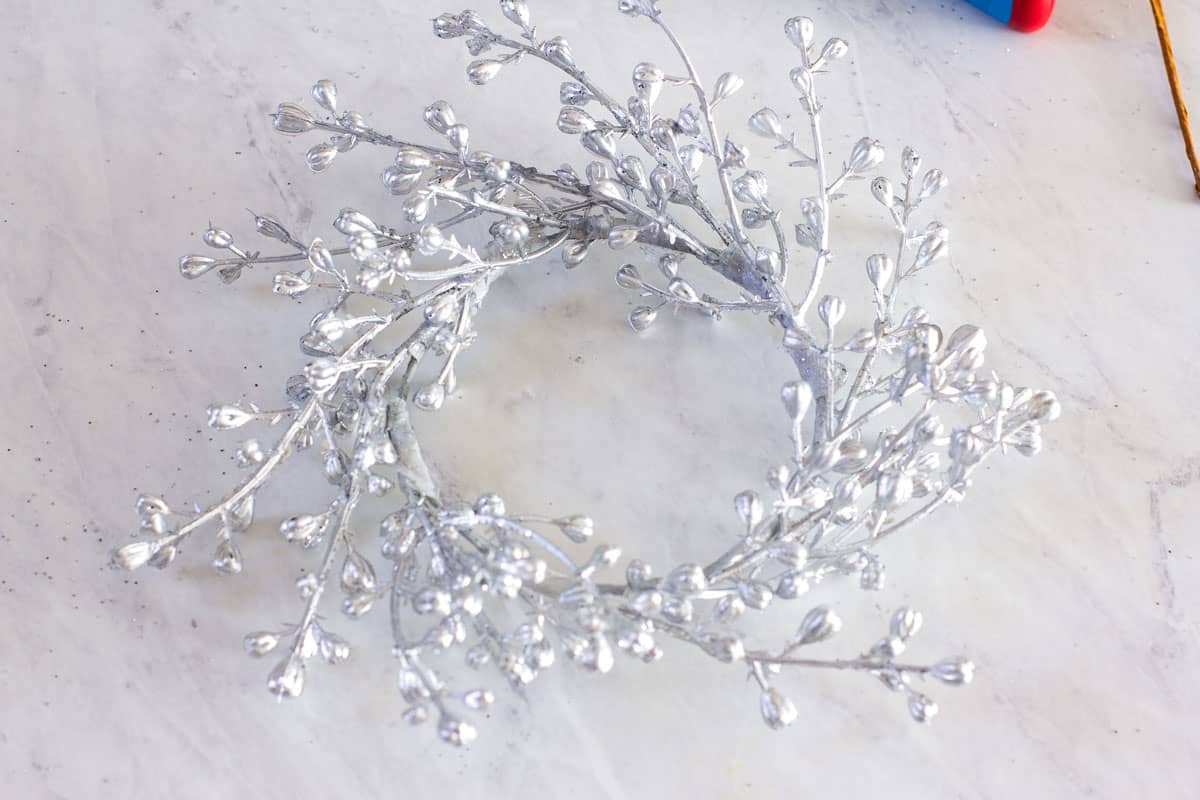
At this point, you can add more stems where necessary.
Display Your Seasonal Candle Rings – Step 5
Okay, this isn’t really a step, but I needed to make it an uneven number because… well, that’s just the way we DIY/decor bloggers work, okay? 😉
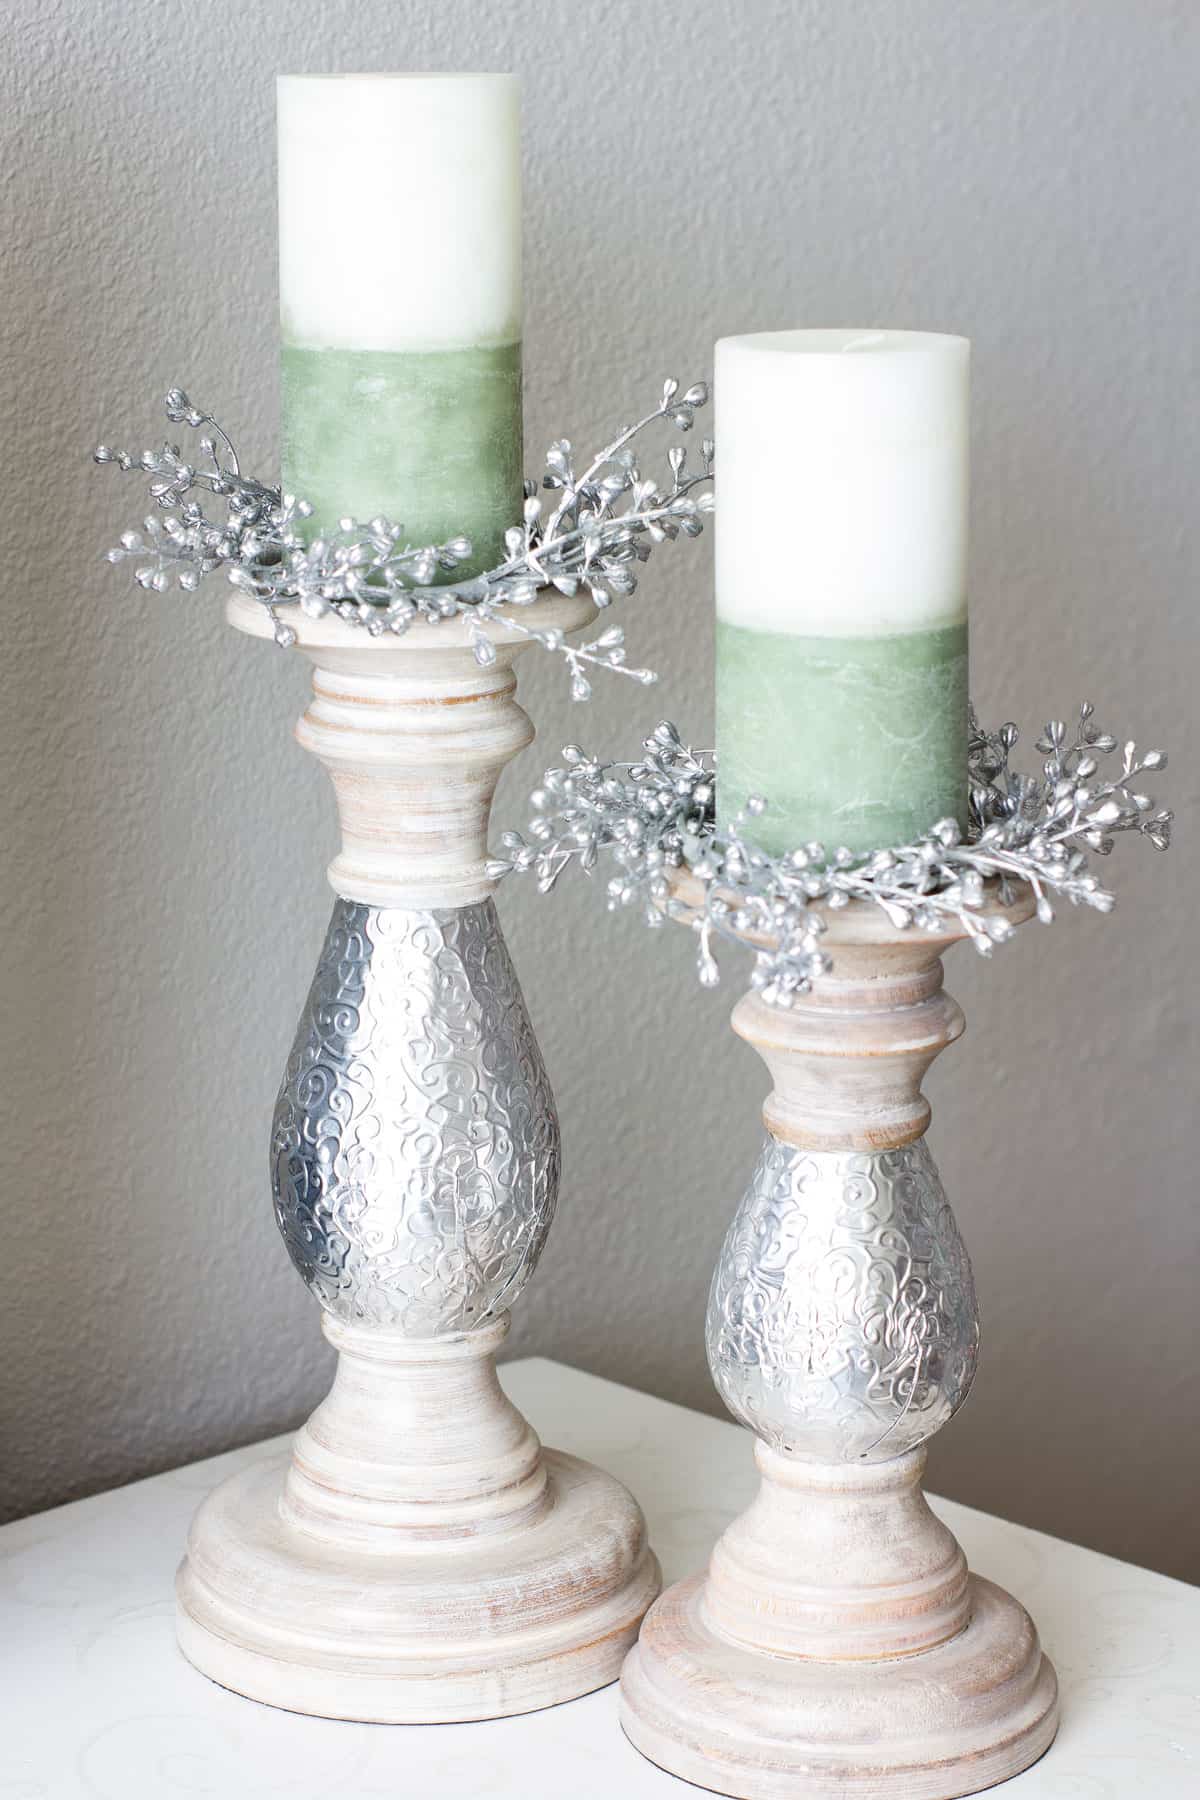
Have fun using your mini candle wreaths in all sort of ways.
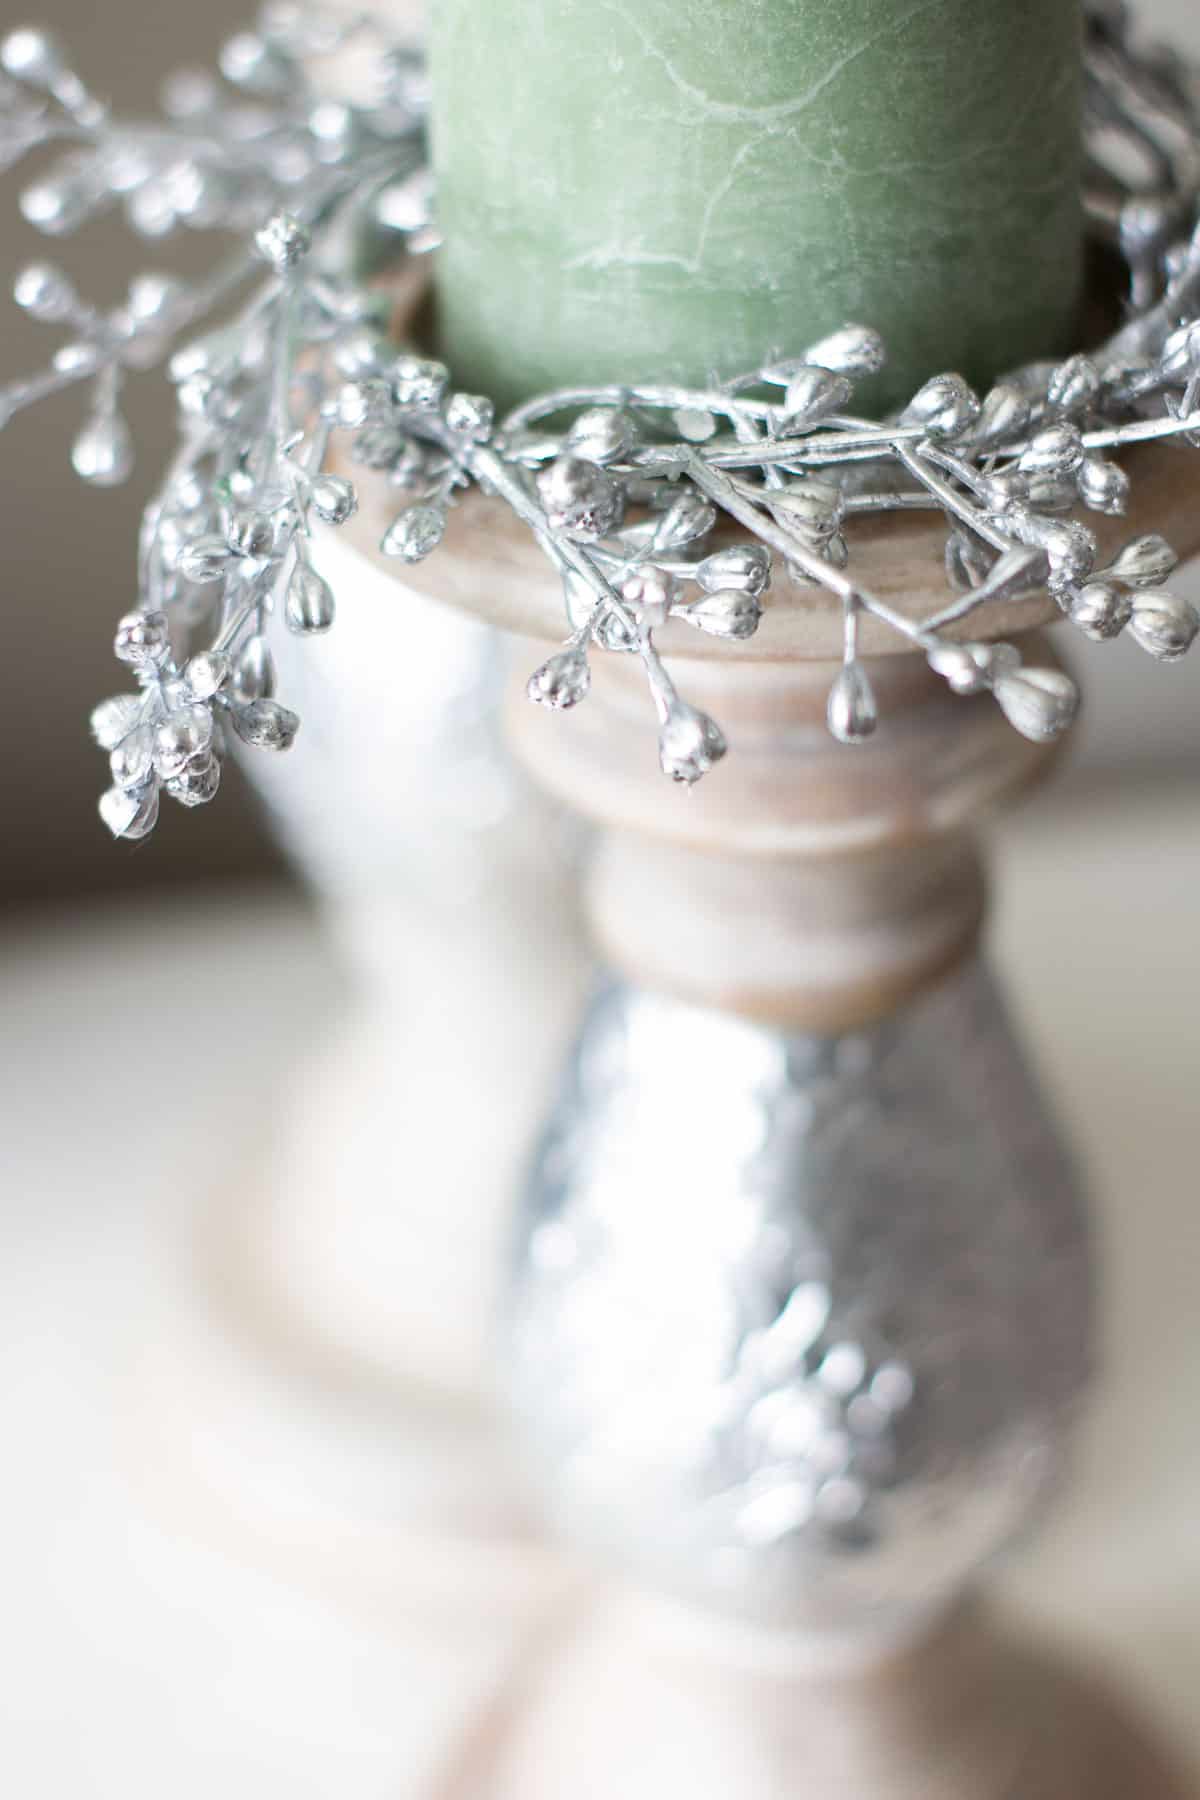
Add it to pillar candle holders you already have…
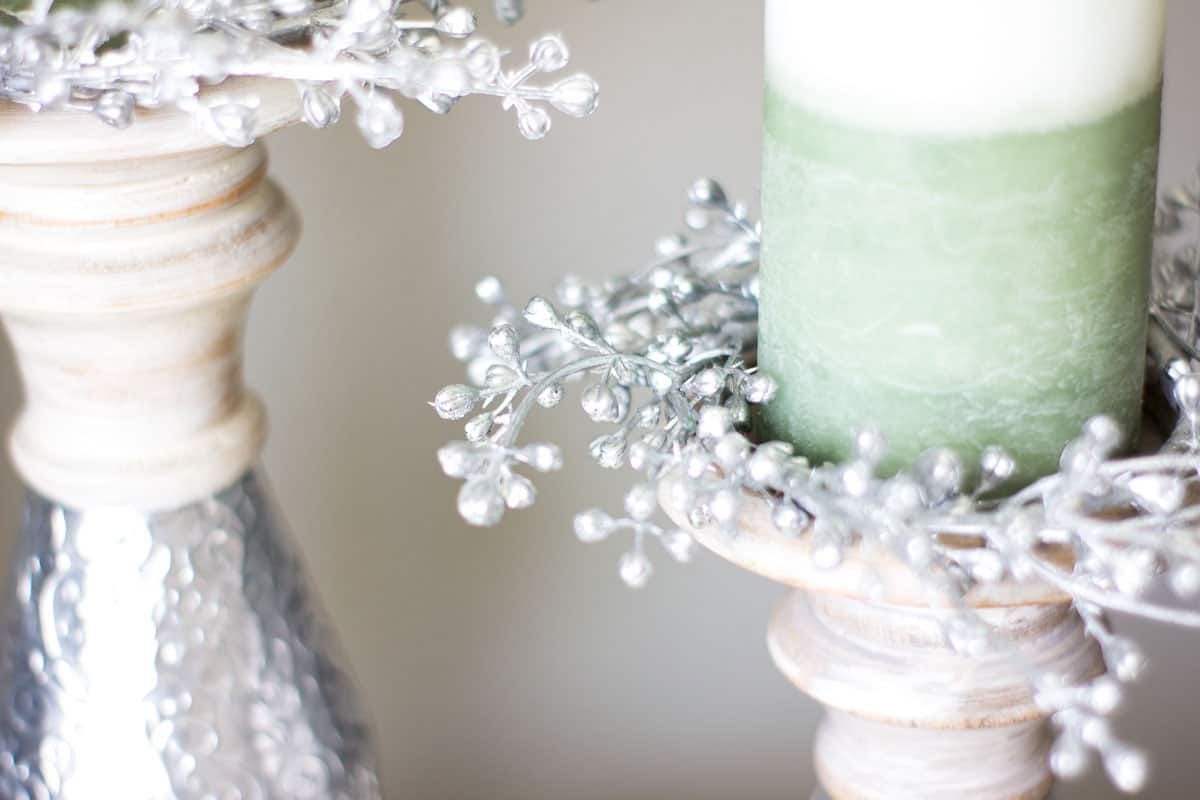
Want a more dramatic look? Use ‘flimsy’ greenery/florals to create a ‘drape-y’ candle ring.
Think about adding them to taper candlesticks.
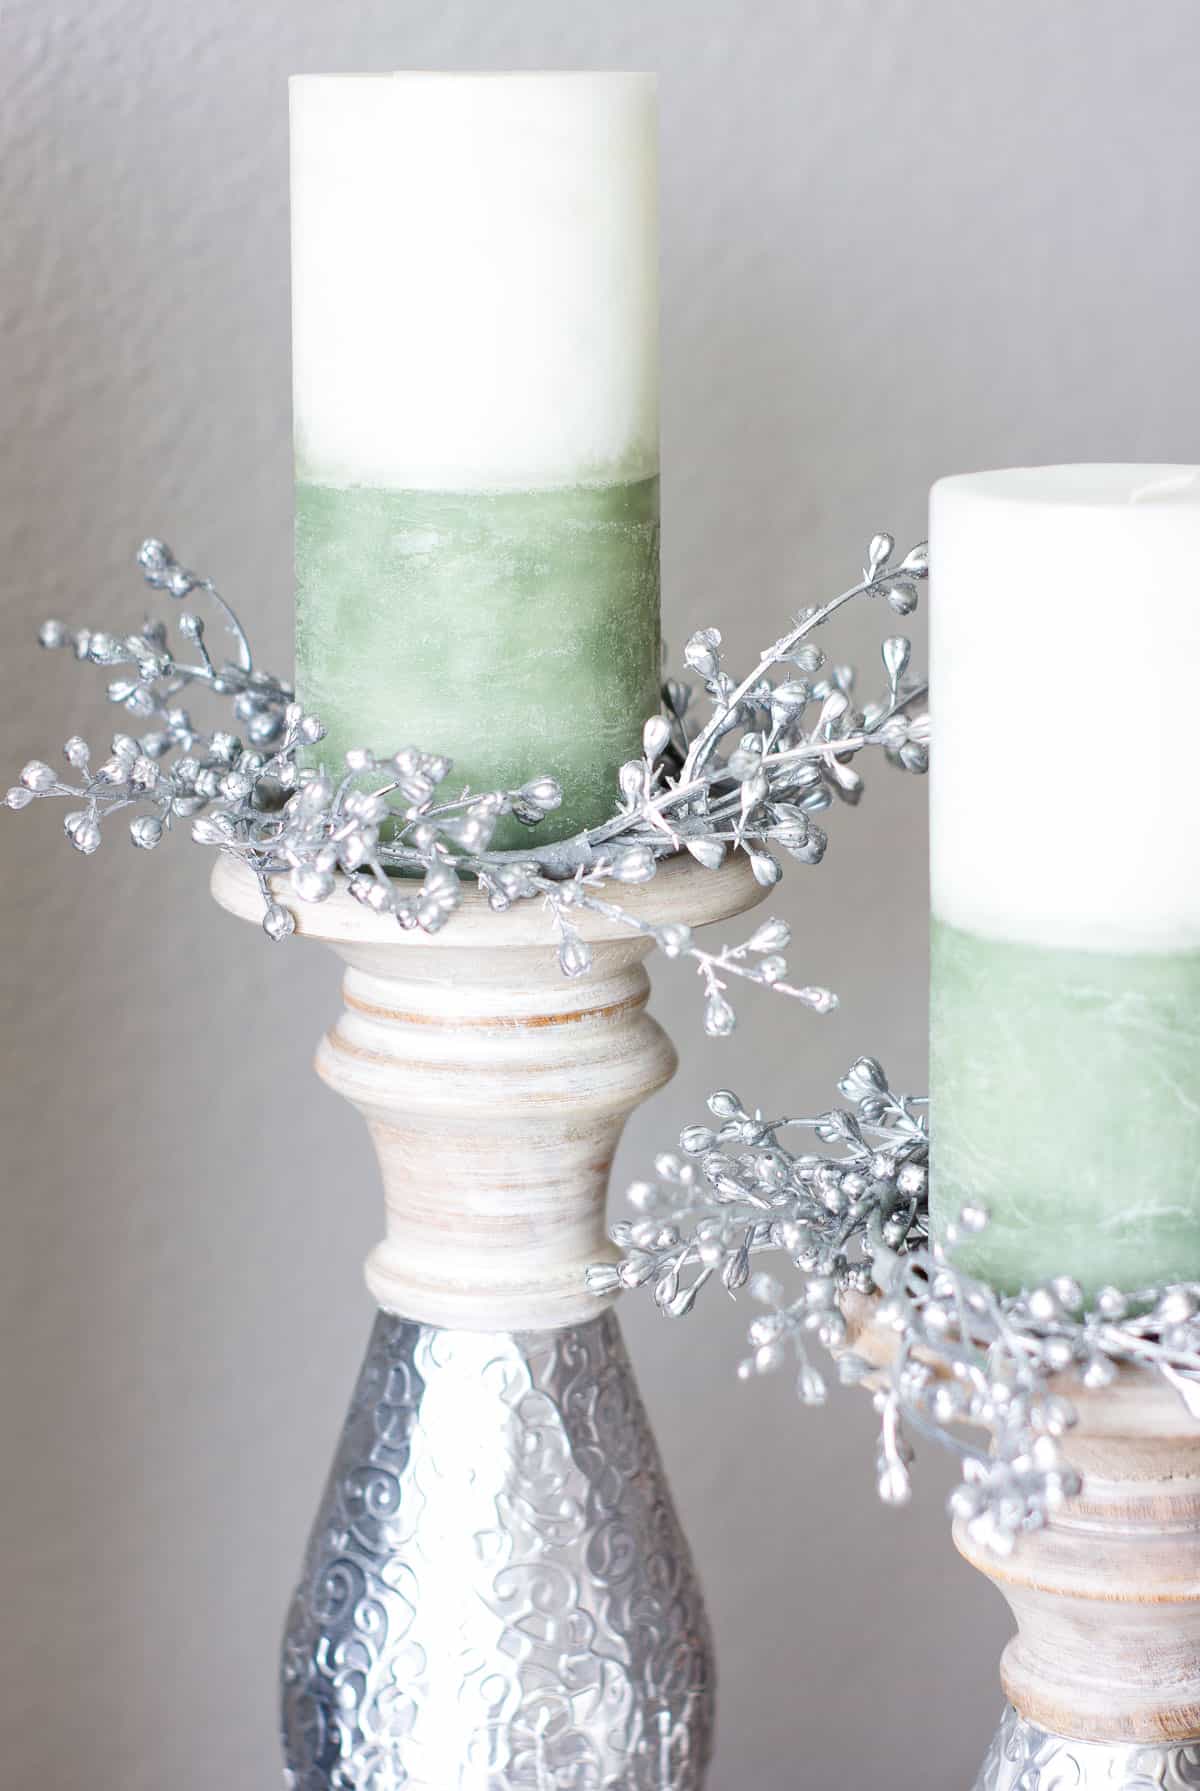
You can even add them to a 3-wick candle jar to dress-things-up!
What about adding some ribbon and hanging these mini wreaths on your cabinet doors, or in front of a mirror?
So many ways to use these by just adjusting the size of the wire base!
How would YOU use these mini candle wreaths in your home?




HI JULIE, THESE ARE SUPER CUTE. I LOVE THESE SIMPLE IDEAS WITH A BIG IMPACT! HAPPY NEW YEAR! LOOKING FORWARD TO 2021! LAURA
Thanks, Laura! I love that we can customize them!
I love how your candle rings look on your candles. You’ve inspired me to make some for my home!
Can’t wait to see yours, dear friend! Hugs!
Lovely clear tutorital. AND this is the perfect time of year to pick up wintery “greenery” with the Christmas clearances going on! Happy New Year!
Great tip about the clearance sales, Kathy! Glad the post was clear… that always is a concern for me!
Julie, your candle rings are so pretty! Your instructions are great!
As we are on total lockdown here in our Province, there are no craft stores open. I’m sure that once all these restrictions ease up and allow the stores to open again, there will be lots of sales on Christmas items. I feel sorry for all these stores that have all their Christmas stock that they weren’t allowed to sell. So sad. Even our Walmart stores could only sell the “essential” items. It’s sure a different world here.
HAPPY NEW YEAR, JULIE! Hope it will be a wonderful year for you! God Bless!
Thank you for the kinds words, Mary-Ann. It’s so sad how many businesses and restaurants are suffering. I’ve heard Canada is even stricter than here in So Cal. Praying the Lord’s mercy on and care of our country! I trust HE is in control!
You have no idea how many times I’ve needed and wanted new candle rings and couldn’t find what I was wanting. Love this. Pinned and Happy New Year!
Right?! So easy and you can customize to your decor! So fun!
Man, I haven’t considered candle rings in years…I used to have a whole wardrobe of them! These are SUPER cute on your candlesticks and now I’ve been inspired 🙂 I have some chunky candlesticks that could use a bit of dressing up!
It’s crazy how easy they are to make, and how they can change the look of a fave decor item!;-)
These are adorable Julie! I am the worlds worst at home decor detail like this! You make it look so simple!!
Oh, you are so sweet! And I think YOUR home details are lovely!!!
Julie, your candle rings are gorgeous! I love the photos too. Such a simple ame accessible craft anyone can make. Pinned, my friend!
Thanks, Crissy! Yes… easy enough to make new ones all the time.. I think they’ll be more coming! 😉
These are so sweet Julie! I’ll have to try this. I love that the technique can be applied to any stem.
Thanks, Shawna… I was trying to find clearance stems today at Michael’s, but I just wasn’t feeling it. 🙂
Julie I love these, they are beautiful! I also love how it’s such an easy update…your tutorial was amazing. Pinned!
Thanks, Kelly! I appreciate the kind encouragement!
What a fun DIY. Thanks for sharing your simple tutorial, Julie. Your candle rings turned out beautifully!
Thanks, Jen! They were very easy and fun to make!
Julie,
These are so pretty. Love your creativity!
Rachel.
Thanks so much, Rachel!
Thanks for joining in the Creative Crafts Linky Party, Julie! You are one of our features this week!
Creatively, Beth
Thank you so much! What a blessing!
Just popping back in to let you know I’ll be featuring this handy dandy DIY at the Farmhouse Friday link party. I know, I know, you can kiss the ring later. Thanks for sharing it!
You are so funny! I’ll be sure to kiss your ring the next time I see you! Thank you for the feature!
I have the perfect candle sticks in mind to do this project! I had a lot of fun reading this and it really inspired me.
Oh, thanks, Jenn! You be sure to let me see them! 😉
Julie,
I love these. I keep buying them and now I know how to make them. Great DIY. Congratulations, you are being featured at this week’s party. https://www.eclecticredbarn.com/2021/01/welcome-to-favorite-things-party-happy.html
I hope you stop by.
Hugs,
Bev
Thank you, Bev! Such a blessing!
Julie these are so adorable!
Thank you… It was fun to figure out, and I love how they came out! 😉
Great instructions! I have never thought of dressing up my candles!! Thank you for inviting me to Tuesday Turn About, I will join in!!
Hope to see you here next week, Cheryl!
I love how these candle rings look! You did a great job of explaining exactly how to make them too. I’m thinking I need some drapey ones for my candles for this spring!
I’m glad the tutorial is helpful! I can’t wait to see yours!
Julie, congratulations, your candle rings were the most clicked on post at the Friday With Friends link party!
The rings are an easy and pretty way to transition into winter – a topic that is high on people’s list right now.
Thanks for linking up, and I hope you can join us again this week.
P.S. How is your mom doing, I’ve been thinking, and praying for her this last week.
Hugs,
RR
So fun! Thank you for the feature!
These are super cute, Julie! I love how they transition so well for winter decor! Plus we all need a few candles and cozy things around right now. Happy January! 🙂
Yes, I agree… always love having candles in the winter. And it’s fun to update with these mini wreaths!
This is a brilliant idea. I use candles to decorate for different seasons too. I’ve done something similar with some old Christmas twine but your tutorial is a much better method. I’ve pinned it for next year, or maybe valentines with some heart gems…
Thanks so much, Bridie! I wanted to make some evergreen ones this year, but the Lord had different plans for me the last couple of months!
These are adorable, Julie!! What an easy way to totally change the look of an existing candle holder!! Thanks so much for sharing at Home Imagined this week!
Thank you, Rachel! They are so easy to make!
Beautiful, gorgeous, pretty and so dainty. Love it
I visited you via To Grandma’s House we go! (Wednesday Link Party #374
I linked up this week with = 38+39. Hope you will join us M-S SeniorSalonPitStop and W-S #WordlessWednesday. You will find both under BLOGGING
Thank you so much, Esme! Hugs!