How to Update Your Rental Kitchen the Easy Way
Want to learn how to update your rental kitchen the easy way? This post will show you how to give your kitchen a quick and amazing makeover in just one day!


Do you like periwinkle?
I mean the color, not the flower (don’t get me wrong… I LOVE flowers)…
You know what I’m talking about. That pretty color that looks blue when you put purple beside it, and looks purple when you put blue beside it? Yeah, I love that color, too!
How ’bout on your kitchen walls?
Me neither… at least not when it also includes brick red cabinets!
However, that’s exactly what my daughter and son-in-love were “gifted” with at their new rental home.
It didn’t take long for my daughter, Nika, to draft her father-in-law and me into a fairly quick project to update her new kitchen.
Here’s another update to your home that you can do in just a couple hours!
HOW TO UPDATE YOUR RENTAL KITCHEN THE EASY WAY
Nika and Mark’s (N/M) new rental house is a gift from God… truly. They have been looking, on-and-off and for quite some time, for a larger home that would tick all the boxes on their wishlist. And the Lord saw fit to give them just about everything on that list.
However, what they weren’t wishing for was this color combo in their kitchen…
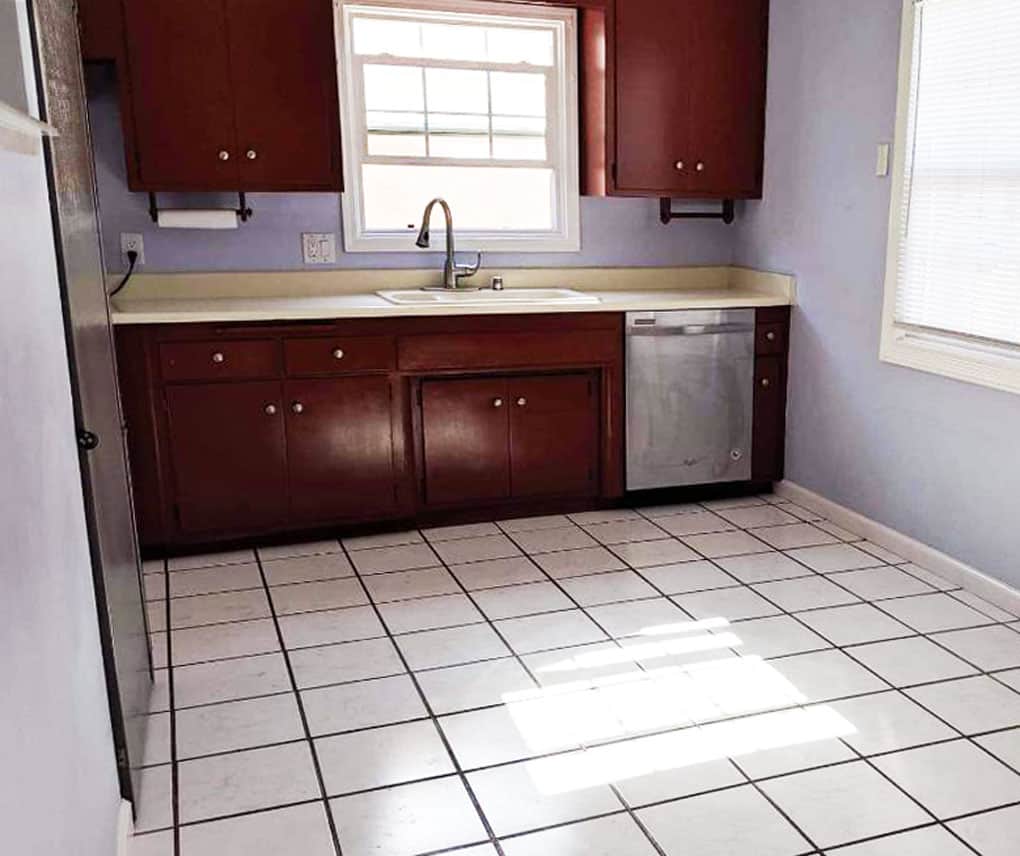
Yep… Those are periwinkle walls, brick red cabinets, and ivory laminate countertops. (Excuse the quick iPhone photos.)
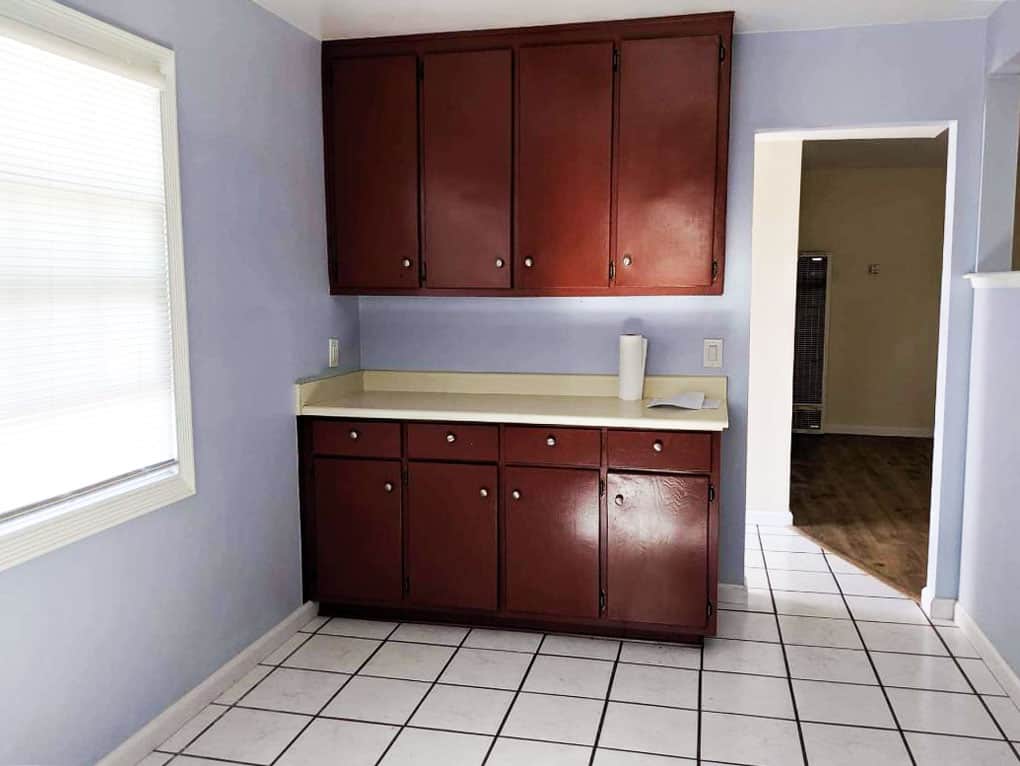
We have no idea why someone would choose these colors, but you work with what you’re given when it comes to a rental home… or any home for that matter!
The Solution – Paint!
Because N/M wanted to move into their new home quickly, we had to ask ourselves what would be the quickest, easiest, and most affordable update for this rental space.
Painting the cupboards would not be quick, no matter how much we (I) wanted to paint them.
Updating the laminate countertops would be affordable, and pretty fast, but those countertops are still not nearly as hard on the eyes as the periwinkle walls.
So, we figured the most economical, quick, and easy way to update this sweet little rental kitchen was to paint the walls! (Oh… and, yes, Nika checked with her landlord before painting, and, smart people that they are, they said ‘yes’!)
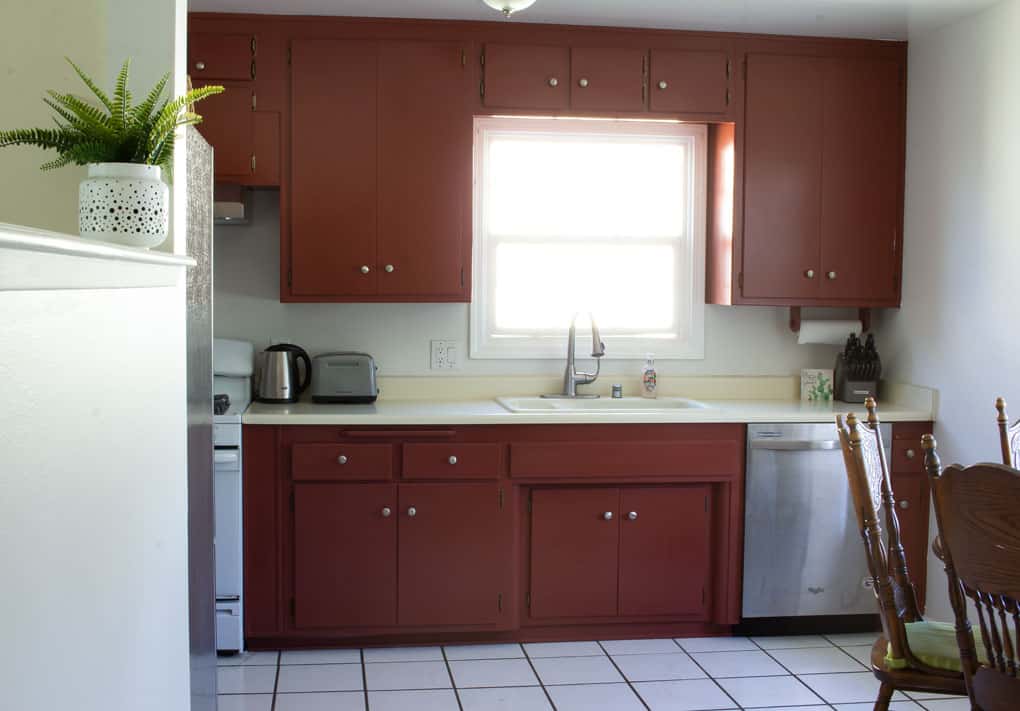
Using paint is the best way to do a quick and easy pick-me-up in any home, but it is especially perfect for apartments, rental houses, and dorms because it is affordable, you can use color to add your own style, and it’s just as quick and easy to change back (though I don’t think N/M’s landlord will be wanting the lavender walls back any time soon).
Choosing the Paint Color
The hardest part about painting a room is choosing the paint color. Here are a few tips I use when choosing paint for a room:
- Pick out several (10 or 15) paint chips at your local paint store. My go-to paint is Behr paint (more on that in a bit). That makes Home Depot my go-to paint store!
- When choosing the paint chips, pick-out colors with both warm (i.e., yellow) and cool (i.e., blue) undertones.
- Take the paint chips home and put them next to your main piece of furniture or textile in the room (whatever has the main color in the room). Hold onto the chips that look great with the furniture piece or textile, and set the others aside.
- Now take those paint chips that you’re holding on to, and lay them on the flooring that will be next to your wall. The paint chips that compliment your flooring AND your furniture will most likely look great on your walls!
- Now, take your top 3-4 favorite paint chips and go buy samples of those! (It will cost about $12-16 total, and you will eliminate the mistake of buying a gallon of paint that doesn’t work on in your room!)
- Take those samples and paint large portions of the color on each wall of your room (make sure the color is close to the floor, too). If you don’t want to swatch your walls, you can also paint foam boards and lean them up against your walls.
- Check to see what the colors look like on the walls at different times of the day. Remember, many times what is outside a window, reflects color inside. I.e., trees outside your window, may reflect a green on your wall(s) inside… adjust your paint choice for situations like this.
- Remember to place your furniture or textile next to the paint swatches on the walls, as well.
- Choose your fave color, and go buy your paint… IF you know what sheen you want!
Choosing a Paint Sheen
When choosing a paint sheen/finish, you have several options to consider:
- Flat – this finish has no shine/sheen at all (non-reflective). Great for hiding imperfections on walls.
- Matte – My favorite sheen that is low-reflective, easy to clean, and easy to touch up (also hides imperfections).
- Eggshell – Soft and ‘velvety’, but still not extreme in reflection. Good choice for kids rooms, hallways, and I would consider it for bathrooms, too.
- Satin Enamel – Pearly finish that is easy to clean. Good choice for kids rooms, hallways, bathrooms, trim, etc.
- Semi-gloss – This definitely starts showing a gloss and is ‘radiant’. Very easy to clean and is often a great choice for bathrooms and cabinets as it mildew and moisture resistant.
- Hi-gloss – Brilliant, shiny appearance and super easy to clean. Often used in bathrooms and on cabinets, though I personally would only use it on trim.
- Okay… NOW go buy your paint!
If you want more tips on how to paint a room in one hour, click HERE.
My Favorite Paint (and what Nika chose)
As I said above, my go-to paint is Behr’s Marquee Interior Paint. Behr Marquee paint is guaranteed to provide one-coat hide in over 1,000 different Behr colors. And, IF you choose a color outside the 1,000, the second coat covers quickly and easily. (I have used both a verified Marquee color and a regular Behr color… both options worked great!)
The quality and durability of Behr paint is amazing, as well as economical (especially when you only have to use one coat). When living in a rental, quality that is affordable is a must, and Behr paint is just that!
Also, with Behr’s Color-Match system, you can take any color to your closest Home Depot and have it matched and mixed by one of their wonderful paint associates! Easy peasy! (I had this done for a bathroom shelf, and it worked out perfectly!)
So, the color that Nika chose to paint the kitchen is Silver Drop, but cut (lightened) by 50%.
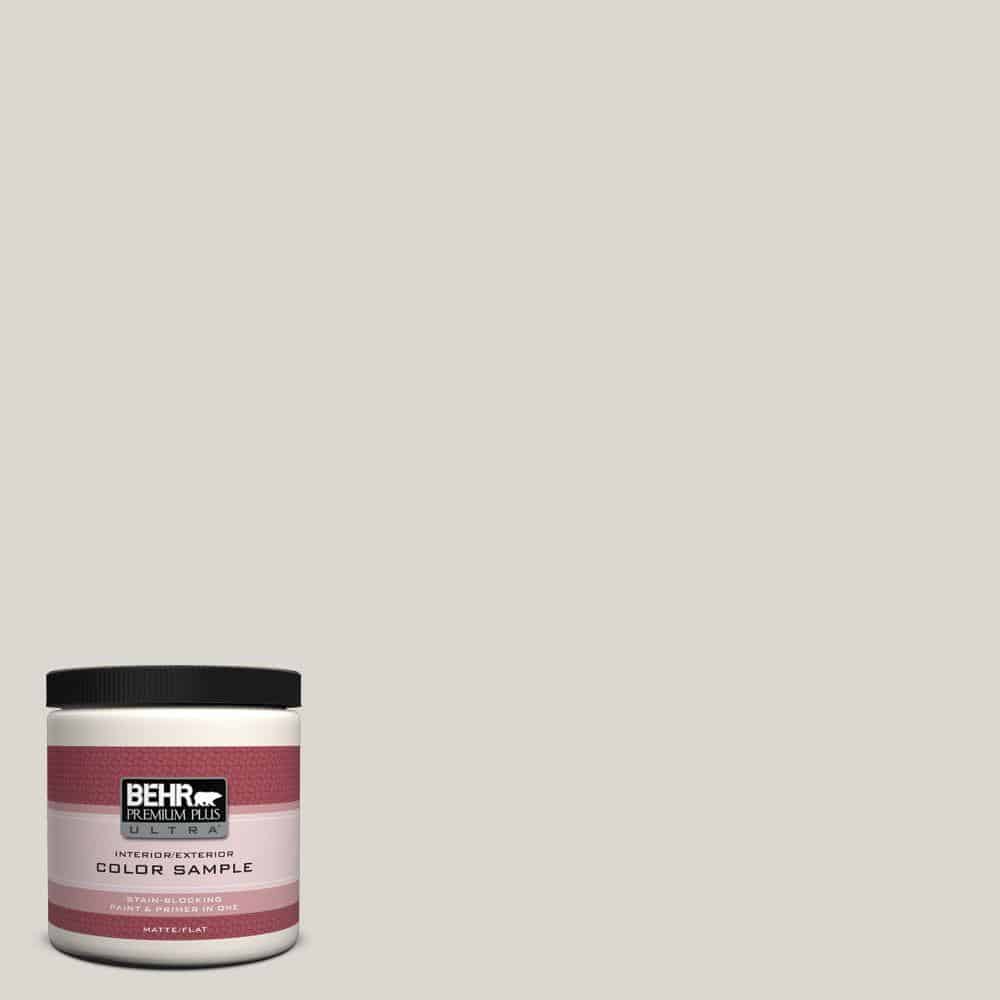
Did you know you can have any Behr paint color lightened by any percentage by just asking a Behr paint expert? Yep, it’s true! And that’s just what Nika did! She wanted almost a white in her kitchen, with a touch of warm gray, and that’s exactly what she got!
How to Update Your Rental Kitchen the Easy Way -The After
Let’s take a look at how the walls look now!
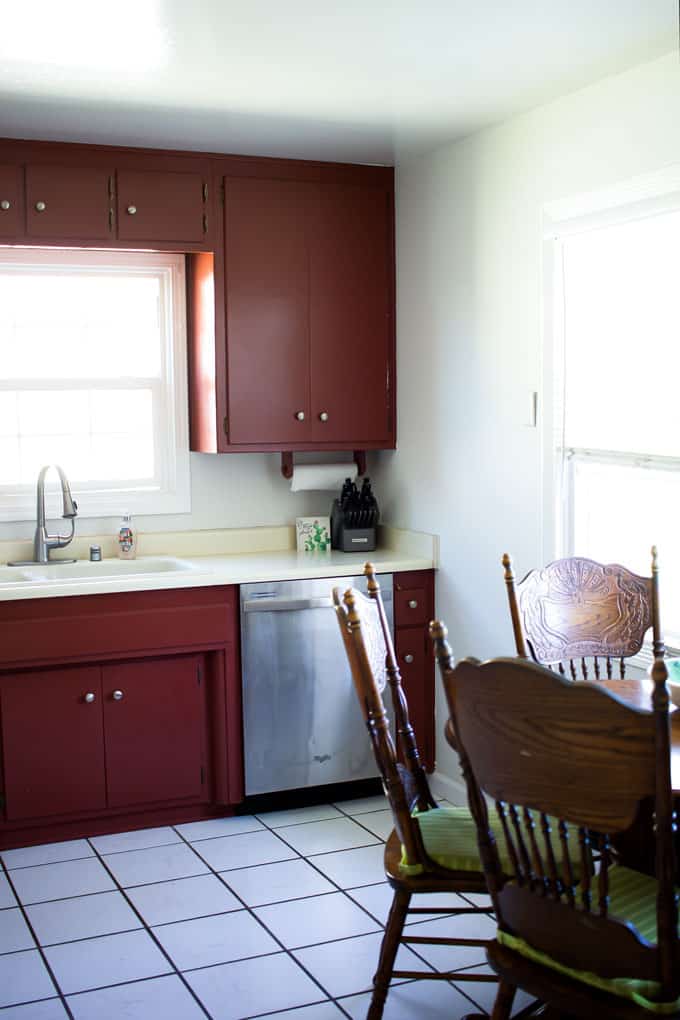
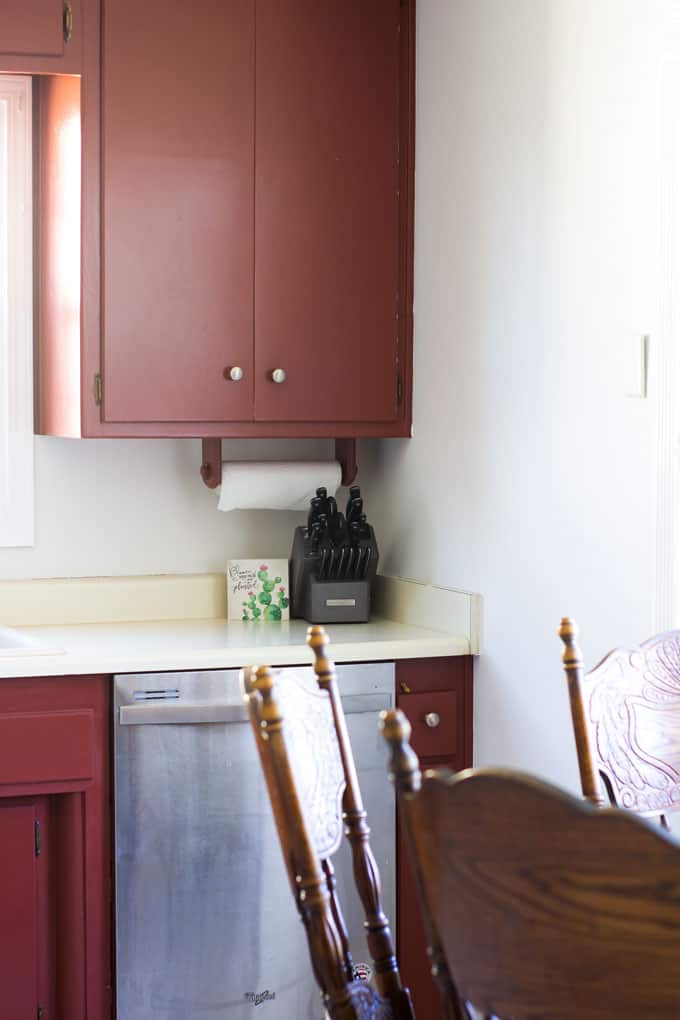
I think the paint actually helped neutralize the cabinet color a bit, don’t you? (I’m thinking some neutral textiles and maybe a touch of muted navy or sage might be just the ticket… but, that’s N/M’s decision!)
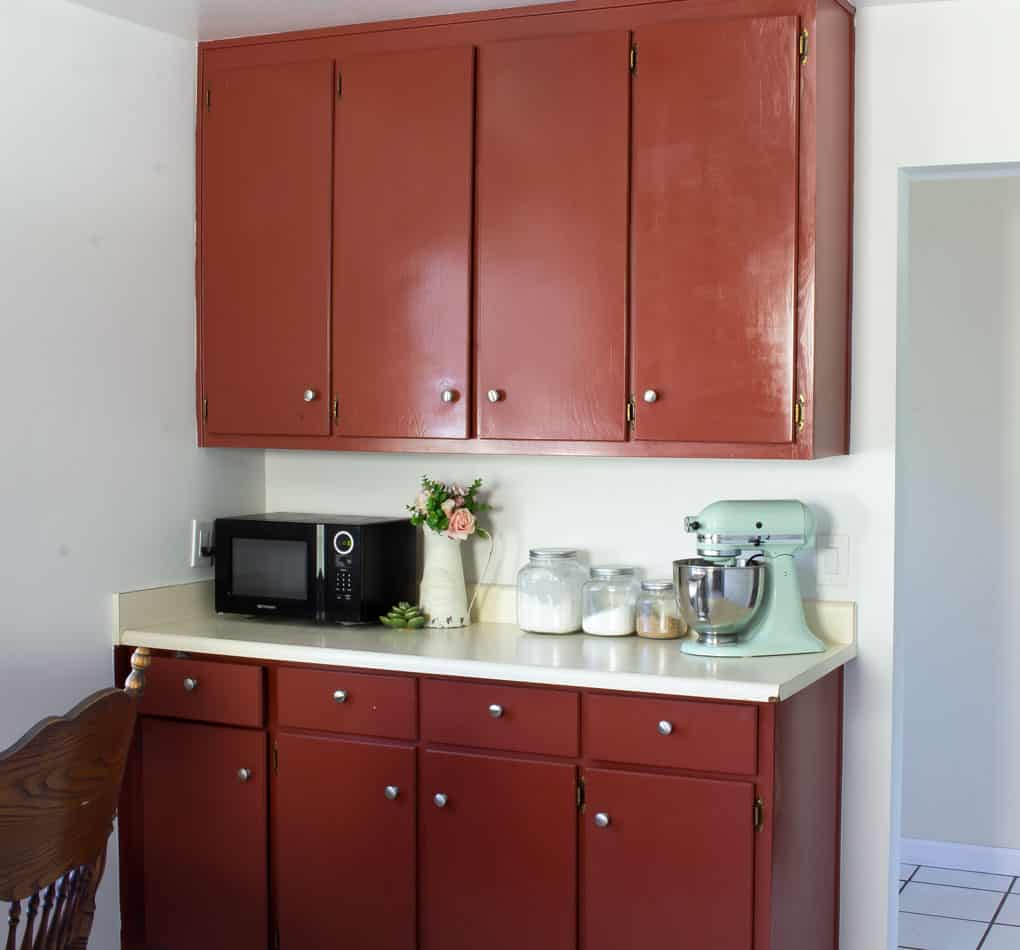
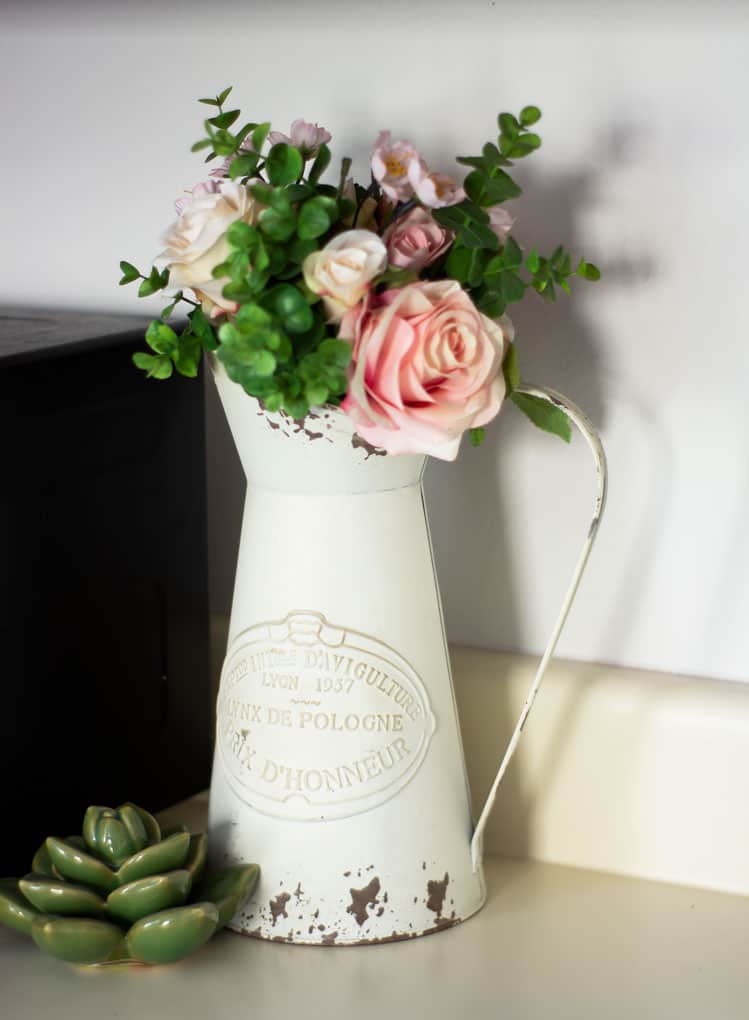
Nika has some lovely decor items for her kitchen. The touch of blush in her posies is a great compliment to the brick red cabinets.
And these affordable glass canisters look perfect in any style kitchen (okay, maybe not modern). 😉
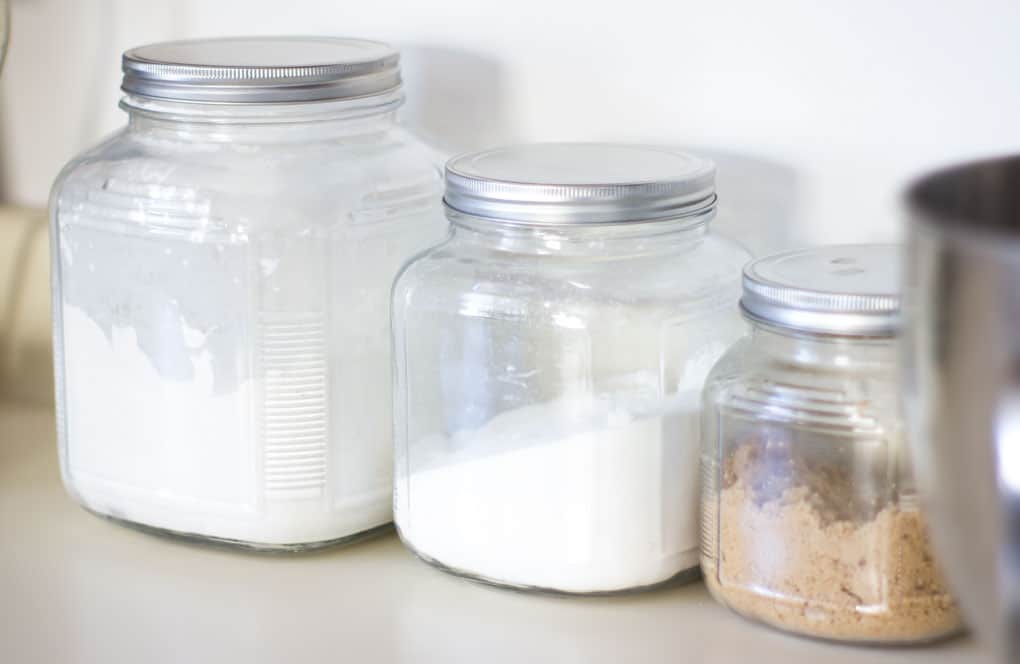
Hubby Mark gave Nika a wonderful gift this last Christmas!

One more look before…

And after!
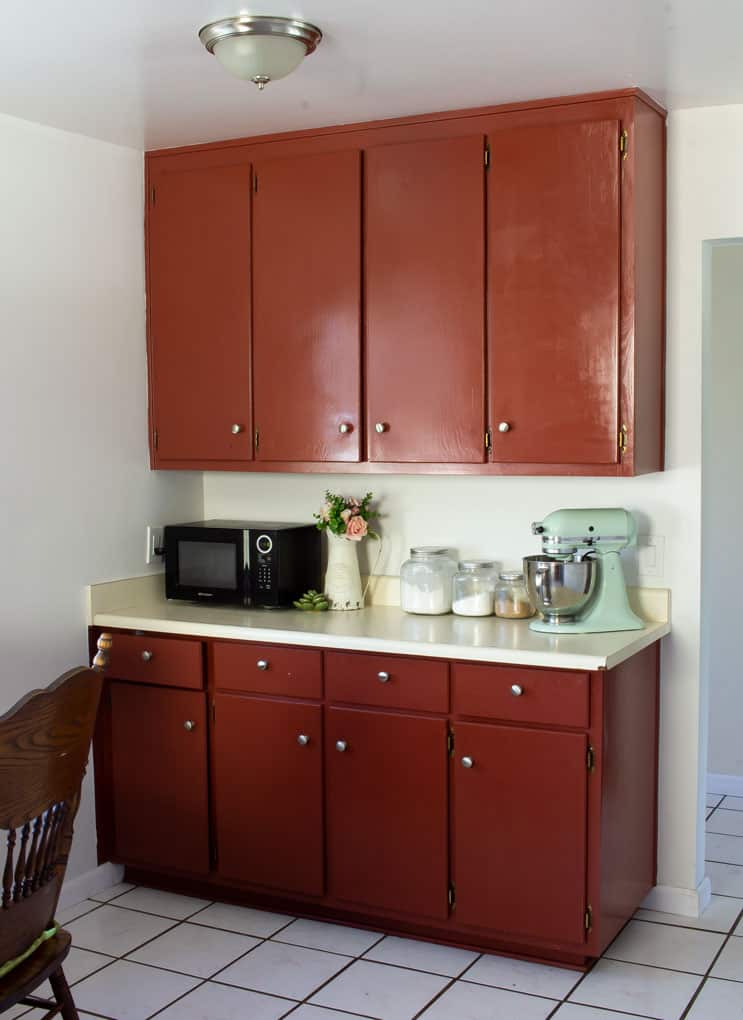
Wow, paint makes SUCH a big difference!

Nika would like to update the laminate countertops, just like I did, but I think she will be using a different color/texture for her counters! Hope to share that soon!
I think this kitchen looks pretty great for only having been in it for a couple days!
Now It’s Your Turn
Does this inspire you to makeover a room in your home? What about your rental home? I hope this post was helpful in sharing how to update your rental kitchen the easy way! Let me know what you think in the comments!









Wow Julie what were the previous renters thinking? Periwinkle doesn’t even work with the cabinets.
Looks so much better with the new color. Congratulations to them.
Cindy
Thanks, Cindy… I know. Who knows what they were thinking… with EITHER color. The next project in there should really help, too! 😉
Wow, this turned out so well! I’ll bet Nika was so excited to have you help her with the painting, too. I didn’t know that you could lighten a paint color! We always feel confined to what is on the shelf, but it’s good to know you can customize. Thanks for the great tips!
Yes… I love that you can cut the paint by percentages. We actually used the same Silver Drop, cut by 75% in her bedroom. I’m bummed that the photos reflect a yellow-green in some areas. Those dang cabinets! 😉
Looks beautiful! Love their new place!
Their new home is just a cozy little place, and very nice to visit! 😉
Wow, Julie! What a wonderful transformation! Great color choice! I’m sure that Nika is so happy to have you helping. Best wishes to your daughter and son-in-law on their new place!
Thanks, Lynne! They are having a blast, and Nika says it still feels surreal. 🙂 It is a very comfortable little home!
Behold the power of paint! What a difference it makes to get rid of that unattractive lavender color. I know that Nika and her hubby were so pleased to get a new look in their kitchen.
Exactly, Paula! It’s a much nicer place to be in now! 😉
Oh my goodness this kitchen looks 100% better painted and freshened up. Good to know about how to lighten paint colors too. Pinning!
Thanks, Michelle! It is much easier to walk into the kitchen now! 😉
From the looks of the pictures, the paint on the walls made the countertops soften into a more creamy color with less of a yellow hue. The kitchen looks great! I look forward to seeing more!
The paint color did a lot to neutralize the features of the kitchen! Hoping some ‘new’ counters might be in the future, too! 😉
Hi Julie!
The paint job makes such a difference! It’s so much better with the periwinkle gone. I like that color too! I bet Nika and Mark love the new look.
>>> Kim
Yes, they are loving the difference the paint made! It was a lot of fun helping with it (and the bedroom, too!)
I really love the wall color, it goes with the kitchen cabinets much better and really lightens up the space!
Carrie
curlycraftymom.com
It really did help to ‘calm’ those cupboards. Hoping a few other projects will add to the calmness, as well! 😉
So nice you were able to help her set that room to rights…periwinkle and brick red was sure an interesting choice?! I fervently hope they meant to also paint the cabinets but just ran out of steam :). Paint is indeed the biggest impact for the lowest investment!
Thanks, Janet! Actually, my daughter and I did the painting (her dad-in-law helped with the taping/cutting in). Because this is a rental, my daughter has to get permission from the landlord to paint. They okayed the walls (my daughter chose the color), but they have not yet okayed the cupboards… I think they want to see how long they will be staying, and if we did a good job on the walls. They seem quite happy! My pictures really don’t do it justice. It’s quite live-able now. 😉
Oh, I know! It looks great! I didn’t mean I hoped YOU were painting the cabinets – I meant I hoped whoever chose periwinkle for the walls had intended to paint the cabinets and never did!
Oh!!! Sorry… Hehe! Yeah… well, I’m thinking not. The other day, Nika and I walked out of the house and I glanced at her landlord’s house (he lives next door, but he’s great). I turned to Nika and said, “Look at your landlord’s house trim.” Yep, it was the same paint as the cupboards. I think he got a good deal on brick red! LOL!
It looks so much better, Julie! Can’t wait to see what you have planned next;) And congrats to your daughter and son-in-law on the new place, so exciting!
Thanks, Tiff! The next project will take a bit more time. Hopefully soon! 😉
Wow Julie! Such an improvement in that kitchen! And you are so right about the new color neutralizing the cabinets! Loving the glass jar canisters – they have a retro feel to them 🙂 . We plan on painting our ‘public rooms’ soon! BTW, You are a great mama too!
Thank you, Cindy! You are so sweet! Can’t wait to see your new walls! 😉
Wow – new paint really made a huge difference! Such a nice cozy space! 🙂
Crazy, isn’t it! I’m looking forward to helping with a few more projects, too!
Such a great little refresh Julie!
Thanks for sharing at All About Home!
Thanks, Amber… Love the new party!
Thank you for sharing at #ThursdayFavoriteThings. Pinned and shared. Have a lovely week. I hope to see you at next week’s party too!
I’ll be there with ‘bells on’ as they say! 😉
What a difference the paint made!! And the tips for choosing paint are excellent. I’m featuring it at Thursday Favorite Things today!
Thank you so much for the feature! It made my day!